
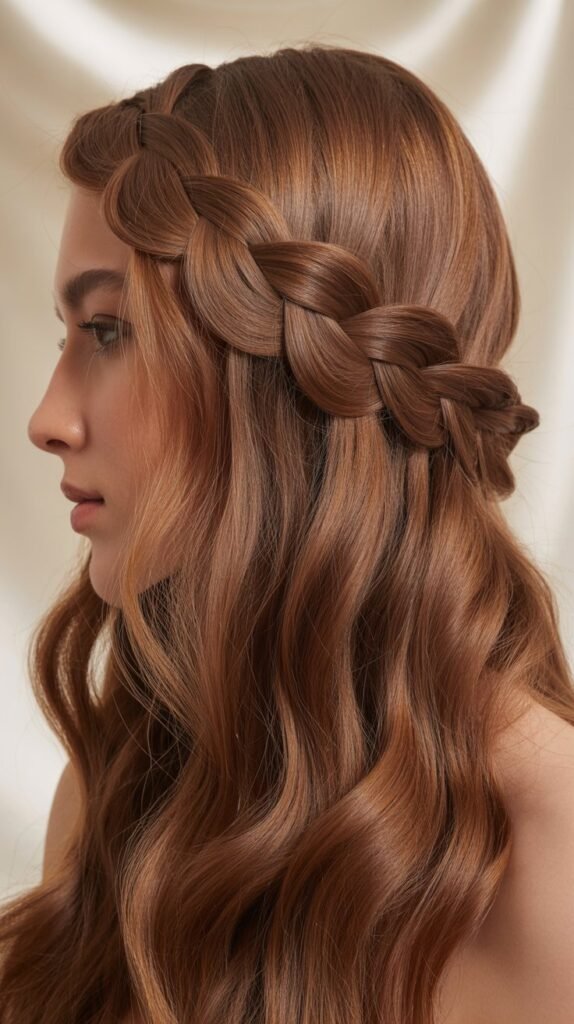
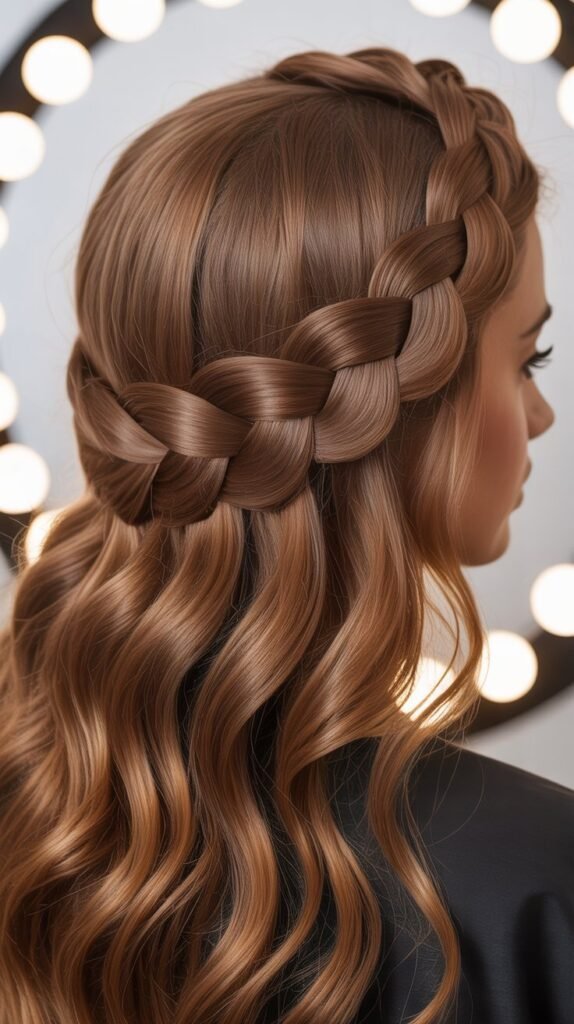
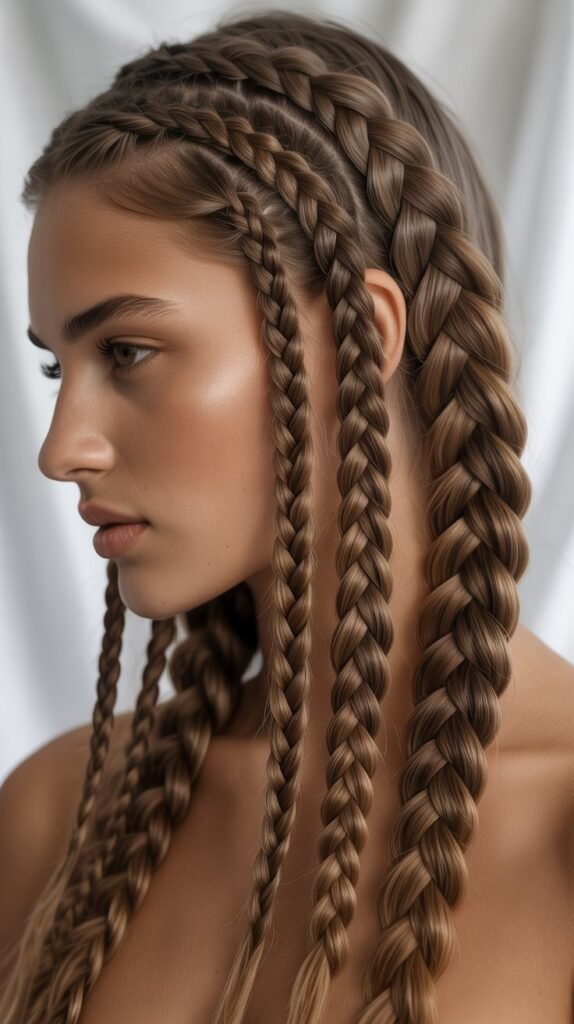
Long hair opens up a world of stunning braiding possibilities that can transform your look from ordinary to extraordinary.
Whether you’re preparing for a special occasion, heading to work, or simply want to elevate your everyday style, braided hairstyles offer the perfect combination of elegance, practicality, and creativity.
In this comprehensive guide to 27 Stunning Braided Hairstyles for Long Hair You Need to Try, we’ll explore classic techniques, modern twists, and innovative styles that showcase the versatility of long locks.
From simple three-strand braids to intricate patterns that look professionally crafted, these hairstyles cater to every skill level and occasion.
You’ll discover step-by-step approaches, styling tips, and creative variations that will inspire you to experiment with your hair in exciting new ways.
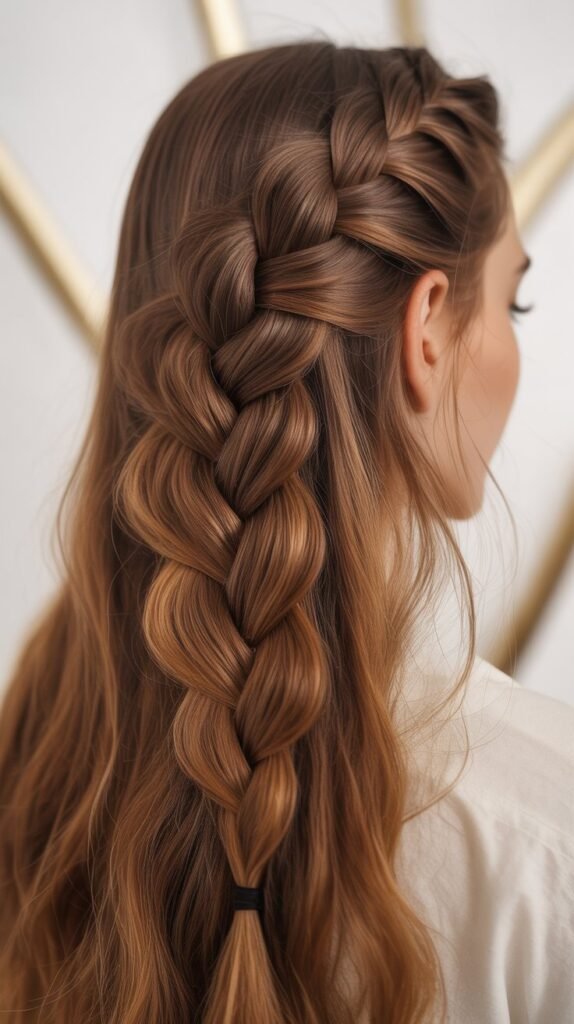
1. Classic Three-Strand Braid
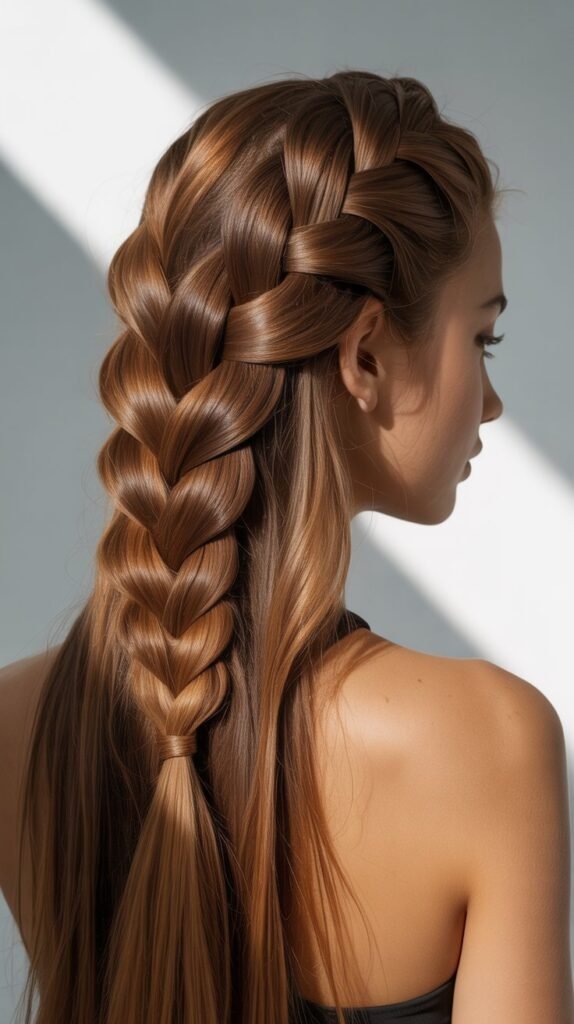
The three-strand braid serves as the foundation for countless hairstyling possibilities and remains timelessly beautiful in its simplicity.
This technique forms the building block that every long-haired individual should master before moving to more complex styles.
- Divide your hair into three equal sections at the nape of your neck
- Cross the right section over the middle section, then cross the left section over the new middle section
- Continue alternating sides while maintaining consistent tension for uniform appearance
- Secure the end with a clear elastic band or decorative hair tie
- This style works beautifully for casual outings, exercise sessions, or as a sleek professional look
- Add texturizing spray before braiding for enhanced grip and fuller appearance
2. French Braid
The French braid elegantly incorporates hair from the crown downward, creating a sophisticated woven pattern that sits close to the scalp.
This classic style has remained popular across generations due to its polished appearance and practical nature.
- Start with a small section of hair at the crown and divide it into three parts
- Begin with a standard braid for one stitch
- Before crossing the right section over the middle, gather a small amount of hair from the right side and add it to that section
- Repeat the process on the left side, continuously adding hair from both sides as you braid downward
- The braid should lie flat against your head, gradually incorporating all loose hair
- Finish with a regular three-strand braid once all hair has been gathered
- Gently pancake the braid by pulling the edges to create fuller, more dimensional appearance
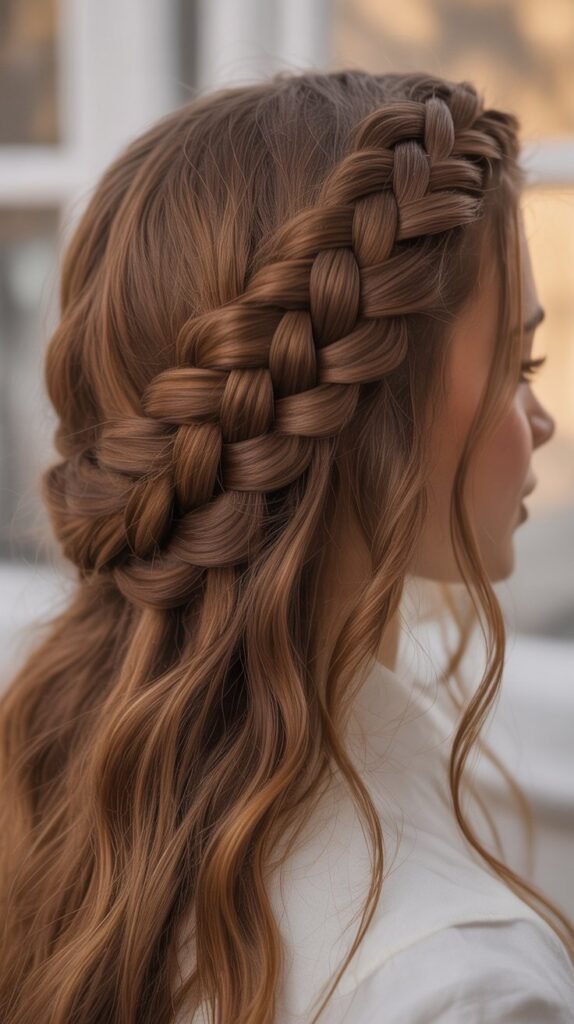
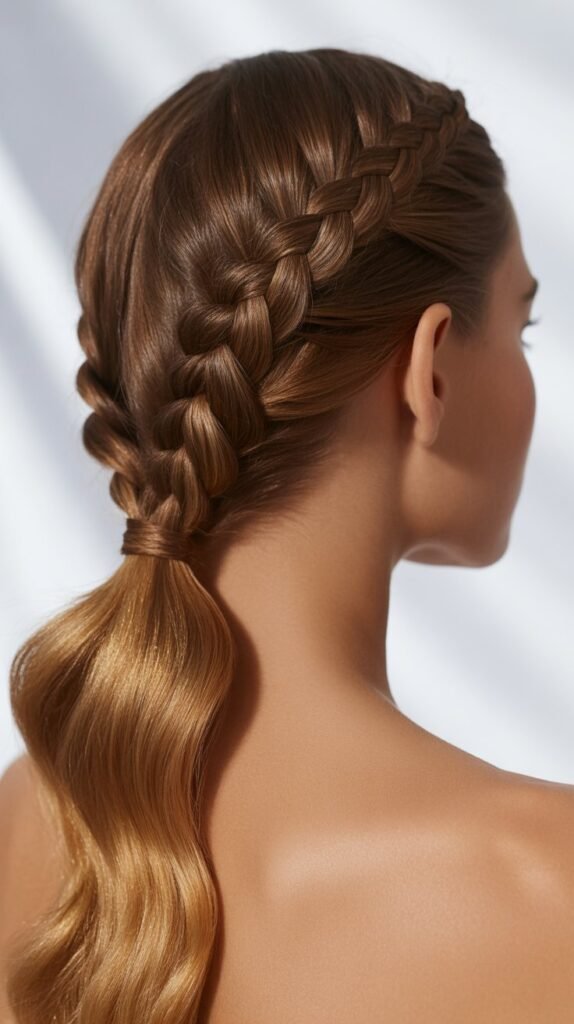
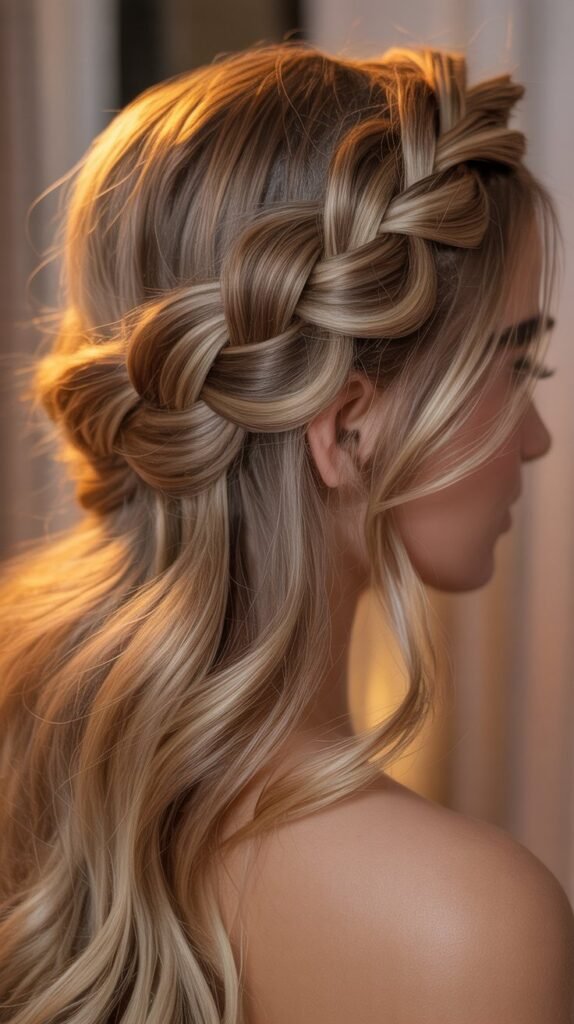
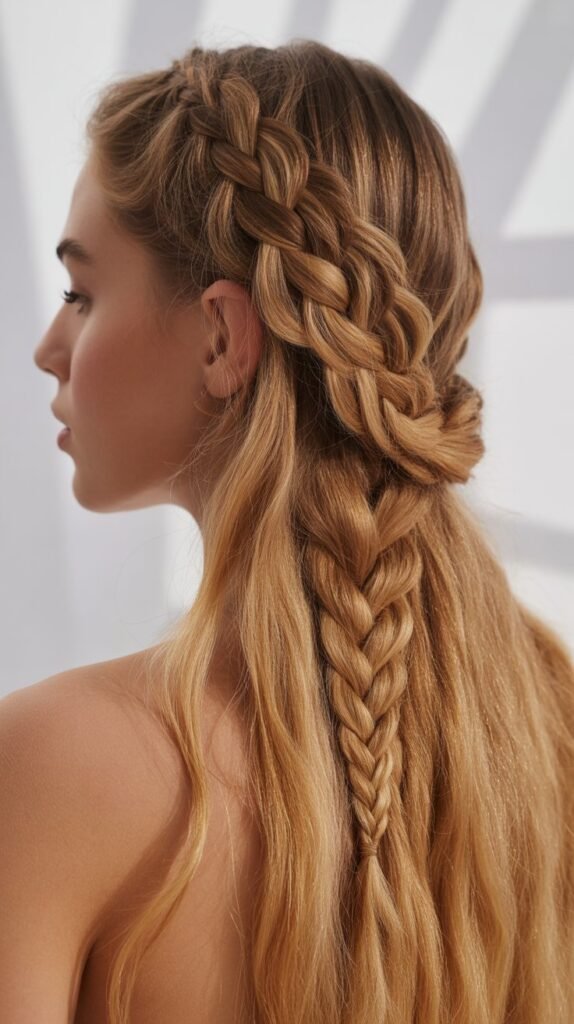
3. Dutch Braid (Reverse French Braid)
The Dutch braid creates a raised, three-dimensional effect by weaving sections under rather than over, making the braid appear to sit on top of your hair.
This eye-catching technique adds dramatic visual interest and works exceptionally well for athletic activities.
- Section hair at the crown and divide into three equal parts
- Cross the right strand under the middle strand instead of over it
- Cross the left strand under the new middle strand
- Add hair from the sides to each section before crossing under, similar to French braiding technique
- The inverted weaving creates the signature raised appearance that distinguishes this from French braids
- Continue until all hair is incorporated, then complete with a standard braid
- This style holds remarkably well during physical activity and creates stunning visual impact
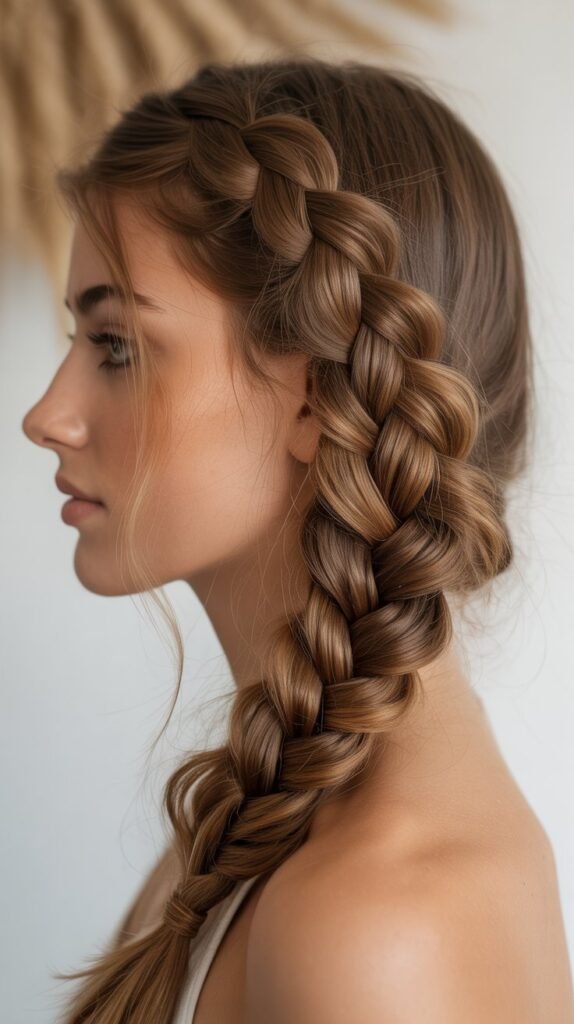
4. Fishtail Braid
The fishtail braid produces an intricate, woven pattern that appears complex but requires only two sections of hair.
This bohemian-inspired style offers a relaxed yet refined aesthetic perfect for both casual and dressy occasions.
- Divide all hair into two equal sections
- Take a thin strand from the outer edge of the left section and cross it over to join the right section
- Take a thin strand from the outer edge of the right section and cross it over to join the left section
- Continue alternating sides, always taking strands from the outer edges
- Thinner strands create more intricate patterns while thicker strands work up faster
- Gently pull apart the woven sections after securing to create the signature voluminous fishtail texture
- Secure with elastic and consider wrapping a small section of hair around it for polished finish
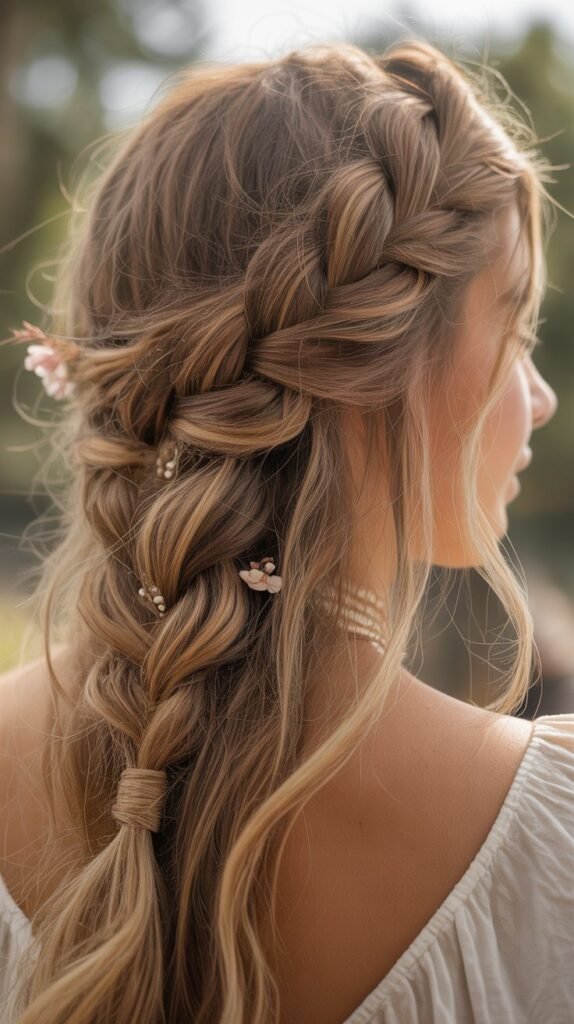
5. Waterfall Braid
The waterfall braid creates a cascading effect where strands of hair fall through the braid like water flowing over rocks.
This romantic style combines braiding technique with flowing loose hair for stunning dimensional results.
- Begin with a regular three-strand braid at the temple area
- After the first stitch, drop the bottom strand and let it fall naturally
- Pick up a new section of hair from the top to replace the dropped strand
- Continue braiding around the head, consistently dropping the bottom strand and replacing with new top sections
- The dropped strands create the waterfall effect as they cascade through the braid
- Secure at the opposite side with bobby pins hidden beneath the hair
- Curl the loose cascading strands for enhanced romantic effect
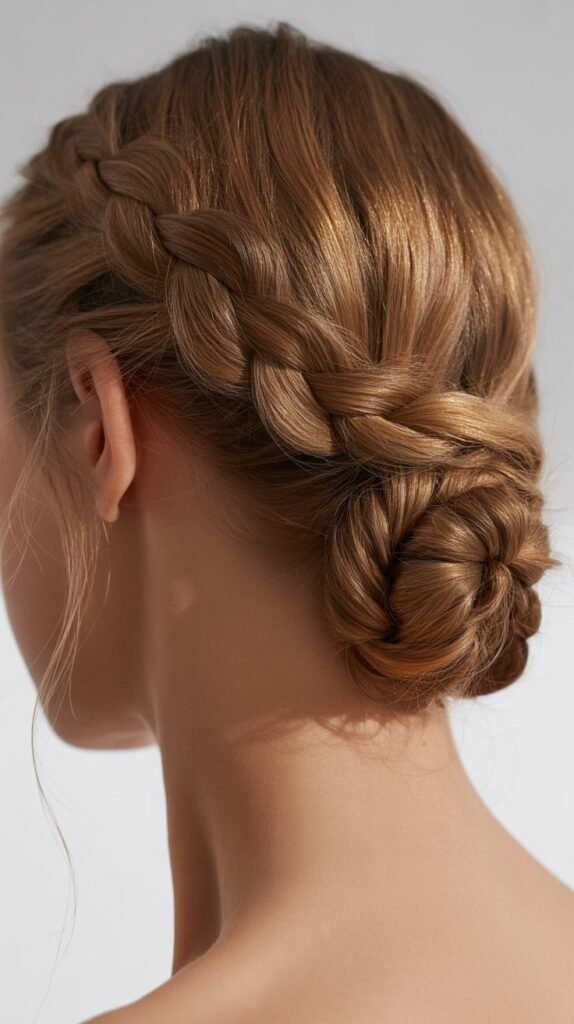
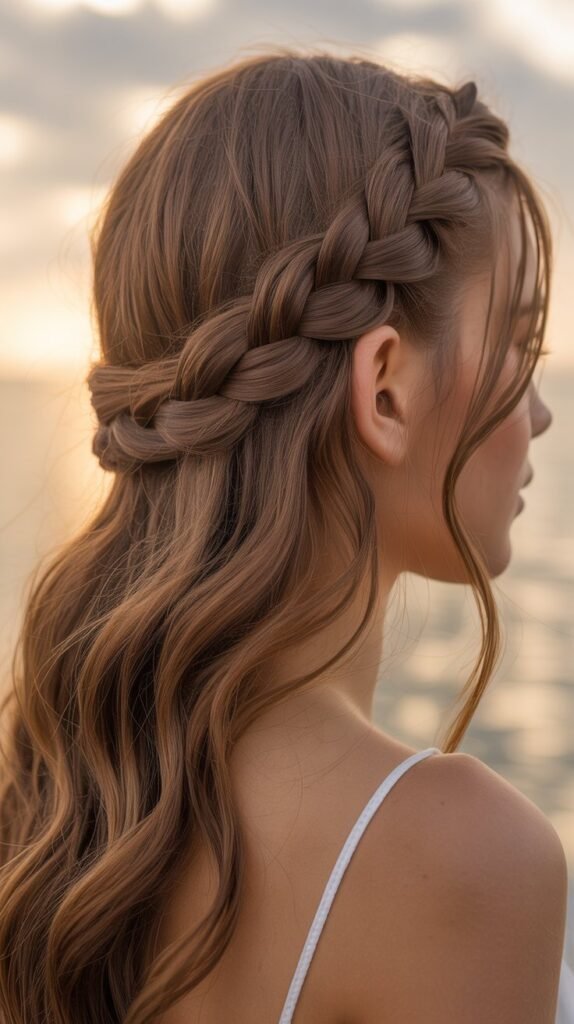
6. Crown Braid (Halo Braid)
The crown braid encircles the head like a woven crown, creating an ethereal, goddess-like appearance.
This elegant updo works beautifully for weddings, formal events, or adding regal flair to everyday looks.
- Part hair down the middle from forehead to nape
- Begin Dutch braiding on one side, starting near the ear and working around the head
- Keep the braid close to the hairline as you work around the crown
- Continue braiding all the way around until you return to the starting point
- Tuck the end of the braid underneath itself and secure with bobby pins
- Alternatively, create two standard braids on each side and wrap them around the head
- Pull out small face-framing pieces for softened, romantic effect
7. Side Braid
The side braid offers versatile styling that drapes elegantly over one shoulder, creating asymmetrical visual interest.
This effortlessly chic look transitions seamlessly from day to night with simple adjustments.
- Sweep all hair over one shoulder, deciding which side best complements your features
- Choose your preferred braiding technique based on desired finish and occasion
- French, Dutch, fishtail, or standard three-strand braids all work beautifully as side braids
- Keep the braid tight for polished professional appearance or loosen for casual bohemian vibe
- Secure the end and consider wrapping a decorative ribbon or hair accessory around the elastic
- Pull out strategic face-framing pieces before braiding for softening effect
- This style protects hair while keeping it completely off your back and neck
8. Double Dutch Braids
Double Dutch braids create two parallel raised braids that run down each side of the head, offering a sporty yet stylish look.
This practical style has gained massive popularity in athletic and fashion communities alike.
- Part hair straight down the middle from forehead to nape, creating two equal sections
- Clip one section away while working on the first braid
- Begin Dutch braiding from the hairline, weaving sections under rather than over
- Keep the braid tight and close to the part line for clean, athletic appearance
- Repeat the identical process on the other side, ensuring both braids are symmetrical
- Secure both ends with matching elastics
- These braids keep hair completely secure during intense physical activity while looking fashionable
9. Milkmaid Braid
The milkmaid braid wraps two braids across the top of the head, creating a vintage-inspired updo with rustic charm.
This style evokes pastoral elegance while keeping hair completely secured and styled.
- Create two regular braids on either side of a center part
- Bring the right braid across the top of your head like a headband
- Secure the end with bobby pins behind the left ear, tucking the ends underneath
- Bring the left braid across in the opposite direction, laying it just behind the first braid
- Secure with bobby pins, ensuring all ends are hidden and the braids lie flat
- Gently pull the braids to create fuller, more relaxed appearance
- This style works exceptionally well for summer events and outdoor weddings
10. Pull-Through Braid
The pull-through braid creates the illusion of an intricate woven pattern using simple ponytail sections rather than traditional braiding.
This technique produces impressive volume and visual complexity with minimal skill required.
- Create a ponytail at the crown and secure with clear elastic
- Split the ponytail in half vertically and clip the top half out of the way
- Create another ponytail with the remaining loose hair below the first one
- Bring the clipped top half down over the second ponytail
- Split this section in half and clip both halves to the sides
- Create a third ponytail with remaining loose hair
- Continue this pattern of splitting, pulling through, and creating new ponytails down the length
- Gently pull apart each section to create impressive volume and width
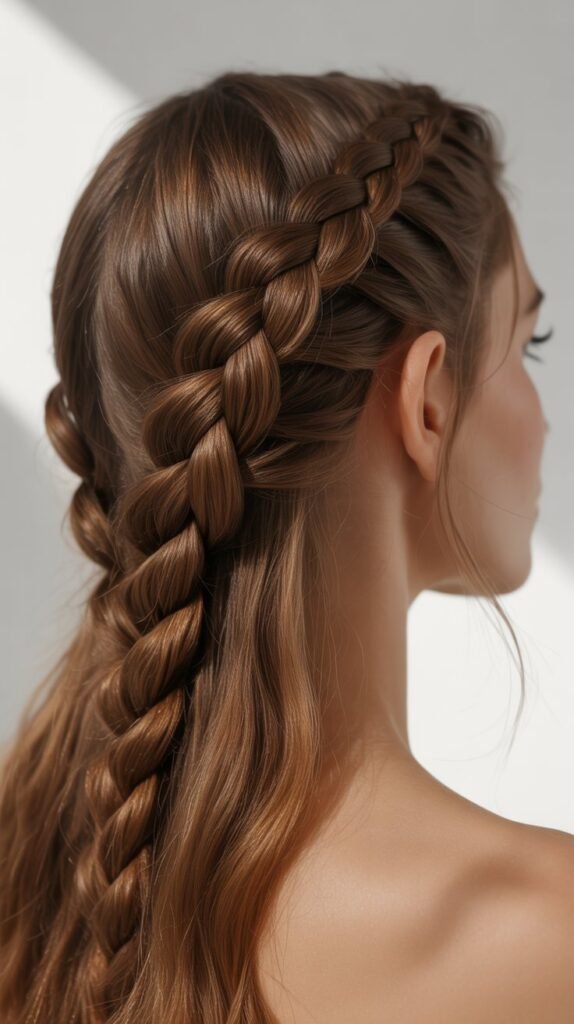
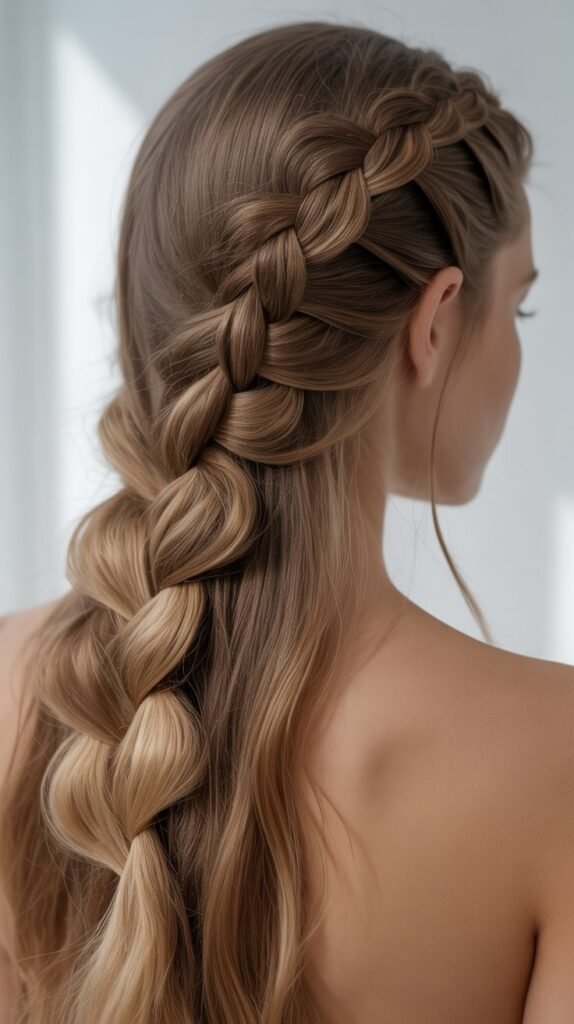
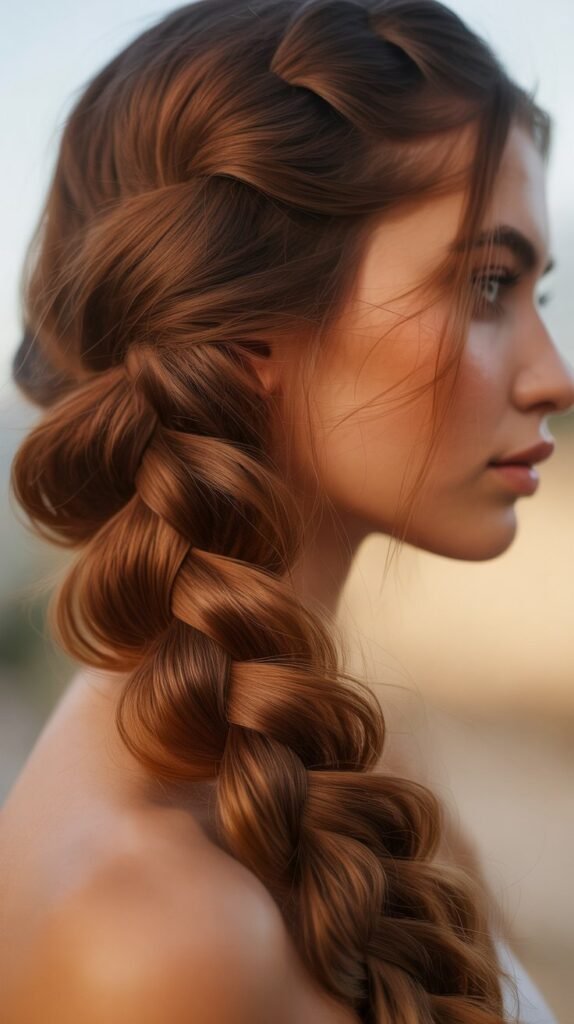
11. Rope Braid
The rope braid achieves its twisted appearance through a simple two-strand twisting technique that creates elegant, spiral effect.
This understated style works beautifully for both professional settings and casual weekend wear.
- Gather hair into a high or low ponytail and secure with elastic
- Divide the ponytail into two equal sections
- Twist each section clockwise (or your preferred direction) several times
- While holding the twisted sections taut, wrap them around each other in the opposite direction (counterclockwise)
- The opposing twist directions create tension that holds the rope structure together
- Continue twisting and wrapping until you reach the ends
- Secure with elastic and lightly pull the rope for slightly fuller appearance
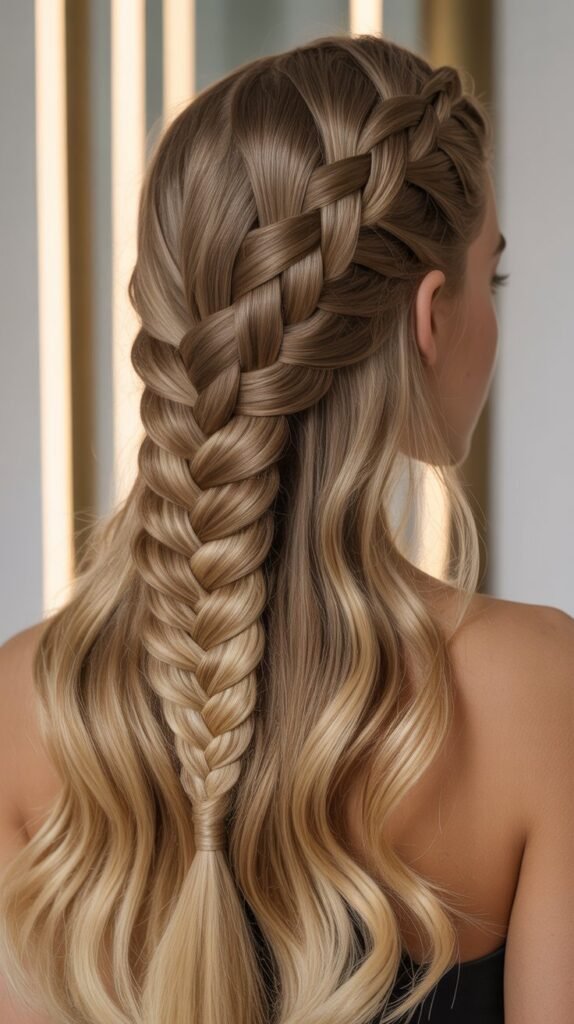
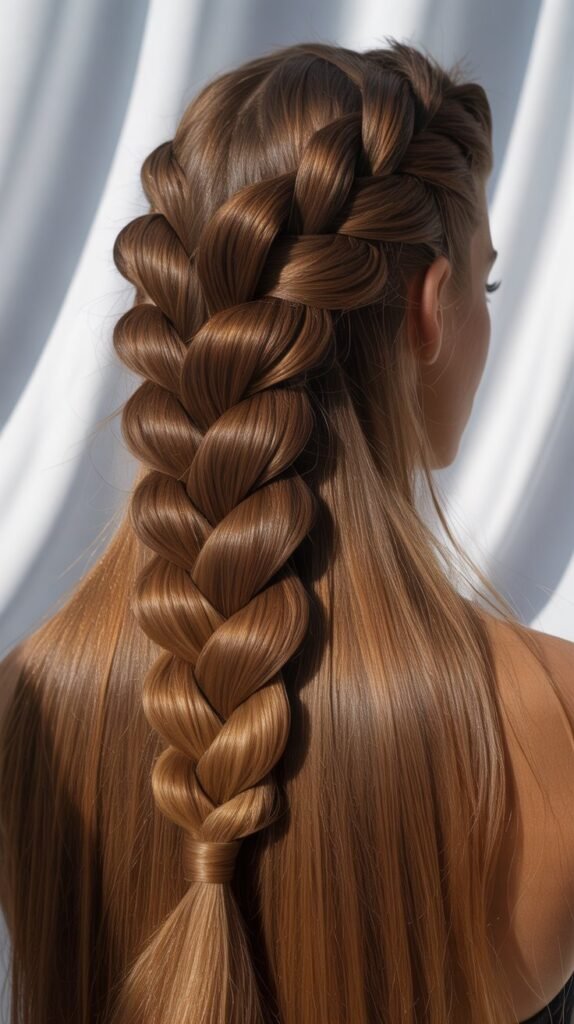
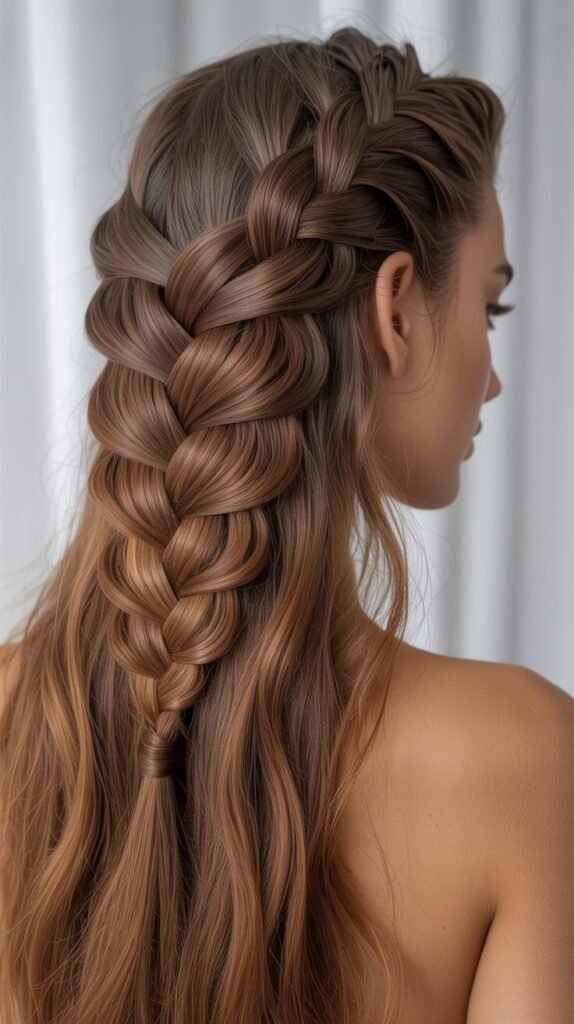
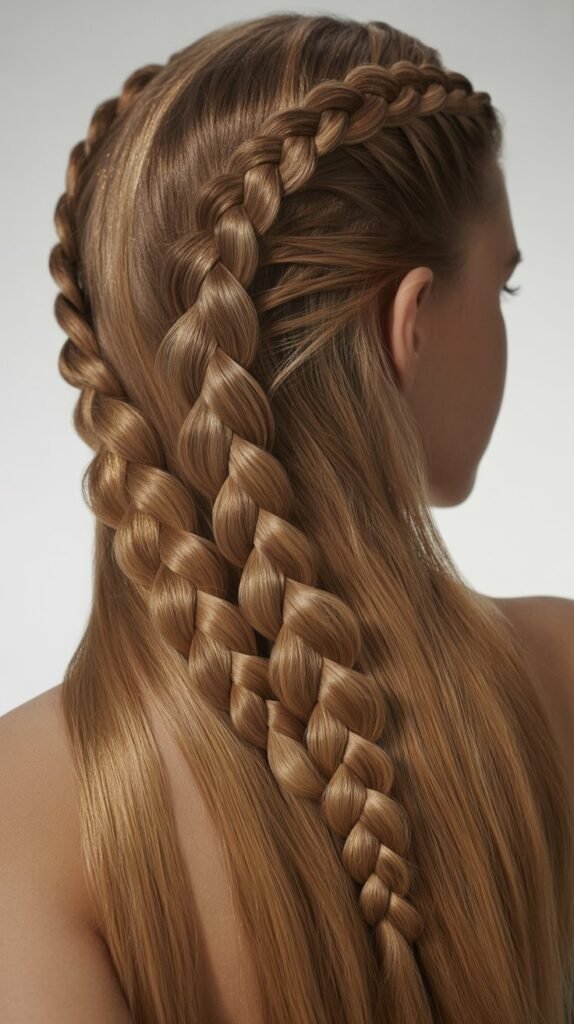
12. Four-Strand Braid
The four-strand braid creates intricate, dimensional weaving that appears professionally crafted.
While this technique requires practice, the stunning results showcase advanced braiding skills and create exceptional visual interest.
- Divide hair into four equal sections numbered 1, 2, 3, and 4 from left to right
- Cross section 1 over section 2
- Cross section 4 under section 3
- Cross the current middle-left section over the section immediately to its right
- Cross the current middle-right section under the section immediately to its left
- Repeat this pattern, maintaining consistent tension throughout
- The alternating over-under pattern creates the distinctive four-strand weave
- This braid appears more intricate than standard three-strand braids and holds exceptionally well
13. Braided Ponytail
The braided ponytail combines the practicality of a ponytail with the elegance of braided detail.
This versatile style elevates a simple ponytail into something special with minimal additional effort.
- Gather hair into a ponytail at your desired height and secure firmly
- Choose your preferred braid type based on the occasion and desired appearance
- Braid the entire length of the ponytail using your selected technique
- Secure the end with elastic that matches your hair color or makes a statement
- Consider wrapping a small section of hair around the base elastic for polished finish
- Pull strategic pieces from the braid to add volume and texture
- This style keeps hair secured while adding visual interest to a classic look
14. Infinity Braid (Figure-Eight Braid)
The infinity braid creates a mesmerizing pattern that resembles interlocking figure-eights or infinity symbols.
This unique technique produces stunning visual effects that appear incredibly complex despite using straightforward weaving methods.
- Divide hair into two sections at the desired starting point
- Take a small piece from the outer edge of the left section
- Bring it over the left section, under the right section, and merge it with the left section
- Take a small piece from the outer edge of the right section
- Bring it over the right section, under the left section, and merge it with the right section
- Continue this alternating figure-eight weaving pattern down the length
- The result creates an intricate pattern that showcases advanced braiding technique
- Gently loosen the woven sections to enhance the dimensional infinity symbol appearance
15. Lace Braid
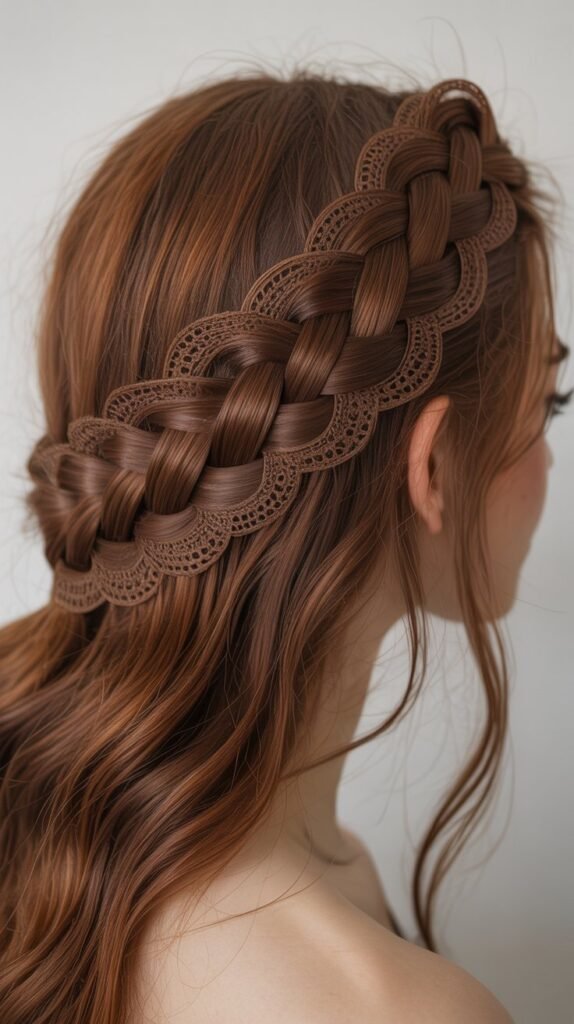
The lace braid adds hair from only one side while braiding, creating a delicate, asymmetrical design that resembles decorative lace trim.
This feminine technique works beautifully as an accent element in larger hairstyles.
- Section a small amount of hair along the hairline or wherever you want the lace braid
- Begin with a regular three-strand braid
- Add small sections of hair only from the side closest to your face or desired direction
- The opposite side receives no additional hair, creating the asymmetrical lace effect
- Continue until you’ve reached the desired length or run out of hair to incorporate
- This technique works beautifully along hairlines, as accent braids, or in updos
- The delicate appearance adds romantic, feminine detail to any hairstyle
16. Ladder Braid
The ladder braid creates a striking geometric pattern with horizontal “rungs” crossing between two vertical braids.
This architectural style makes a bold statement and showcases creative braiding prowess.
- Create two small Dutch braids on either side of a center part, leaving most hair loose between them
- Take a thin horizontal section from the loose hair in the middle
- Thread this section over one braid, under the center hair, and over the opposite braid like a rung
- Continue creating these horizontal connections at regular intervals down the length
- The horizontal sections create the ladder rungs between the two side braids
- Braid the remaining loose center section with a standard or fishtail braid
- This complex design requires patience but creates incredible visual impact
17. Messy Bohemian Braid
The messy bohemian braid embraces texture, volume, and intentional imperfection to create an effortlessly romantic appearance.
This relaxed style pairs beautifully with flowing dresses and casual summer aesthetics.
- Apply texturizing spray or dry shampoo to create grip and enhance natural texture
- Create a loose side braid using your preferred technique, keeping tension deliberately relaxed
- Gently pull sections of the braid outward to create volume and deliberate messiness
- Pull out small face-framing pieces and allow some strands to escape naturally
- The goal is controlled chaos that appears effortless yet intentional
- Secure loosely with elastic and consider leaving some ends unbraided for organic finish
- This style works exceptionally well on second or third-day hair with natural texture
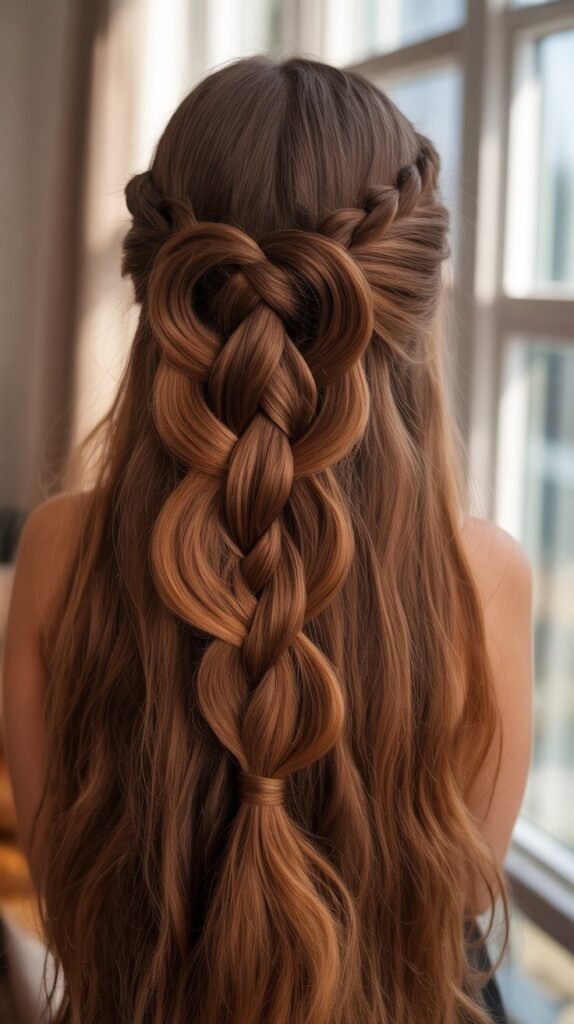
18. Heart Braid
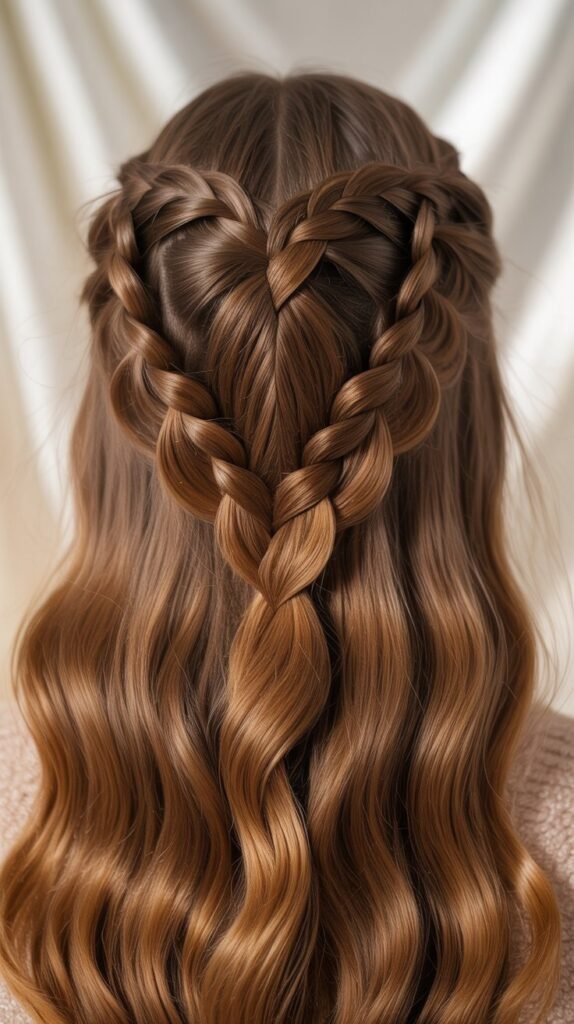
The heart braid creates a romantic heart shape at the crown using two braids that merge together.
This creative design adds whimsical charm perfect for special occasions or expressing your romantic side.
- Part hair down the center from forehead to crown
- Create two Dutch braids starting at the front hairline on each side
- Angle the braids outward initially, then gradually bring them together to form the curved sides of a heart
- When the two braids meet at the center back, merge them into one continuation braid
- The point where they join forms the bottom point of the heart shape
- Secure and style the remaining length as desired
- This playful design works wonderfully for Valentine’s Day or romantic events
19. Twisted Crown Braid
The twisted crown braid uses rope-twisting technique rather than traditional braiding to create an elegant circlet around the head.
This softer alternative to the standard crown braid offers romantic elegance with slightly easier execution.
- Part hair down the center and divide into two sections
- Take one section and divide it in half
- Twist these two pieces around each other using rope braid technique
- Secure the twisted section across the top of the head with bobby pins
- Repeat with the other section, crossing it over or under the first twisted section
- Tuck all ends securely and hide them beneath the twists
- This softer approach creates romantic crown effect with gentler lines than traditional braiding
20. Snake Braid
The snake braid combines multiple thin braids woven together to create a textured, scale-like appearance.
This intricate style requires advanced technique but produces stunning results that truly stand out.
- Section hair and create multiple very thin braids (typically 5-7 braids work well)
- Begin weaving these thin braids together using a specific over-under pattern
- Each small braid crosses over and under the others in sequence
- The pattern creates texture reminiscent of snake scales or complex weaving
- This technique requires significant time and patience but creates extraordinary results
- The finished look appears incredibly intricate and showcases exceptional braiding skill
- Consider using this technique for special events where elaborate styling is appropriate
21. Braided Bun
The braided bun combines the elegance of an updo with the textural interest of braiding.
This sophisticated style works beautifully for professional settings, formal events, or whenever you want hair completely secured with style.
- Create one or multiple braids depending on your desired fullness and texture
- Wrap the braid(s) around themselves to form a bun shape at your preferred position
- Secure with bobby pins, ensuring the bun feels stable and secure
- Pull gently on sections of the braid to create fuller, more voluminous bun appearance
- Consider leaving the braid slightly loose before forming the bun for enhanced texture
- This style can be positioned low at the nape, at mid-level, or high on the crown
- Add decorative hairpins or accessories for special occasion enhancement
22. Half-Up Braided Crown
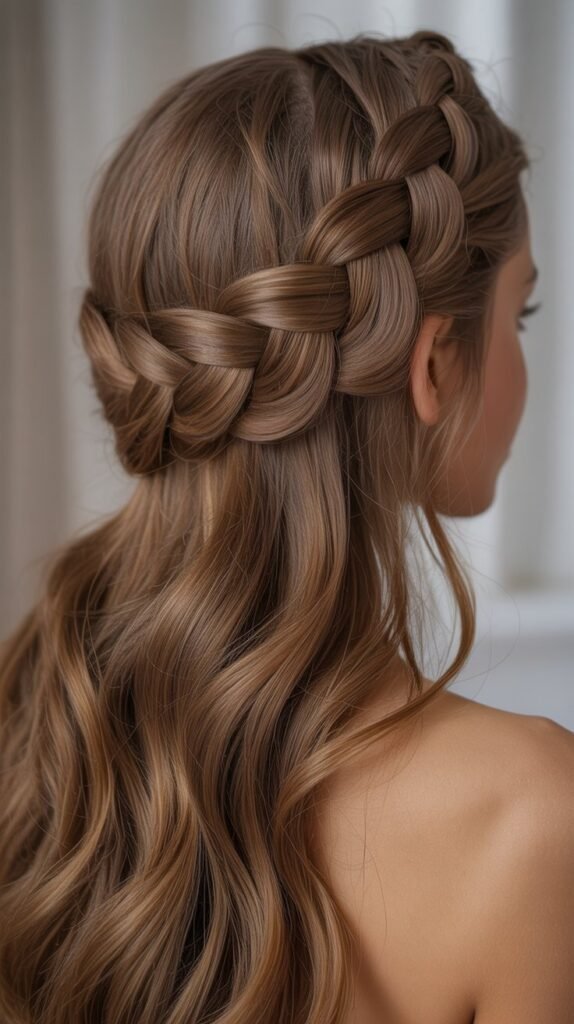
The half-up braided crown pulls hair away from the face while leaving length flowing freely below.
This balanced style offers the best of both worlds with secured top sections and flowing bottom portions.
- Section the top half of your hair from temple to temple
- Create small braids on each side working toward the back
- These can be simple three-strand, Dutch, or lace braids depending on preference
- Secure the braids together at the crown with elastic or bobby pins
- Leave the bottom half of hair flowing loose, straight, wavy, or curled
- This style keeps hair away from your face while maintaining the beauty of long flowing hair
- Works beautifully for both casual daily wear and dressier occasions
23. Zipper Braid
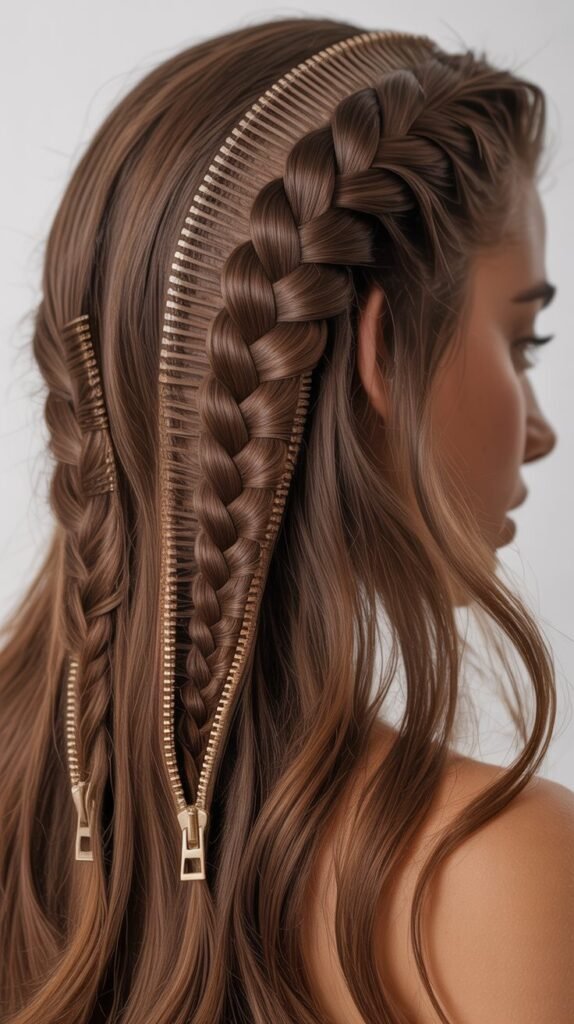
The zipper braid creates a striking vertical line resembling a zipper running down the center of the head.
This geometric design requires precision but produces eye-catching results with modern edge.
- Part hair straight down the middle creating two equal sections
- Begin with small sections at the front hairline on each side
- Cross these sections over each other at the center part line
- Add small amounts of hair from each side as you continue crossing sections
- Each cross-over should interlock at the center, creating the zipper tooth appearance
- Maintain tight tension and precise sectioning for clean geometric lines
- The result creates a distinctive pattern down the center of the head with impressive visual impact
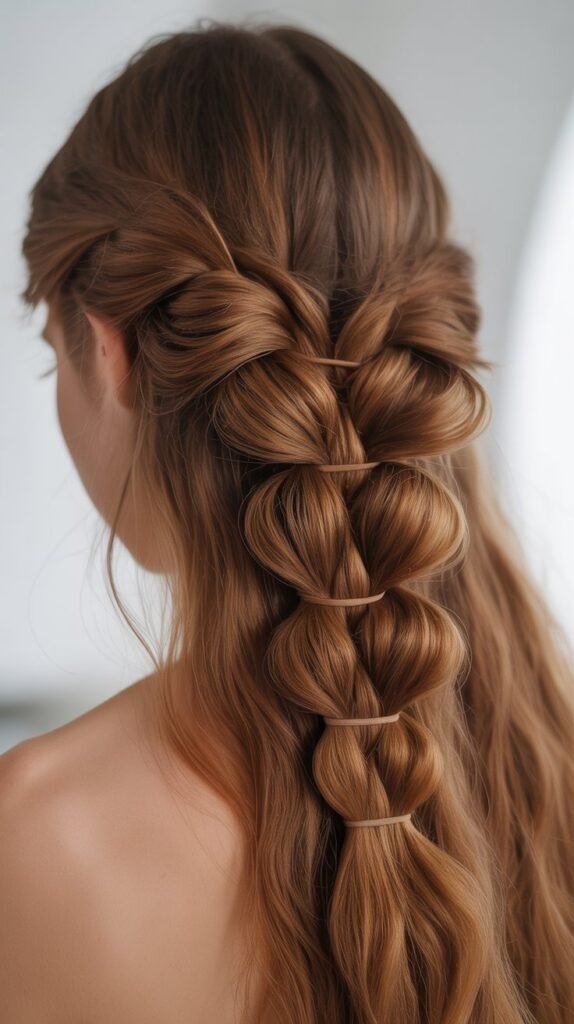
24. Bubble Braid
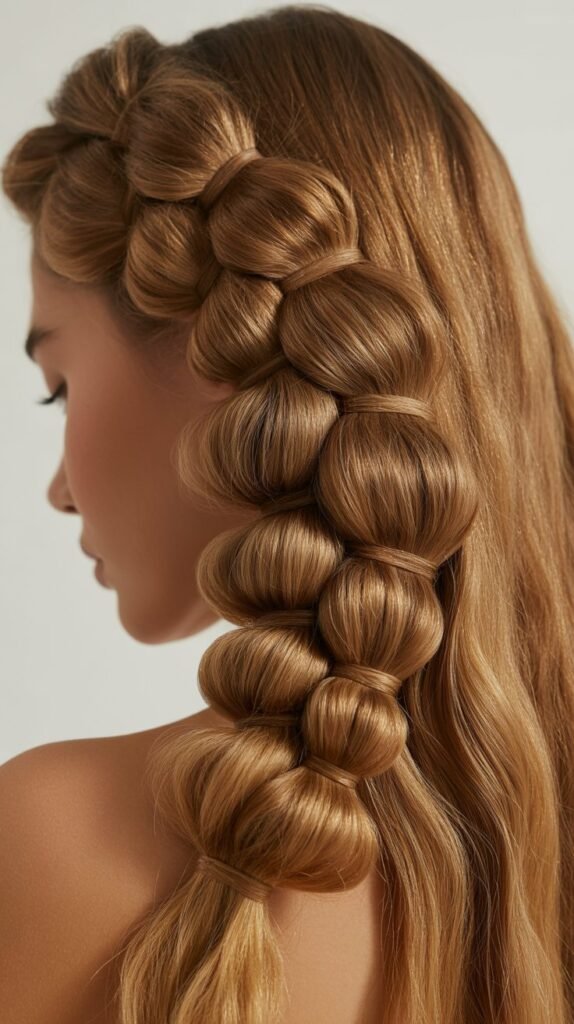
The bubble braid creates a playful, segmented appearance using multiple elastics spaced along a ponytail.
This fun, youthful style adds dimension and volume while remaining simple to execute.
- Gather hair into a ponytail at your desired height
- Secure with elastic, then place another elastic several inches down the ponytail
- Gently pull the hair between the two elastics outward to create a rounded bubble shape
- Place another elastic below the bubble and repeat the pulling process
- Continue creating bubbles down the entire length of the ponytail
- The number and size of bubbles can be adjusted based on your hair length and preference
- This playful style works well for casual occasions and adds fun dimension to simple ponytails
25. Mixed Braid Combination
The mixed braid combination incorporates multiple braiding techniques within one hairstyle for maximum visual interest.
This creative approach allows you to showcase various skills while creating truly unique results.
- Select two or three different braiding techniques you want to incorporate
- Begin with your first chosen technique at the top or starting point
- Transition smoothly into the second technique at a natural point in the style
- Continue with additional technique changes as desired down the length
- Common combinations include Dutch to fishtail, French to rope, or three-strand to four-strand
- The transitions between techniques add visual intrigue and showcase versatility
- This approach allows for endless creative customization based on your skills and preferences
26. Pancake Braid
The pancake braid technique applies to any braid style, involving gentle pulling to create dramatically fuller, wider appearance.
This finishing touch transforms standard braids into voluminous statement styles.
- Create any braid style as your base starting point
- Once the braid is complete and secured, begin gently pulling on the outer edges of each section
- Work systematically from top to bottom or bottom to top
- Pull gently and evenly to avoid creating holes or disrupting the braid structure
- The goal is to create width and volume while maintaining the braid integrity
- This technique works particularly well with French braids, Dutch braids, and fishtail braids
- The pancaked finish creates softer, more romantic appearance and can make thinner hair appear fuller
27. Accent Braid with Loose Hair
The accent braid incorporates small decorative braids as detail elements while leaving most hair flowing naturally.
This subtle approach adds interest without committing to fully braided styles.
- Leave the majority of hair down and styled as desired with waves, curls, or straight
- Section a small amount of hair for one or more accent braids
- Common placements include along the hairline, at the temple, or as small braids throughout
- These accent braids can be simple three-strand, tiny Dutch braids, or delicate rope twists
- Secure the small braids with clear micro elastics that disappear into the hair
- This approach adds bohemian flair while keeping hair mostly loose and flowing
- Perfect for those who want braided detail without committing to structured braided styles
27 Stunning Braided Hairstyles for Long Hair You Need to Try offers something for everyone, regardless of skill level or styling preference.
From simple everyday braids that take just minutes to intricate designs that make stunning statements, these techniques allow you to transform your long hair into wearable art.
The beauty of braided hairstyles lies not only in their visual appeal but also in their practical benefits—they protect your hair, keep it manageable, and maintain style throughout busy days.
Whether you’re drawn to classic elegance, bohemian romance, athletic functionality, or dramatic artistic expression, experimenting with these braiding techniques will expand your styling repertoire and help you discover new favorite looks.
Start with the simpler styles to build confidence and technique, then gradually challenge yourself with more complex patterns as your skills develop.
Your long hair is a canvas waiting for creative expression, and these braided hairstyles provide the perfect inspiration to begin your styling journey.