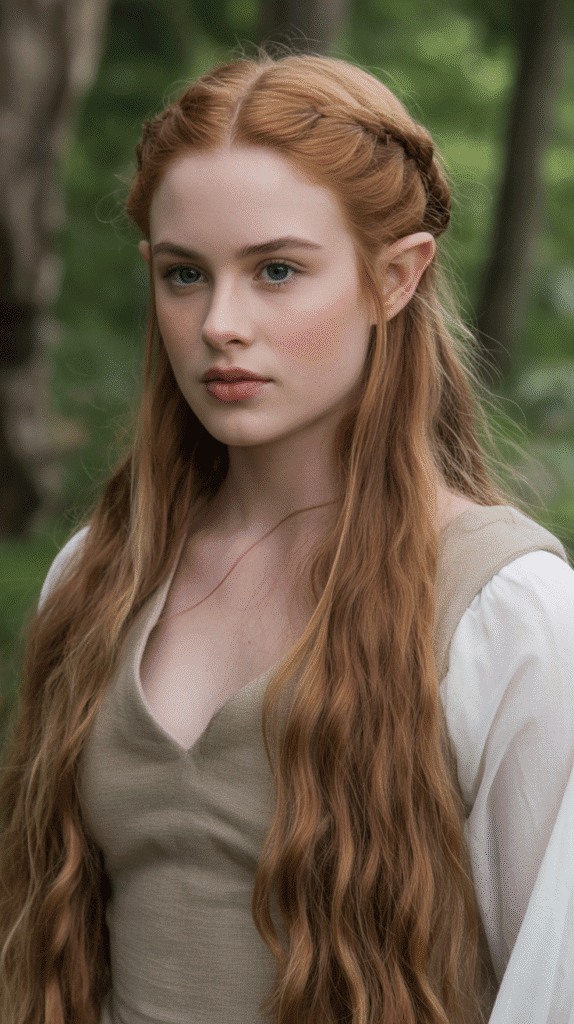
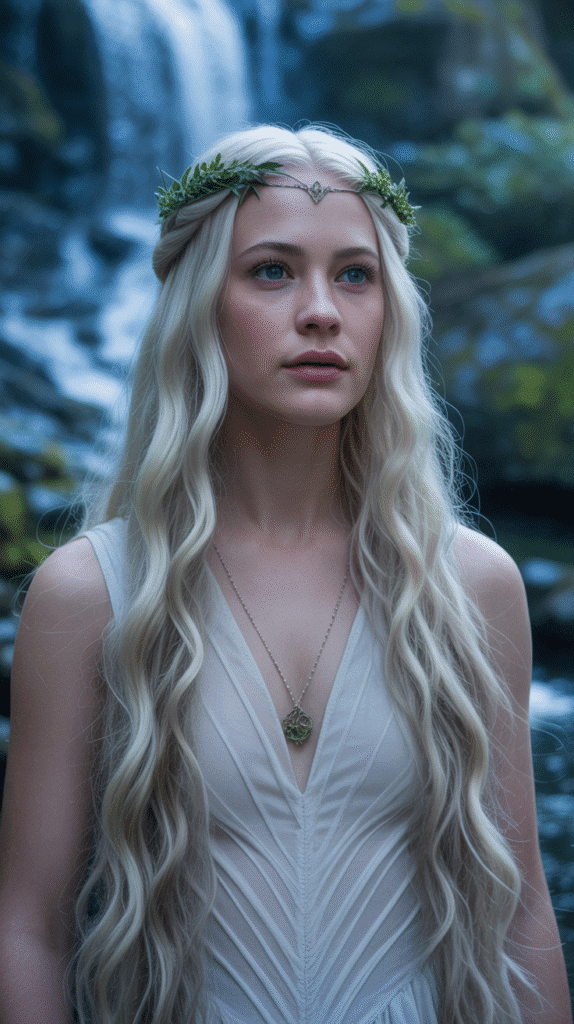
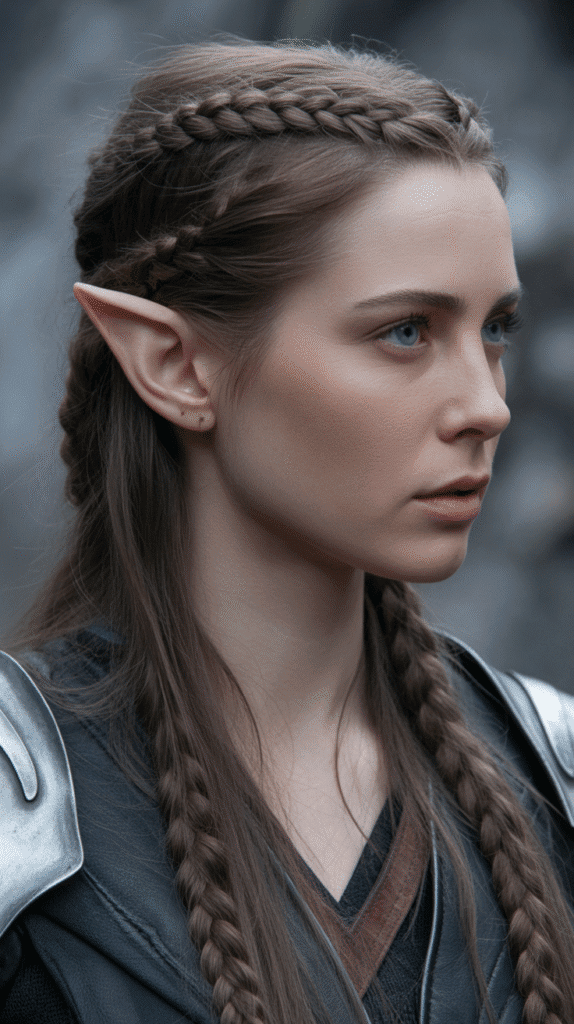
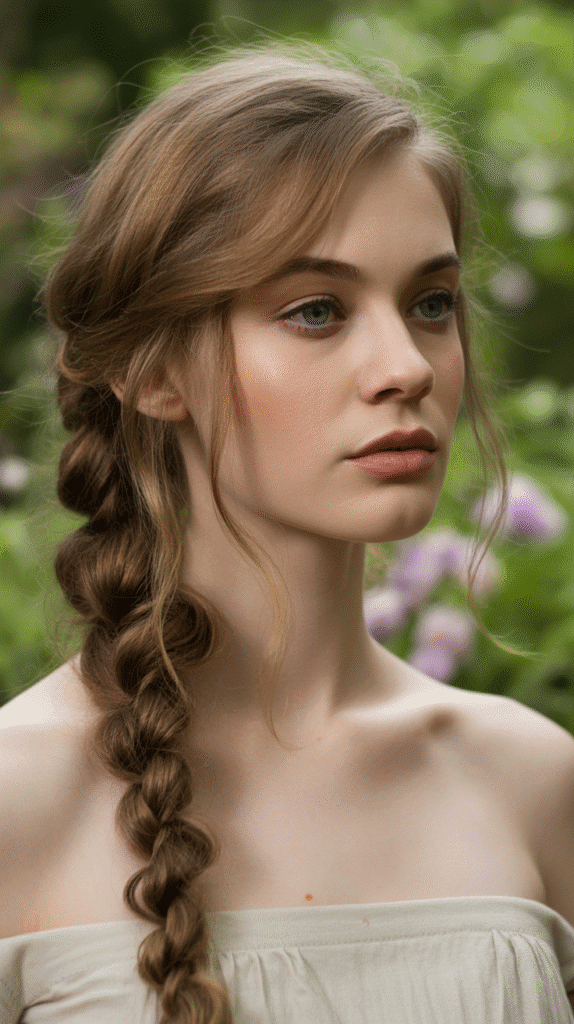
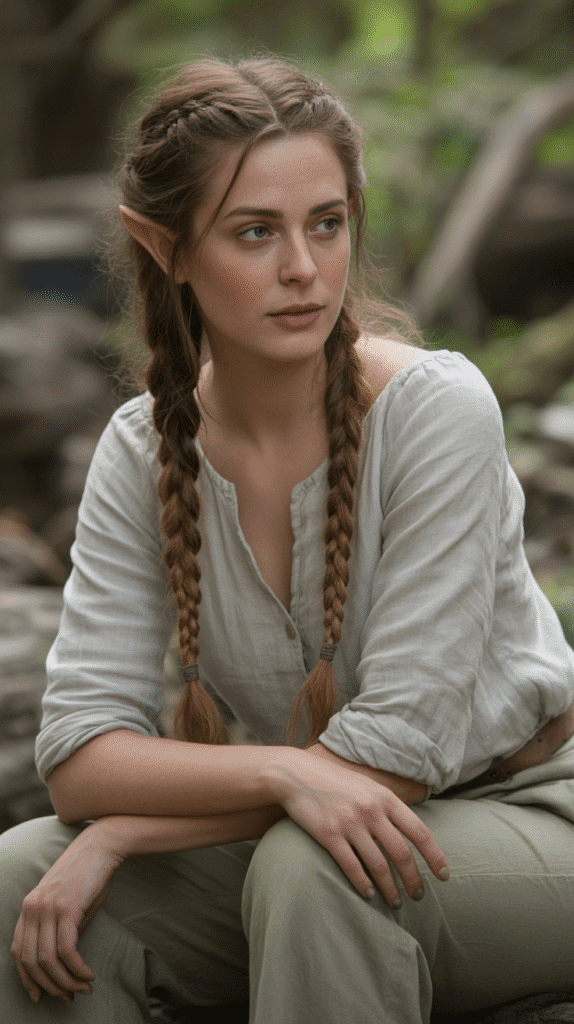
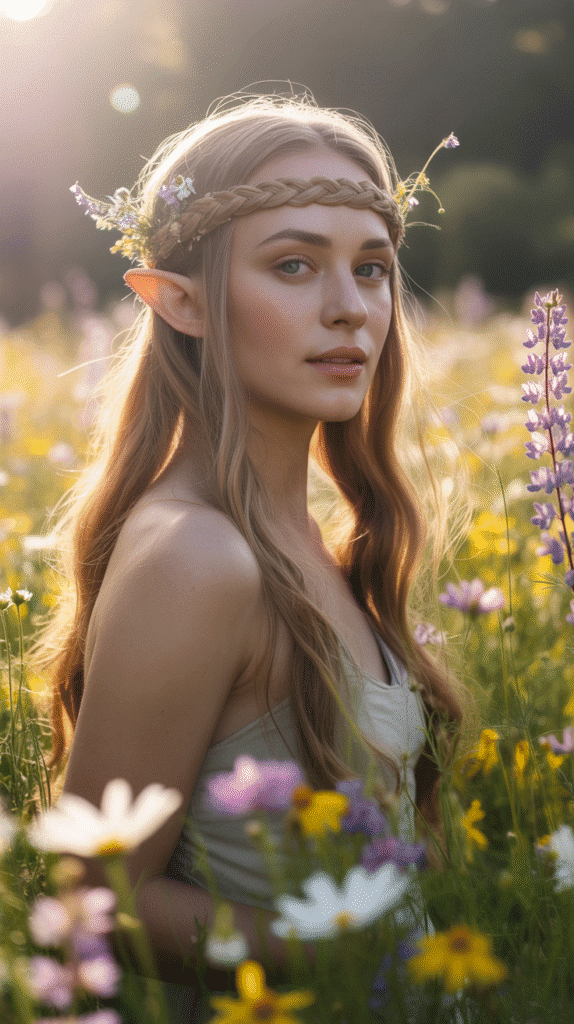
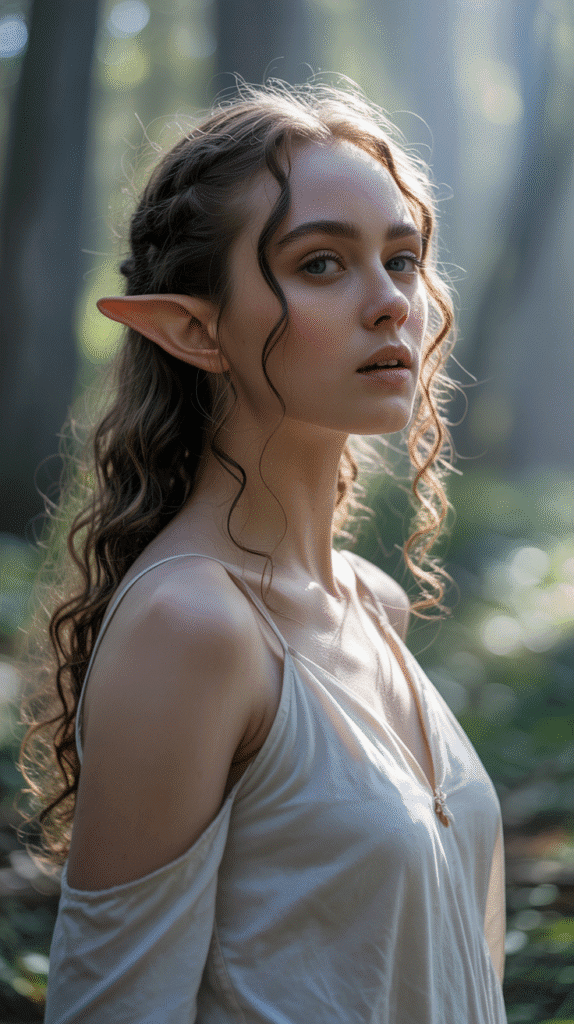
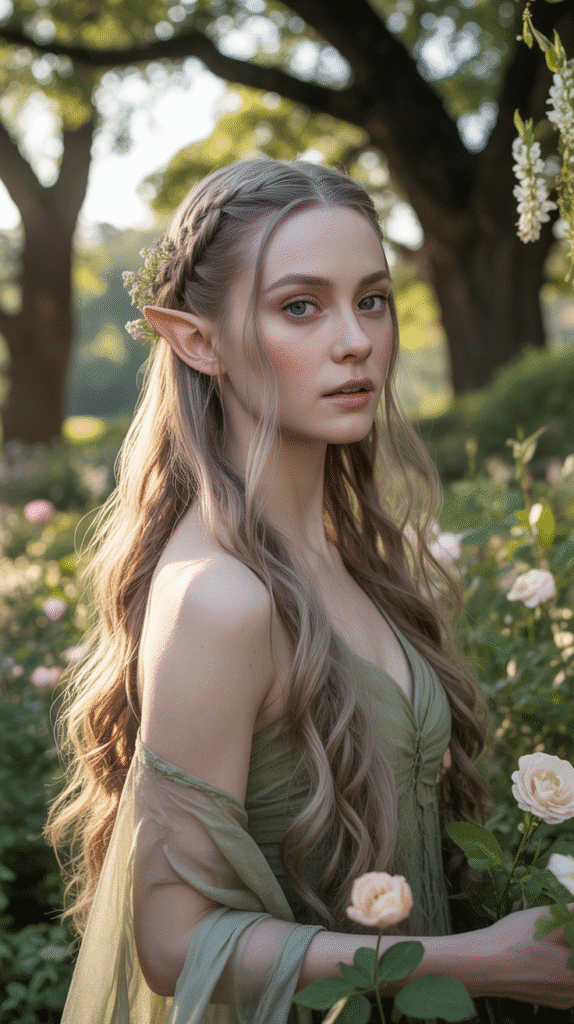
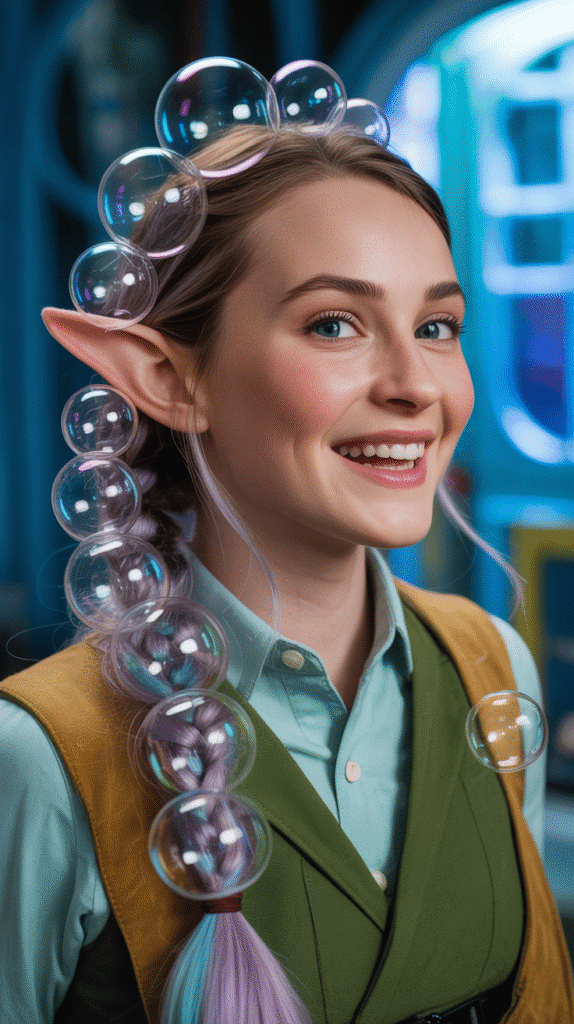
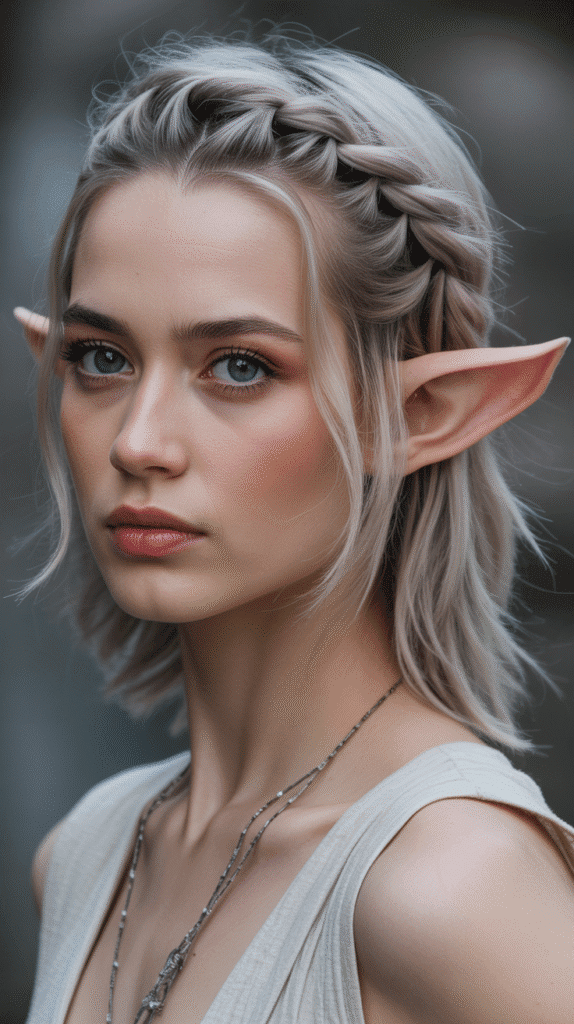
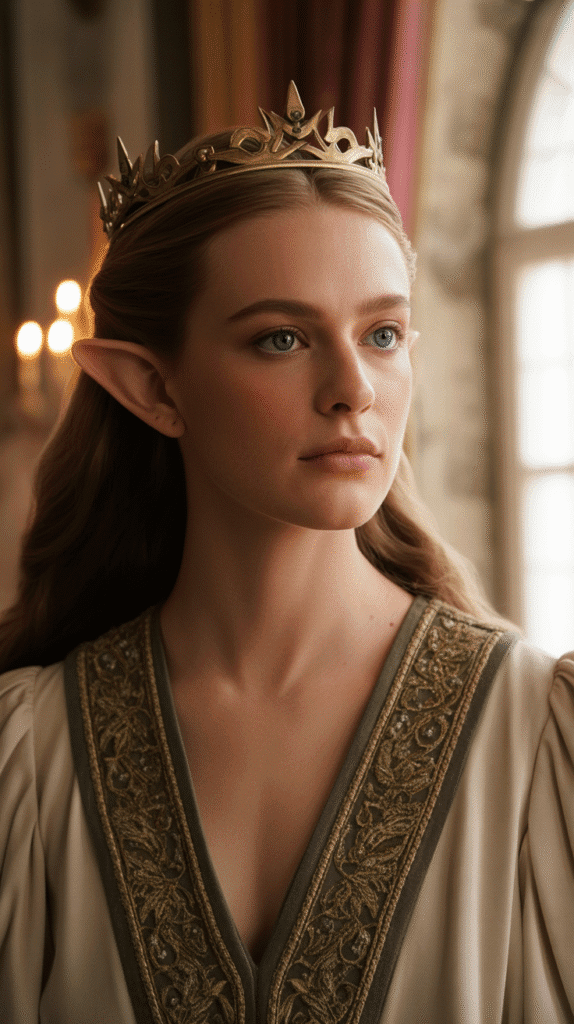
Have you ever gazed at fantasy characters in movies and games, captivated by their ethereal, flowing hairstyles, and wished you could recreate that magic in your own hair?
The enchanting world of elf-inspired hairstyles is more accessible than you might think, and you don’t need to be a professional stylist to achieve these stunning looks.
Whether you’re preparing for a themed party, Renaissance faire, cosplay event, or simply want to add a touch of mystical elegance to your everyday appearance, 28 Easy Elf Hairstyles You Can Create in Minutes offers you a comprehensive guide to transforming your hair into something truly magical.
This article walks you through various elf hairstyle techniques, from intricate braids and romantic half-up styles to dramatic ponytails and accessorized masterpieces, each designed to be completed quickly without sacrificing beauty or authenticity.
You’ll discover step-by-step approaches for different hair lengths and textures, learn about the essential tools and accessories that bring these looks to life, and gain practical tips for making each style last throughout your event.
The beauty of these hairstyles lies not only in their visual appeal but also in their versatility, allowing you to adapt each look to suit your personal style, face shape, and the occasion at hand.
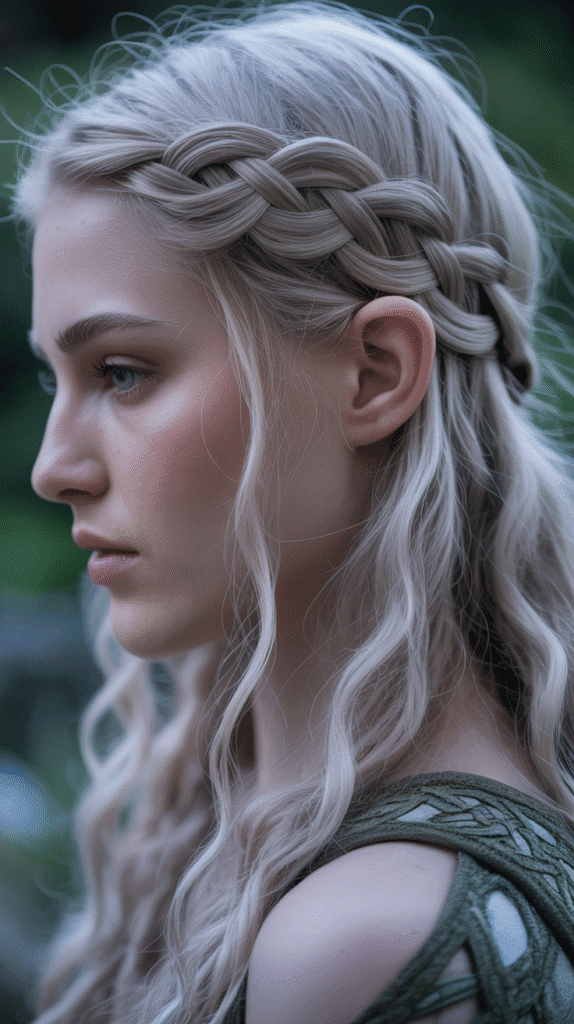
1. Classic Elven Half-Up Braid
The Classic Elven Half-Up Braid combines elegance with simplicity, making it perfect for beginners venturing into fantasy hairstyling.
This timeless style features braided sections from both sides of your head meeting at the back, creating a crown-like effect that’s synonymous with elven royalty.
How to Create:
- Start by sectioning off the top half of your hair from ear to ear, leaving the bottom half loose and flowing.
- Take a small section from near your temple on one side and divide it into three strands for braiding.
- Create a standard three-strand braid, keeping it tight enough to hold but loose enough to appear effortless and romantic.
- Secure the braid temporarily with a small elastic or clip while you repeat the process on the opposite side.
- Bring both braids to meet at the center back of your head and secure them together with a clear elastic or decorative hair tie.
- Gently pull at the edges of both braids to loosen them slightly, creating a softer, more voluminous appearance.
- Allow the remaining hair to cascade down your back in natural waves or curls for the complete elven effect.
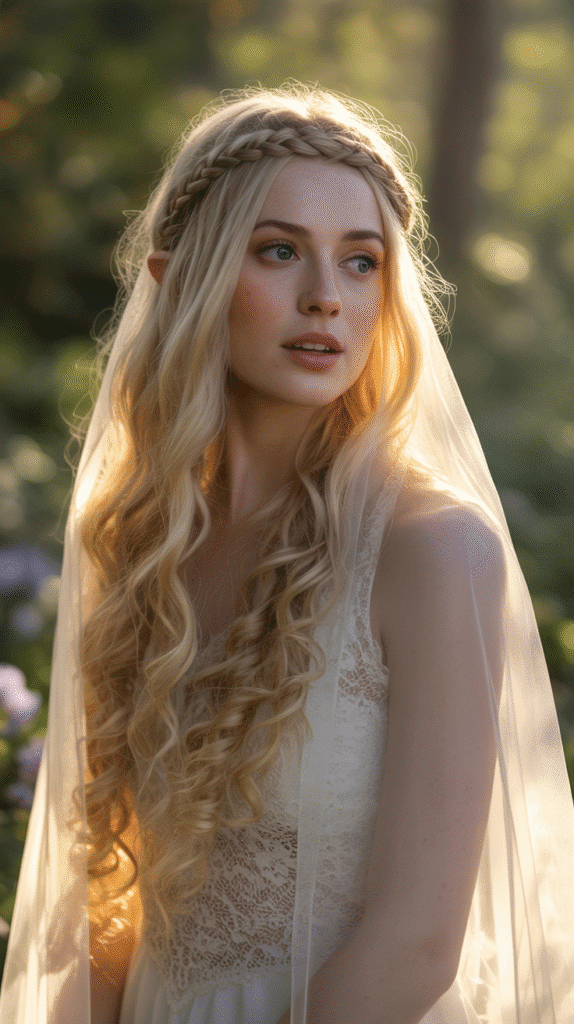
2. Waterfall Braid with Flowing Locks
The Waterfall Braid with Flowing Locks creates a cascading effect that mimics a gentle waterfall, embodying the natural grace associated with woodland elves.
This intermediate-level style appears complex but becomes manageable with practice.
Styling Steps:
- Begin with brushed, tangle-free hair that has slight texture or waves for better grip.
- Start the waterfall braid at your temple by taking a three-strand section of hair.
- Braid once normally, then drop the bottom strand and pick up a new section from the top to replace it.
- Continue this pattern across the back of your head, consistently dropping the bottom strand and adding new hair from the top.
- Each dropped strand creates the “waterfall” effect as it flows down with the rest of your hair.
- Secure the braid when you reach the opposite side with a small, discrete elastic.
- Use a curling iron on the loose flowing hair to enhance the cascading waterfall appearance.
3. Double Dutch Braids Crown
The Double Dutch Braids Crown transforms your hair into a regal headpiece that sits like a natural crown atop your head.
This style works exceptionally well for active occasions where you need your hair secure yet beautiful.
Creation Process:
- Part your hair down the center from forehead to nape, creating two equal sections.
- Begin a Dutch braid on one side by crossing strands under rather than over, adding hair as you go.
- Follow your hairline in a curved pattern from your forehead toward the back of your head.
- Keep the braid tight and close to your scalp for a defined crown appearance.
- Repeat the Dutch braiding technique on the opposite side, mirroring the first braid’s path.
- When both braids meet at the back, you can either pin them separately or braid them together into one descending braid.
- Secure the ends and use bobby pins to tuck away any loose pieces for a polished finish.
4. Twisted Side Sweep Elegance
The Twisted Side Sweep Elegance offers a romantic, asymmetrical look that draws the eye and creates an air of mysterious beauty.
This style requires minimal braiding skills and relies instead on simple twisting techniques.
How to Achieve:
- Sweep all your hair to one side of your head, deciding which shoulder you prefer for the style.
- Take a section of hair from the front on the opposite side of where your hair will rest.
- Twist this section tightly as you move toward the side where your hair is swept.
- Secure the twist with bobby pins, hiding them beneath the twisted section.
- Take another section slightly behind the first and repeat the twisting process.
- Layer three to four twisted sections, each pinned securely, creating depth and dimension.
- Leave the bulk of your hair flowing over one shoulder in soft waves or curls for contrast against the twisted sections.
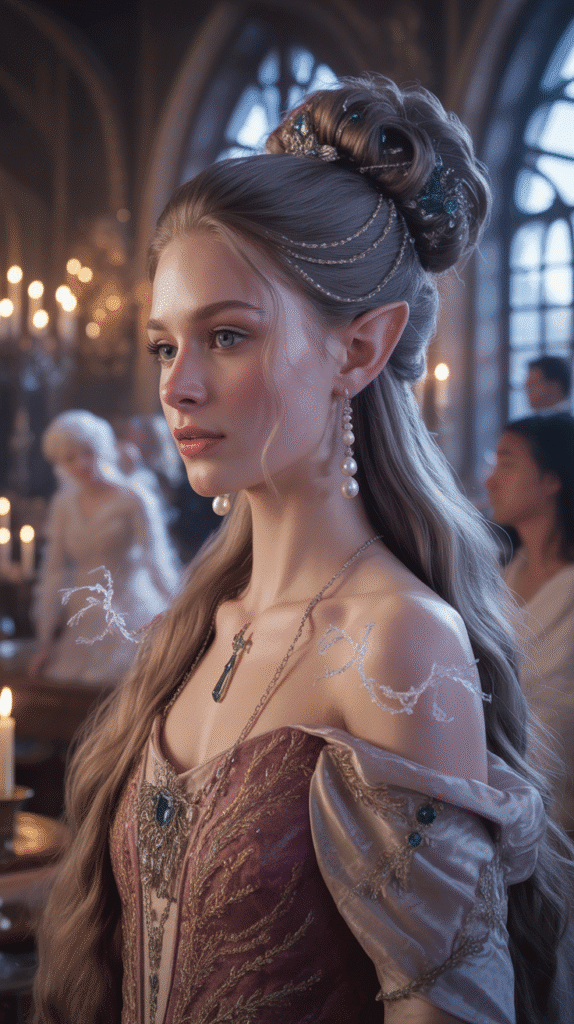
5. Intricate Elven Updo with Braids
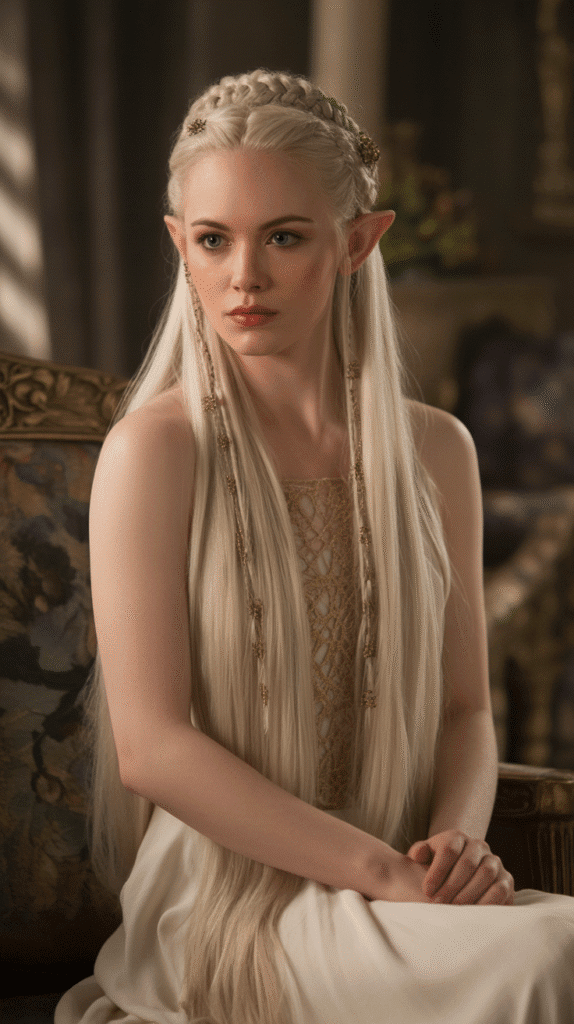
The Intricate Elven Updo with Braids represents the pinnacle of fantasy hairstyling, combining multiple braiding techniques into a sophisticated updo.
This style works wonderfully for formal elven-themed events or weddings.
Detailed Instructions:
- Start by creating three to five small braids throughout your hair in various positions.
- Gather all your hair, including the braids, at the crown of your head as if creating a high ponytail.
- Twist the ponytail around itself to form a bun, allowing the braids to show prominently on the outside.
- Secure the bun with multiple bobby pins, ensuring it feels stable and secure.
- Pull out small face-framing pieces at the front to soften the look and create an romantic appearance.
- Use decorative pins, small flowers, or elven-style hair jewelry to enhance the updo’s elegance.
- Apply hairspray to ensure the style holds throughout your event while maintaining a natural finish.
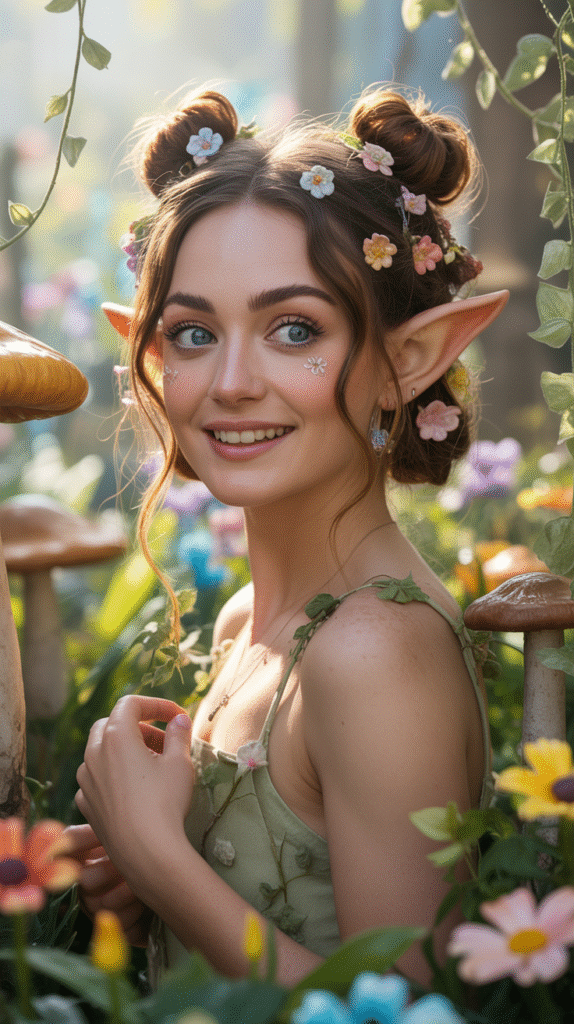
6. Bohemian Loose Braids
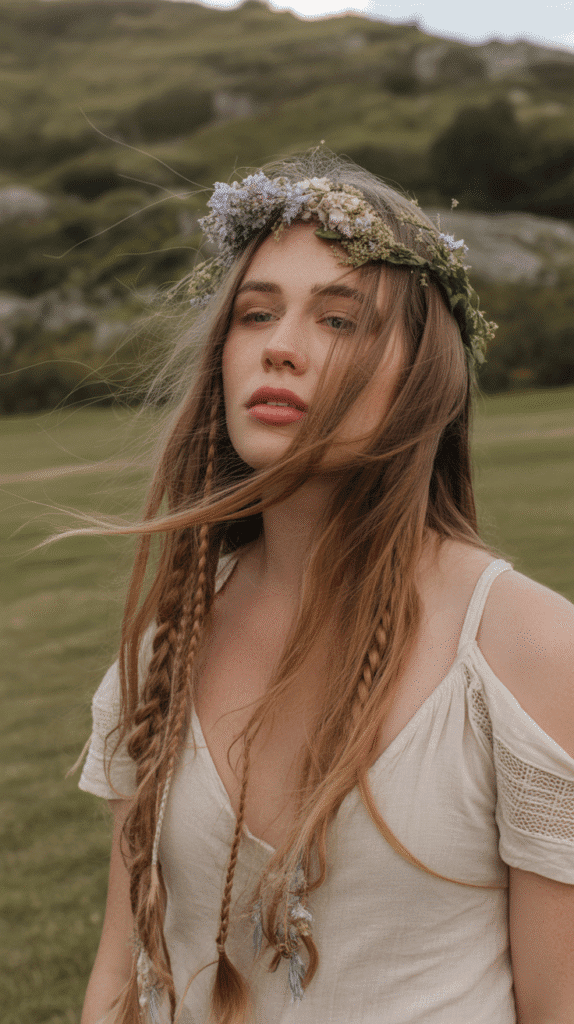
The Bohemian Loose Braids style captures the free-spirited nature of wood elves who live in harmony with nature.
This relaxed approach to elven hairstyling emphasizes comfort without sacrificing style.
Styling Guide:
- Begin with textured, slightly messy hair for an authentic bohemian appearance.
- Create two to three loose braids in random sections throughout your hair.
- Avoid making the braids too uniform or perfectly placed for a natural, carefree look.
- Gently pull at the braids to make them appear fuller and less structured.
- Leave the majority of your hair unbraided, allowing it to flow naturally around the braided sections.
- Consider adding small flowers, feathers, or beads to the braids for enhanced bohemian flair.
- This style works beautifully with natural waves or can be achieved on straight hair with texturizing spray.
7. High Elven Ponytail with Wrap
The High Elven Ponytail with Wrap combines practicality with sophistication, elevating a simple ponytail into something worthy of elven nobility.
This style takes mere minutes but delivers maximum impact.
Quick Steps:
- Gather all your hair into a high ponytail at the crown of your head, ensuring it’s smooth and sleek.
- Secure the ponytail with a strong elastic that won’t slip throughout the day.
- Take a small section of hair from the ponytail and wrap it around the elastic to conceal it.
- Pin the wrapped section underneath the ponytail with a bobby pin for a seamless finish.
- Tease the ponytail slightly at the crown for added volume and dramatic height.
- Curl or wave the length of the ponytail for texture and movement.
- Consider adding a decorative hairpiece or chain at the base of the ponytail for extra elven authenticity.
8. Face-Framing Mini Braids
Face-Framing Mini Braids add delicate detail to any hairstyle while keeping hair away from your face in an elegant manner.
These tiny braids serve both functional and decorative purposes.
Creation Method:
- Section off small portions of hair from just above each temple, about a finger’s width in size.
- Create thin, tight three-strand braids with these sections, working slowly to keep them neat.
- Braid all the way to the ends and secure with tiny clear elastics.
- Pull these mini braids back along with some surrounding hair and pin them at the back of your head.
- Leave the rest of your hair down in your natural texture or styled with waves.
- The mini braids frame your face beautifully while adding an authentic elven touch.
- You can create additional mini braids throughout your hair for more elaborate styling.
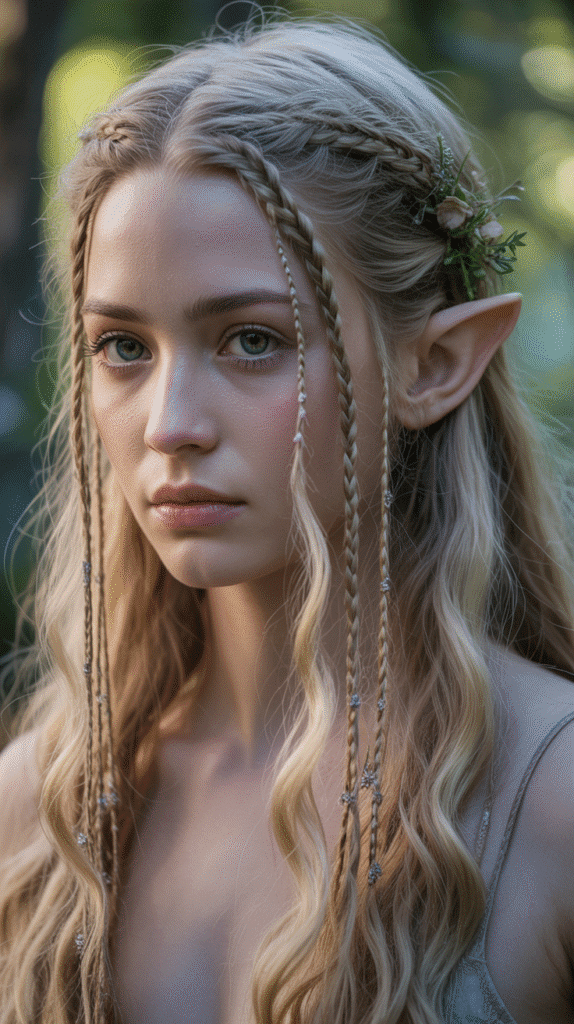
9. Celtic Knot Braided Design
The Celtic Knot Braided Design brings ancient symbolism into your elven hairstyle, creating intricate patterns that appear far more complex than they actually are.
This style showcases your attention to detail and artistic sensibility.
Complex But Manageable Steps:
- Part your hair down the middle and work with one side at a time for easier manipulation.
- Create two small braids on each side, keeping them parallel to each other.
- Weave these braids together in an over-under pattern to create a Celtic knot appearance.
- Pin the knot securely at the back of your head, ensuring the pattern remains visible.
- Repeat the process on the opposite side, creating a symmetrical knot design.
- The remaining hair can flow freely or be incorporated into additional braiding.
- This style benefits from practice but becomes quicker with repetition and familiarity.
10. Elven Princess Crown Braid

The Elven Princess Crown Braid encircles your head like a natural coronet, creating instant royalty without the need for actual accessories.
This style works beautifully for formal occasions and photoshoots.
Royal Styling Process:
- Begin by parting your hair to one side rather than down the center for easier braiding.
- Start a Dutch or French braid at the part line, working along your hairline.
- Continue braiding around the entire circumference of your head, following your hairline closely.
- Add hair consistently as you braid to ensure the crown sits properly and securely.
- When you complete the circle and return to your starting point, continue braiding the remaining hair normally.
- Tuck the braid’s end underneath the crown braid and pin it invisibly for a seamless appearance.
- Gently pull at the crown braid to make it fuller and more prominent, creating a true crown effect.
11. Messy Low Bun with Braided Accent
The Messy Low Bun with Braided Accent perfectly balances casual comfort with intentional styling, making it ideal for both everyday wear and special occasions.
This effortless-looking style actually provides structure and security.
Easy Assembly:
- Create one or two braids in front sections of your hair before gathering everything together.
- Pull all hair into a low ponytail at the nape of your neck, keeping it relaxed rather than tight.
- Twist the ponytail loosely and wrap it around its base to form a casual bun.
- Secure the bun with bobby pins, intentionally allowing some pieces to escape for the messy effect.
- Pull out a few face-framing strands to soften the overall appearance.
- The braided accents should be visible and woven into the bun’s structure for added interest.
- This style embraces imperfection, so don’t worry about making it too neat or polished.
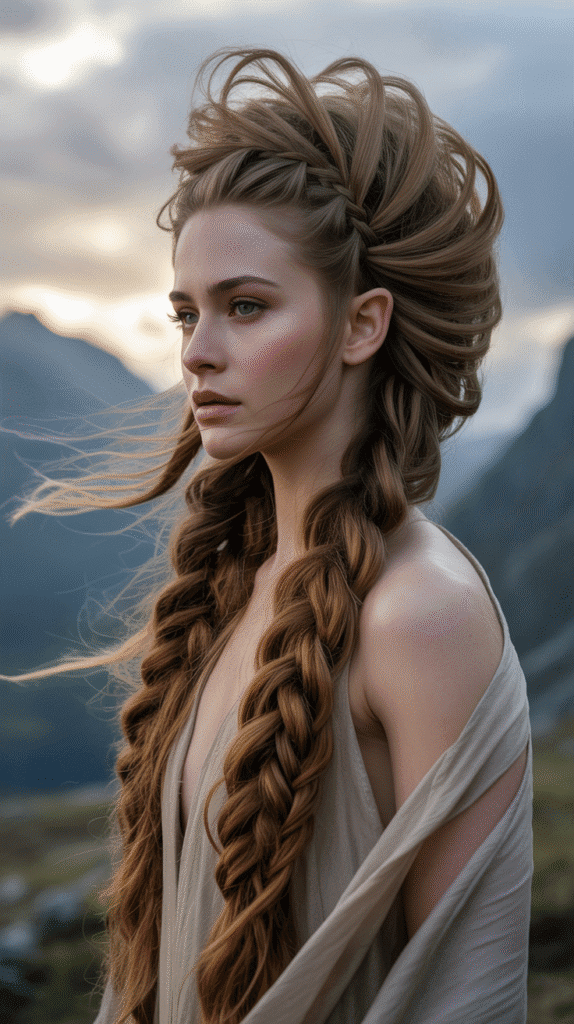
12. Rope Braid Ponytail
The Rope Braid Ponytail offers a unique alternative to traditional braiding, using a simple twisting technique that creates a rope-like texture.
This style works exceptionally well for thick hair and provides excellent hold.
Twisting Technique:
- Gather your hair into a ponytail at whatever height you prefer, securing it with an elastic.
- Divide the ponytail into two equal sections for the rope braid technique.
- Twist each section individually in the same direction, typically clockwise, until both are tightly twisted.
- Now twist these two sections together in the opposite direction, counterclockwise, wrapping them around each other.
- The opposing twists create tension that keeps the rope braid secure and prevents unraveling.
- Secure the end with another elastic and gently pull at the rope braid to make it fuller.
- This technique works quickly and provides a unique texture that distinguishes it from regular braids.
13. Half-Up Top Knot with Loose Waves
The Half-Up Top Knot with Loose Waves combines modern trends with timeless elven aesthetics, creating a style that feels both contemporary and fantastical.
This quick style works for any casual occasion.
Modern Elven Method:
- Section off the top half of your hair from temple to temple across the crown.
- Gather this section into a high ponytail and secure it firmly.
- Twist the ponytail and wrap it around itself to create a small, tight top knot.
- Pin the knot securely, ensuring it sits exactly where you want it positioned.
- Leave the bottom half of your hair down and style it with loose, flowing waves.
- Pull out a few small pieces around your face for a softer, more romantic appearance.
- The contrast between the secured top knot and flowing waves creates beautiful dimension.
14. Braided Headband Style
The Braided Headband Style uses your own hair to create a natural headband effect, eliminating the need for accessories while keeping hair away from your face beautifully.
This versatile style adapts to any hair length.
Headband Creation:
- Take a section of hair from behind one ear, about one to two inches wide.
- Braid this section tightly all the way to the ends to create a firm, headband-like braid.
- Bring the braid across the top of your head like a headband, positioning it where you’d wear an accessory.
- Pin the braid securely behind your opposite ear, tucking the end underneath other hair.
- Leave the rest of your hair down in its natural state or add waves for extra texture.
- You can create multiple braided headbands by repeating this process with additional sections.
- This style works beautifully as a base for adding actual accessories like flowers or jewelry.
15. Twisted Halo with Cascading Curls
The Twisted Halo with Cascading Curls creates an angelic appearance that perfectly embodies ethereal elven beauty.
This style combines structural twisting with romantic, flowing curls for a balanced look.
Halo Assembly:
- Part your hair down the middle to create two equal working sections.
- Take a section from the front on one side and twist it back along your hairline.
- Pin the twist at the back of your head, keeping it positioned to form part of a halo shape.
- Repeat this twisting process on the opposite side, meeting the first twist at the back.
- Connect both twists or pin them separately, depending on your hair thickness and preference.
- Curl the remaining loose hair into large, bouncy curls that cascade down your back.
- The twisted halo frames your face while the curls provide movement and volume below.
16. Side Braid with Loose Tendrils
The Side Braid with Loose Tendrils offers romantic asymmetry that draws the eye and creates visual interest through deliberate imperfection.
This style appears effortlessly beautiful while remaining secure and practical.
Romantic Braiding:
- Sweep all your hair over one shoulder, choosing your preferred side for the final look.
- Begin braiding loosely at the top, working down toward the ends of your hair.
- Keep the braid relaxed rather than tight, allowing it to maintain a soft, romantic appearance.
- Before securing the end, gently pull at sections of the braid to make it appear fuller and looser.
- Intentionally pull out small tendrils around your face and neck for a softer frame.
- Secure the braid end with a decorative elastic or ribbon that complements your outfit.
- This style works beautifully with both straight and wavy hair textures.
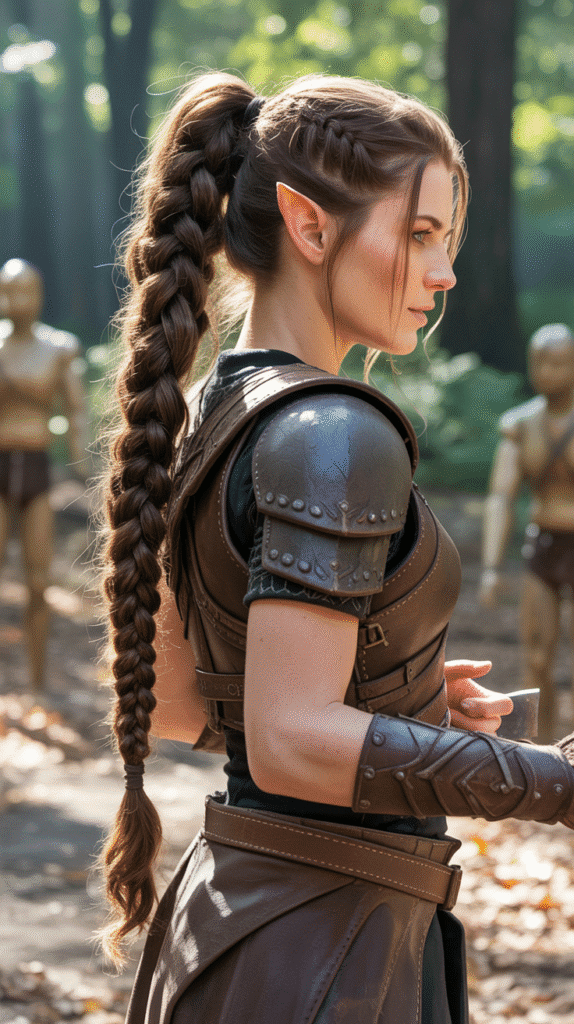
17. Viking-Inspired Elven Braids
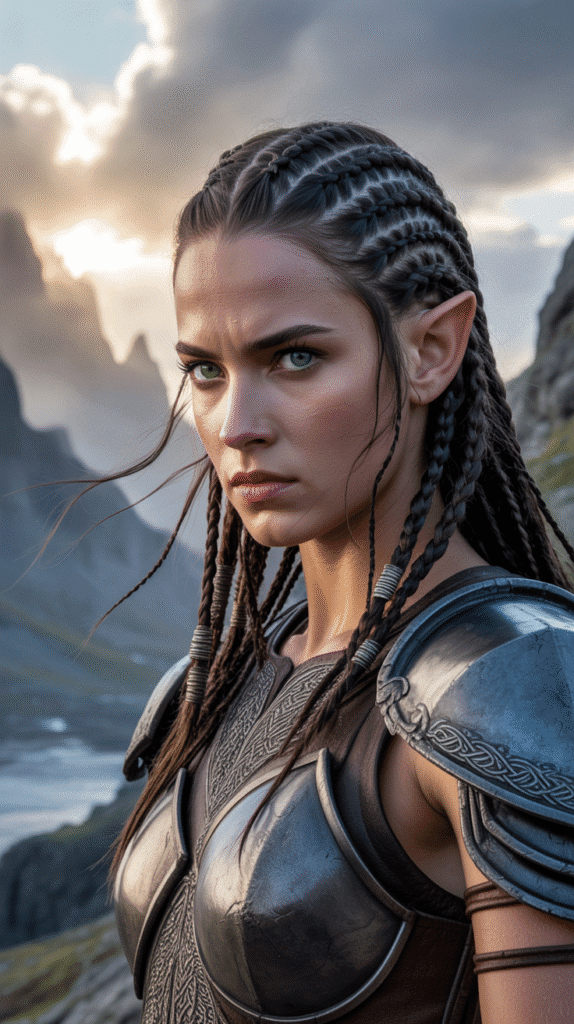
The Viking-Inspired Elven Braids merge two fantasy aesthetics into a powerful, warrior-like style that commands attention.
This bold approach to elven hairstyling emphasizes strength alongside beauty.
Warrior Braiding:
- Create a center part and section your hair into multiple small sections on each side.
- Begin tight Dutch braids close to your scalp, starting from your hairline.
- Work each braid straight back from your forehead toward your crown.
- Create three to five braids on each side for a dramatic, detailed appearance.
- Gather all the braids together at the back and either leave them loose or combine them into one large braid.
- This style keeps hair completely secure while maintaining an elaborate, impressive look.
- The tight braiding technique ensures the style lasts all day without requiring touch-ups.
18. Bubble Braid Ponytail
The Bubble Braid Ponytail adds playful dimension to a standard ponytail, creating segmented “bubbles” that give the illusion of complex styling with minimal effort.
This fun style works for casual and formal occasions alike.
Bubble Creation:
- Pull your hair into a ponytail at your desired height and secure it with an elastic.
- Place another elastic two to three inches down from the first one.
- Gently pull the hair between the two elastics apart, creating a rounded bubble shape.
- Continue adding elastics at regular intervals down the length of your ponytail.
- Create bubbles in each section by pulling the hair outward from all sides.
- The number of bubbles depends on your hair length and how dramatic you want the effect.
- This style looks especially striking when the bubbles are full and voluminous.
19. Asymmetrical Braided Updo
The Asymmetrical Braided Updo challenges traditional symmetry to create a modern, artistic interpretation of elven hairstyling.
This style showcases creativity and individual expression through intentional imbalance.
Asymmetric Assembly:
- Part your hair dramatically to one side, creating unequal sections to work with.
- Create multiple braids on the heavier side, varying their sizes and tightness.
- Sweep all braids and remaining hair to the opposite side where you had less hair.
- Pin everything into a low side bun or twisted updo, keeping the weight off-center.
- Allow the braids to show prominently on the surface of the updo for visual interest.
- Leave the side with less hair sleeker or with minimal braiding to emphasize the asymmetry.
- This style works beautifully for those who want something unique and fashion-forward.
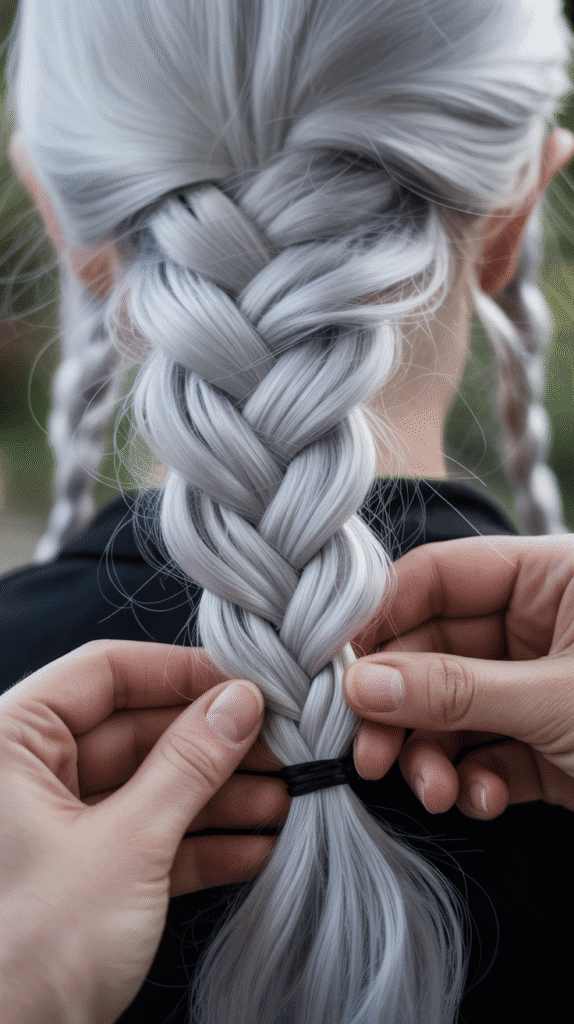
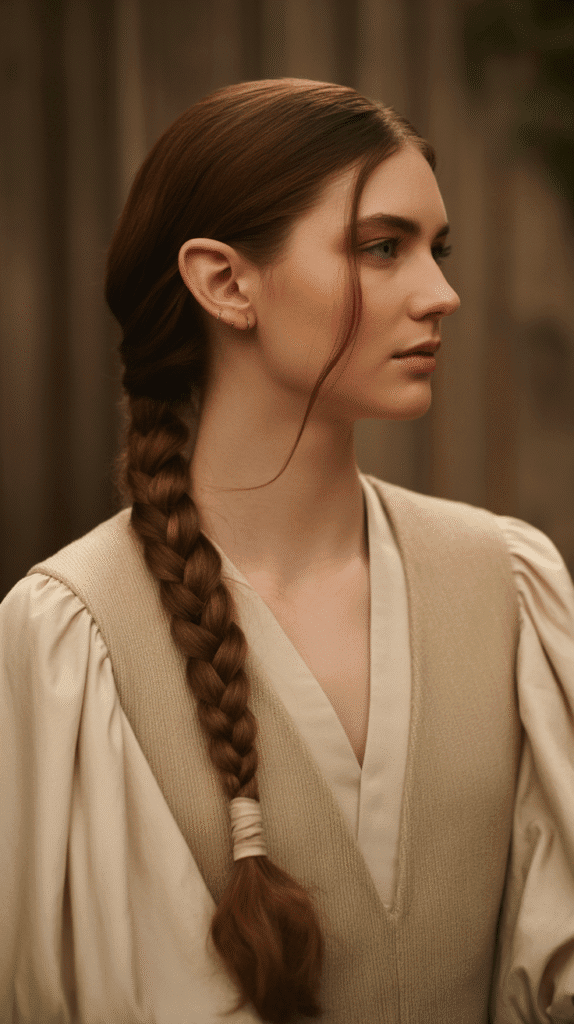
20. Simple Three-Strand Back Braid
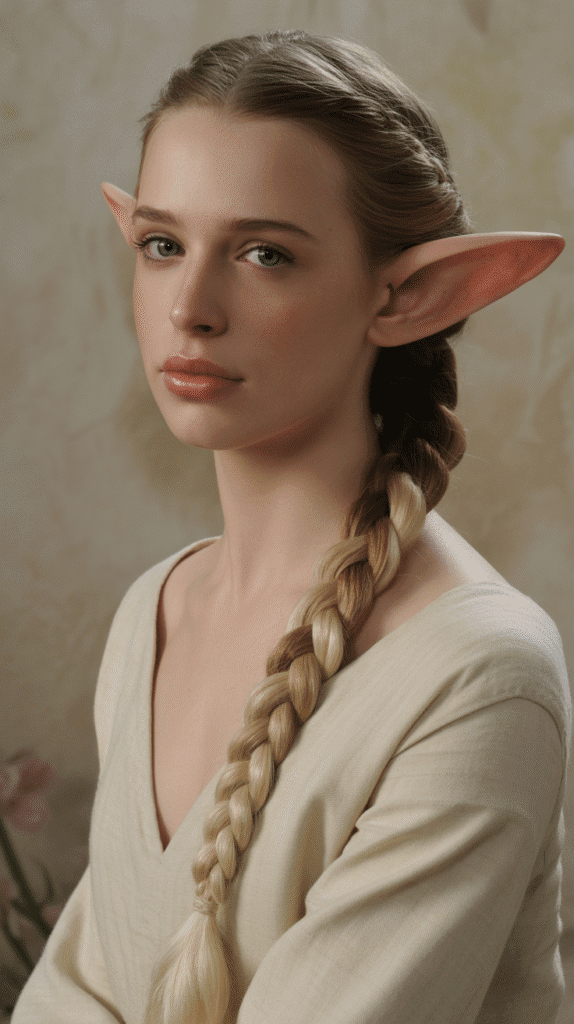
The Simple Three-Strand Back Braid proves that classic techniques remain timeless for good reason, offering a clean, elegant look that never goes out of style.
This fundamental braid serves as the foundation for countless variations.
Classic Method:
- Brush your hair thoroughly to remove all tangles and create a smooth working surface.
- Gather all your hair at the nape of your neck without securing it with an elastic yet.
- Divide the hair into three equal sections, holding the outer sections in each hand.
- Cross the right section over the middle section, then cross the left section over the new middle.
- Continue this alternating pattern, maintaining even tension throughout the entire braid.
- Secure the end with an elastic when you’ve braided to your desired length.
- Pull gently at the braid’s edges to create a fuller, more voluminous appearance if desired.
21. Fishtail Braid Variation
The Fishtail Braid Variation creates an intricate, scale-like pattern that resembles a fish’s tail while remaining surprisingly simple to execute.
This style elevates basic braiding into something that appears professionally done.
Fishtail Technique:
- Divide your hair into two large sections instead of the traditional three for braiding.
- Take a thin strand from the outer edge of the right section.
- Cross this thin strand over to join the left section.
- Now take a thin strand from the outer edge of the left section.
- Cross this strand over to join the right section.
- Continue alternating sides, always pulling thin strands from the outer edges.
- The smaller your strands, the more intricate and defined your fishtail pattern will appear.
- Secure at the end and gently pull the braid to widen it for a fuller look.
22. Crown Twist with Flowing Hair
The Crown Twist with Flowing Hair frames your face with elegant twisted sections while allowing most of your hair to flow freely.
This style offers the perfect balance between structured and natural.
Twisting Framework:
- Section off the front portion of your hair from temple to temple.
- Divide this section into two parts, one on each side of a center or side part.
- Twist each section back toward the crown of your head, adding small amounts of hair as you go.
- This creates a twisted effect similar to a French twist but positioned across the top of your head.
- Pin both twists securely at the crown, either meeting in the middle or slightly overlapping.
- Leave the back section of your hair completely down and flowing naturally.
- Add waves or curls to the loose hair for extra volume and romantic movement.
23. Multiple Mini Buns
Multiple Mini Buns create a playful, whimsical appearance that channels youthful elven energy while keeping hair completely secure.
This style works wonderfully for active days when you need hair out of the way.
Mini Bun Creation:
- Divide your hair into four to six equal sections depending on thickness and desired bun quantity.
- Create a small ponytail with each section, positioning them wherever you prefer across your head.
- Twist each ponytail and wrap it around its base to form a tiny bun.
- Secure each bun with bobby pins, ensuring they feel stable and won’t come loose.
- You can position buns in a line, scattered randomly, or in a specific pattern.
- This style looks charming with all buns the same size or with varied sizes for added interest.
- Consider decorating some buns with small flowers or decorative pins for extra flair.
24. Braided Low Ponytail with Wrap
The Braided Low Ponytail with Wrap combines multiple techniques into one cohesive style that appears more complex than its simple execution.
This versatile look transitions easily from day to evening.
Combined Technique:
- Create two or three small braids in the front sections of your hair.
- Gather all your hair, including the braids, into a low ponytail at the nape of your neck.
- Secure the ponytail with an elastic, ensuring it sits exactly where you want it.
- Take a small section from the ponytail and braid it quickly.
- Wrap this small braid around the elastic to conceal it and add decorative interest.
- Pin the wrapped braid underneath the ponytail to secure it invisibly.
- The combination of front braids and wrapped braid creates a cohesive, thought-out appearance.
25. Pulled-Apart Braid Volume
The Pulled-Apart Braid Volume technique transforms any basic braid into a full, dramatic statement piece that appears to have much more hair than you actually possess.
This finishing technique elevates every braided style.
Volume Enhancement:
- Complete any braid of your choice first, securing it fully before beginning this technique.
- Start at the bottom of the braid and work your way up toward the scalp.
- Gently pull outward on the edges of each braided section, widening it carefully.
- Focus on pulling the loops of the braid rather than the strands themselves to avoid loosening it.
- Work symmetrically on both sides of the braid to maintain an even, balanced appearance.
- Continue pulling until you achieve your desired level of fullness and volume.
- This technique works on French braids, Dutch braids, fishtails, and standard three-strand braids equally well.
26. Elven Warrior Mohawk Braid
The Elven Warrior Mohawk Braid channels fierce energy into a dramatic centerline braid that commands attention and keeps hair completely secure. This bold style works perfectly for those wanting an edgier elven aesthetic.
Warrior Construction:
- Create a center part from your forehead to the nape of your neck, sectioning hair into three parts.
- Clip or tie the side sections away temporarily to keep them out of your working area.
- Begin a Dutch braid at your hairline with the center section, keeping it tight and prominent.
- Braid straight down the center of your head, adding hair only from the center section.
- Make the braid as tight as possible for a raised, mohawk-like appearance.
- Secure the braid at the nape and allow the end to hang or tuck it under.
- Leave the side sections sleek and flat, or shave them for a truly dramatic warrior look.
27. Romantic Loose Curls with Braided Crown
The Romantic Loose Curls with Braided Crown combines the softness of flowing curls with the structure of a braided crown for the ultimate feminine elven look.
This style works beautifully for weddings and formal fantasy events.
Romantic Assembly:
- Curl your hair thoroughly before beginning the braiding to ensure the curls set properly.
- Create a braided crown using either a Dutch braid or standard braid around your hairline.
- Keep the crown braid somewhat loose to complement the soft curls below.
- Once the crown is complete and pinned, arrange the curls to cascade beautifully.
- Pin some curls up around the crown for added dimension while letting others flow freely.
- Pull out face-framing tendrils and curl them for a soft, romantic frame.
- This style benefits from hairspray and pins to keep everything secure throughout your event.
28. Accessorized Fantasy Updo
The Accessorized Fantasy Updo serves as a canvas for creativity, allowing you to incorporate chains, jewels, flowers, and other decorative elements into an elaborate elven hairstyle.
This customizable style lets your personality shine through.
Decorative Construction:
- Begin with a base updo of your choice, whether a bun, twisted style, or braided creation.
- Ensure the base is secure with plenty of bobby pins before adding any accessories.
- Incorporate decorative elements like chains that drape across the updo or around your head.
- Add fresh or artificial flowers by tucking stems into the updo or securing them with pins.
- Consider using decorative hair combs, jeweled pins, or elven circlets for authentic fantasy flair.
- Balance your accessories throughout the hairstyle rather than clustering them in one spot.
- The beauty of this style lies in personalization, so choose accessories that reflect your character or costume.
Essential Tools and Accessories
Creating beautiful elf hairstyles requires having the right tools at your disposal to make the process smooth and efficient.
Basic Tools Needed:
- Fine-tooth comb for creating clean parts and sections throughout your hair.
- Wide-tooth comb or detangling brush for working through knots without causing breakage.
- Small clear elastics that blend with your hair color for securing braids and sections invisibly.
- Bobby pins in colors matching your hair to keep styles secure without being obvious.
- Hair clips to section off hair while working on different parts of your style.
- Texturizing spray or dry shampoo to add grip and volume to slippery or fine hair.
- Hairspray for setting your style and ensuring it lasts throughout your event.
Decorative Accessories:
- Flowers (fresh or artificial) that can be tucked into braids or updos for natural beauty.
- Decorative hair chains that drape across styles for added elven authenticity and sparkle.
- Jeweled pins and combs that catch light and add fantasy elements to your look.
- Ribbons in complementary colors that can be woven through braids or tied around ponytails.
- Leaf-shaped clips and nature-inspired accessories that enhance the woodland elf aesthetic.
- Decorative elastics with charms or beads that serve both functional and ornamental purposes.
Tips for Different Hair Types
Understanding your hair type helps you adapt these elven hairstyles to work with your natural texture rather than against it.
For Straight Hair:
- Add texture with sea salt spray or texturizing products before styling to help braids grip better.
- Tease roots slightly for volume since straight hair can appear flat in updos and ponytails.
- Use a curling iron on the ends of loose sections to add movement and prevent a limp appearance.
- Set styles with strong-hold hairspray as straight hair tends to slip out of braids more easily.
- Consider sleeping in braids the night before to create natural waves as a styling base.
For Wavy Hair:
- Embrace your natural texture as it provides the perfect foundation for romantic elven styles.
- Use a light smoothing serum on frizzy areas while maintaining the wave pattern overall.
- Your hair already has grip, making braiding easier and helping styles stay secure longer.
- Enhance waves with a diffuser after styling to add volume without creating frizz.
- Wavy hair works beautifully for both structured and loose, bohemian elven looks.
For Curly Hair:
- Detangle thoroughly with a wide-tooth comb and leave-in conditioner before beginning any style.
- Work with damp hair when creating braids to make manipulation easier and reduce breakage.
- Stretch curls slightly with a blow dryer and tension method if you want a smoother braided appearance.
- Embrace your natural curl pattern in styles like the Bohemian Loose Braids for authentic texture.
- Use gel or curl cream to define sections and reduce frizz while maintaining curl integrity.
- Pin styles more securely as curly hair has more volume and requires additional support.
For Thick Hair:
- Section hair into smaller, more manageable portions when creating complex styles.
- Use strong elastics and multiple bobby pins to ensure styles stay secure under the weight.
- Consider creating two separate braids instead of one thick braid for easier manipulation.
- Thick hair creates naturally voluminous styles without needing much pulling or teasing.
- Allow extra time for styling as thick hair requires more patience and thoroughness.
For Fine or Thin Hair:
- Tease and backcomb sections to create the illusion of more volume and fullness.
- Use the pulled-apart braid technique generously to make braids appear thicker.
- Add clip-in extensions for length and volume if desired for more dramatic elven styles.
- Dry shampoo at the roots provides grip and lift that fine hair often lacks.
- Avoid pulling hair too tight as this can make thin spots more visible.
Maintaining Your Elven Hairstyle
Keeping your carefully crafted elven hairstyle looking fresh throughout your event requires some strategic planning and quick maintenance techniques.
Before the Event:
- Wash hair the day before rather than the day of, as day-old hair holds styles better.
- Sleep with hair in a loose braid to create natural texture and waves for easier styling.
- Gather all tools, accessories, and products in one place before beginning your style.
- Allow sufficient time for creating your hairstyle without rushing, which can lead to mistakes.
- Take progress photos as you style so you can recreate successful looks in the future.
During the Event:
- Carry a small bag with bobby pins, elastics, and a travel-size hairspray for touch-ups.
- Check your hairstyle periodically in mirrors to catch any loose sections early.
- Avoid touching or playing with your hair excessively as this loosens carefully pinned sections.
- If pieces fall, simply re-pin them rather than attempting to redo the entire style.
- For outdoor events, consider a light hairspray shield against wind and humidity.
After the Event:
- Remove accessories gently to avoid pulling or damaging your hair in the removal process.
- Take down braids and updos carefully, working from bottom to top to prevent tangles.
- Brush through hair with a detangling spray to remove any knots created by styling.
- Apply a deep conditioning treatment if you used heavy products or heat styling.
- Rest your hair with minimal styling for a day or two after elaborate hairstyles.
Adapting Styles for Different Occasions
Each elven hairstyle can be modified slightly to suit various events and settings, making your look appropriate for any situation.
For Cosplay Conventions:
- Choose styles that photograph well from multiple angles for countless photo opportunities.
- Ensure your hairstyle matches your character’s aesthetic and remains true to source material.
- Prioritize security and longevity since conventions involve long days and lots of movement.
- Add character-specific accessories like prosthetic ears that integrate seamlessly with your hairstyle.
- Consider wigs if your natural hair doesn’t match your character’s length or color requirements.
For Renaissance Faires:
- Embrace natural, bohemian styles that fit the historical fantasy setting perfectly.
- Incorporate fresh flowers, leather cords, and natural elements into your hairstyle.
- Choose styles that hold up in outdoor weather conditions including wind and humidity.
- Coordinate your hairstyle with your faire costume for a cohesive, authentic appearance.
- Allow for comfortable wear during long days of walking and outdoor activities.
For Weddings:
- Select more formal, polished versions of elven styles with elegant accessories.
- Ensure the hairstyle complements your dress style and overall wedding theme.
- Have a backup stylist or friend who can help with touch-ups throughout the day.
- Use strong-hold products to ensure your style survives dancing and celebration.
- Consider a trial run weeks before the wedding to perfect your chosen style.
For Photoshoots:
- Choose dramatic, visually striking styles that create impact in photographs.
- Consult with your photographer about angles and lighting that will showcase your hairstyle best.
- Bring multiple accessories to swap in and out for variety in different shots.
- Be prepared to adjust and refresh your style between different poses and settings.
- Consider how your hairstyle will look in both close-up and full-body shots.
For Daily Wear:
- Simplify elaborate styles by reducing the number of braids or decorative elements.
- Choose quick versions that take five minutes or less for busy morning routines.
- Opt for comfortable styles that won’t cause headaches or tension throughout the day.
- Select low-maintenance options that don’t require constant checking and adjustment.
- Keep accessories minimal and work-appropriate if wearing styles to professional settings.
Common Mistakes to Avoid
Learning what not to do proves just as valuable as knowing the correct techniques when creating elven hairstyles.
Braiding Errors:
- Don’t braid hair when it’s too clean and slippery, as braids will slip and fall apart easily.
- Avoid braiding too tightly at the scalp, which causes discomfort and can lead to hair damage.
- Never rush through braiding as uneven tension creates messy, unprofessional-looking results.
- Don’t forget to secure braid ends properly or they will unravel throughout your event.
- Avoid making all braids the same size and tightness, which can look repetitive and boring.
Pinning Problems:
- Don’t use too few bobby pins thinking your style will hold, as it inevitably falls apart.
- Avoid inserting pins at wrong angles, which provides inadequate hold and creates discomfort.
- Never use pins that don’t match your hair color unless they’re meant to be decorative.
- Don’t place all pins in the same spot, which creates a heavy, unstable area.
- Avoid opening bobby pins too wide, which reduces their gripping power significantly.
Product Mistakes:
- Don’t use too much product, which weighs hair down and makes it look greasy or crunchy.
- Avoid applying hairspray too close to hair, which creates visible white flakes and buildup.
- Never use heavy oils or serums before braiding as they make hair too slippery to grip.
- Don’t skip heat protectant when using curling irons or other hot tools on your hair.
- Avoid mixing incompatible products that can cause buildup or strange textures.
General Styling Errors:
- Don’t attempt complex styles when you’re already running late or under time pressure.
- Avoid copying styles exactly without considering your face shape and features.
- Never pull hair so tight that it causes pain or visible tension on your scalp.
- Don’t neglect practicing new styles before important events where you want to look your best.
- Avoid being too rigid with styling, as intentional imperfection often looks most beautiful.
Face Shape Considerations
Choosing elven hairstyles that complement your face shape ensures the most flattering and harmonious overall appearance.
For Oval Faces:
- Lucky you—oval faces suit virtually any elven hairstyle without restriction.
- Experiment freely with updos, braids, and flowing styles to find your favorites.
- Balance is already naturally present, so focus on personal style preferences.
- Both symmetrical and asymmetrical styles work equally well on oval face shapes.
For Round Faces:
- Choose styles with height at the crown to elongate your face visually.
- Opt for side-swept styles rather than center parts to create asymmetry.
- Avoid styles that add width at the cheekbones, which emphasizes roundness.
- Face-framing pieces that angle down help create the illusion of length.
- High ponytails and top knots work beautifully by drawing the eye upward.
For Square Faces:
- Soften angular jawlines with romantic, flowing styles featuring curves and waves.
- Choose side parts and asymmetrical styles over severe center parts.
- Add volume at the crown and keep sides sleeker to balance strong jaw structure.
- Face-framing tendrils soften the geometric quality of square face shapes.
- Avoid blunt, straight-across bangs that emphasize the square structure.
For Heart-Shaped Faces:
- Balance a wider forehead with styles that add volume at the jawline.
- Side braids and low updos work particularly well for heart-shaped faces.
- Avoid excessive volume at the crown, which overemphasizes forehead width.
- Chin-length face-framing pieces balance the narrower lower face beautifully.
- Half-up styles that leave hair at the sides create width where needed.
For Long Faces:
- Add width with side volume rather than height at the crown.
- Choose styles that create horizontal lines, like braided headbands across the forehead.
- Avoid very high updos or ponytails that elongate the face further.
- Side parts work better than center parts for long, narrow faces.
- Styles with fullness at the cheeks help balance facial proportions.
Styling for Different Hair Lengths
Your current hair length determines which elven hairstyles will work best without extensions or modifications.
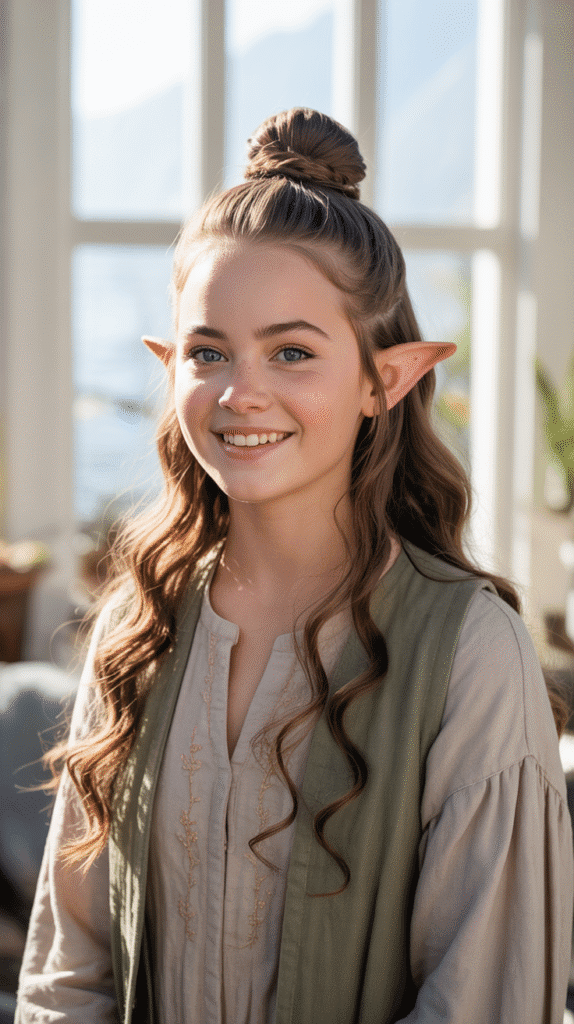
For Short Hair (Chin-Length or Shorter):
- Focus on face-framing mini braids that add elven detail without requiring length.
- Create small twisted sections that pin back to keep hair off your face elegantly.
- Use decorative accessories like elven circlets and jeweled pins to add fantasy elements.
- Try braided headbands using your own hair for an authentic elven touch.
- Consider clip-in extensions if you want to temporarily create styles requiring more length.
- Embrace your short length with textured, tousled styles that channel pixie or sprite energy.
For Medium Hair (Shoulder to Collarbone Length):
- Most half-up styles work perfectly at this length without any modifications needed.
- Braided crowns and headband braids sit beautifully on medium-length hair.
- Low ponytails and buns provide enough length for wrapping and decorative elements.
- Single braids down the back work well and can be pulled apart for fullness.
- This versatile length allows experimentation with both updos and flowing styles.
For Long Hair (Below Collarbone):
- Virtually all elven hairstyles work beautifully with long hair’s generous length.
- Multiple braids, complex updos, and elaborate styles become easily achievable.
- Long hair creates naturally dramatic flowing sections that enhance the elven aesthetic.
- Consider the weight of very long hair when creating updos, using extra pins for security.
- Showcase your length with waterfall braids and cascading curl combinations.
Adding Extra Magic with Hair Color
Creative hair coloring enhances elven hairstyles by adding dimension and fantasy elements that catch light beautifully in photographs.
Temporary Options:
- Hair chalk provides vibrant, temporary color that washes out completely after one shampoo.
- Colored hair sprays add metallic or bright fantasy colors for special events.
- Clip-in colored extensions let you experiment without committing to permanent color.
- Colored dry shampoo adds subtle tint while also providing texture and grip.
- These temporary options perfect for trying elven color aesthetics without long-term commitment.
Color Placement for Elven Styles:
- Highlight braids with lighter tones that make the braided patterns more visible and defined.
- Add fantasy colors like silver, lavender, or mint at the ends for an ethereal ombre effect.
- Place color strategically in sections that will be visible in your chosen hairstyle.
- Consider face-framing highlights that illuminate features and enhance elven beauty.
- Metallic tones like rose gold or silver reflect light beautifully in photographs.
Professional Resources
While these hairstyles are designed for at-home creation, sometimes professional guidance or assistance proves valuable.
When to Consult a Professional:
- For permanent hair coloring or complex color techniques that require expert application.
- When preparing for major events like weddings where hairstyle perfection is crucial.
- If you struggle with creating certain techniques and want hands-on instruction.
- For cutting hair to optimal lengths and layers that enhance your ability to create these styles.
- When dealing with severely damaged hair that needs professional treatment before styling.
Online Resources:
- Video tutorials on platforms like YouTube provide visual step-by-step guidance for each technique.
- Fantasy hairstyling blogs offer written instructions with accompanying photographs.
- Social media hashtags connect you with communities sharing elven hairstyle inspiration and tips.
- Online forums allow you to ask questions and receive advice from experienced fantasy hairstylists.
Conclusion
Creating beautiful, authentic-looking elf hairstyles no longer requires professional training, hours of practice, or complicated techniques beyond the reach of everyday styling enthusiasts.
This comprehensive guide to 28 Easy Elf Hairstyles You Can Create in Minutes has equipped you with the knowledge, techniques, and confidence to transform your hair into magical creations worthy of any fantasy realm.
From the simplicity of a classic half-up braid to the complexity of intricate updos with multiple braiding techniques, you now have an extensive repertoire of styles suitable for any occasion, skill level, and hair type.
Remember that the most enchanting elven hairstyles embrace a touch of imperfection, allowing your natural beauty and individuality to shine through the fantasy aesthetic.
Whether you’re preparing for a cosplay convention, Renaissance faire, themed wedding, photoshoot, or simply want to add a touch of magic to your everyday appearance, these versatile styles adapt to your needs while maintaining their ethereal charm.
Practice the techniques that resonate with you, experiment with different accessories and variations, and most importantly, enjoy the creative process of bringing these fantastical hairstyles to life.
Your journey into the world of elven beauty has just begun, and with these 28 styles at your fingertips, you’re ready to create countless magical looks that capture the timeless elegance and otherworldly grace of the elven aesthetic.