
Mornings can be chaotic, and spending hours on your hair simply isn’t realistic for most of us. Whether you’re rushing to work, heading to class, or getting ready for a casual outing, you need hairstyles that look polished without eating up your precious time.
That’s exactly what this article delivers: 30 Cute Simple Hairstyles You Can Do in Under 5 Minutes. These quick styling solutions prove that you don’t need to sacrifice style for speed.
From elegant twists to playful braids, messy buns to sleek ponytails, each hairstyle in this collection is designed to be effortless yet stunning.
You’ll discover techniques that work for various hair lengths, textures, and occasions, ensuring there’s something perfect for everyone. Get ready to transform your morning routine and never have a bad hair day again.
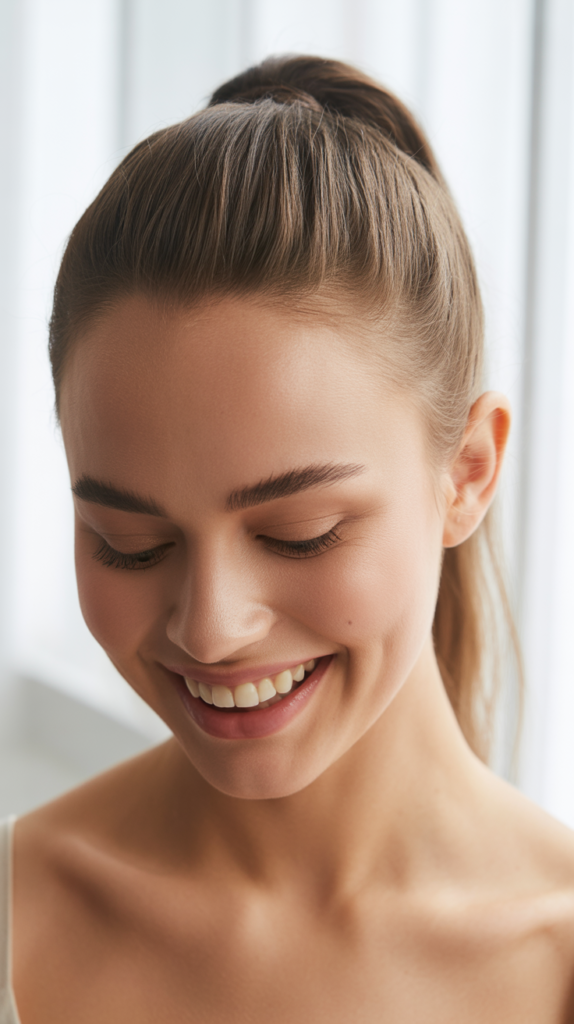
1. The Classic Low Ponytail
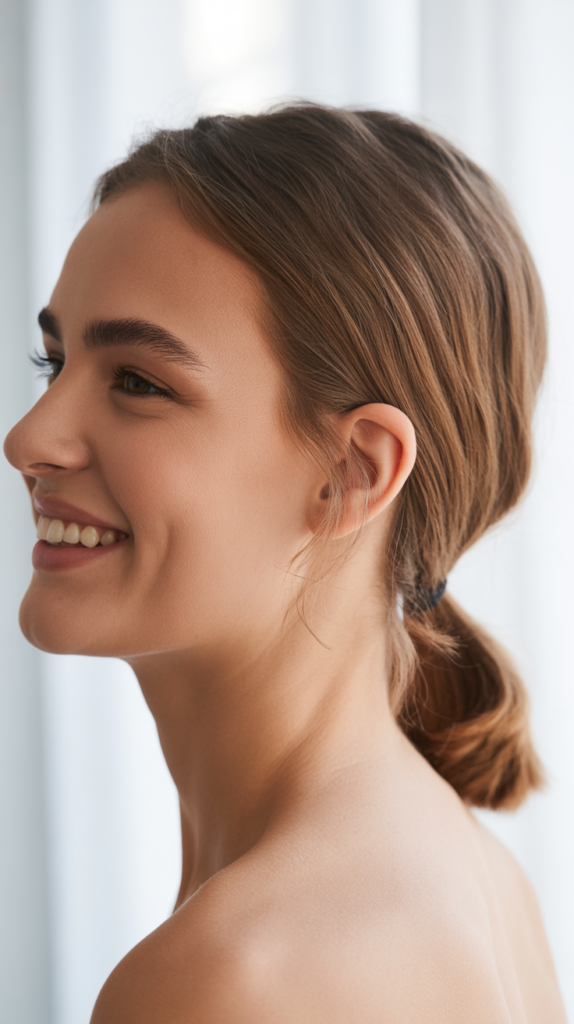
The low ponytail remains timeless because it combines elegance with absolute simplicity, making it perfect for both professional settings and casual weekend plans.
This style works beautifully on all hair types and lengths past shoulder level.
- Brush your hair smooth to remove any tangles or knots completely.
- Gather all your hair at the nape of your neck using your hands.
- Secure with an elastic band, wrapping it two to three times for hold.
- Take a small section of hair from the ponytail and wrap it around the elastic to hide it.
- Secure the wrapped section with a bobby pin underneath the ponytail.
- Pull the ponytail gently to add slight volume and texture.
- Spray with light hairspray if you want extra hold throughout the day.
2. The Messy Top Knot
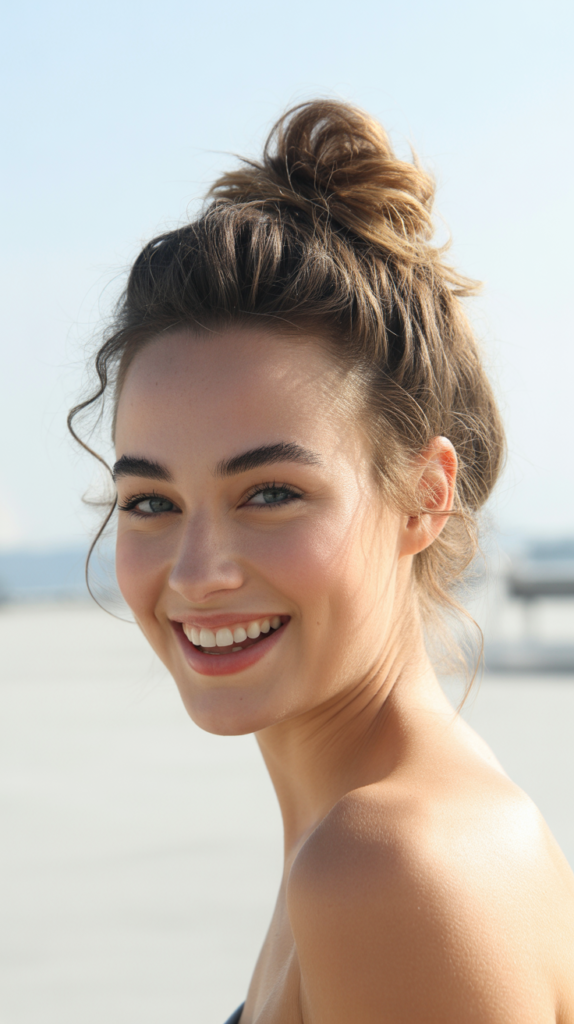
The messy top knot gives you that effortlessly chic look that suggests you didn’t try too hard, even though you look absolutely fabulous.
This style is ideal for second-day hair or when you want a relaxed, bohemian vibe.
- Flip your head upside down and gather hair into a high ponytail.
- Twist the ponytail loosely around itself to create a bun shape.
- Secure the bun with another elastic or several bobby pins.
- Pull out a few face-framing pieces to soften the look.
- Gently tug at the bun to make it appear fuller and messier.
- Don’t worry about perfection—the beauty is in the undone appearance.
- Finish with texturizing spray for added grip and definition.
3. The Half-Up Half-Down
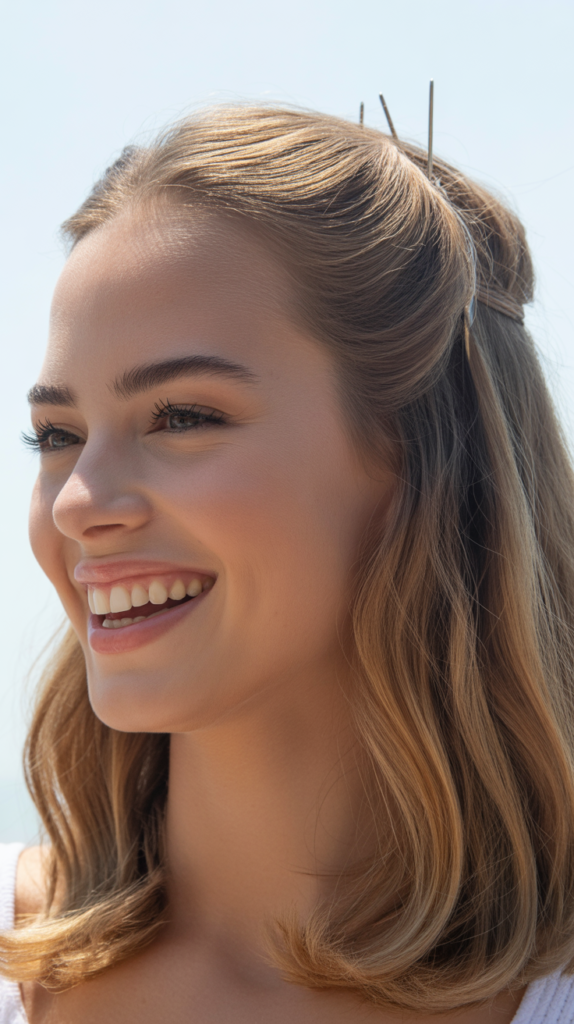
This versatile style offers the best of both worlds by keeping hair out of your face while still showing off your length and volume. It’s perfect for any occasion from dates to business meetings.
- Section off the top half of your hair from ear to ear.
- Smooth this section back with your fingers or a brush.
- Secure at the crown with an elastic band or decorative clip.
- Leave the bottom half flowing freely down your back.
- Tease the crown section slightly before securing for added height.
- Curl the loose ends with a straightener for extra polish if desired.
- Use bobby pins to secure any flyaways around the secured section.
4. The Sleek Side Part
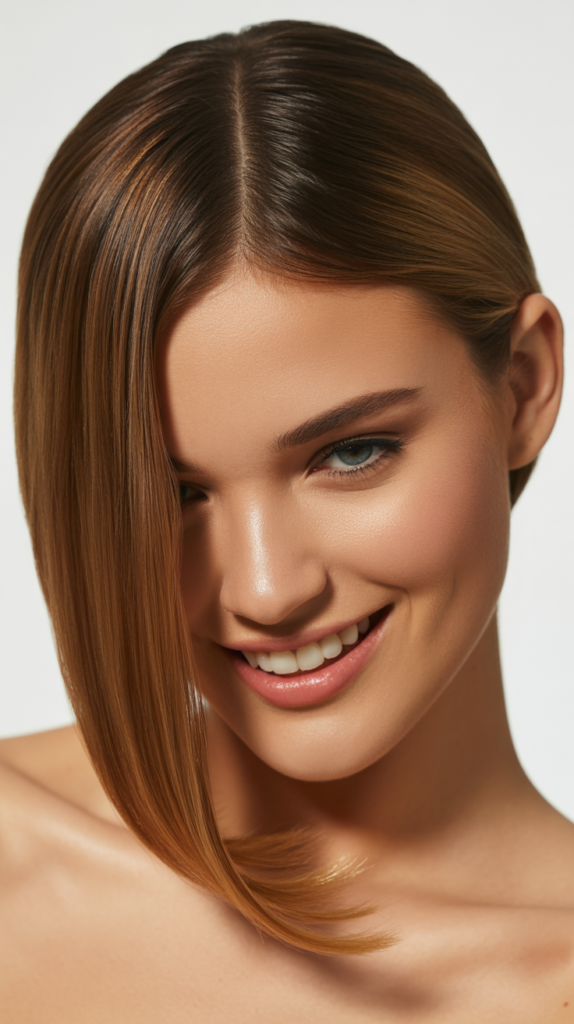
A dramatic side part instantly elevates any look and creates sophisticated asymmetry that draws attention to your facial features. This style works exceptionally well for straight or straightened hair.
- Create a deep side part using the end of a rat-tail comb.
- Apply smoothing serum to damp or dry hair for shine.
- Brush hair firmly to the side following your new part.
- Tuck one side behind your ear and secure with bobby pins if needed.
- Use a flat iron on the front sections for extra sleekness.
- Apply strong-hold hairspray to keep everything in place.
- Add a decorative pin on the tucked side for extra elegance.
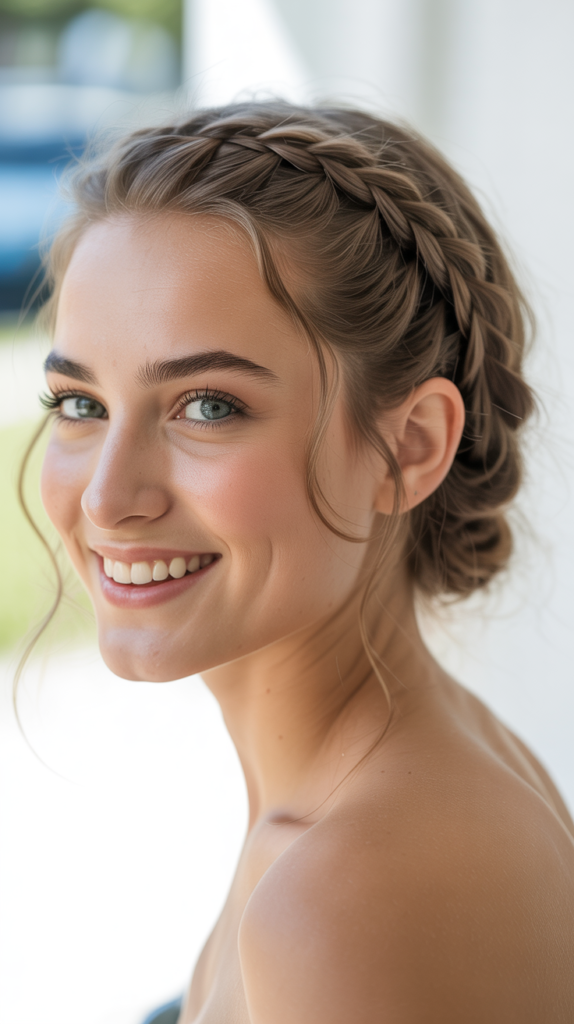
5. The Twisted Crown
The twisted crown creates a romantic, ethereal appearance that looks intricate but requires minimal effort and no braiding skills whatsoever. This style is perfect for garden parties or brunch dates.
- Part your hair down the middle or on your preferred side.
- Take a section of hair from one side near your temple.
- Twist this section back toward the center of your head.
- Secure the twist with bobby pins at the back center.
- Repeat the same process on the opposite side of your head.
- Cross the second twist over the first and pin securely.
- Leave the remaining hair down in loose waves or straight.
6. The Basic Three-Strand Braid
The traditional braid remains popular because it’s practical, pretty, and protects your hair from tangling throughout busy days. Once you master this technique, countless variations become possible.
- Brush your hair thoroughly to ensure smoothness without knots.
- Divide all your hair into three equal sections at your preferred starting point.
- Cross the right section over the middle section to become the new middle.
- Cross the left section over the new middle section.
- Continue alternating right and left sections over the middle consistently.
- Secure the end with an elastic band when you reach your desired length.
- Gently pull at the braid edges to create a fuller, softer appearance.
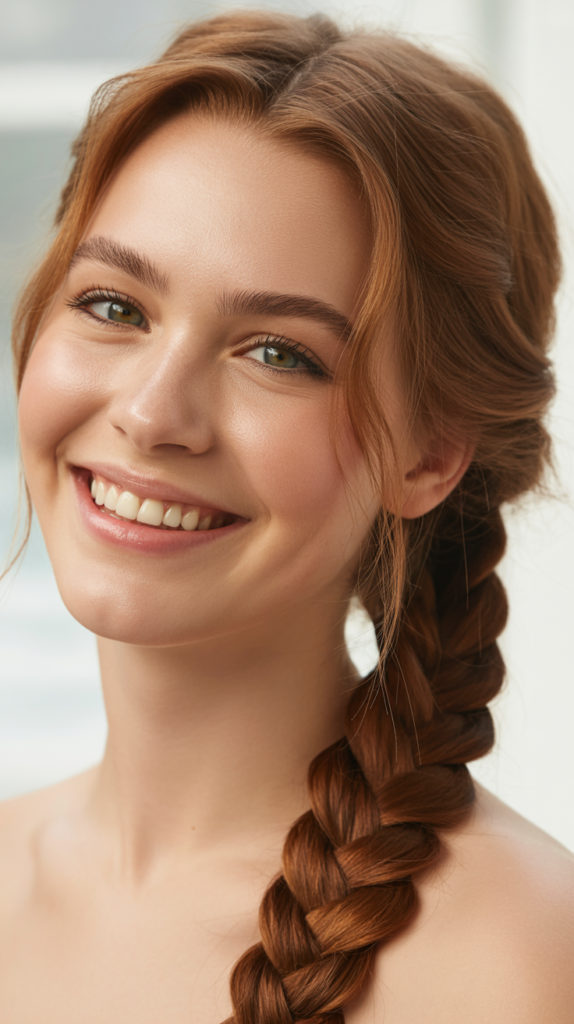
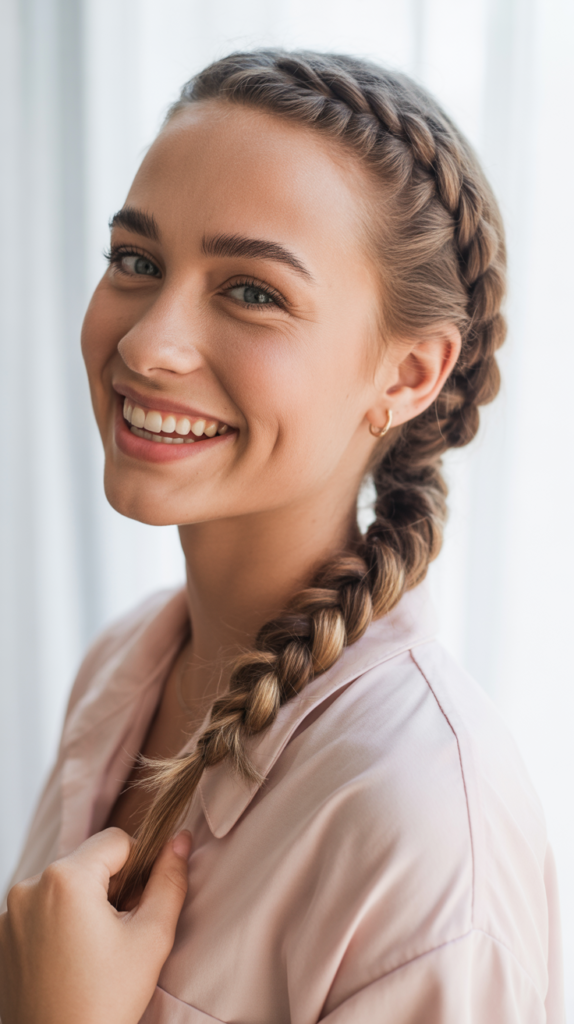
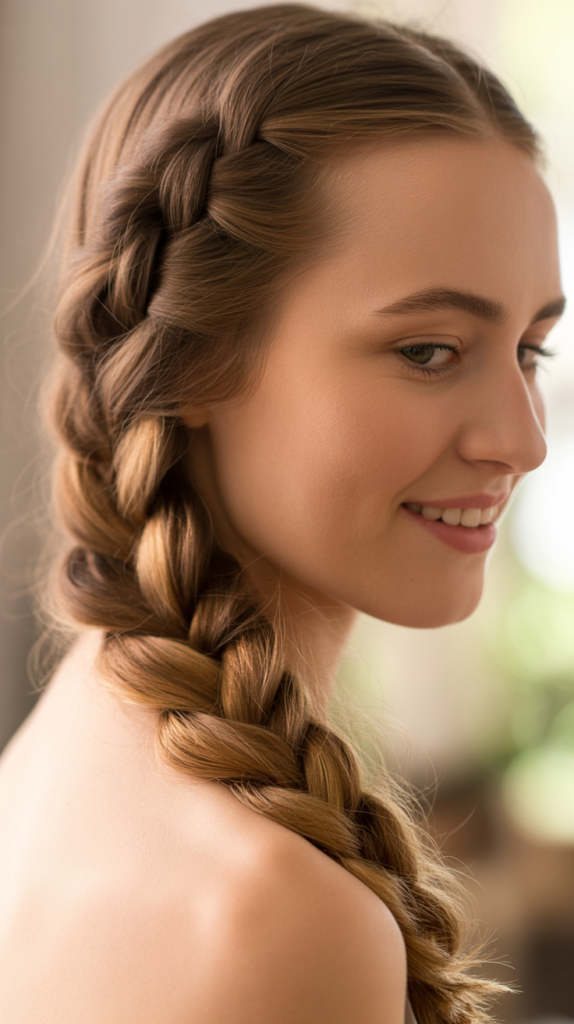
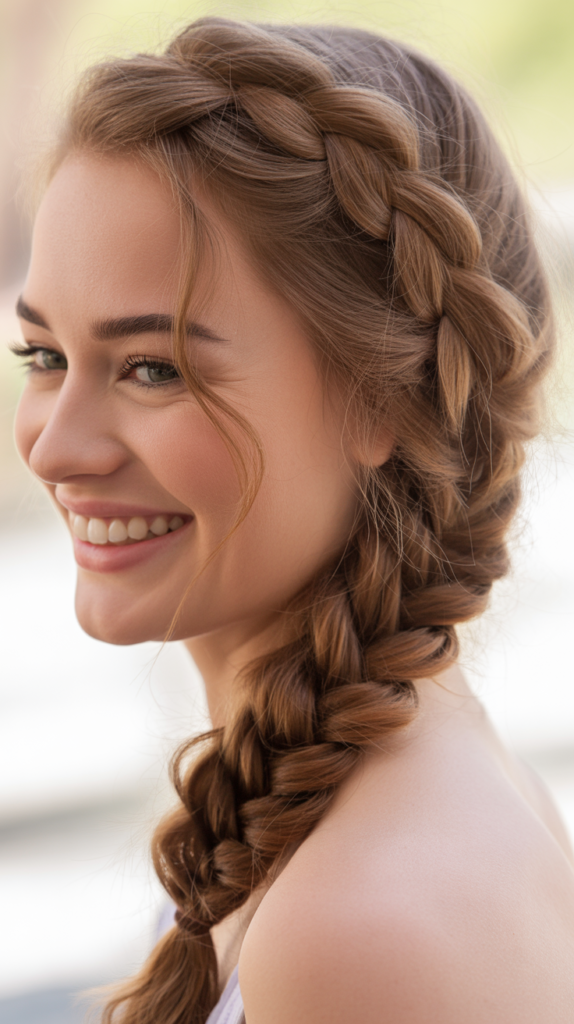
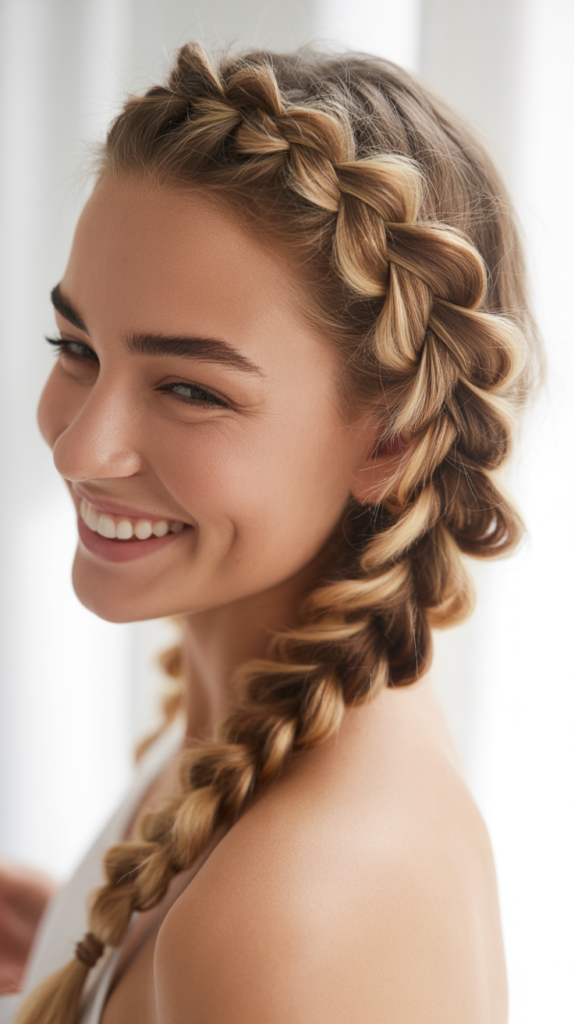
7. The Side Braid
Moving your braid to the side creates a softer, more romantic aesthetic compared to a center back braid. This asymmetrical style draws the eye and works beautifully with any outfit.
- Sweep all your hair over one shoulder completely.
- Divide into three sections and begin braiding as normal.
- Keep the braid loose rather than tight for a relaxed feel.
- Secure the end with a clear or matching elastic band.
- Pancake the braid by gently pulling sections to widen it.
- Leave a few pieces out around your face for softness.
- Add a ribbon or decorative elastic for extra charm if desired.
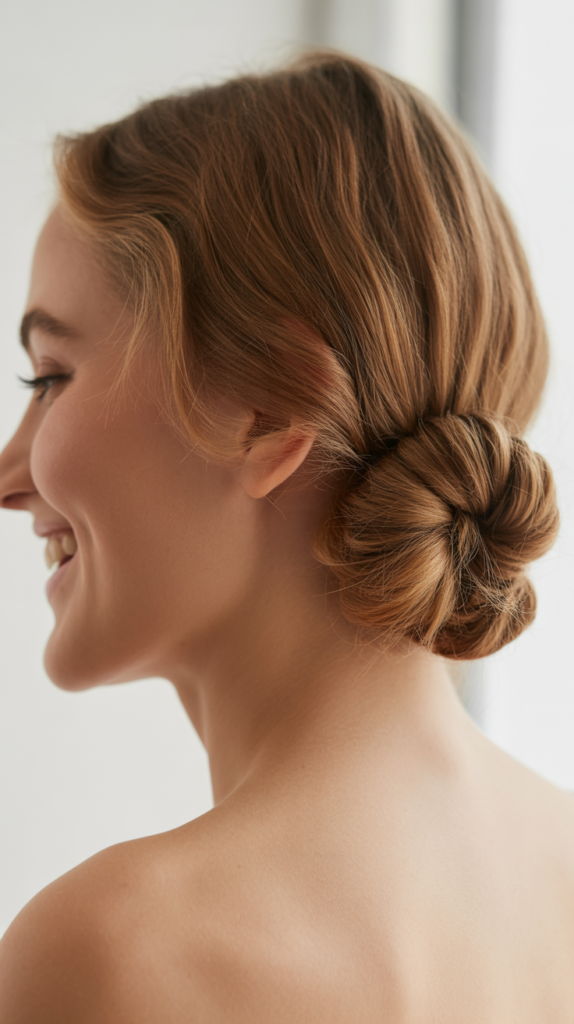
8. The Low Bun
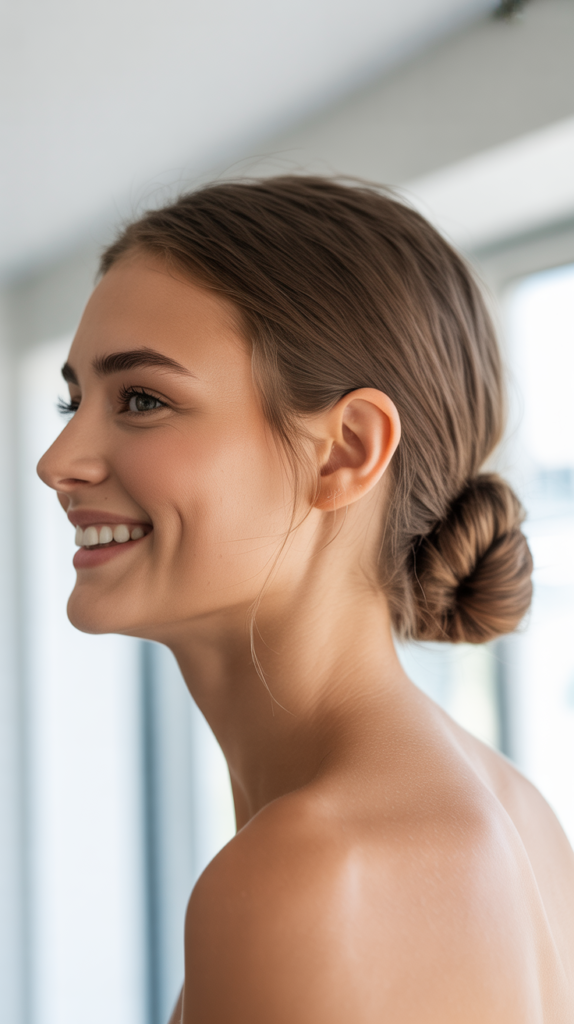
The low bun exudes sophistication and works perfectly for professional environments or formal events while remaining comfortable enough for all-day wear. This style keeps everything neat and polished.
- Gather hair into a low ponytail at the nape of your neck.
- Twist the ponytail loosely or tightly depending on your preference.
- Wrap the twisted hair around the base of the ponytail.
- Secure with bobby pins pushed through the bun into your scalp.
- Smooth any flyaways with gel or pomade on a brush.
- Use a hair net if you need extra security for long hours.
- Finish with hairspray for a long-lasting, immaculate finish.
9. The Space Buns
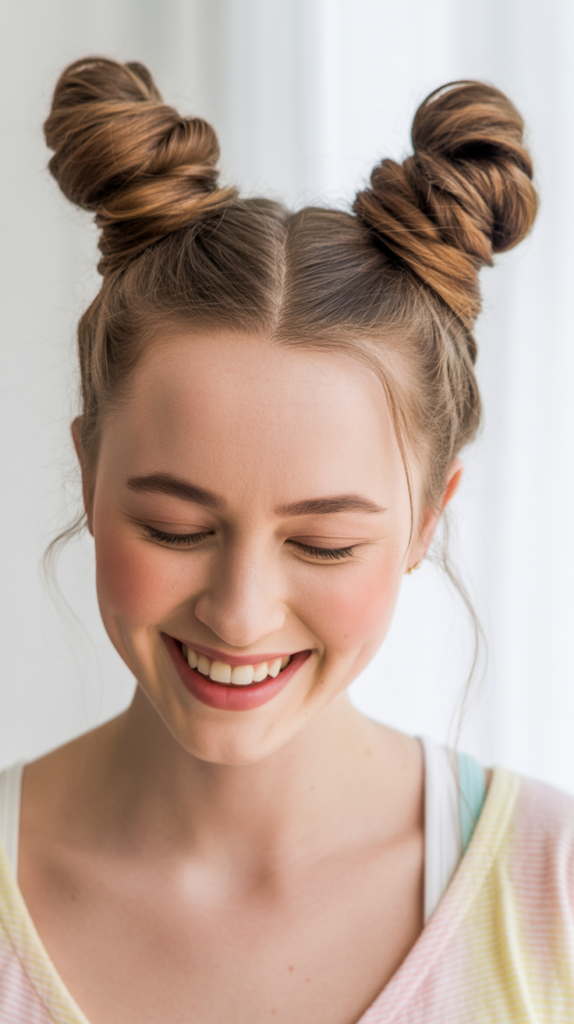
Space buns bring playful, youthful energy to your look and have become iconic thanks to fashion-forward celebrities and festival culture. These fun buns sit high on your head for maximum impact.
- Part your hair straight down the middle from forehead to nape.
- Gather one side into a high ponytail and secure tightly.
- Twist the ponytail and wrap it around the base to form a bun.
- Secure with another elastic or multiple bobby pins for stability.
- Repeat the exact same process on the opposite side.
- Make sure both buns sit at the same height for symmetry.
- Leave the buns slightly messy for a more relaxed, edgy appearance.
10. The Bubble Ponytail
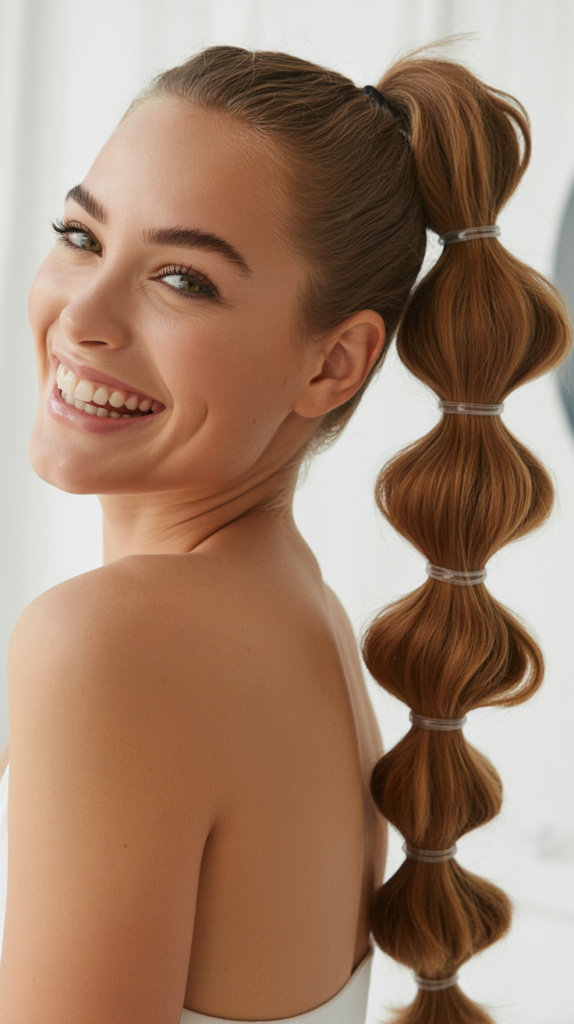
The bubble ponytail adds visual interest and dimension to a standard ponytail through strategic sectioning with multiple elastics. This trendy style looks complicated but comes together incredibly quickly.
- Create a high or mid-height ponytail and secure with an elastic.
- Place another elastic 2-3 inches below the first elastic band.
- Gently pull the hair between the elastics outward to create a bubble.
- Add another elastic 2-3 inches below and repeat the pulling process.
- Continue down the length of your ponytail creating uniform bubbles.
- Adjust each bubble to ensure they’re all similar in size.
- The result is a modern, dimensional ponytail with stunning texture.
11. The French Twist
The French twist delivers classic elegance that never goes out of style and works wonderfully for weddings, interviews, or upscale dinners. Despite its sophisticated appearance, it’s surprisingly quick to execute.
- Brush all your hair to one side of your head smoothly.
- Hold your hair with one hand at the center back.
- Twist the hair upward toward your crown while keeping it taut.
- Continue twisting until you form a vertical roll against your head.
- Tuck the ends into the twist and secure with bobby pins.
- Use multiple pins along the twist for security and stability.
- Spray generously with hairspray to maintain the shape all day.
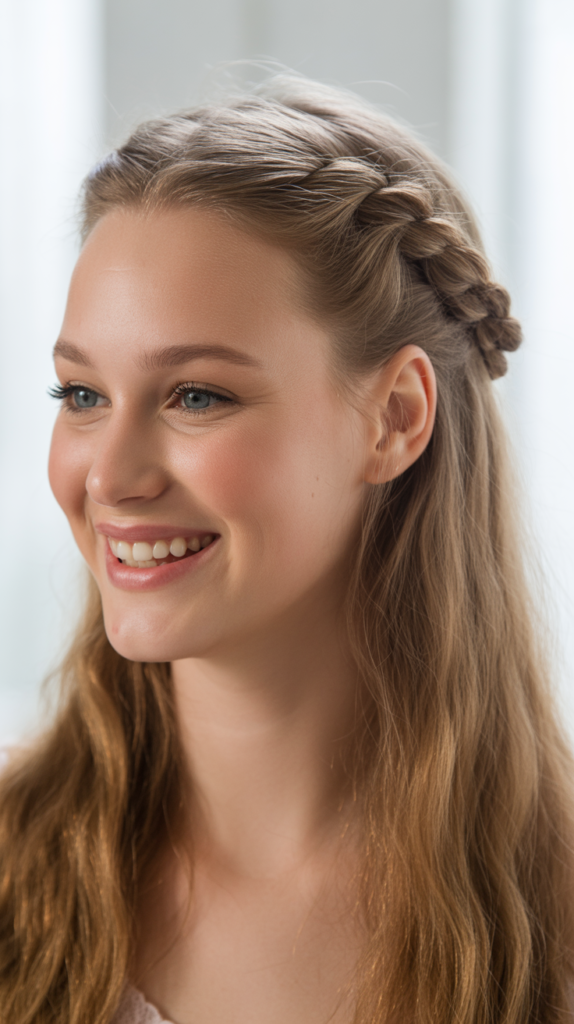
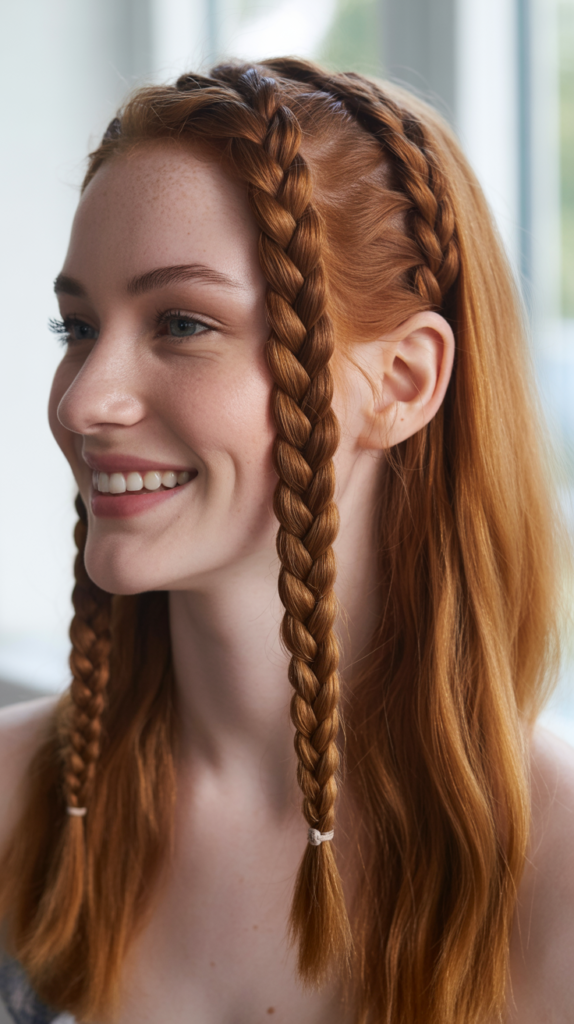
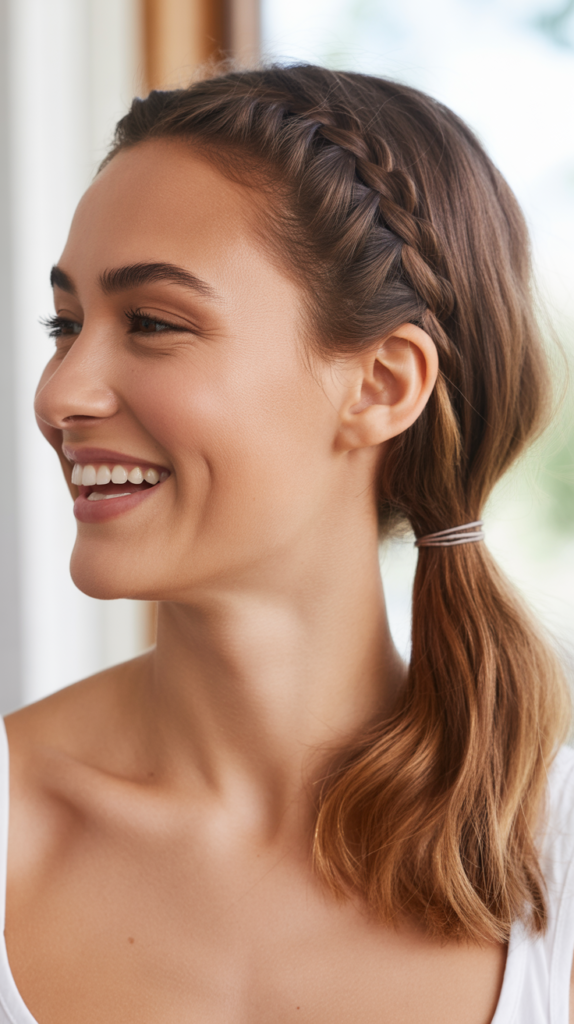
12. The Braided Headband
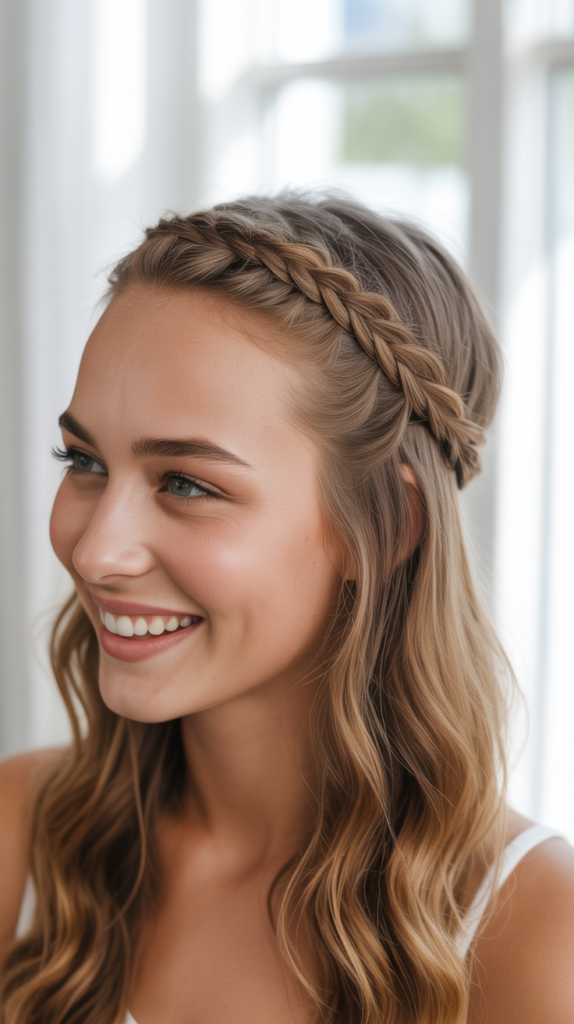
A braided headband creates a boho-chic accessory using your own hair instead of actual headbands or accessories. This style keeps hair off your face while adding textural interest across your crown.
- Take a section of hair from behind one ear horizontally.
- Braid this section traditionally until you reach the other side.
- Bring the braid across your head like a headband would sit.
- Secure behind the opposite ear with bobby pins matching your hair color.
- Leave the rest of your hair down in natural waves or straight.
- You can also create braids on both sides for double headbands.
- Finish by gently loosening the braid for a softer, fuller appearance.
13. The High Ponytail
The high ponytail delivers instant energy and youthfulness while keeping all hair completely off your neck and shoulders. This sporty-chic style works equally well at the gym or for nights out.
- Flip your head upside down for easier gathering at the crown.
- Smooth hair into a ponytail at the highest point of your head.
- Secure tightly with a strong elastic band that won’t slip.
- Flip your head back up and check for bumps or unevenness.
- Smooth the surface with a brush and add bobby pins if needed.
- Wrap a section of hair around the elastic to conceal it.
- Tease the ponytail itself for added volume and dramatic effect.
14. The Rope Braid
The rope braid offers a unique twisted alternative to traditional braiding techniques and creates beautiful texture with just two sections. This technique is actually easier than regular braiding for many people.
- Pull hair into a ponytail first to make the process simpler.
- Divide the ponytail into only two equal sections rather than three.
- Twist each section clockwise individually until both are tight.
- Then wrap the two twisted sections around each other counterclockwise.
- This opposite-direction wrapping prevents the rope from unraveling naturally.
- Secure the end with an elastic when you’ve twisted the full length.
- The result resembles an elegant rope with defined spiral texture.
15. The Pin Curl Updo
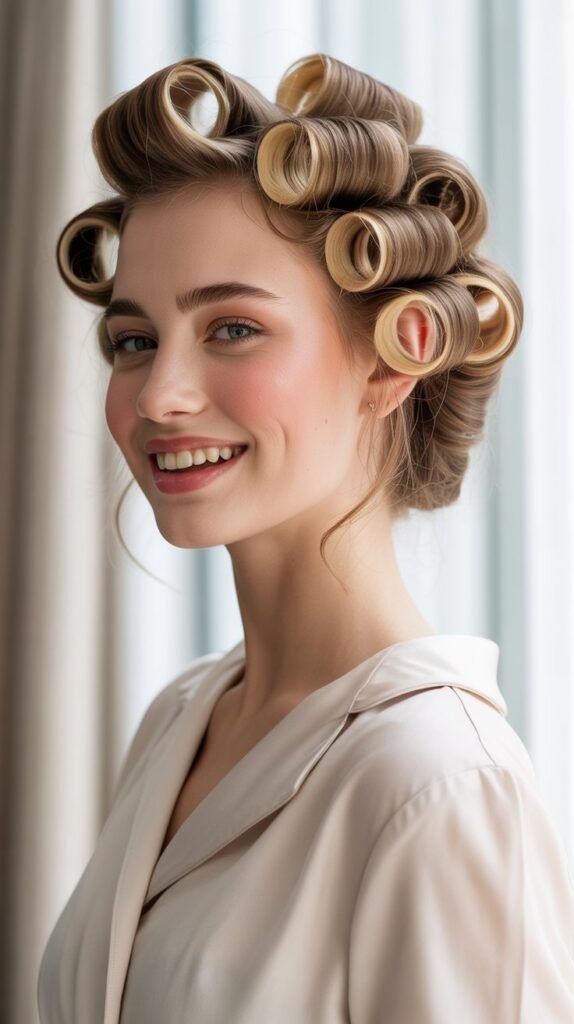
The pin curl updo transforms loose hair into an elegant arrangement using strategic pinning and twisting techniques.
This vintage-inspired style works beautifully for special occasions without requiring heat styling.
- Divide your hair into manageable sections of equal size throughout.
- Take one section and twist it loosely around your finger.
- Pin the resulting curl flat against your head with bobby pins.
- Continue with each section, pinning curls randomly or in patterns.
- Make sure pins are hidden within the curls for seamless appearance.
- This creates a textured, dimensional updo with romantic appeal.
- Spray with flexible-hold hairspray to maintain shape while allowing movement.
16. The Twisted Ponytail
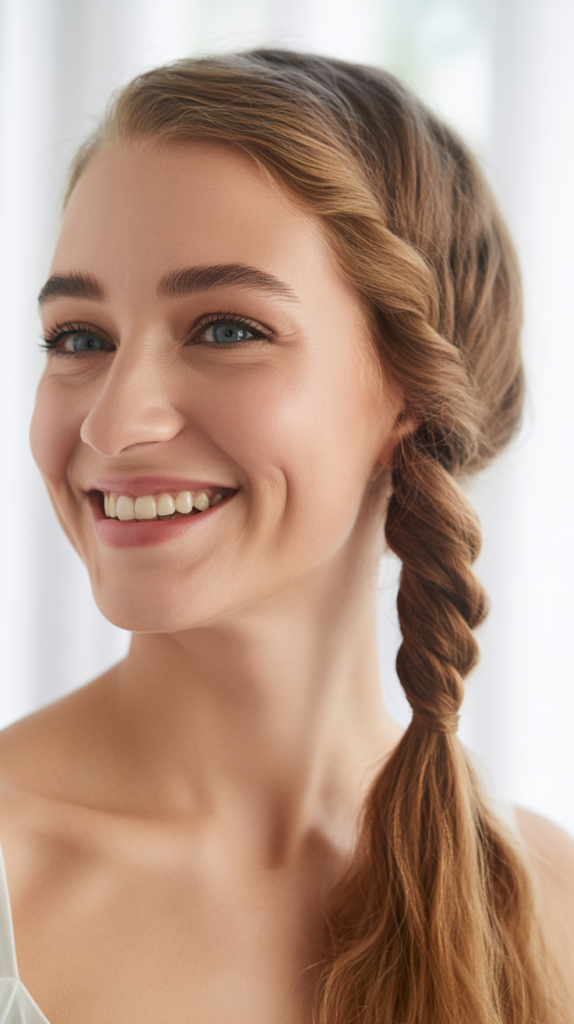
The twisted ponytail adds sophistication to the basic ponytail through simple twisting techniques that create visual interest. This polished variation elevates your look with minimal additional effort.
- Create a regular ponytail at your desired height and secure it.
- Divide the ponytail into two equal sections vertically.
- Twist both sections individually in the same clockwise direction.
- Then twist them around each other in the opposite counterclockwise direction.
- This creates a rope-braid effect within the ponytail itself.
- Secure the end with another elastic to prevent unraveling completely.
- The twist adds elegant texture while maintaining the ponytail’s ease.
17. The Scarf Bun
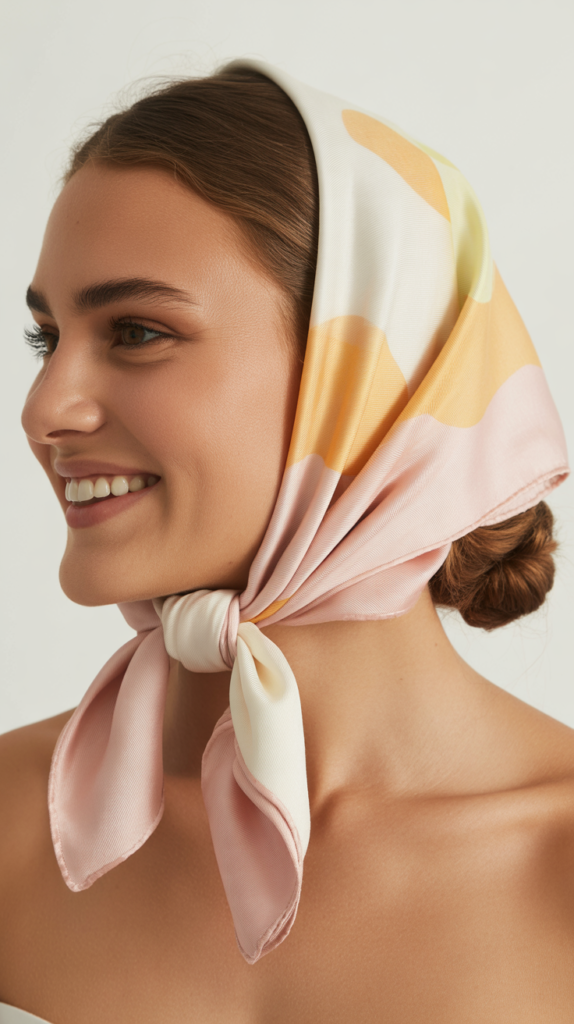
Incorporating a colorful scarf into your bun instantly adds personality and flair while providing extra security for thick or slippery hair. This accessorized style brings bohemian charm to simple updos.
- Tie a long scarf around your head like a headband first.
- Gather all your hair including the scarf into a ponytail.
- Twist the ponytail with the scarf integrated into the twist.
- Wrap everything around the base to form a bun shape.
- The scarf provides pop of color visible throughout the bun.
- Tie the scarf ends into a bow on top or tuck them under.
- This combines function with fashion in one quick styling step.
18. The Side Swept Waves
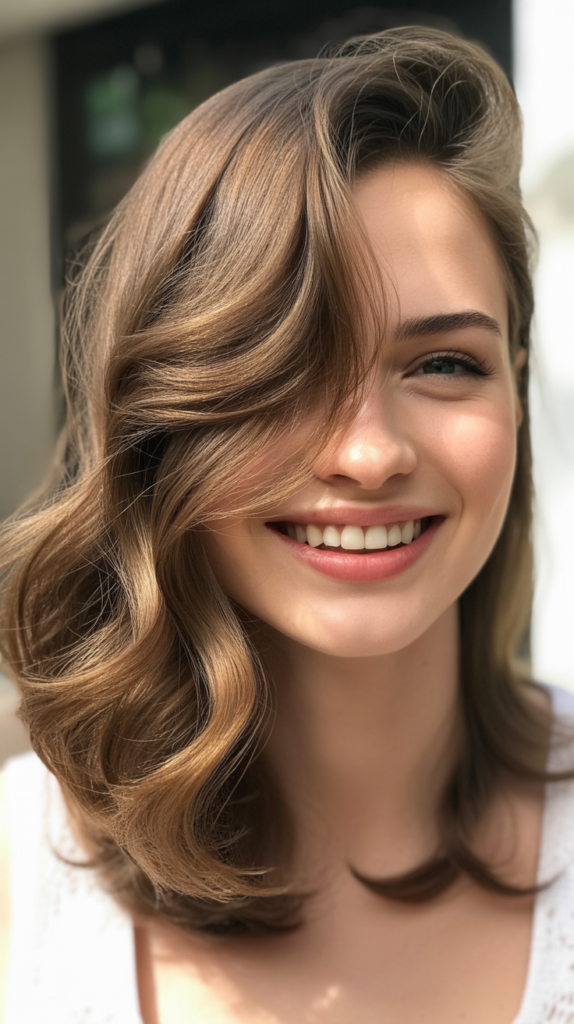
Side swept waves create Hollywood glamour through simple repositioning of your natural or styled waves. This elegant style showcases your hair’s movement while maintaining sophistication.
- Start with hair that has natural wave or add waves with a curling iron.
- Create a deep side part with your fingers or a comb.
- Sweep all hair dramatically to one side of your head.
- Pin the hair behind your ear on the lighter side securely.
- Allow the waves to cascade over your opposite shoulder beautifully.
- Use smoothing cream on the pinned side for sleek contrast.
- Finish with light hairspray to maintain the swept position all evening.
19. The Double Dutch Braids
Double Dutch braids create athletic, cool-girl vibes while keeping every strand secured and protected. These inverted braids sit raised on your head for a dimensional, bold appearance.
- Part your hair straight down the center from forehead to nape.
- Begin with one side by taking three sections at the hairline.
- Cross sections under the middle rather than over for Dutch technique.
- Add more hair to each section as you braid down toward the nape.
- Secure the first braid and repeat the process on the other side.
- Make sure both braids are equal in tightness and positioning.
- Pancake both braids gently for fuller, more relaxed appearance if desired.
20. The Sock Bun
The sock bun creates a perfectly round, voluminous bun using a clever sock trick that adds impressive fullness. This technique is especially helpful for those with thinner or shorter hair.
- Cut the toe off a clean sock and roll it into a donut shape.
- Pull your hair through the sock donut after making a ponytail.
- Spread hair evenly around the sock to cover it completely everywhere.
- Roll the sock down toward your head, gathering hair as you go.
- Continue rolling until the bun sits against your scalp securely.
- Tuck any loose ends under the bun and pin them invisibly.
- The result is a full, perfectly shaped bun with impressive volume.
21. The Waterfall Braid
The waterfall braid creates the illusion of hair cascading through the braid like a waterfall, offering a romantic and intricate appearance. This style looks stunning on medium to long hair with or without waves.
- Begin with a small section at your temple area on one side.
- Start a regular three-strand braid moving horizontally across your head.
- After the first stitch, drop the bottom section and let it hang.
- Pick up a new section from above to replace the dropped section.
- Continue this drop-and-replace pattern as you braid horizontally across.
- The dropped sections create the waterfall effect cascading down beautifully.
- Secure the braid behind your ear or continue to the other side.
22. The Slicked Back Bun
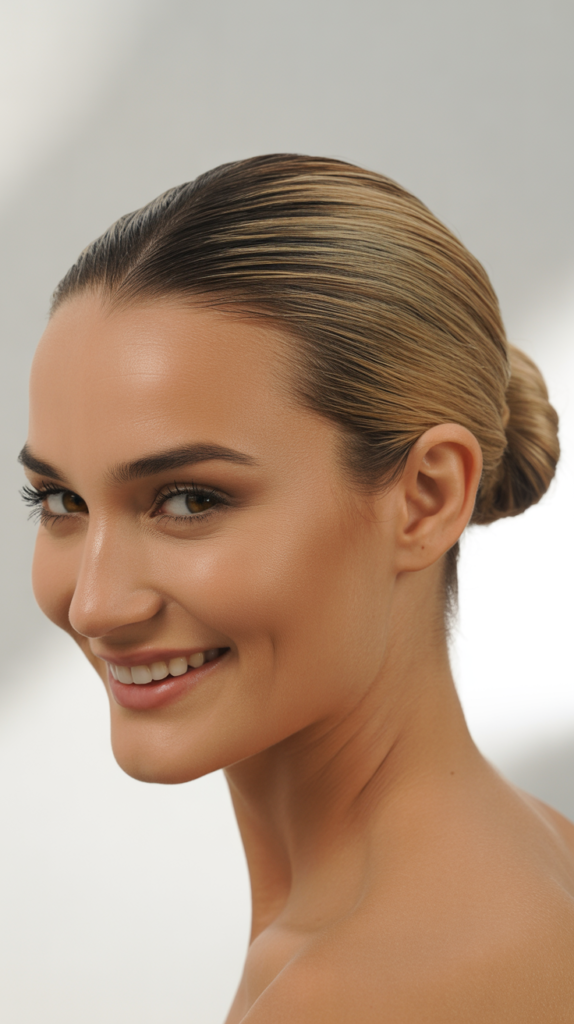
The slicked back bun delivers modern, editorial sophistication with a sleek, no-flyaway finish. This minimalist style puts full focus on your facial features and bone structure.
- Apply gel or strong pomade to damp or dry hair generously.
- Use a fine-tooth comb to brush hair straight back from your hairline.
- Gather all hair into a high or low ponytail depending on preference.
- Twist the ponytail and wrap it into a tight, compact bun.
- Secure with pins and smooth any remaining flyaways with more product.
- Use an edge brush to perfect your hairline and temples.
- Finish with strong-hold hairspray for a long-lasting flawless finish.
23. The Fishtail Braid
The fishtail braid creates an intricate, textured appearance that looks far more complicated than the simple technique actually requires. This stunning braid works wonderfully for casual and dressy occasions alike.
- Divide your hair into just two large sections instead of three.
- Take a thin piece from the outer edge of the right section.
- Cross this thin piece over to join the left section completely.
- Take a thin piece from the outer edge of the left section now.
- Cross it over to join the right section in the same manner.
- Continue alternating sides, always taking from the outer edges only.
- The thinner your pieces, the more intricate the fishtail pattern appears.
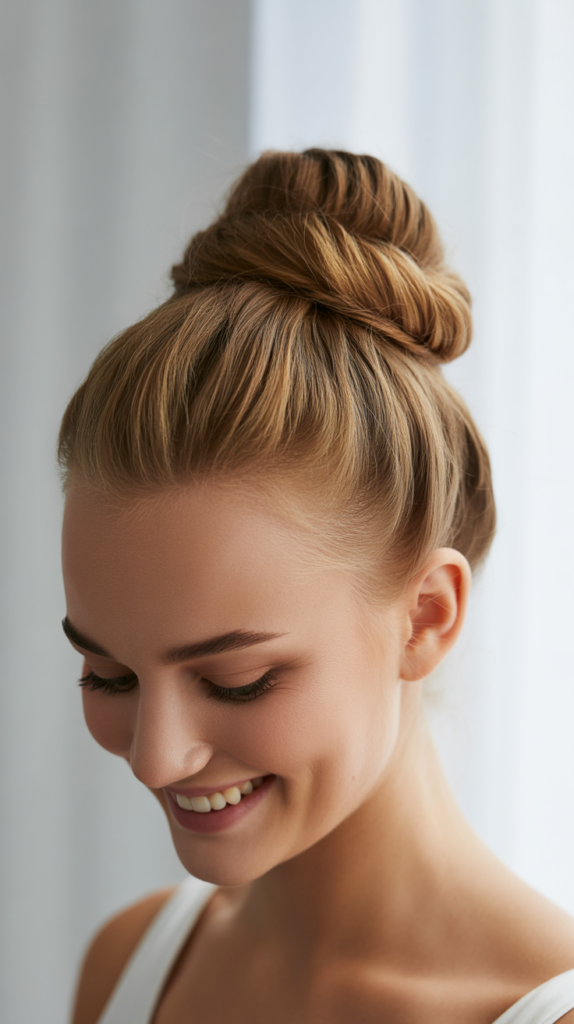
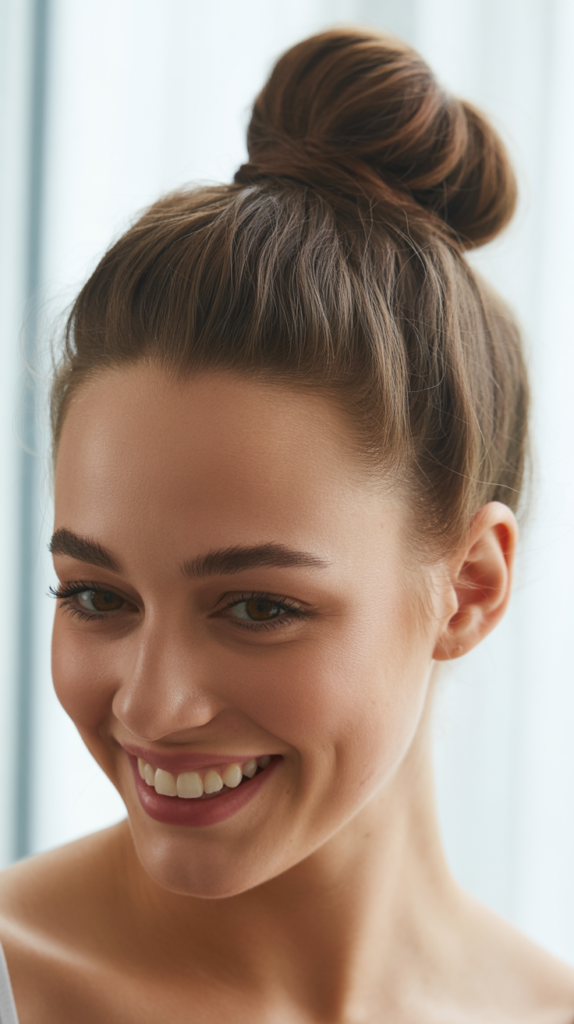
24. The Top Knot with Tendrils
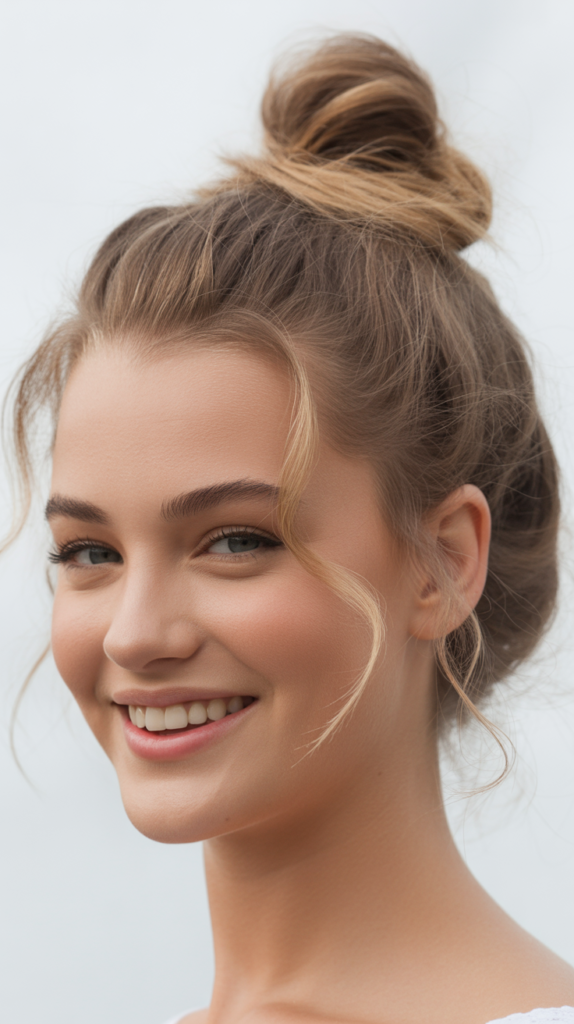
The top knot with tendrils balances polished styling with deliberate softness through strategic face-framing pieces. This combination creates approachable elegance perfect for various occasions.
- Pull hair into a high ponytail but leave pieces out around your face.
- Before securing, pull out thin sections at your temples and nape deliberately.
- Twist the ponytail and wrap it into a knot at your crown.
- Secure the knot with bobby pins ensuring stability throughout.
- Gently pull at the knot to create texture and slight messiness.
- Curl the face-framing tendrils with a small curling iron if desired.
- This combination of structured and soft creates perfect balance visually.
25. The Criss-Cross Ponytail

The criss-cross ponytail adds architectural interest through elastics positioned in an X pattern. This creative detail transforms a basic ponytail into something notably fashion-forward.
- Create a standard ponytail at your desired height and secure it.
- Take two elastics in contrasting or matching colors as preferred.
- Position one elastic diagonally across the ponytail base from upper left to lower right.
- Position the second elastic diagonally in the opposite direction creating an X.
- The criss-cross pattern adds visual dimension and decorative detail instantly.
- Adjust the elastics to ensure the X shape is clear and visible.
- This simple trick elevates the ordinary ponytail with geometric appeal.
26. The Rolled Chignon
The rolled chignon creates ballet-inspired elegance through classic rolling techniques that secure hair beautifully at the nape. This timeless updo works perfectly for formal events and professional settings.
- Brush hair into a low ponytail at the nape of your neck.
- Do not secure with an elastic; instead, hold the ponytail firmly.
- Roll the ponytail upward toward your head, folding it under itself.
- Continue rolling until you reach your scalp with the hair tucked inside.
- Secure the roll with bobby pins inserted horizontally along the fold.
- Make sure the chignon feels tight and secure against your head.
- Spray with hairspray and smooth any stray hairs with gel or pomade.
27. The Pulled-Through Braid
The pulled-through braid creates the illusion of braiding without actually braiding at all using only elastics. This volumin ous faux braid style delivers impressive impact with accessible technique.
- Section off the top portion of your hair and secure with an elastic.
- Take the next section below and create another ponytail with it.
- Split the first ponytail in half and bring both halves around the second.
- Combine the split halves with the next section of hair below.
- Secure this combined section as your third ponytail with an elastic.
- Continue this pull-through pattern down the length of your hair.
- Gently pull at each section to create width and dramatic volume.
28. The Braided Low Ponytail
The braided low ponytail combines two classic styles for doubled elegance and visual texture. This hybrid approach adds sophistication to the standard ponytail through integrated braiding.
- Braid a section from one side of your head toward the back horizontally.
- Gather all remaining hair including the braid into a low ponytail.
- The braid becomes incorporated as part of the ponytail itself seamlessly.
- Secure everything together with a single elastic at the nape.
- You can add multiple braids from different sections for more detail.
- Wrap a piece of hair around the elastic to conceal it elegantly.
- This creates layered interest while remaining quick and effortless to execute.
29. The Half-Up Twist
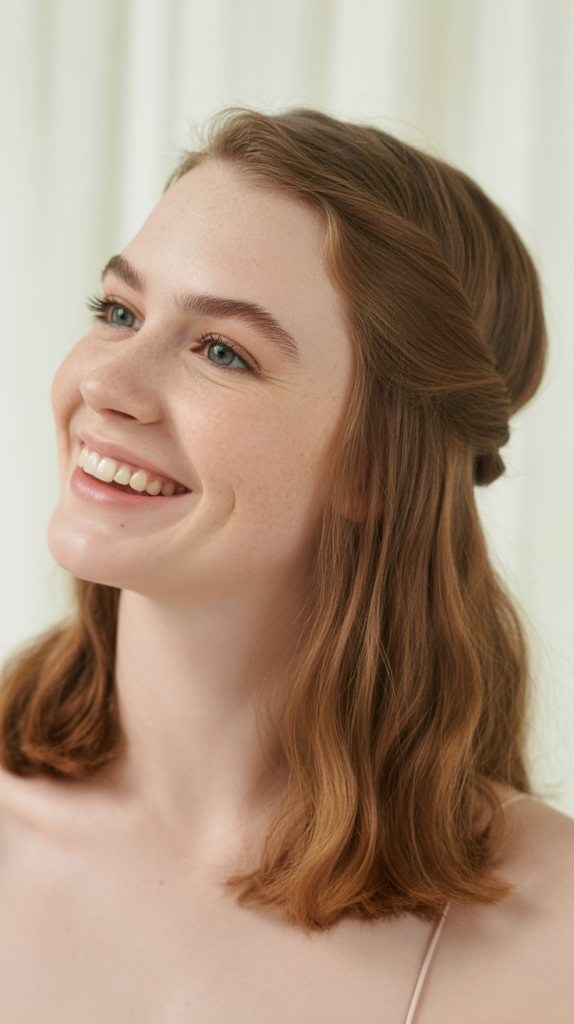
The half-up twist offers a refined alternative to the standard half-up style through elegant twisting instead of simple pulling. This sophisticated variation adds texture and dimension to the upper section.
- Section the top half of your hair from temple to temple horizontally.
- Divide this top section into two equal parts vertically.
- Twist each part individually away from your face in opposite directions.
- Bring both twisted sections to meet at the center back of your head.
- Secure where they meet with bobby pins or a decorative clip.
- Leave the bottom half of your hair flowing naturally down.
- The twists add elegant texture while keeping hair off your face beautifully.
30. The Quick Faux Hawk
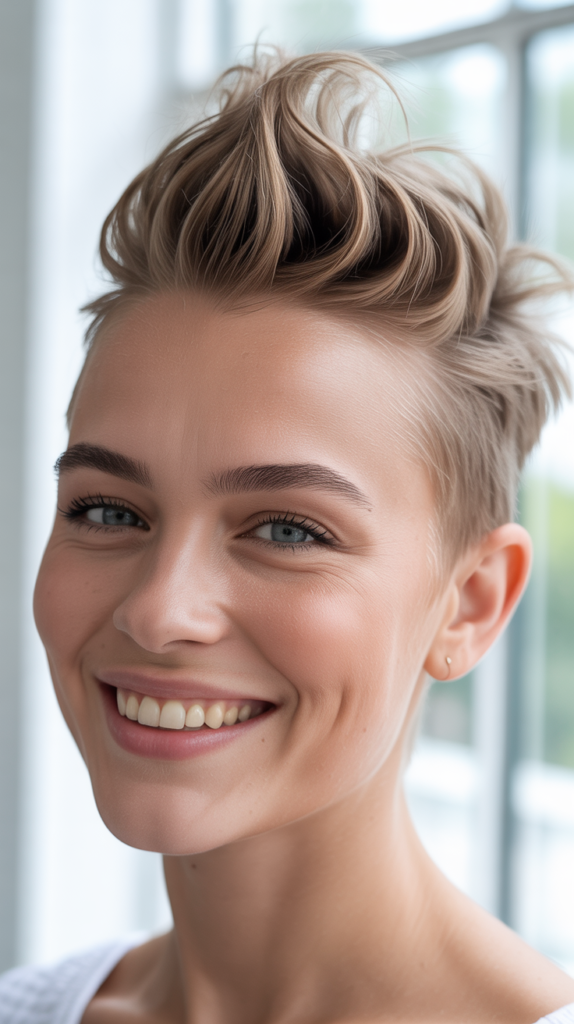
The quick faux hawk brings edgy, bold styling to your look through strategic sectioning and creative pinning. This daring style makes a statement while remaining surprisingly easy to achieve.
- Divide your hair into three vertical sections from front to back.
- Leave the center section loose and pin both side sections flat against your head.
- Tease the center section dramatically for height and volume throughout.
- Smooth the top layer of the teased section for polished finish over texture.
- Use strong bobby pins to secure the side sections tightly against your scalp.
- The center section stands up while sides lie flat creating the faux hawk shape.
- Finish with strong-hold hairspray to maintain the dramatic height all day.
Conclusion
You’ve just discovered 30 Cute Simple Hairstyles You Can Do in Under 5 Minutes that will revolutionize your daily routine and ensure you always look put-together regardless of how rushed your morning becomes.
These versatile styles accommodate different hair types, lengths, and personal aesthetics, giving you endless options for every occasion. From professional meetings to casual coffee dates, gym sessions to elegant evenings out, you now have a comprehensive toolkit of quick hairstyling solutions at your fingertips.
The beauty of these hairstyles lies not just in their speed but in their accessibility—no professional training or expensive tools required. Practice your favorites a few times, and they’ll become second nature, taking even less time as you develop muscle memory.
Remember that the best hairstyle is the one that makes you feel confident and comfortable, so experiment with these options to find your personal go-to styles.
Say goodbye to bad hair days and hello to effortless, beautiful hair every single day. Your mornings just became infinitely easier and your hair infinitely more fabulous.