
Every parent knows the daily struggle of keeping their child’s hair away from their eyes, especially during playtime, meals, or school activities.
33 Adorable Kids’ Hair Ideas That Keep Hair Out of the Face offers practical and stylish solutions that combine functionality with fun, ensuring your little ones can see clearly while looking their best.
Whether you’re dealing with fine baby hair, thick curls, or something in between, this comprehensive guide presents creative hairstyles that are easy to recreate at home, require minimal time, and keep hair securely in place throughout the day.
From classic braids and playful ponytails to trendy clips and headbands, these ideas cater to various hair types, lengths, and occasions, making morning routines smoother and giving children the freedom to play, learn, and explore without constant hair adjustments.
This article walks you through each hairstyle with clear explanations, helpful tips, and practical advice that transforms hair management from a frustrating chore into an enjoyable bonding experience between you and your child.
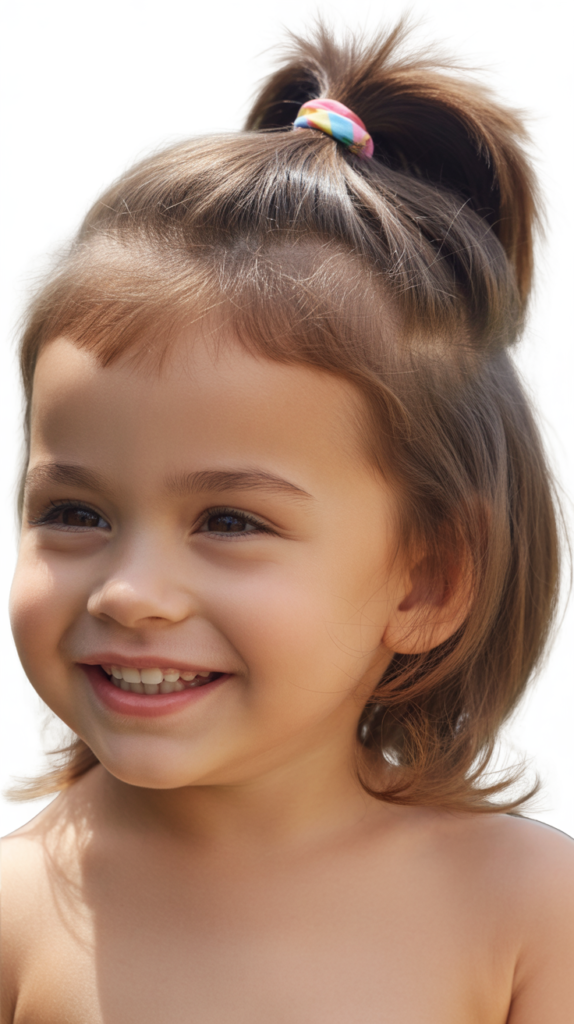
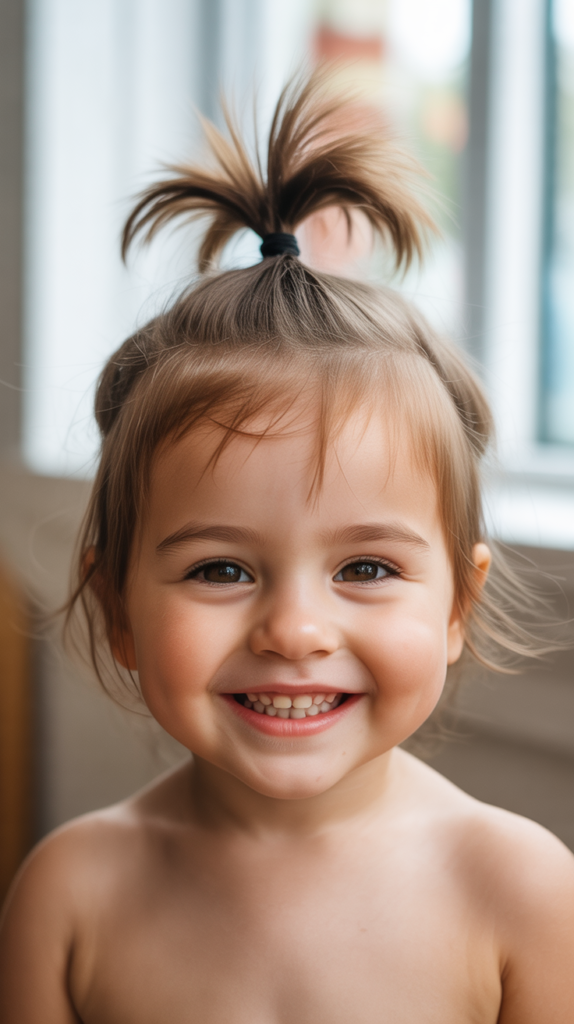
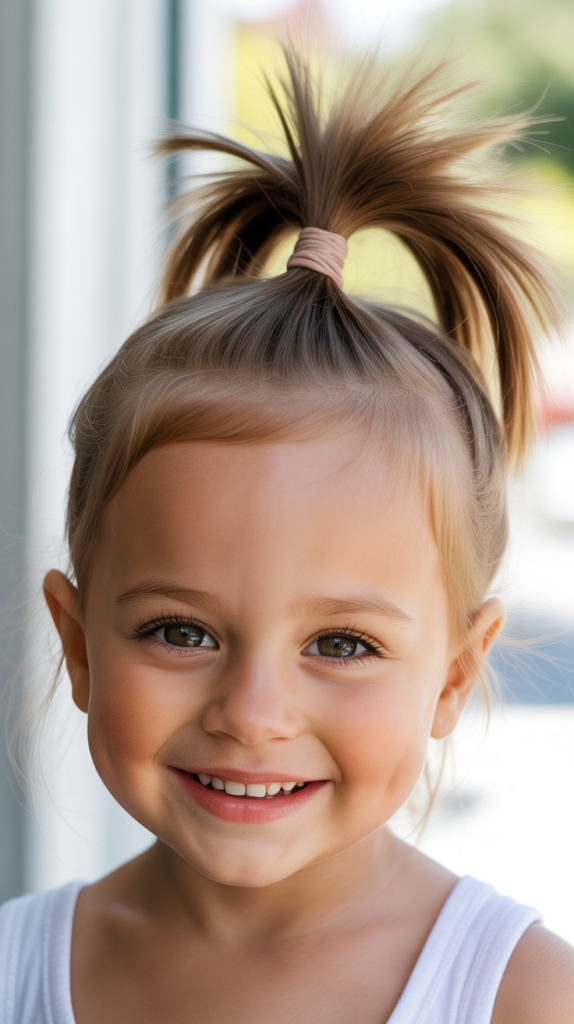
1. Classic High Ponytail
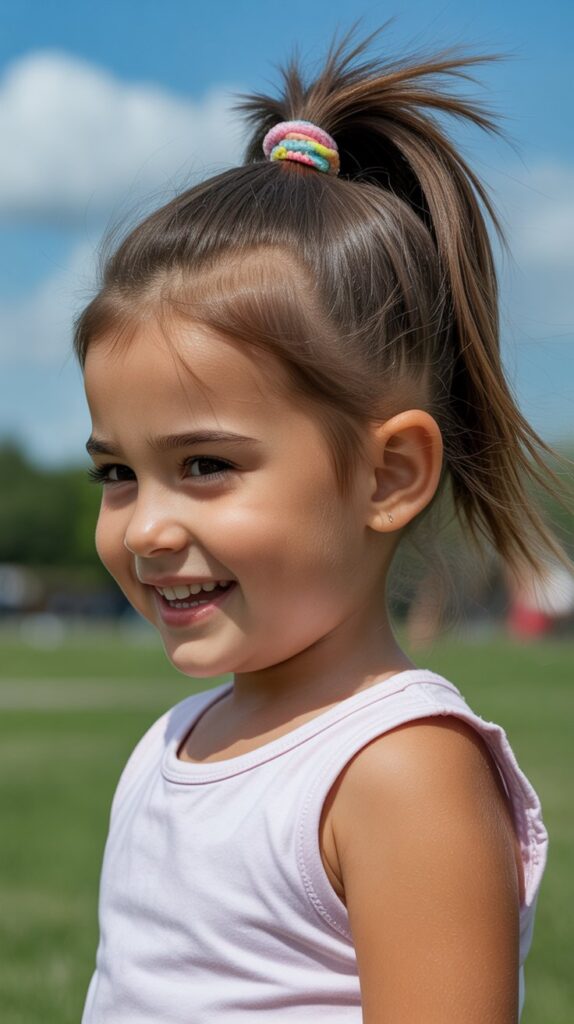
The high ponytail remains one of the most reliable hairstyles for keeping hair completely off the face and neck. This timeless style works beautifully for active children who need their hair secured during sports, outdoor play, or school activities.
- Gather all hair at the crown of the head using a brush to smooth out any bumps or tangles.
- Secure with a soft, fabric-covered elastic band that won’t damage delicate hair strands.
- Pull the ponytail through the elastic one final time, leaving a small loop to create extra volume and security.
- Spray lightly with water or leave-in conditioner to tame flyaways around the hairline.
- Add a colorful scrunchie or ribbon for a personalized touch that matches your child’s outfit or favorite colors.
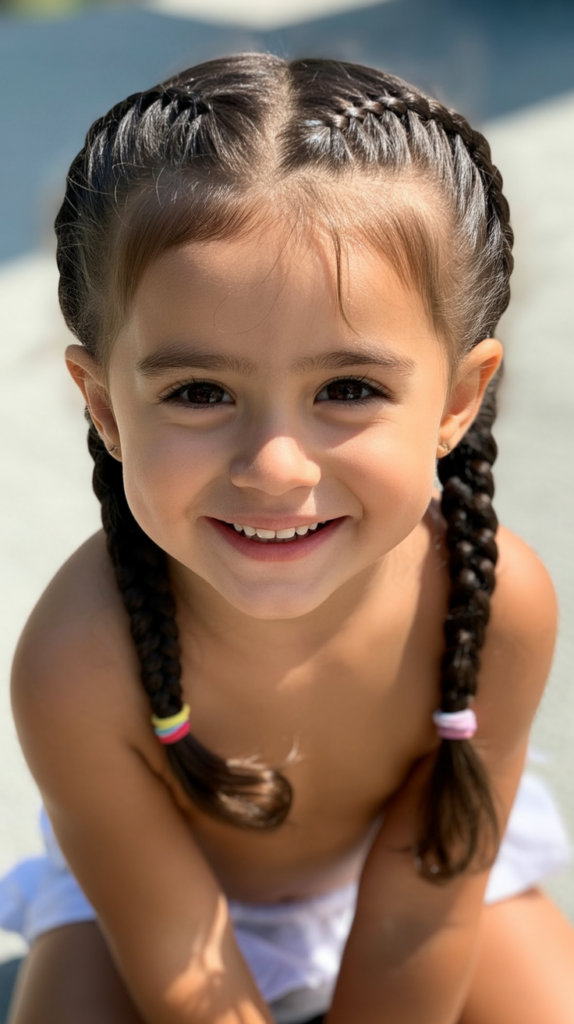
2. Double Dutch Braids
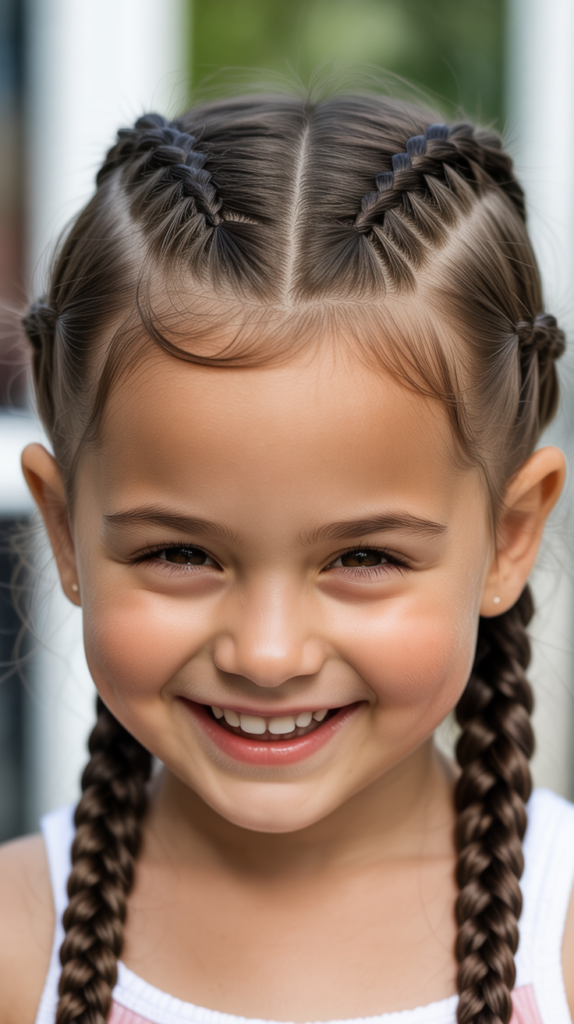
Double Dutch braids offer maximum security and style, keeping hair firmly in place for extended periods. These inside-out braids create a raised, three-dimensional effect that looks intricate but becomes easier with practice.
- Part the hair straight down the middle from forehead to nape, creating two equal sections.
- Clip one side away while working on the other to maintain clean separation.
- Begin the Dutch braid at the hairline by crossing sections under rather than over, adding small portions of hair with each stitch.
- Keep tension consistent throughout the braid to prevent loose sections that might fall out during activity.
- Secure each braid at the bottom with small elastics and tuck the ends under if desired for a neater appearance.
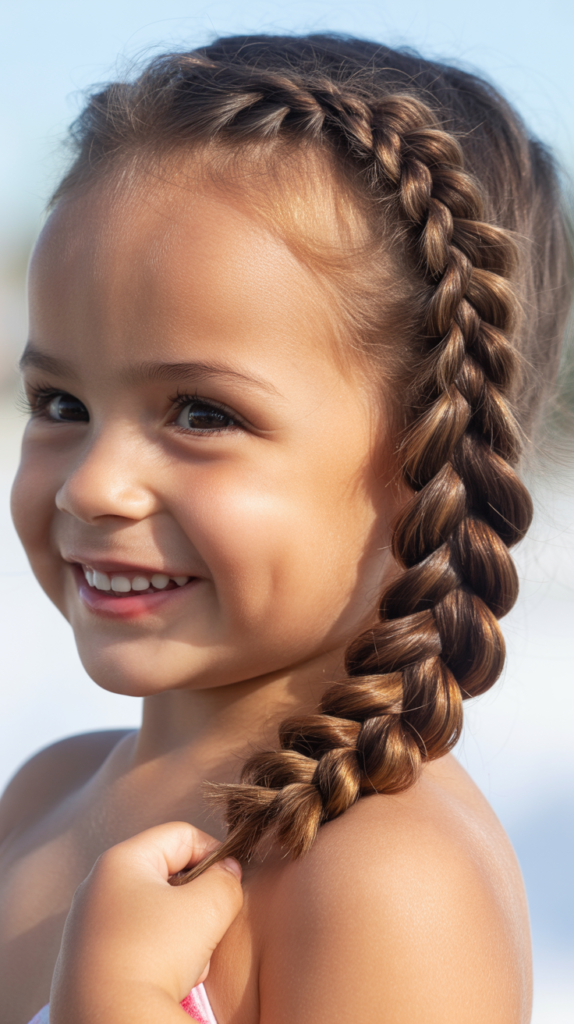
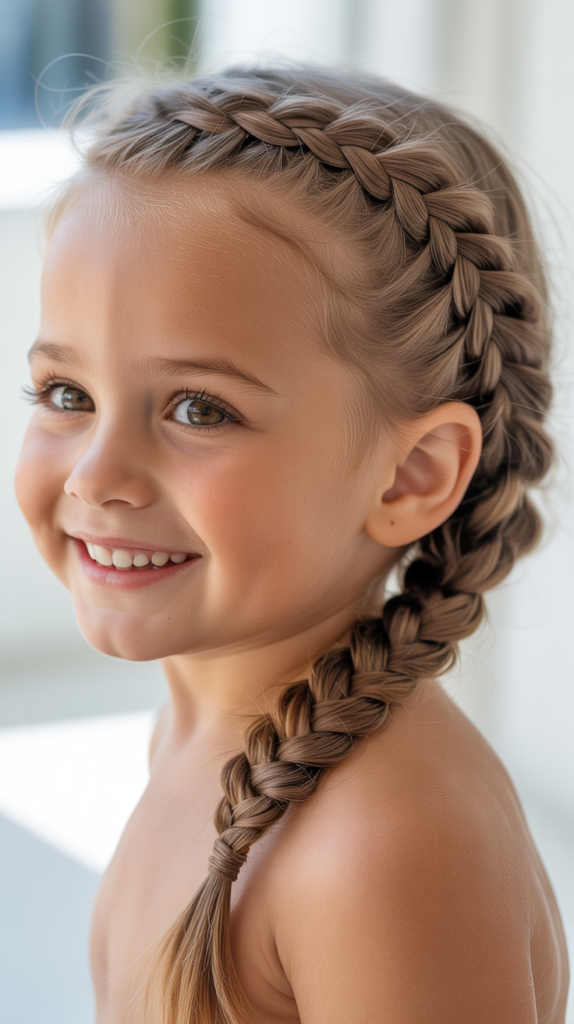
3. Simple Side Braid
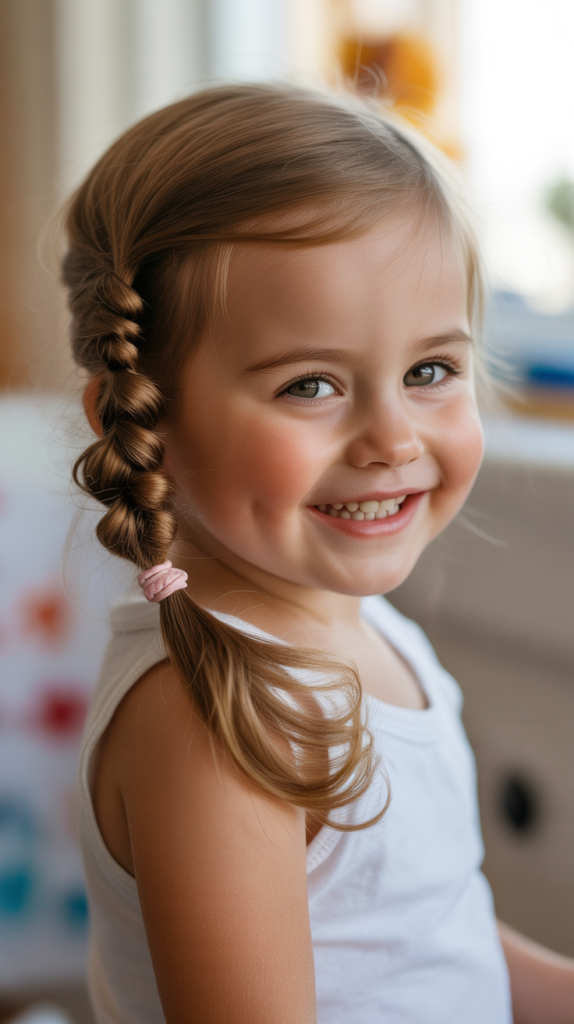
The side braid provides a practical yet charming solution that sweeps hair away from one side of the face. This versatile style suits various hair lengths and textures while maintaining a relaxed, approachable appearance.
- Sweep all hair to one side, positioning it over the shoulder for easy access.
- Divide the hair into three equal sections at the point where you want the braid to begin.
- Cross the right section over the middle, then the left section over the new middle, continuing this pattern down the length.
- Keep the braid slightly loose for a softer, more casual look that’s still functional.
- Fasten the end with a small elastic and gently pull on the braid sections to add dimension and width.
4. Top Knot Bun
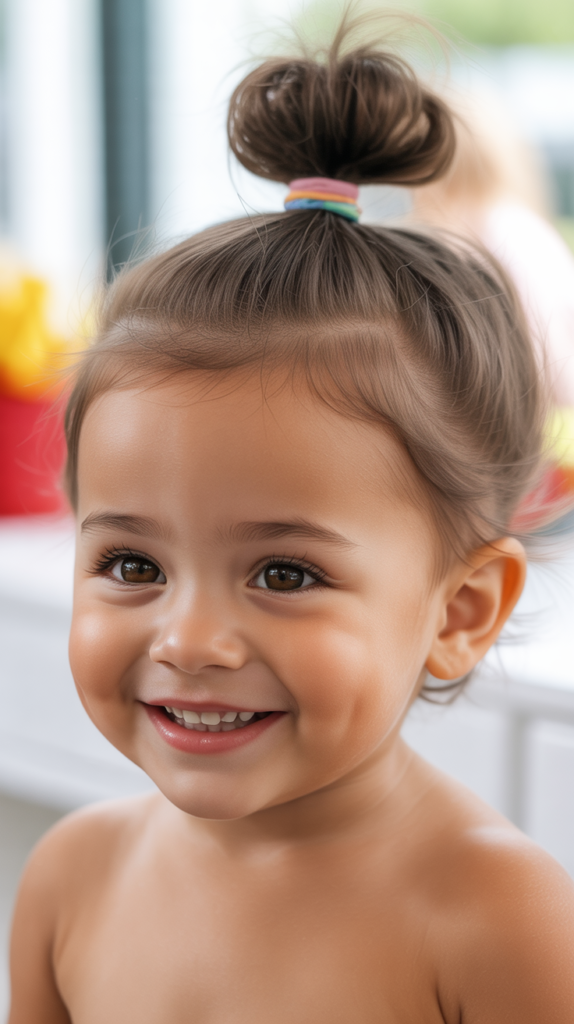
The top knot bun combines style and practicality by gathering all hair at the crown in a compact, secure bundle. This elevated style keeps hair completely off the face, neck, and shoulders, making it ideal for warm weather or physical activities.
- Flip the head upside down and brush all hair toward the crown to create a smooth, high ponytail.
- Secure the ponytail with a strong elastic band, ensuring it’s tight enough to hold without causing discomfort.
- Twist the ponytail around its base, wrapping it in a circular motion to form a bun shape.
- Tuck the ends underneath the bun and secure with bobby pins that match the hair color.
- Smooth any loose hairs around the hairline with a bit of water or styling gel for a polished finish.
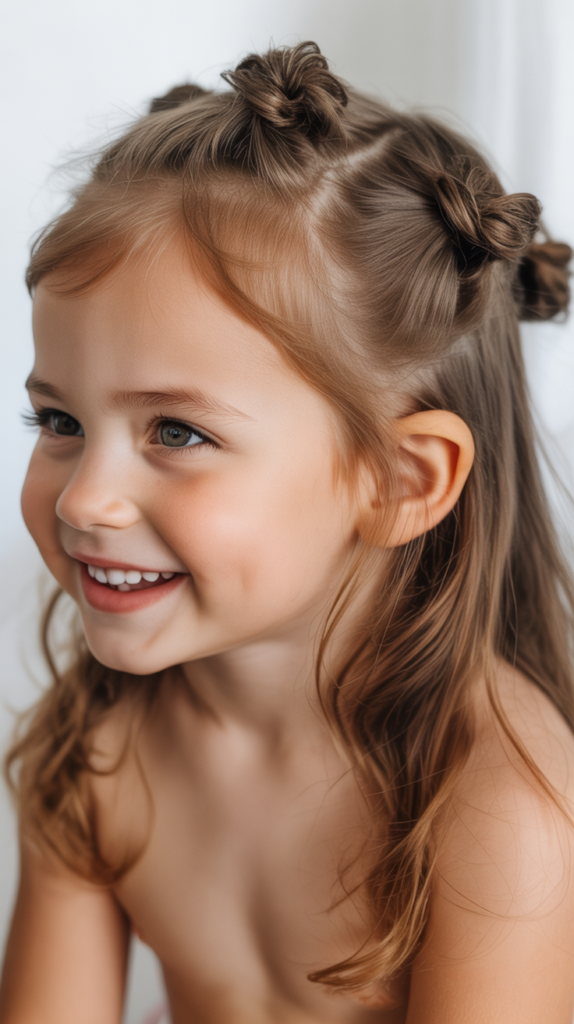
5. Twisted Half-Up Style

The twisted half-up style elegantly combines the best of both worlds by securing the front sections while leaving length flowing down the back. This romantic style works particularly well for children with medium to long hair who want a dressier look.
- Section off the front portions of hair from temple to temple, leaving the back hair down.
- Divide one front section into two strands and twist them around each other, working backward toward the crown.
- Repeat the twisting process on the opposite side, ensuring both twists are even and symmetrical.
- Bring both twists together at the center back of the head and secure with a decorative clip or elastic.
- Gently pull on the twists to loosen them slightly, creating a softer, more voluminous appearance.
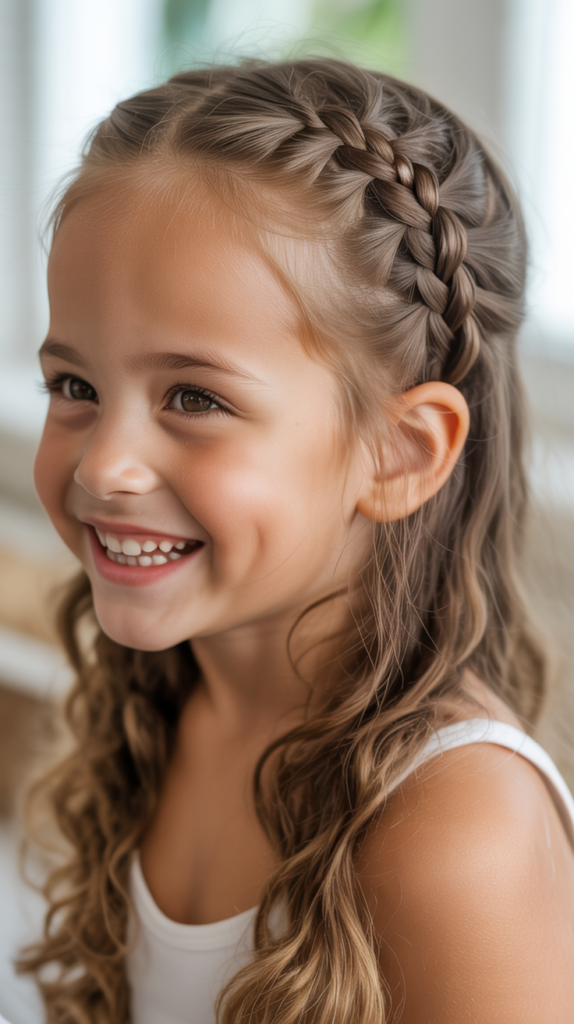
6. Braided Headband
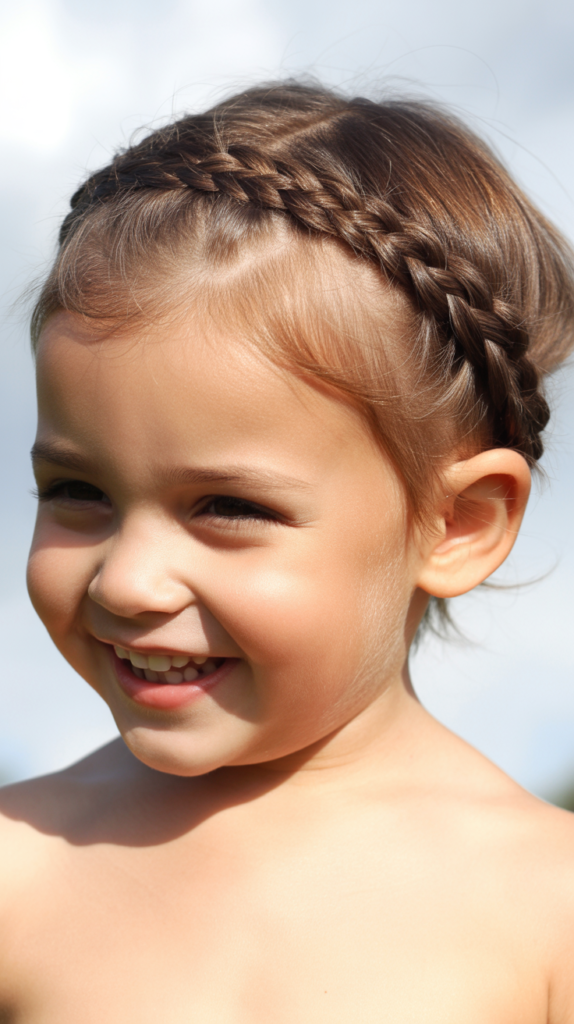
The braided headband creates a natural hair accessory by transforming a thin braid into a band that holds back front hair. This creative style eliminates the need for actual headbands while providing the same functional benefits.
- Take a small section of hair from behind one ear and divide it into three equal parts.
- Create a tight, thin braid that extends from ear to ear across the top of the head.
- Pin the braid securely at the opposite ear using bobby pins that blend with the hair color.
- Allow the remaining hair to flow naturally down the back or style it separately as desired.
- Adjust the braid’s position to ensure it effectively holds back any face-framing pieces.
7. Multiple Mini Ponytails
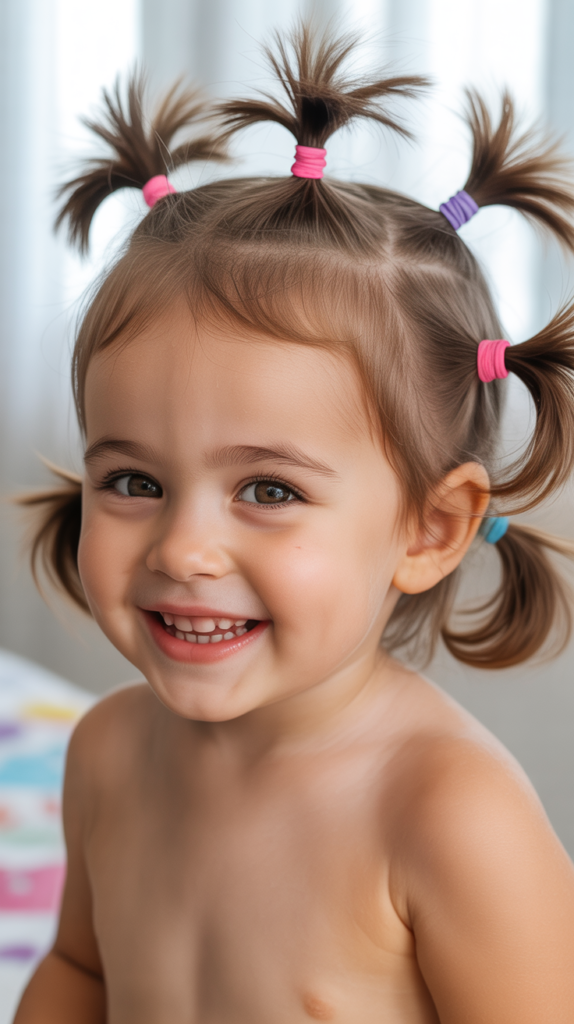
Multiple mini ponytails transform hair into a playful, secure style by creating several small ponytails across the head. This fun technique works exceptionally well for younger children and keeps even the shortest layers away from the face.
- Part the hair into horizontal or vertical sections depending on the desired pattern.
- Create small ponytails with each section, securing them with colorful elastics.
- Space the ponytails evenly across the head for a balanced, organized appearance.
- Use elastics in different colors to create patterns or rainbow effects that children love.
- Twist or braid the individual ponytails for added interest and extra security.
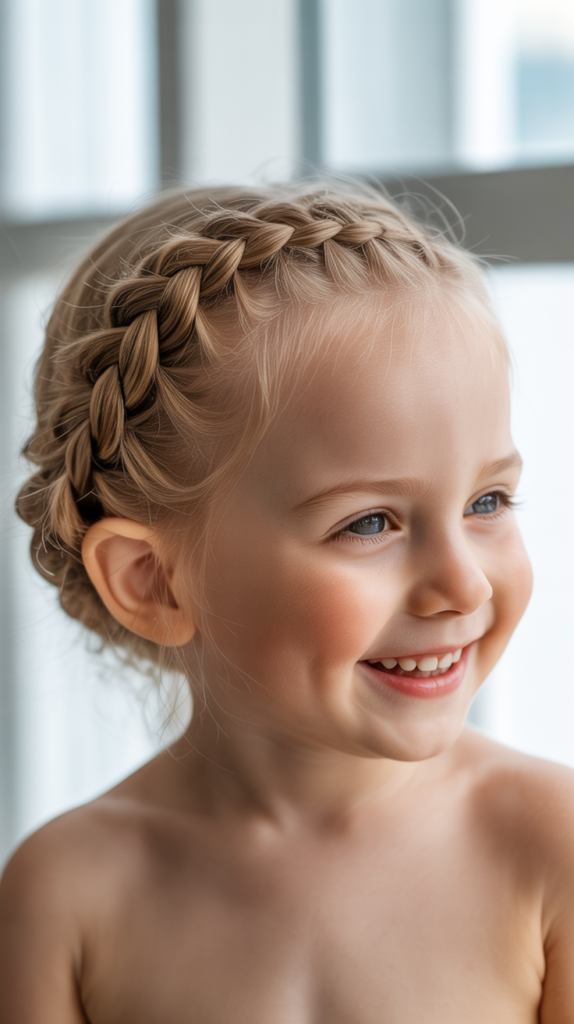
8. French Braid Crown
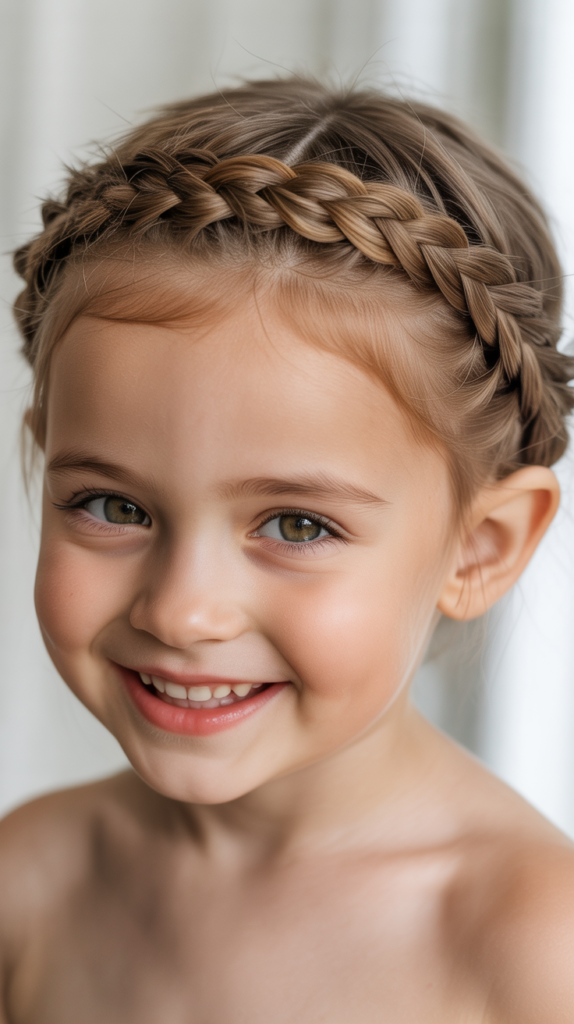
The French braid crown wraps around the head like a halo, keeping all hair secured while creating an elegant, sophisticated appearance. This style suits special occasions and everyday wear equally well.
- Begin the French braid at one ear, working horizontally around the hairline toward the opposite ear.
- Add small sections of hair from both the top and bottom as you braid around the head’s perimeter.
- Continue the braid all the way around until you return to the starting point.
- Tuck the remaining tail underneath the crown braid and secure with hidden bobby pins.
- Smooth any bumps or loose pieces with a light styling product for a refined finish.
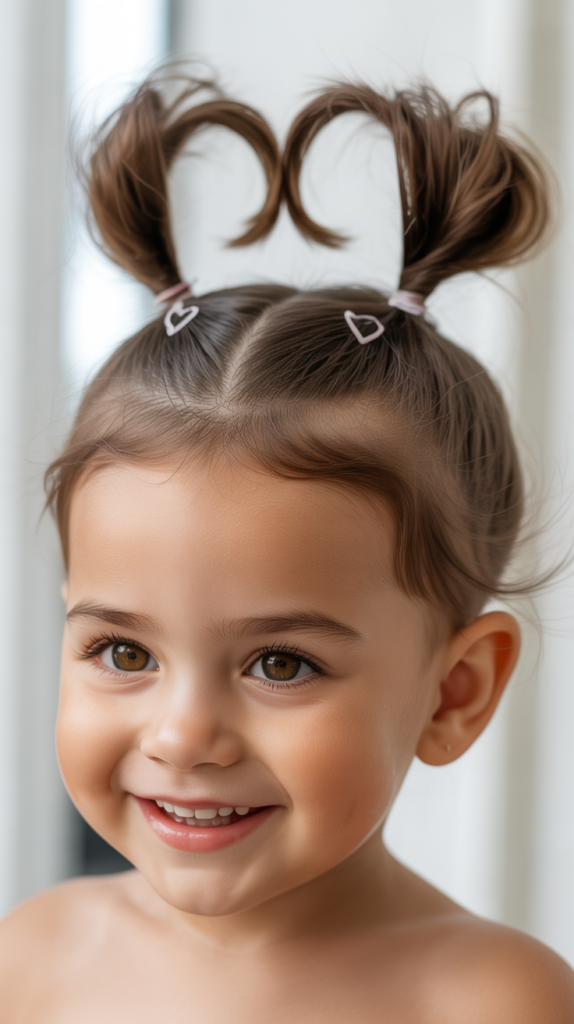
9. Low Pigtails
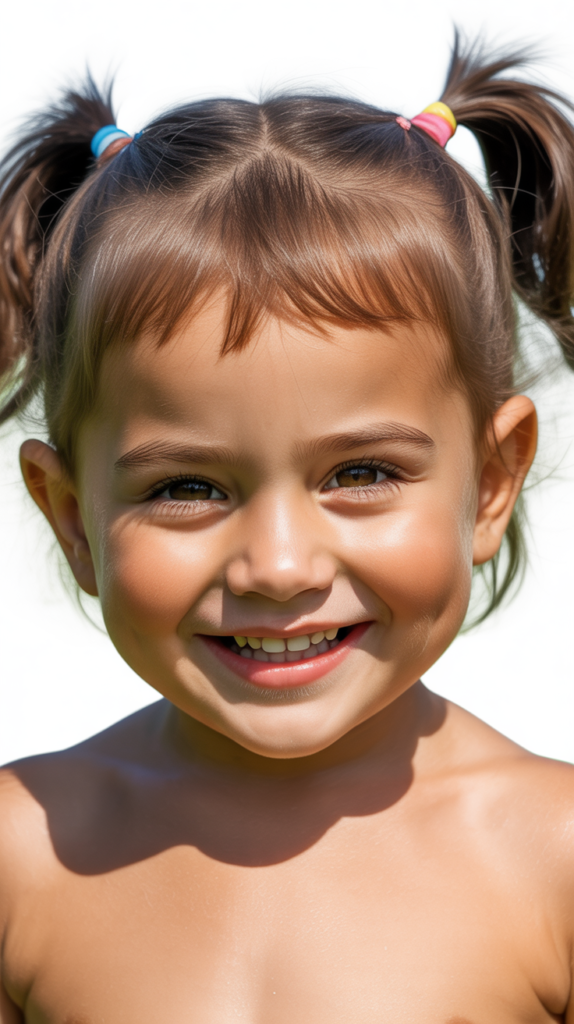
Low pigtails position hair at the nape level, providing a comfortable, secure style that doesn’t pull on the scalp. This classic childhood look remains practical and adorable across generations.
- Part the hair straight down the middle from forehead to neck, creating two even halves.
- Gather each section at the lower back of the head, just above the neck.
- Secure each pigtail with soft elastics that won’t snag or damage fine hair.
- Ensure both pigtails sit at the same height by checking in a mirror from multiple angles.
- Add ribbons, bows, or decorative elastics to enhance the style’s charm and personality.
10. Bubble Ponytail
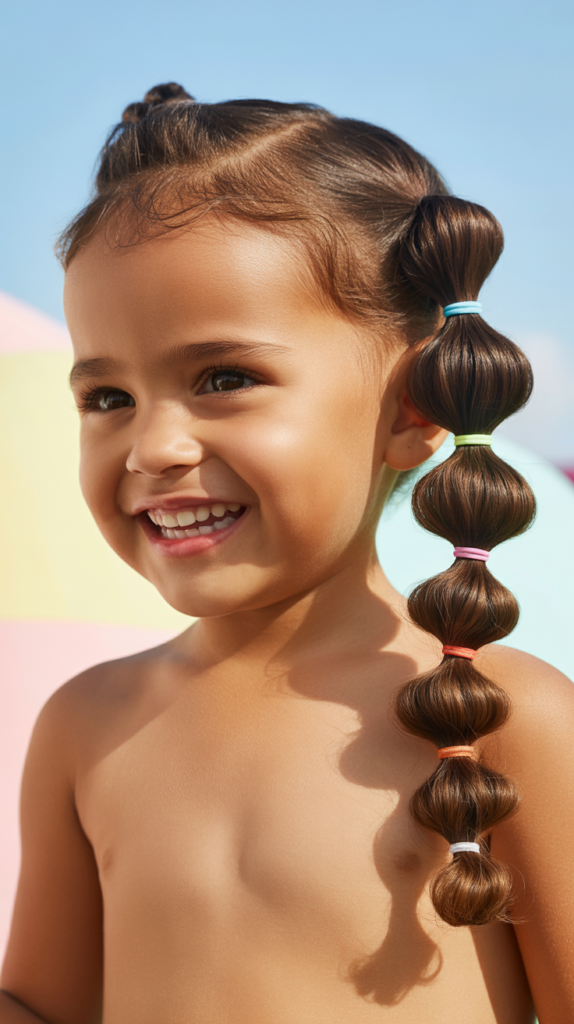
The bubble ponytail creates a fun, dimensional effect by adding elastics at intervals down a ponytail, forming distinct “bubbles.” This trendy style keeps hair secure while adding visual interest that children find exciting.
- Create a high or low ponytail and secure it with a primary elastic band.
- Place additional elastics down the length of the ponytail at even intervals, about 2-3 inches apart.
- Gently pull on each section between elastics to create rounded, puffy bubbles.
- Adjust the size and fullness of each bubble by pulling more or less hair outward.
- Finish with a final elastic at the bottom and fluff each bubble for maximum volume.
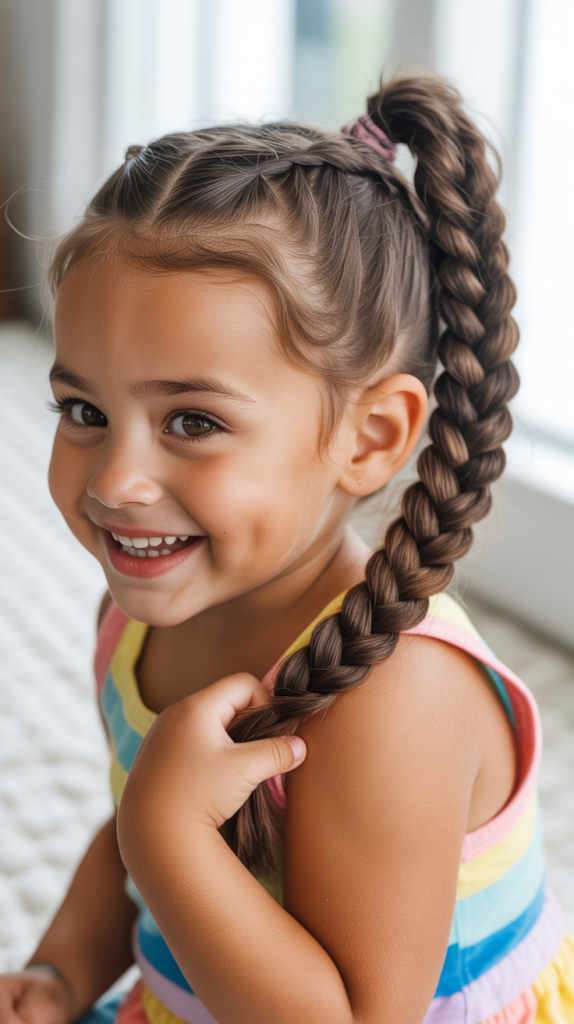
11. Twisted Side Ponytail
The twisted side ponytail combines simple twisting technique with a low side placement for an elegant yet easy style. This asymmetrical look adds sophistication while remaining completely functional for active children.
- Gather all hair to one side at the lower portion of the head, near the ear.
- Divide the ponytail into two equal sections before securing it with an elastic.
- Twist the two sections around each other in a rope-like pattern down the entire length.
- Secure the twisted end with another elastic to prevent unraveling during activity.
- Pull gently on the twists to create a fuller, more textured appearance.
12. Crisscross Ponytail
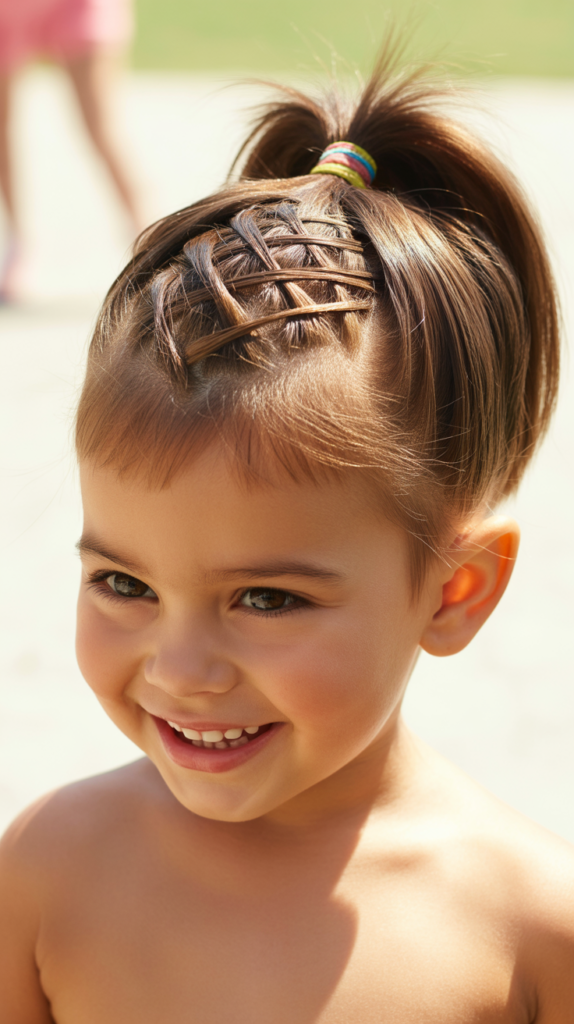
The crisscross ponytail uses overlapping sections to create visual interest while providing superior hold. This innovative technique prevents the ponytail from slipping down throughout the day.
- Create two small ponytails at the crown area, positioned one behind the other.
- Split the front ponytail in half and pull these sections around the back ponytail.
- Combine all hair together with the sections from the front ponytail and secure with a final elastic.
- Adjust the crisscross sections to ensure they’re visible and symmetrical.
- Smooth the top section with a brush for a polished, intentional appearance.
13. Zigzag Part with Pigtails
The zigzag part adds a playful twist to traditional pigtails by creating a fun, irregular parting line. This simple variation transforms an everyday style into something special that children enjoy showing off.
- Use a rat-tail comb to create a zigzag pattern instead of a straight part, moving from forehead to nape.
- Carefully follow the zigzag line to separate hair into two sections.
- Gather each section into a pigtail at the desired height on the sides of the head.
- Secure with elastics and ensure the zigzag part remains visible and neat.
- Spray lightly with water to keep flyaways down and maintain the part’s definition.
14. Half-Up Ponytail
The half-up ponytail strikes the perfect balance between secured and flowing hair, keeping face-framing pieces away while showcasing length. This versatile style transitions seamlessly from casual to dressy settings.
- Section off the top half of hair from ear to ear, leaving the bottom section down.
- Gather the top section at the crown or slightly lower, depending on preference.
- Secure with an elastic band, ensuring the ponytail sits smoothly without bumps.
- Tease the ponytail gently at the base for added volume if desired.
- Leave the remaining hair straight, curled, or styled according to the occasion.
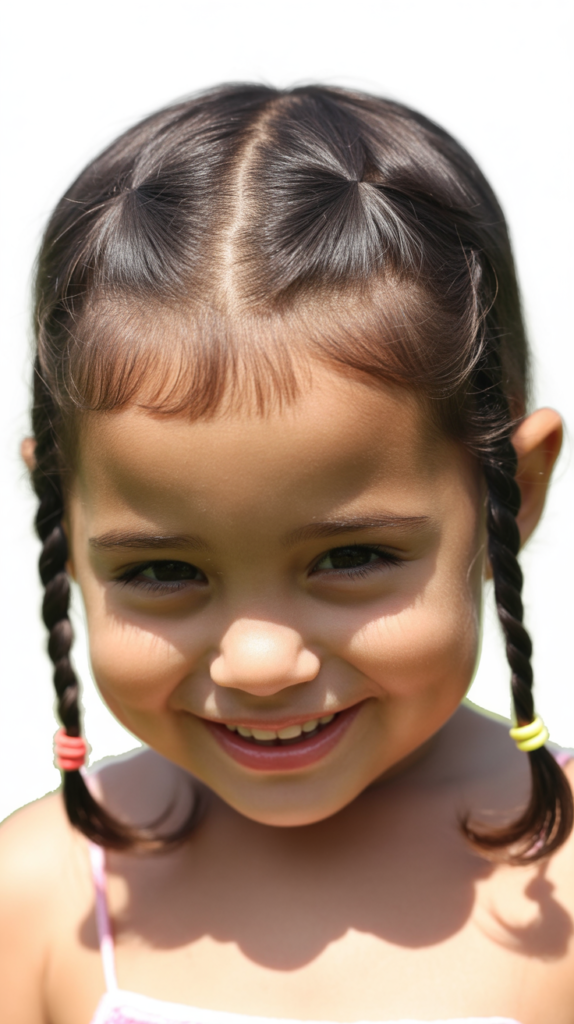
15. Braided Pigtails
Braided pigtails combine the security of pigtails with the added hold of braids, creating a doubly secure style. This classic combination keeps hair in place during even the most vigorous activities.
- Part the hair down the middle and create two equal pigtails at the desired height.
- Braid each pigtail from base to end using the traditional three-strand technique.
- Maintain consistent tension throughout both braids for uniform appearance and durability.
- Secure the bottom of each braid with small elastics that won’t overwhelm fine hair.
- Smooth the top sections where the pigtails begin for a neat, intentional look.
16. Flower Bun
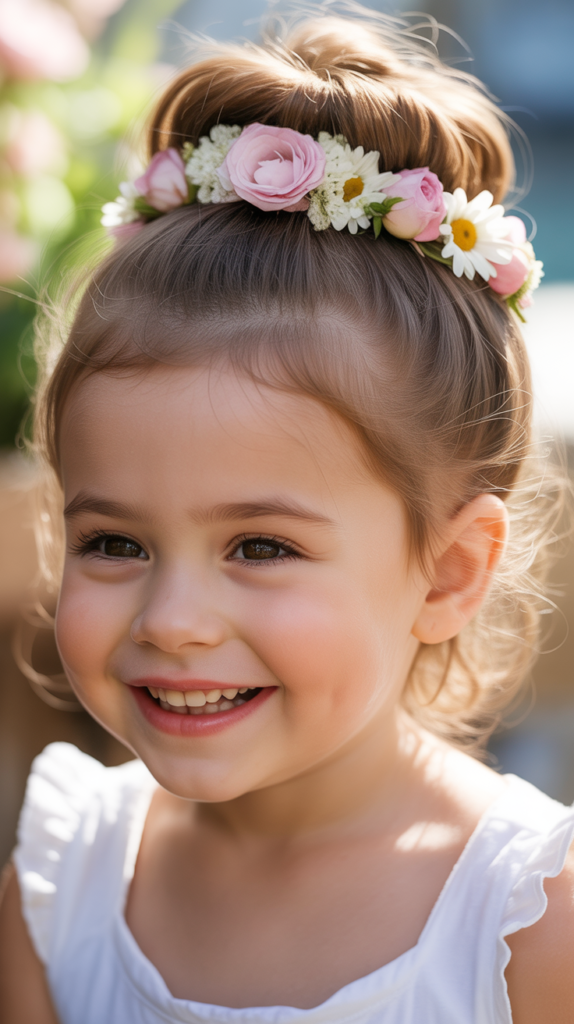
The flower bun creates an adorable, blossom-shaped design at the crown by arranging hair in a circular pattern. This creative style works wonderfully for special occasions or whenever your child wants to feel extra special.
- Create a high ponytail and secure it tightly with an elastic band.
- Braid the entire ponytail and wrap it around the base in a circular, spiral pattern.
- Pin the braid as you wrap it, creating a flat, flower-like shape.
- Tuck the end of the braid underneath the bun and secure with bobby pins.
- Pull gently on the outer edges of the “petals” to create a fuller, more defined flower shape.
17. Side-Swept with Clips
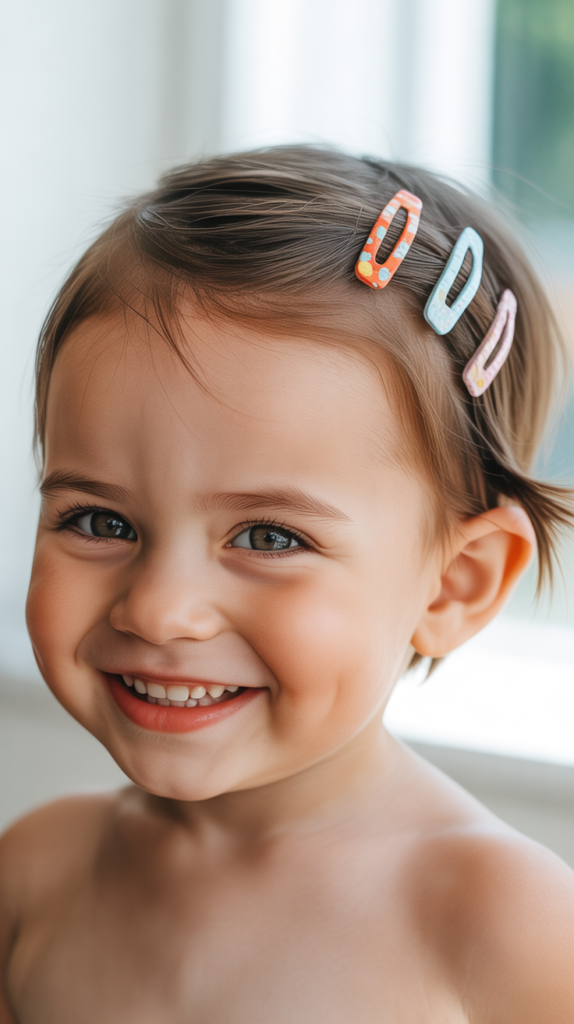
Side-swept hair secured with decorative clips offers the simplest solution for keeping hair away from the face. This no-fuss approach works particularly well for children who resist more complex styling.
- Brush all front hair to one side, sweeping it away from the face and eyes.
- Select decorative clips, barrettes, or bobby pins that securely hold the hair in place.
- Layer multiple clips if necessary to ensure all face-framing pieces stay put.
- Position clips at angles that both function well and create visual interest.
- Choose clips in fun shapes, colors, or characters that match your child’s personality.
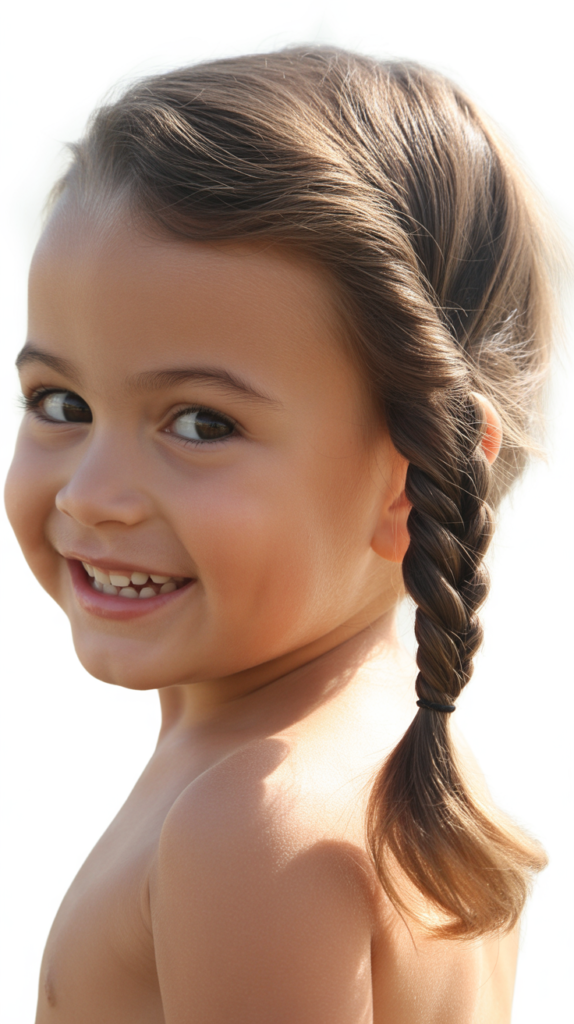
18. Rope Braid Ponytail
The rope braid ponytail uses a two-strand twisting technique that’s faster than traditional braiding while providing excellent hold. This underutilized style combines efficiency with an interesting texture.
- Gather hair into a ponytail at any desired height and secure with an elastic.
- Divide the ponytail into two equal sections.
- Twist each section individually in the same direction (usually clockwise).
- Wrap the two twisted sections around each other in the opposite direction (counterclockwise).
- Secure the end with an elastic and the rope will naturally stay twisted due to the opposing directions.
19. Heart-Shaped Bun
The heart-shaped bun creates a sweet, romantic silhouette that children adore. This special style works perfectly for Valentine’s Day, parties, or any time your child wants a distinctive look.
- Create a high ponytail and divide it into two equal sections.
- Form each section into a small loop and pin them at the base, positioned next to each other.
- Shape the loops into half-heart curves, pinning them to maintain the round tops.
- Bring both loops down to meet at a point at the bottom, creating the heart’s base.
- Tuck any remaining ends underneath and secure with additional bobby pins.
20. Headband Tuck
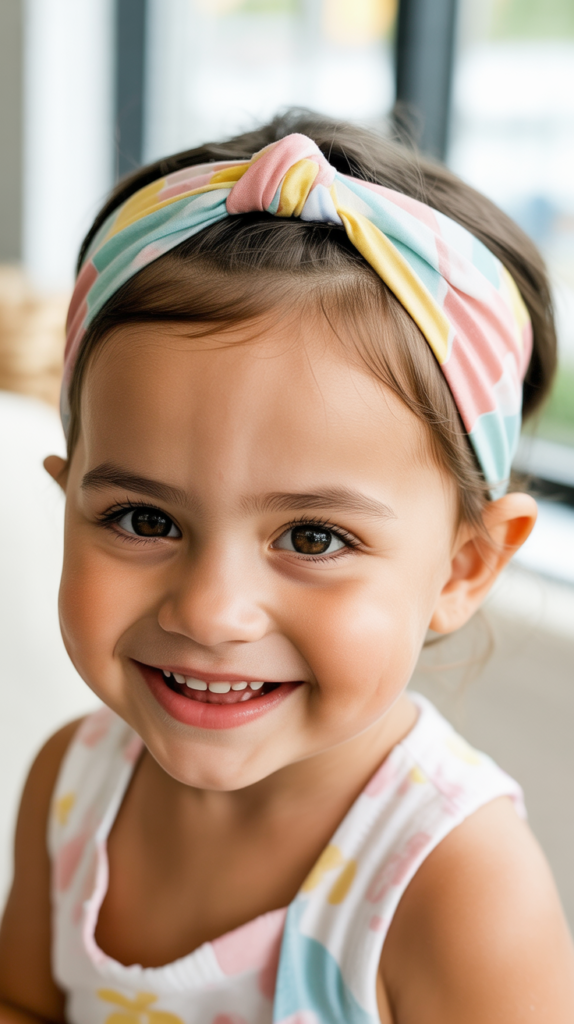
The headband tuck uses a fabric headband as both a decorative element and functional tool for securing hair. This elegant technique works beautifully for children with medium to long hair.
- Place a stretchy fabric headband over the head, positioning it about an inch back from the hairline.
- Take small sections of hair and tuck them over and through the headband, working from one side to the other.
- Continue tucking sections all the way around until all hair is secured within the headband.
- Adjust the headband’s position and tightness to ensure comfort and security.
- Pull out small face-framing wisps intentionally if a softer look is desired.
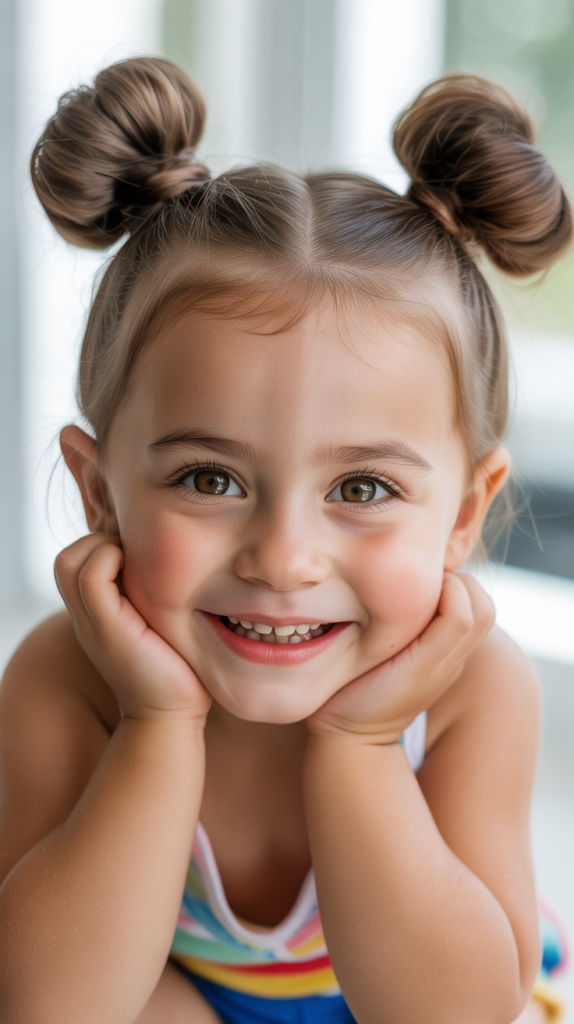
21. Space Buns
Space buns create two high buns positioned on top of the head for a playful, energetic look. This fun style has surged in popularity and keeps hair completely secured away from the face.
- Part the hair straight down the middle from forehead to nape.
- Create two high ponytails on either side of the part, positioned toward the top of the head.
- Twist each ponytail and wrap it around its base to form a bun.
- Secure each bun with bobby pins or small elastics, ensuring they’re tight enough to last.
- Leave the buns slightly messy for a casual look or smooth them for a neater appearance.
22. Four-Strand Braid
The four-strand braid creates an intricate, basket-weave pattern that elevates a simple braid into something special. While it requires more practice, this technique provides excellent hold and stunning visual appeal.
- Divide hair into four equal sections instead of the traditional three.
- Follow the pattern: cross the rightmost section under the section next to it, then over the third section.
- Then cross the leftmost section under the section next to it, continuing this under-over pattern.
- Maintain even tension and keep sections separate to preserve the distinctive four-strand pattern.
- Secure at the bottom with an elastic and gently expand the braid for a fuller appearance.
23. Twisted Crown
The twisted crown wraps twisted sections around the head like a natural tiara, keeping front hair secured while creating an enchanting, princess-like appearance. This style works beautifully for children who love fantasy and fairy tales.
- Take a section of hair from one side of the part, near the temple area.
- Twist this section backward toward the crown, adding small pieces of hair as you go.
- Continue the twist around the head, following the hairline like a crown.
- Secure the twist at the opposite side with bobby pins that blend into the hair.
- Repeat on the other side if desired, or leave one side down for an asymmetrical look.
24. Accessorized Low Bun
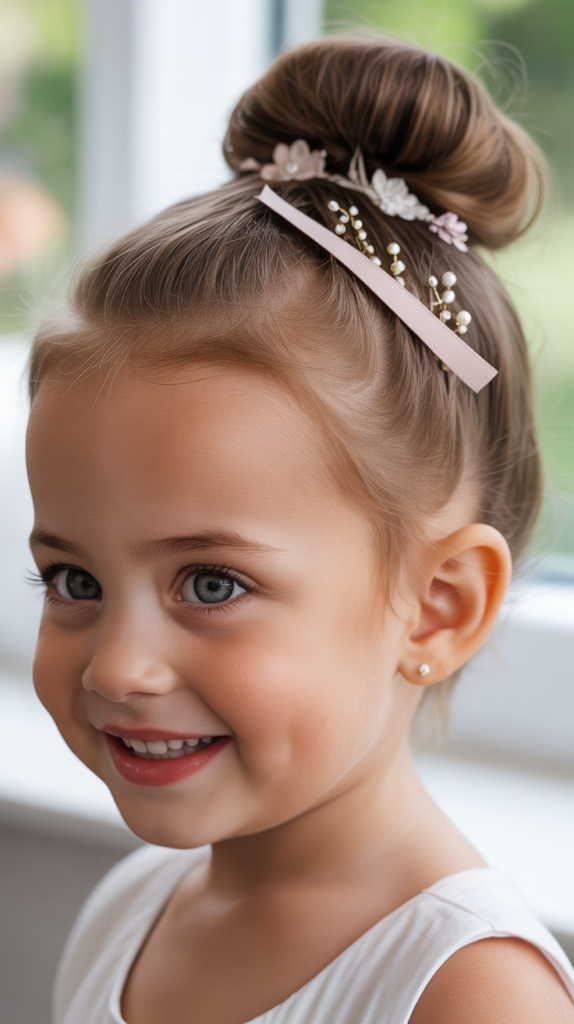
The accessorized low bun positions hair at the nape while incorporating decorative elements like flowers, ribbons, or jeweled pins. This sophisticated style suits formal events and keeps hair completely controlled.
- Gather all hair at the nape of the neck and secure it with an elastic.
- Twist or braid the ponytail before wrapping it around the base to form a bun.
- Secure the bun with bobby pins, ensuring it sits flat and neat against the head.
- Add decorative accessories like flower clips, ribbons, or sparkly pins around the bun.
- Spray lightly with hairspray if needed to maintain the style throughout an event.
25. Pull-Through Braid
The pull-through braid creates the illusion of a complex braid without actual braiding, using a series of ponytails pulled through each other. This trendy style looks impressive while remaining surprisingly simple to execute.
- Create a ponytail at the crown and secure it with a clear elastic.
- Make another ponytail directly below the first one, using hair from underneath the first ponytail.
- Split the first ponytail in half and bring these sections around the second ponytail.
- Create a third ponytail below, incorporating the split sections from the first ponytail.
- Continue this pattern down the head, gently pulling on each section to create volume and the braided appearance.
26. Messy Top Knot
The messy top knot embraces a relaxed, undone aesthetic while keeping hair completely off the face and neck. This effortless style suits laid-back days and gives children a fashionably casual appearance.
- Flip the head forward and gather all hair into a high ponytail without worrying about perfection.
- Twist the ponytail loosely and wrap it around the base in a casual manner.
- Secure with an elastic, allowing some pieces to escape naturally for the messy effect.
- Pull out a few face-framing pieces intentionally to soften the overall look.
- Don’t smooth down flyaways—they’re part of the intended carefree aesthetic.
27. Side Fishtail Braid
The side fishtail braid creates an intricate, scale-like pattern by using a two-section technique. This detailed braid keeps hair secured while showcasing an impressive weaving pattern.
- Sweep all hair to one side and divide it into two equal sections.
- Take a thin strand from the outer edge of the left section and cross it over to join the right section.
- Then take a thin strand from the outer edge of the right section and cross it over to join the left section.
- Continue this alternating pattern down the entire length, keeping sections tight for definition.
- Secure at the bottom and gently pull on the edges to widen the braid and enhance the fishtail pattern.
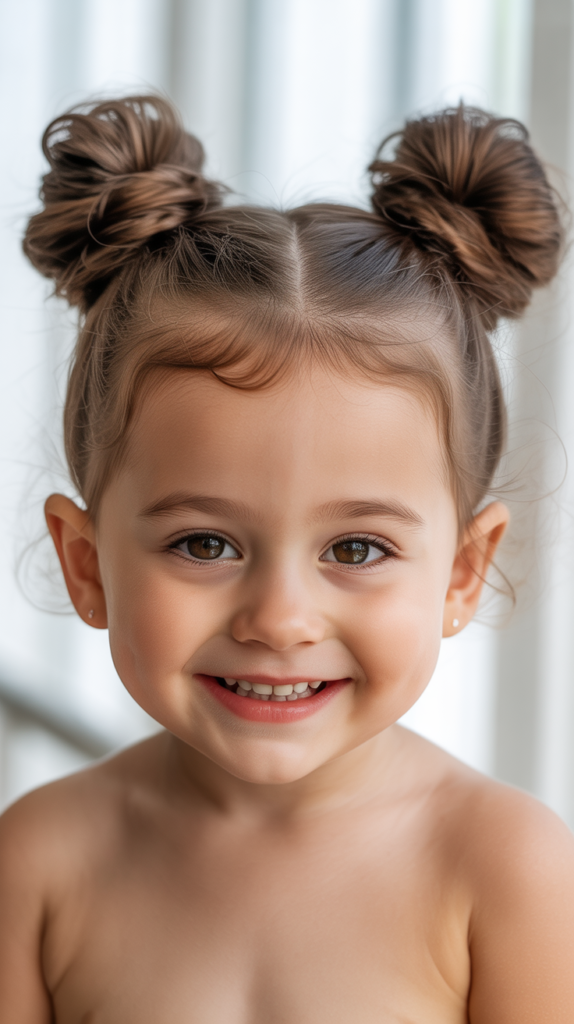
28. Double Buns
Double buns position two buns side by side on the head for a cute, symmetrical style. This playful look keeps hair completely secured while creating an adorable silhouette that children love.
- Part the hair straight down the middle from front to back.
- Create two ponytails positioned wherever you want the buns to sit—high, low, or mid-level.
- Twist each ponytail and wrap it around its base to form a bun shape.
- Secure each bun with bobby pins or small elastics, ensuring they’re the same size.
- Adjust the positioning to ensure both buns are symmetrical and secure.
29. Waterfall Braid
The waterfall braid creates a cascading effect by dropping sections as you braid across the head. This romantic, intricate style keeps front hair away from the face while showcasing flowing strands.
- Begin a French braid at one temple, taking three sections to start.
- After the first stitch, drop the bottom section and let it fall freely instead of incorporating it back in.
- Pick up a new section from behind to replace the dropped section and continue braiding.
- Repeat this drop-and-replace pattern as you braid horizontally across the head.
- Secure the braid at the opposite temple with a bobby pin that matches the hair color.
30. Knotted Half-Up
The knotted half-up style uses actual knots instead of elastics or braids to secure the top section. This unique technique creates visual interest while effectively keeping front hair away from the face.
- Section off the front portions of hair from temple to temple.
- Divide this section into two equal parts at the center of the head.
- Tie these sections together in a simple overhand knot, just like tying a shoelace.
- Tie a second knot immediately below the first for extra security and visual impact.
- Secure the knots with a small clear elastic or bobby pin if needed to prevent them from loosening.
31. Wrapped Ponytail
The wrapped ponytail conceals the elastic by wrapping a section of hair around the base. This polished detail elevates a simple ponytail into a more refined, intentional style.
- Create a ponytail at any desired height and secure it with an elastic band.
- Separate a small section from the underside of the ponytail.
- Wrap this section around the elastic band, covering it completely.
- Secure the end of the wrapping section underneath the ponytail with a bobby pin.
- Smooth the wrapped section for a sleek, professional appearance that hides the elastic.
32. Braided Mohawk
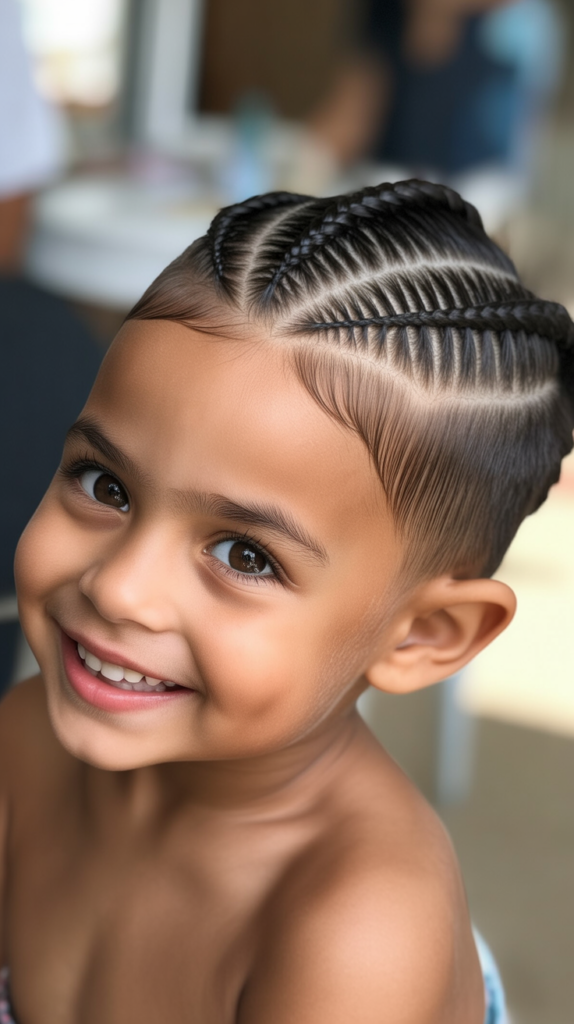
The braided mohawk creates a bold centerline of braids running from forehead to crown. This edgy style keeps side hair slicked back while making a statement that adventurous children enjoy.
- Create three to five small ponytails in a line from the hairline to the crown.
- Braid each ponytail individually, securing the ends with small elastics.
- Smooth the sides of the head back tightly with gel or styling cream.
- Secure the side hair with bobby pins or small elastics behind the ears.
- Stand the braids upright if desired by backcombing or using a light hairspray.
33. Bow Bun

The bow bun shapes hair into an actual bow shape, creating an adorable and distinctive style. This creative technique works wonderfully for parties, special occasions, or whenever your child wants to feel extra special.
- Create a high ponytail and secure it tightly with an elastic.
- On the last pull-through of the elastic, don’t pull the hair all the way—leave a large loop.
- Split the loop into two equal sections to form the two sides of the bow.
- Take the tail ends and wrap them over the center where the sections split, creating the knot of the bow.
- Pin everything securely with bobby pins and adjust the loops to be symmetrical and bow-shaped.
Essential Tips for Success
Mastering these hairstyles becomes easier when you understand fundamental techniques and have the right tools on hand.
- Always start with properly detangled hair using a wide-tooth comb or detangling brush to prevent breakage and pain.
- Dampen hair slightly with water or leave-in conditioner spray to make it more manageable and reduce static.
- Invest in quality hair elastics without metal parts that can snag and damage delicate children’s hair.
- Keep bobby pins in colors that match your child’s hair color for a more professional, invisible hold.
- Practice new techniques on weekends or during calm moments rather than rushing through them on busy school mornings.
- Let your child watch in a mirror and involve them in the process to build cooperation and excitement about hairstyling.
- Check resources like American Academy of Pediatrics for guidance on age-appropriate hair care practices.
Choosing the Right Style
Selecting the appropriate hairstyle depends on several factors including your child’s daily activities and hair characteristics.
- Consider your child’s activity level—active children need more secure styles like Dutch braids or wrapped buns.
- Assess hair texture since fine hair requires gentler elastics and looser styles to prevent breakage.
- Factor in available time each morning and choose styles matching your realistic routine.
- Account for your child’s comfort level with having their hair touched and styled.
- Think about the weather since hot days call for completely off-the-neck styles.
- Match the hairstyle to the occasion, reserving elaborate styles for special events and keeping simple ones for everyday wear.
- Visit KidsHealth for additional information on children’s hair care and management.
Tools and Accessories
Having the right tools makes creating these hairstyles significantly easier and more successful.
- Soft fabric-covered elastics prevent hair damage and breakage that metal or rubber bands can cause.
- Bobby pins in various colors ensure you always have matches for different hair shades.
- A rat-tail comb helps create clean parts and sections for precise styling.
- Detangling spray or leave-in conditioner makes hair more cooperative and reduces pulling during styling.
- Decorative clips, barrettes, and ribbons add personality while providing extra security.
- A spray bottle filled with water refreshes styles and helps smooth flyaways throughout the day.
- Explore options at Target’s hair accessories section for age-appropriate styling tools.
Conclusion
Managing children’s hair doesn’t have to be a daily battle when you have a repertoire of practical and attractive solutions at your fingertips.
33 Adorable Kids’ Hair Ideas That Keep Hair Out of the Face provides you with diverse options that accommodate different hair types, lengths, skill levels, and occasions, ensuring you’ll always find the perfect style for your child’s needs. These hairstyles transform morning routines from stressful struggles into enjoyable bonding moments, giving your child confidence and comfort throughout their day.
By mastering even a few of these techniques, you equip yourself with solutions for every situation—from rushed school mornings to special celebrations, from summer heat to active sports days.
Remember that practice makes perfect, and what seems challenging at first will become second nature with repetition.
Your child will appreciate the effort you put into keeping their hair manageable and stylish, and you’ll enjoy the peace of mind knowing their hair won’t interfere with learning, playing, or exploring their world.
Whether you choose simple ponytails for everyday wear or intricate braids for special moments, these 33 adorable kids’ hair ideas ensure that keeping hair out of the face is never a compromise between function and style.