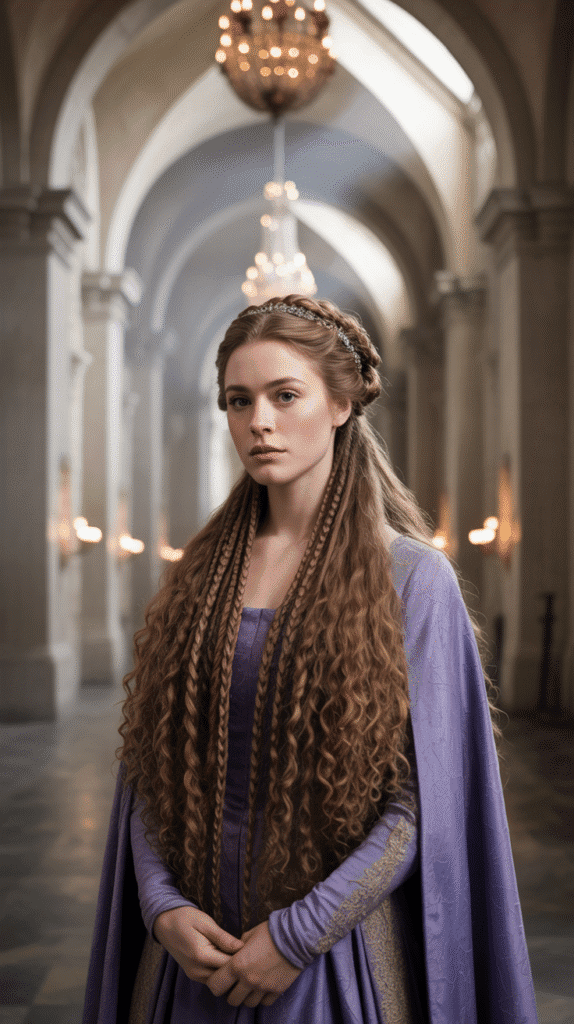
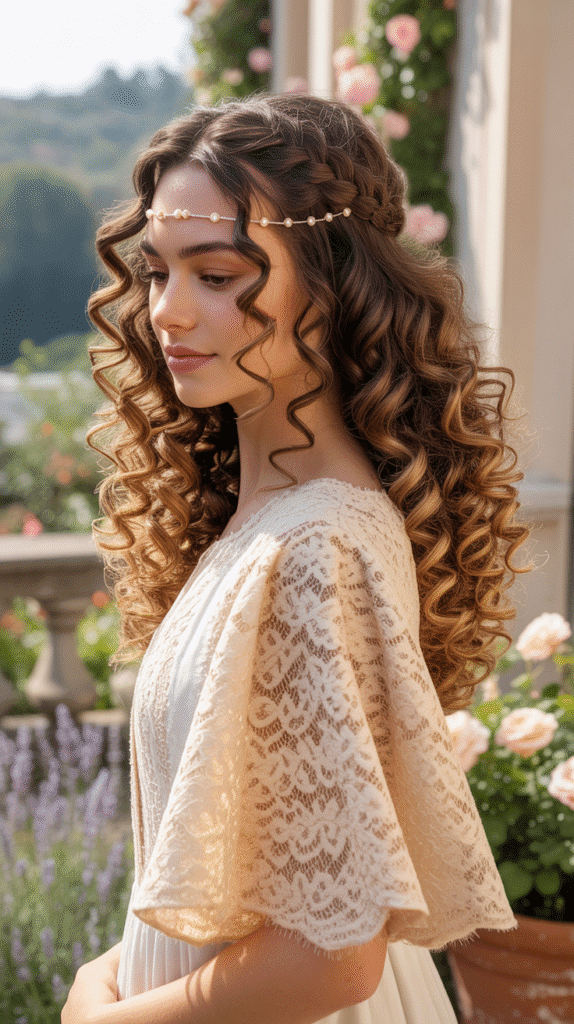
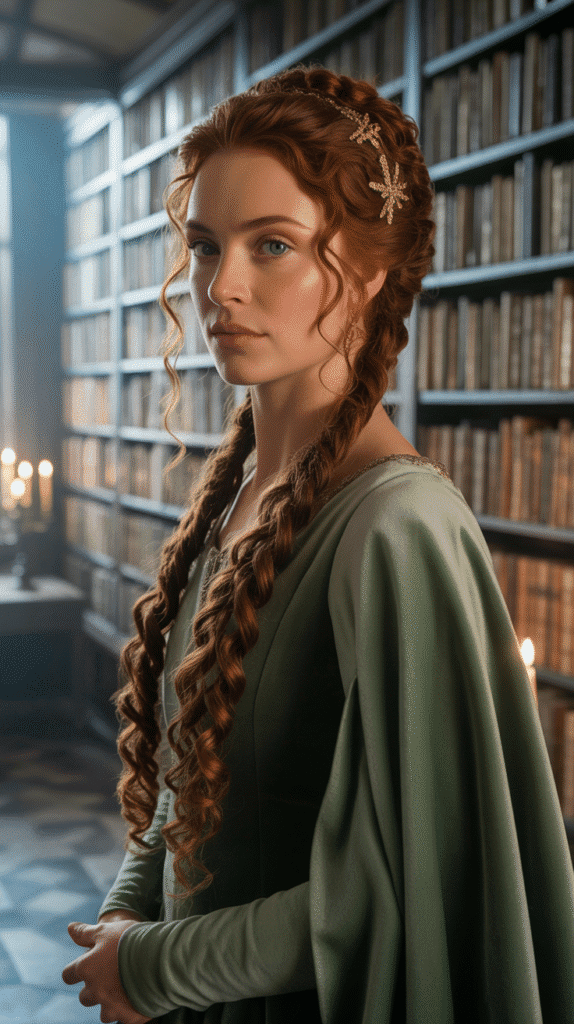
Picture yourself stepping into a grand castle hall, where torchlight dances across stone walls and the air whispers tales of ancient romance.
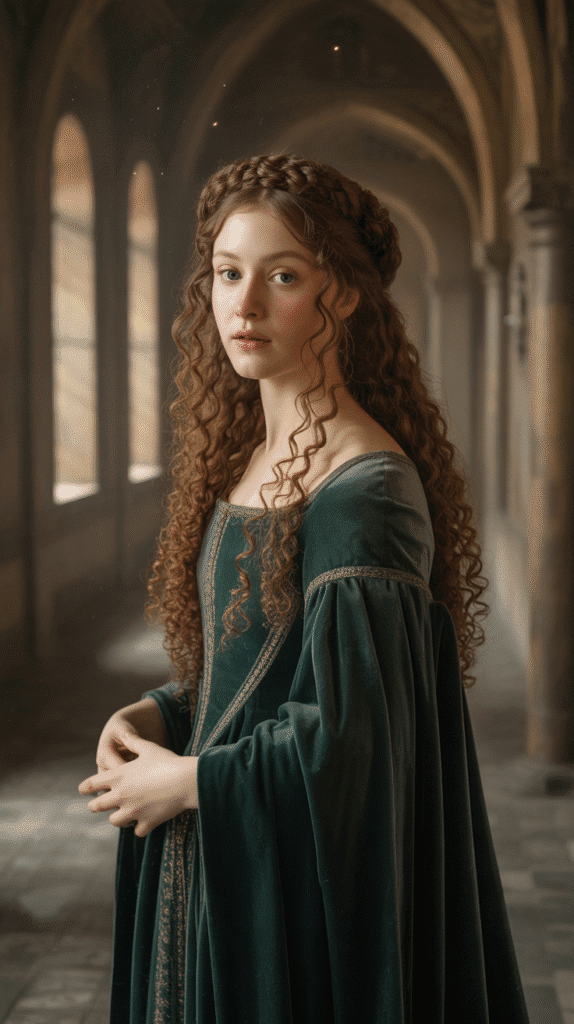
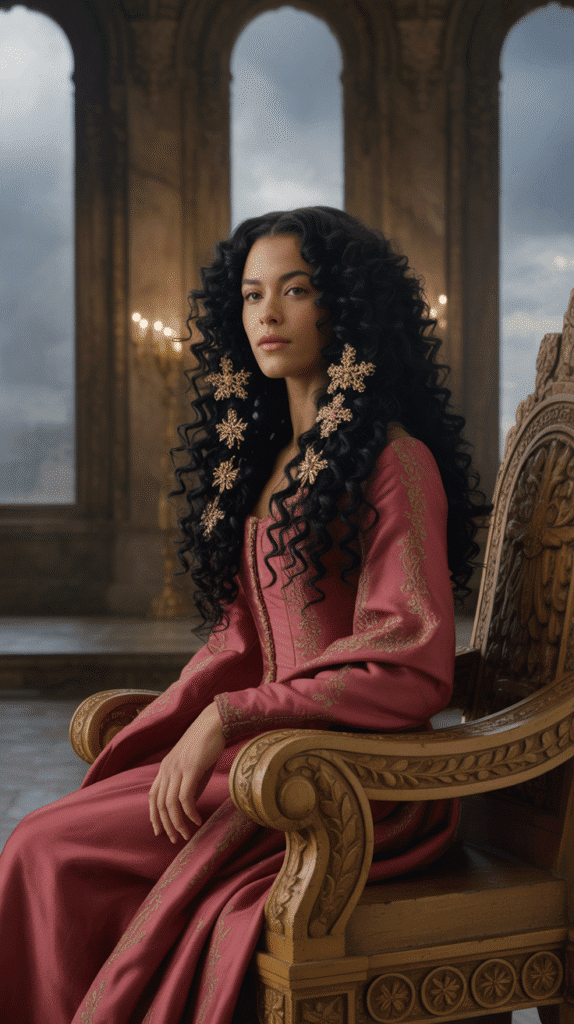
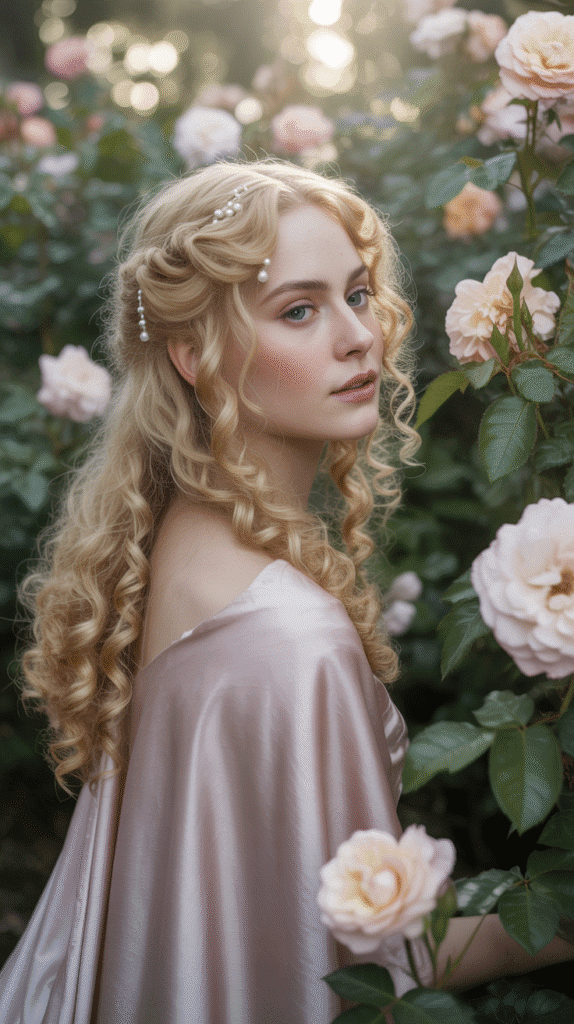
Medieval princesses understood the enchanting power of beautiful hairstyles, especially when adorned with natural curls that cascaded like silk ribbons down their backs.
The magic of these timeless looks lies not just in their historical significance but in how effortlessly they transform modern curly-haired beauties into royalty.
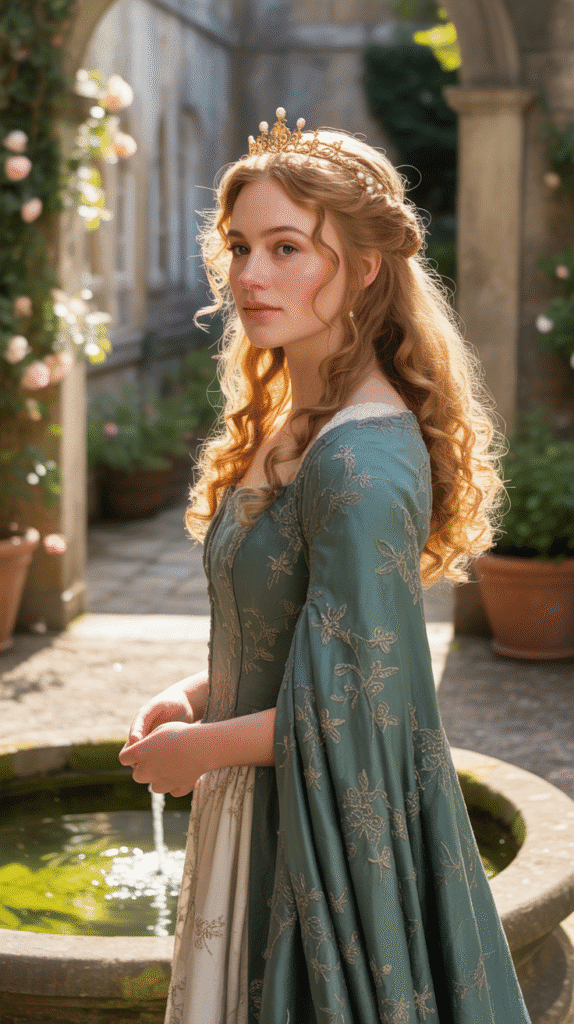
Whether you’re preparing for a Renaissance faire, a themed wedding, a costume party, or simply want to channel your inner princess for a special photoshoot, these 30 romantic medieval hairstyles for princesses with curls will transport you to an era of chivalry and elegance.
This comprehensive guide explores everything from simple braided crowns to elaborate jeweled updos, offering detailed instructions for curly hair textures that honor both historical authenticity and contemporary styling needs.
Each hairstyle celebrates the natural beauty of curls while incorporating the distinctive elements that made medieval princess hairstyles so captivating—intricate braiding techniques, delicate hair jewelry, flowing veils, and romantic loose tendrils.
You’ll discover looks suitable for various curl types, hair lengths, and skill levels, complete with modern adaptations that make these centuries-old styles accessible for today’s princesses.
Get ready to unlock the secrets of medieval hair artistry and embrace the romantic allure that has captivated hearts for generations.
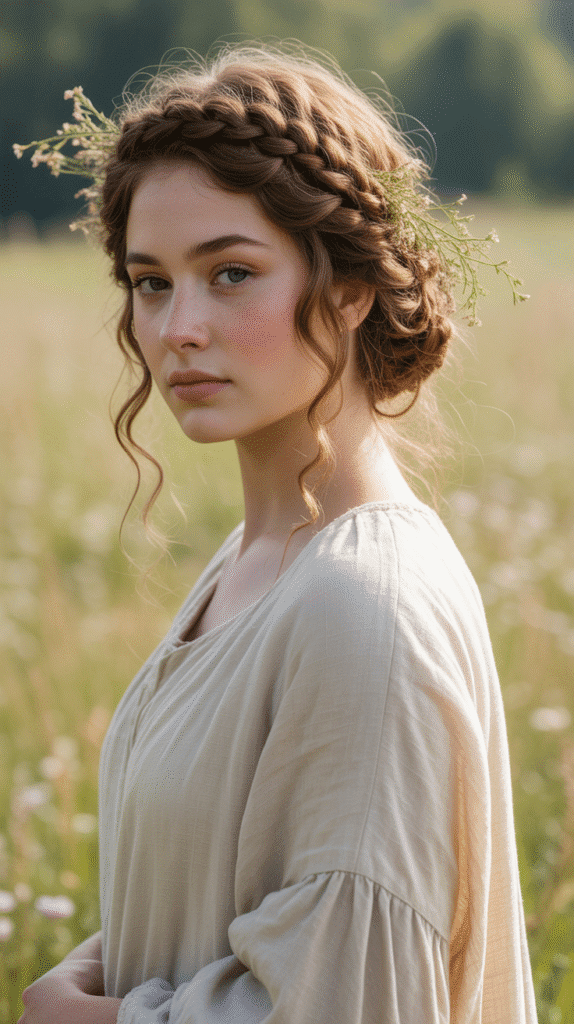
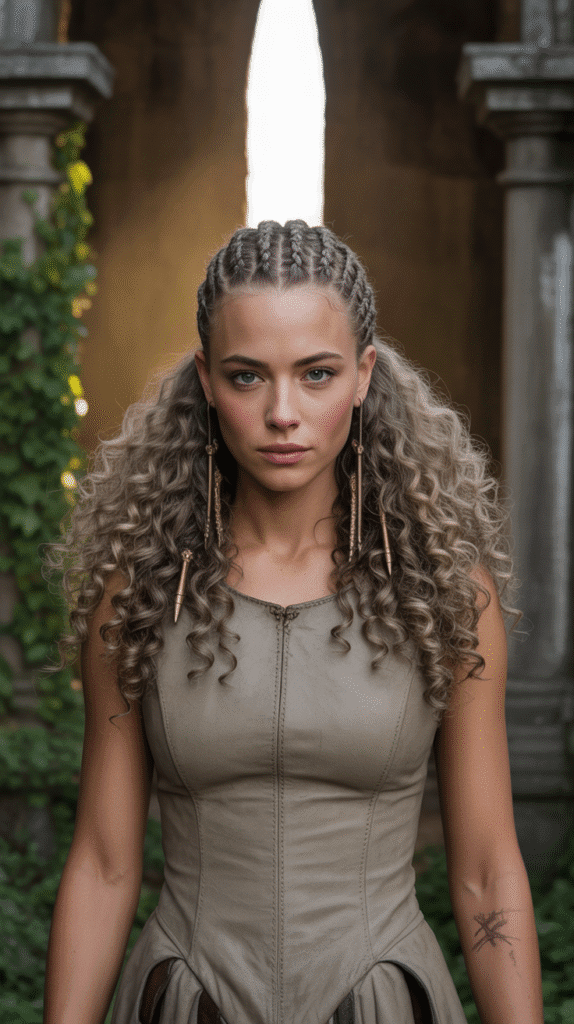
1. The Classic Braided Crown with Cascading Curls
The braided crown represents one of the most iconic medieval princess styles, combining regal elegance with the natural beauty of curly hair.
This timeless look creates a halo effect around the head while allowing curls to flow freely down the back, perfectly balancing structure and romance.
- Start by parting your curls down the middle to create two equal sections for symmetry.
- Take a section from one side near your temple and begin a Dutch braid or French braid, working along your hairline toward the back.
- Continue braiding around the crown of your head, keeping the braid close to your hairline for that authentic medieval appearance.
- Secure the braid with a clear elastic at the nape of your neck, then repeat on the opposite side.
- Cross both braids at the back and tuck the ends underneath, pinning them securely with bobby pins.
- Allow the remaining curls to cascade naturally down your shoulders and back for that quintessential princess effect.
- Gently pull at the braided sections to create fuller, more voluminous plaits that look romantic and slightly undone.
- Finish with a light-hold hairspray to maintain the style while keeping curls bouncy and touchable.
2. The Half-Up Twisted Coronet
This elegant half-up style combines twisted sections that meet at the crown, creating a coronet effect while showcasing the full volume of curly hair.
Medieval noblewomen favored this look for its balance between formality and romantic softness.
- Section off the top half of your hair from temple to temple, leaving the bottom half free.
- Divide the top section into two parts along your center part.
- Take the right section and twist it backward toward the crown of your head, keeping the twist smooth and tight.
- Secure the twisted section temporarily with a clip at the center back of your head.
- Repeat the twisting process with the left section, bringing it to meet the right twist at the crown.
- Join both twisted sections together and secure with decorative pins or a medieval-style barrette.
- Gently tug at the twists to create subtle volume and a softer, more romantic appearance.
- Allow your natural curls to flow freely from the twisted coronet, creating beautiful dimension and movement.
3. The Waterfall Braid with Curly Tendrils
The waterfall braid creates a stunning cascading effect that perfectly complements curly hair textures.
This medieval-inspired technique allows curls to fall through the braid like a waterfall, creating an ethereal and romantic appearance.
- Begin by taking a small section of hair near your temple on one side.
- Start a regular three-strand braid for the first stitch to establish your foundation.
- For the waterfall effect, drop the bottom strand and pick up a new section from the top to replace it.
- Continue this pattern across the back of your head, allowing curls to cascade through the braid naturally.
- Keep the braid horizontal as it travels around your head for the most authentic medieval look.
- Secure the braid behind your opposite ear with bobby pins that match your hair color.
- Use your fingers to gently separate and define the curls that fall through the waterfall sections.
- Add small pearl or crystal pins along the braid for an extra touch of medieval elegance.
4. The Double Side Braids with Center Part
This symmetrical style features two braids framing the face, a look favored by medieval princesses for formal court appearances.
The double braids create structure while highlighting the natural beauty of curly hair.
- Create a precise center part from forehead to crown for perfect symmetry.
- Section off hair from your part down to behind your ear on both sides.
- Begin a traditional three-strand braid on the right side, starting at temple level.
- Braid down toward your shoulder, keeping the tension consistent throughout.
- Secure the end with a small elastic or ribbon in medieval colors like deep red or gold.
- Repeat the exact braiding process on the left side to match.
- Allow the remaining curls in back to flow freely or gather them loosely at the nape.
- Wrap the ends of your braids with velvet ribbons or leather cords for authentic medieval detail.
5. The Bohemian Milkmaid Braid Crown
The milkmaid braid creates a full crown around the head, offering a romantic and pastoral medieval aesthetic.
This style works beautifully with curly hair as the texture adds dimension and fullness to the braided crown.
- Part your hair down the middle from forehead to nape to create two equal sections.
- Braid each section into a standard three-strand plait, working all the way down to the ends.
- Take the right braid and bring it across the top of your head like a headband.
- Pin the braid securely along your hairline with bobby pins placed every few inches.
- Take the left braid and wrap it around your head in the opposite direction, crossing over the first braid.
- Tuck the ends of both braids underneath the opposite braids and secure with additional pins.
- Gently pull at sections of both braids to create a fuller, more voluminous crown effect.
- Allow a few curly tendrils to escape around your face for a softer, more romantic finish.
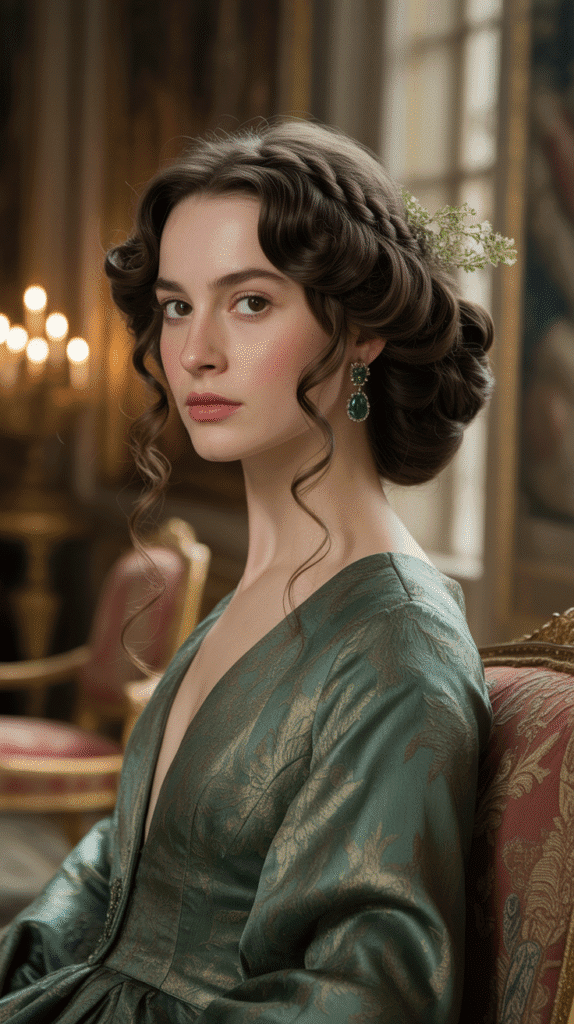
6. The Elaborate Side-Swept Curls with Jeweled Pins
Side-swept styles were popular among medieval nobility, especially when adorned with jeweled accessories.
This glamorous look showcases curls while maintaining the asymmetrical elegance favored in medieval courts.
- Create a deep side part that extends from your front hairline back to your crown.
- Sweep all your curls to one side, gathering them over your shoulder.
- Section the hair at the crown and gently backcomb for added height and volume.
- Smooth the top layer over the backcombed section to create a polished appearance.
- Secure the swept hair behind your ear with decorative jeweled pins or medieval-style brooches.
- Arrange your curls over one shoulder, allowing them to cascade in romantic spirals.
- Use additional ornamental pins to create a decorative pattern along the side of your head.
- Finish with a shine serum to enhance the natural luster of your curls and catch the light beautifully.
7. The Rope Braid Half Crown
The rope braid offers a unique twisted texture that adds medieval authenticity to any princess hairstyle.
This technique creates a crown effect while being especially complementary to curly hair textures.
- Section off the top front portion of your hair from temple to temple.
- Divide this section into two equal strands for the rope braid technique.
- Twist both strands individually in the same direction (clockwise works well).
- Then twist the two strands together in the opposite direction (counterclockwise) to create the rope effect.
- Continue this twisting pattern all the way across your head, keeping consistent tension.
- Secure the rope braid at the back with bobby pins, tucking the ends underneath.
- Pull gently at the rope braid to widen it and create more volume and texture.
- Let your remaining curls flow freely beneath the half crown for a romantic, flowing effect.
8. The Low Curly Bun with Face-Framing Braids
Low buns positioned at the nape were staple styles for medieval princesses, especially when combined with decorative braiding.
This elegant updo keeps curls contained while maintaining romantic appeal.
- Leave out two small sections of hair at your temples to braid later.
- Gather the rest of your curls into a low ponytail at the nape of your neck.
- Twist the ponytail loosely and wrap it around its base to create a soft, curly bun.
- Secure the bun with bobby pins, allowing some curly texture to show through rather than smoothing it completely.
- Braid each of the reserved temple sections into thin three-strand braids.
- Wrap one braid around the base of the bun and pin it securely.
- Repeat with the other braid, crossing it over the first for added detail.
- Allow a few soft curly tendrils to escape around your face for a romantic, slightly undone finish.
9. The Triple Braid Updo with Curly Texture
This intricate style combines three separate braids into one elaborate updo, showcasing the complexity of medieval hairstyling.
The natural texture of curls adds beautiful dimension to this regal look.
- Divide your hair into three sections: left, center, and right from crown to nape.
- Braid each section separately into three-strand plaits, keeping the braids slightly loose to show curl texture.
- Take the center braid and coil it into a round bun at the back of your head, securing with pins.
- Wrap the right braid around the outside of the center bun in a clockwise direction.
- Secure the right braid with bobby pins as you wrap, tucking the end underneath.
- Wrap the left braid around the bun in a counterclockwise direction, creating a layered effect.
- Pin the left braid securely, ensuring all ends are hidden for a polished finish.
- Gently pull at sections of the braids to create fuller, more romantic texture throughout the updo.
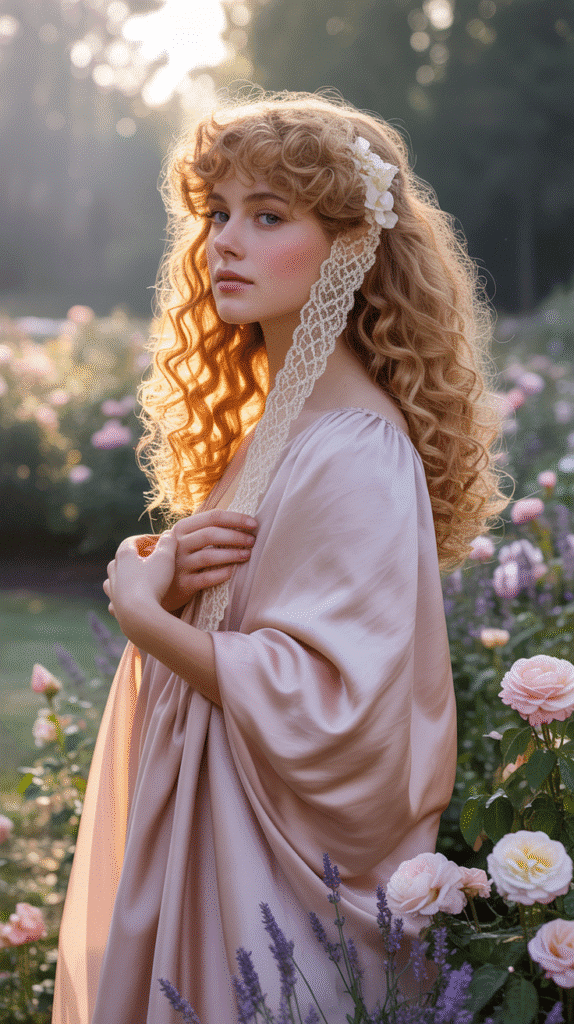
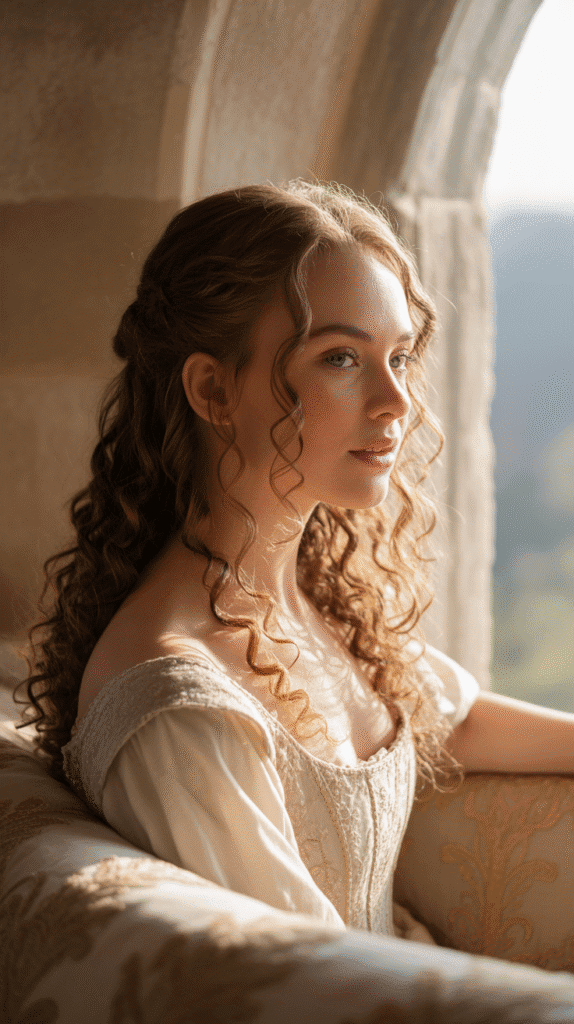
10. The Veil with Loose Curly Waves
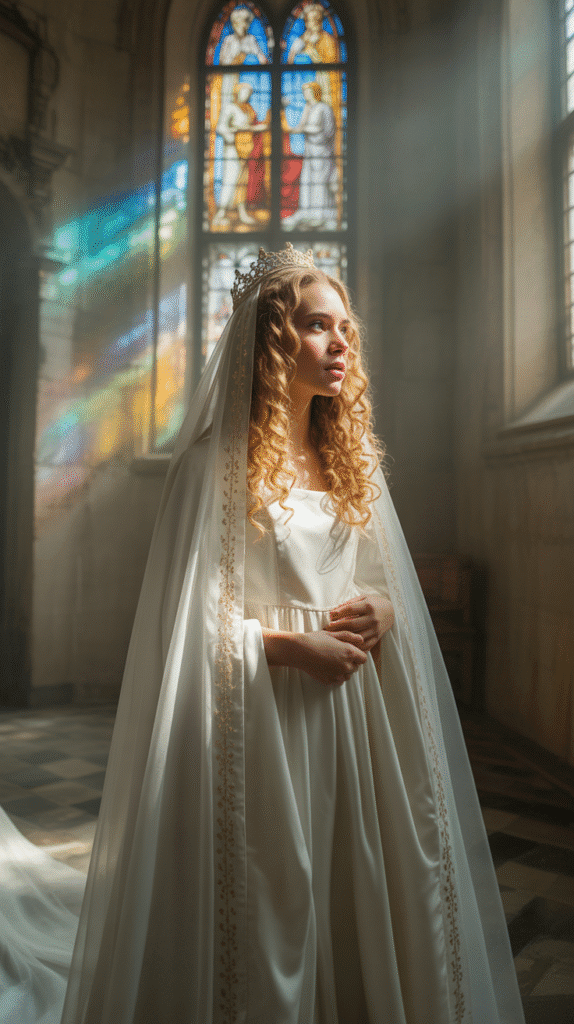
Medieval princesses often wore veils that complemented their natural hair texture.
This simple yet elegant style allows curls to flow naturally while adding an authentic medieval element.
- Apply a curl-defining cream to enhance your natural curl pattern and add shine.
- Allow your curls to fall naturally without excessive styling or manipulation.
- Position a medieval-style veil (juliet cap or circlet style) at the crown of your head.
- Secure the veil with bobby pins that match your hair color, placing them every few inches.
- Arrange the veil fabric to drape gracefully down your back or over your shoulders.
- Allow your curls to cascade freely from beneath the veil for a romantic, flowing effect.
- Pull out a few face-framing curls in front of the veil for added softness.
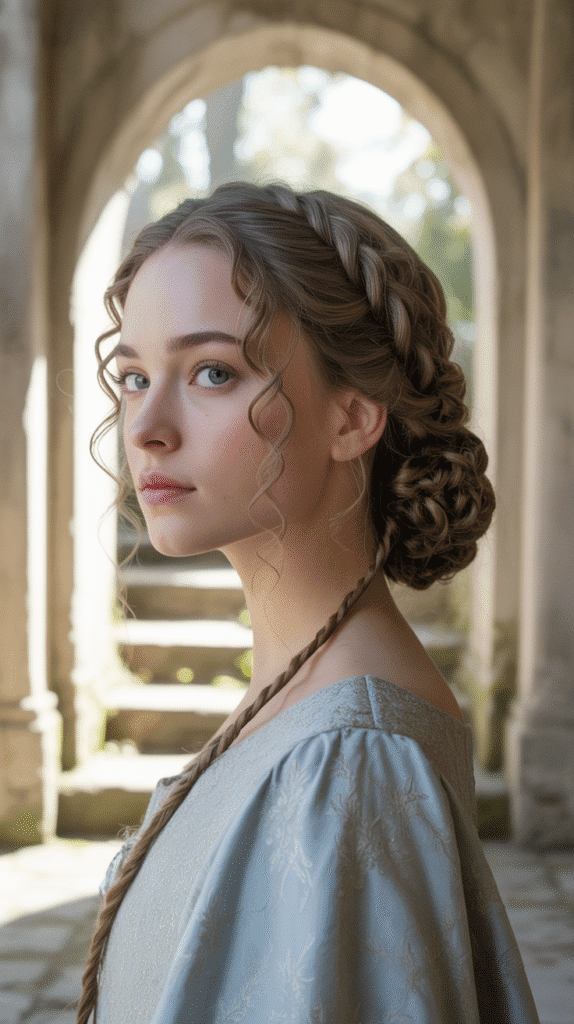
11. The Crown Braid with Curly Ends
This style features a Dutch or French braid that circles the head like a crown while leaving the remaining hair in beautiful curly ends.
It perfectly balances structure with the natural beauty of curls.
- Create a side part slightly off-center for a more natural, romantic appearance.
- Begin a Dutch braid (reverse French braid) starting at the part on the heavier side.
- Continue braiding around your entire head, following your hairline closely.
- As you braid, add small sections from the hairline to incorporate all front and side hair.
- When you reach your starting point, continue braiding the remaining length without adding new sections.
- Secure the braid end with a small elastic and tuck it underneath the crown braid.
- Pin the tucked end securely so it’s completely hidden within the crown structure.
- Allow any remaining curls that weren’t incorporated to hang freely, creating a beautiful cascading effect.
12. The Twisted Side Bun with Escaping Curls
This asymmetrical style features a low side bun with deliberately placed curly tendrils escaping.
Medieval princesses appreciated the romance of intentionally imperfect hairstyles that suggested natural beauty.
- Sweep all your hair to one side, gathering it near your ear and slightly back.
- Divide the gathered hair into two equal sections.
- Twist each section separately in the same direction until they begin to coil on themselves.
- Twist the two sections together in the opposite direction to create a rope effect.
- Coil the twisted rope into a bun shape at the side of your head, near the nape but offset.
- Secure the bun with bobby pins, inserting them from multiple angles for stability.
- Gently pull out several curly strands around your face and neck for a romantic, natural appearance.
- Use a texturizing spray to enhance the deliberately undone quality of the escaping curls.
13. The Fishtail Braided Headband with Flowing Curls
The fishtail braid creates a intricate, delicate pattern that looks stunning as a headband across curly hair.
This medieval-inspired accessory style frames the face beautifully while showcasing natural curls.
- Take a small section of hair from behind one ear, about one inch wide.
- Divide this section into two equal parts to begin your fishtail braid.
- Take a tiny strand from the outside of the right section and cross it over to the left section.
- Take a tiny strand from the outside of the left section and cross it over to the right section.
- Continue this alternating pattern all the way across your head to the opposite ear.
- Keep the fishtail braid tight and close to your hairline for the headband effect.
- Secure the end behind your opposite ear with bobby pins that match your hair color.
- Allow all remaining curls to cascade naturally, creating beautiful volume and movement.
14. The Medieval Ponytail with Braided Base
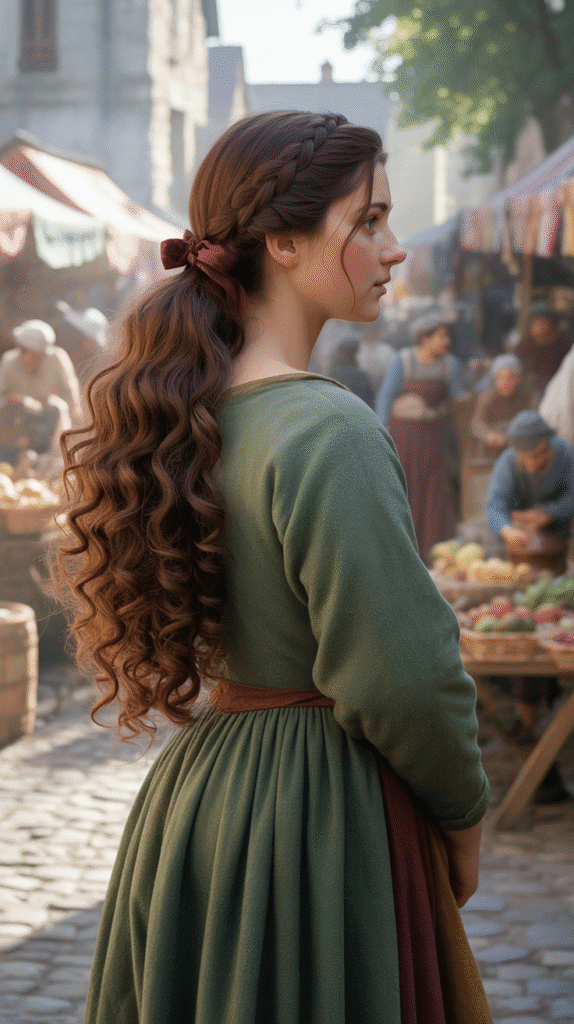
The medieval ponytail elevates the simple style with braided details at the base.
This look was practical for medieval princesses while maintaining elegance and showcasing beautiful curly hair.
- Create a center part from forehead to crown for symmetry.
- Take a section from each side of your part and braid them into thin three-strand plaits.
- Gather all your hair including the two braids into a ponytail at your desired height.
- Wrap the ponytail base with a velvet ribbon or leather cord in medieval colors.
- Take a small section from the ponytail and wrap it around the elastic to conceal it.
- Pin the wrapped section securely underneath the ponytail for a polished finish.
- Allow your curls to cascade from the ponytail in their natural spiral pattern.
- Apply curl cream to the ponytail lengths to enhance definition and add shine.
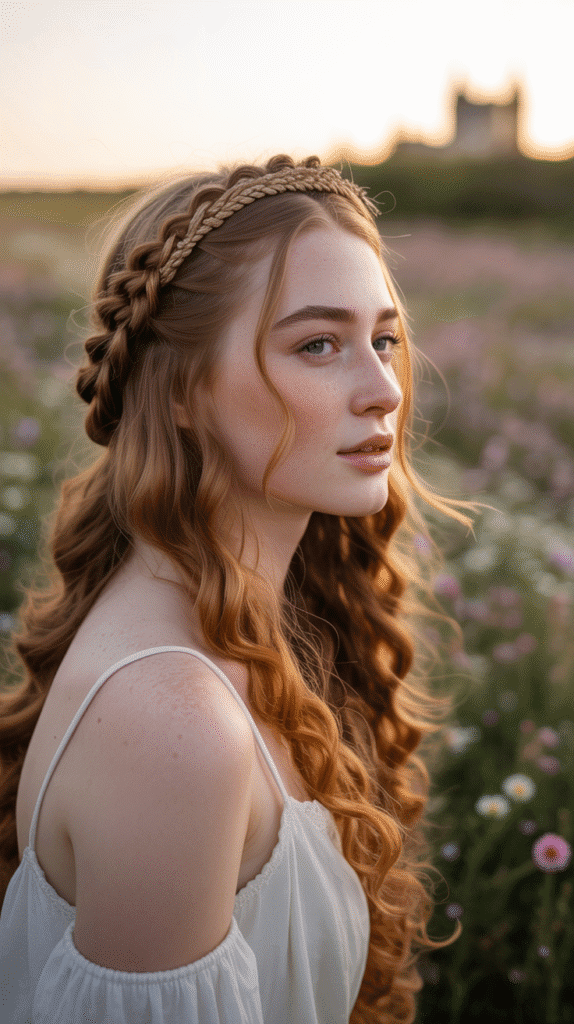
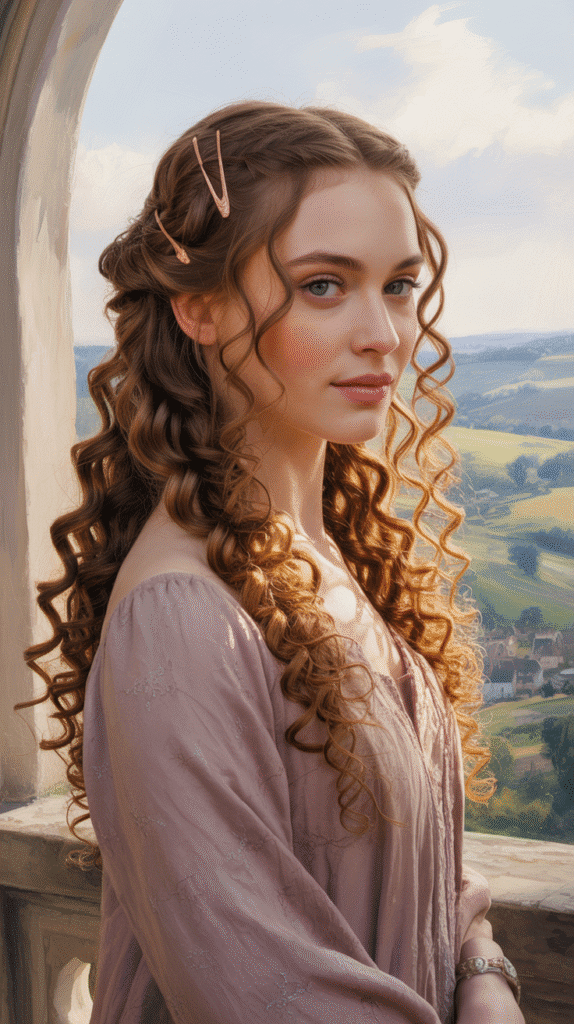
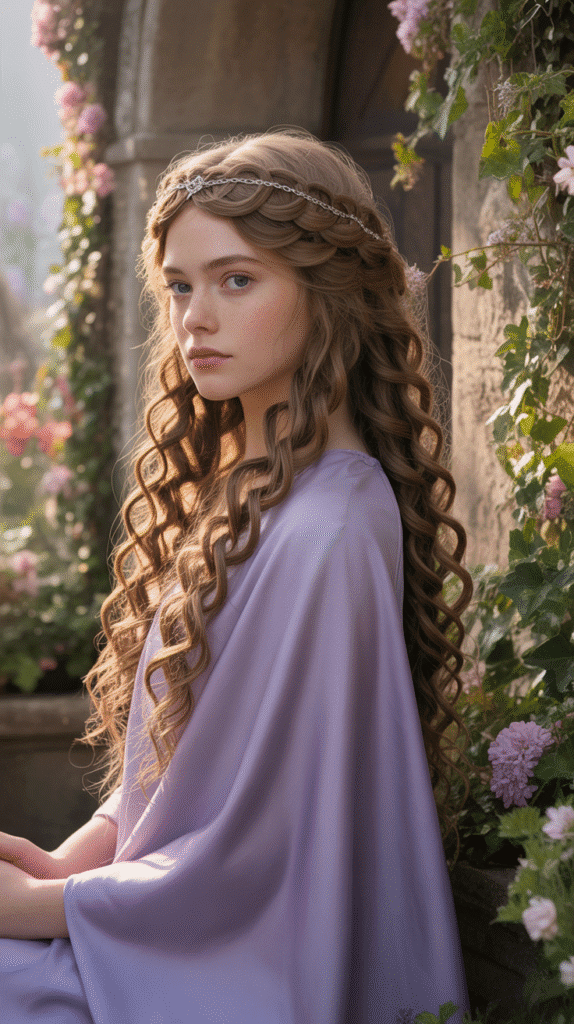
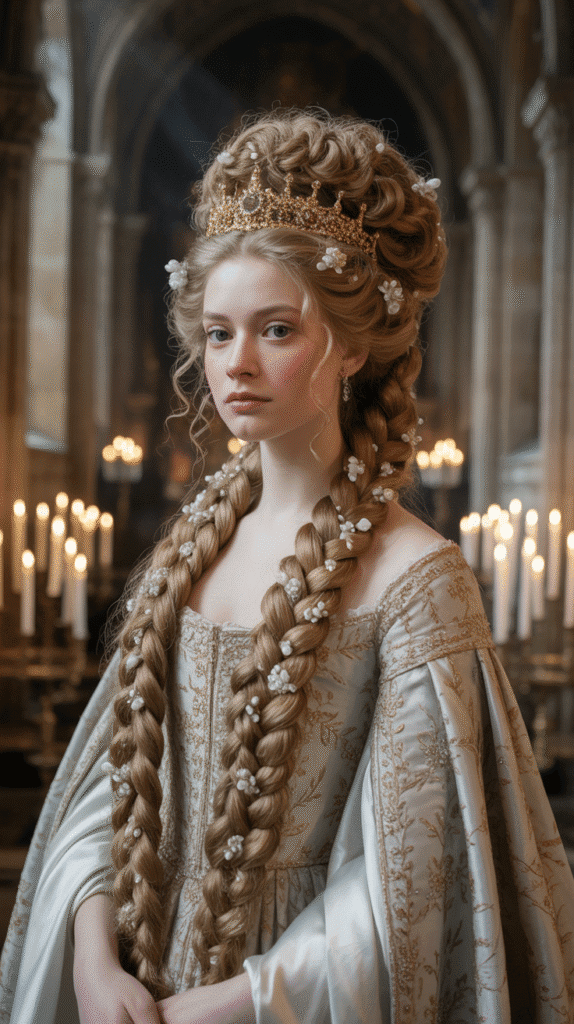
15. The Circlet Crown with Loose Medieval Waves

A circlet crown was a favorite accessory of medieval royalty, worn over naturally flowing hair.
This simple style allows curls to take center stage while the circlet adds regal elegance.
- Prep your curls with a curl-enhancing mousse to define the wave pattern.
- Use a diffuser on low heat to dry your hair if needed, enhancing natural curl formation.
- Create a subtle center or side part according to your preference.
- Place a metal circlet crown on your head, positioning it about an inch back from your hairline.
- Adjust the circlet so it sits comfortably and securely without causing pressure.
- Allow your curls to flow freely and naturally around and beneath the circlet.
- Pull forward a few face-framing curls to soften the look and add romance.
- Use a light oil or serum on the lengths of your curls for added shine and medieval luster.
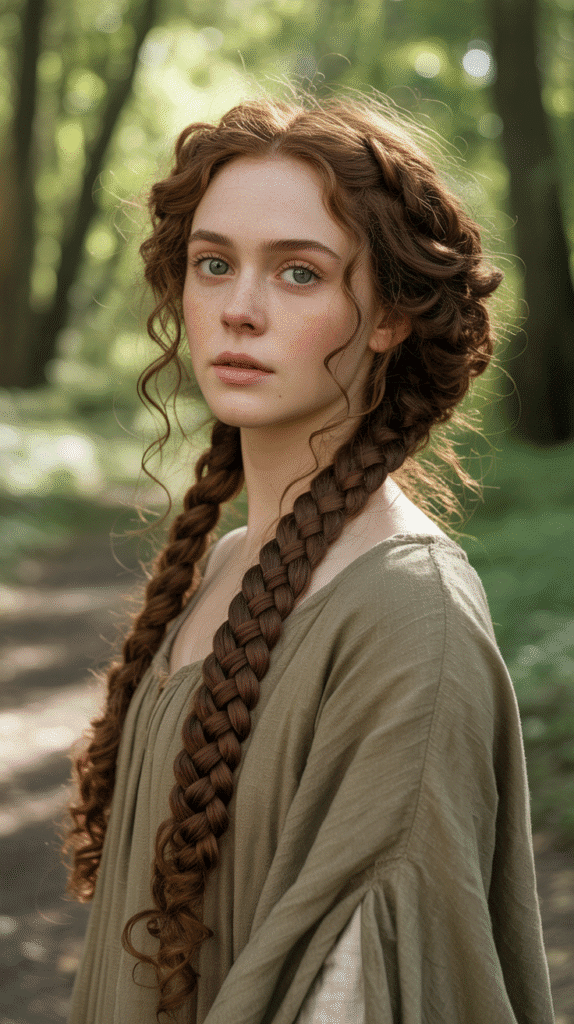
16. The Four-Strand Braid Updo
The four-strand braid creates a more complex pattern than traditional three-strand braids, adding medieval authenticity and visual interest.
This updo showcases the intricacy valued in medieval hairstyling.
- Divide all your hair into four equal sections at the nape of your neck.
- To create the four-strand braid: take the rightmost strand under its neighbor, then over the next strand.
- Take the leftmost strand over its neighbor, then under the next strand.
- Continue this under-over pattern alternating from right and left sides.
- Braid all the way down to the ends, maintaining even tension throughout.
- Coil the completed four-strand braid into a bun at the back of your head.
- Secure the bun with bobby pins placed radially around the perimeter.
- Pull gently at the braid sections to showcase the four-strand pattern and curly texture.
17. The Asymmetrical Braided Cascade
This dramatic style features multiple braids that cascade down one side of the head.
Medieval princesses loved asymmetrical designs that created visual interest and showcased elaborate braiding skills.
- Create a deep side part that extends all the way to the nape of your neck.
- On the heavier side, section off three vertical strips of hair from hairline to nape.
- Braid each vertical section into a traditional three-strand braid, keeping them parallel.
- Secure each braid temporarily with small elastics at the ends.
- Gather all three braids together with the remaining loose curls on that side.
- Sweep everything over one shoulder to create the cascading effect.
- Remove the temporary elastics and allow the braid ends to blend with loose curls.
- Pin the braids at intervals along the side of your head for security and structure.
18. The Twisted Half-Updo with Pearl Accents
Twists combined with pearl accessories create an elegant medieval look that’s perfect for formal occasions.
This style showcases curls while adding sophisticated height at the crown.
- Section off hair from your temples back to the crown in a half-up style.
- Divide this top section into two parts along your center part.
- Twist each section backward, keeping the twists smooth and controlled.
- Bring both twists together at the crown and secure with bobby pins in an X-pattern.
- Insert pearl-topped pins along the length of both twists for medieval elegance.
- Gently tug at the twists to create more volume and a softer appearance.
- Allow your remaining curls to cascade naturally from the twisted section.
- Scrunch the loose curls with your hands to enhance their natural spiral pattern.
19. The Ladder Braid with Curly Accents
The ladder braid creates a unique woven appearance that looks like a decorative ladder running through the hair.
This intricate medieval technique beautifully frames curly hair.
- Take a horizontal section of hair from temple to temple across your forehead.
- Create a small three-strand braid on each side, leaving the center section loose.
- Take a small piece from the right braid, bring it across the center loose section, and add it to the left braid.
- Continue braiding the left side for a few stitches, then repeat the cross-over process.
- Take a small piece from the left braid, bring it across the center, and add it to the right braid.
- Continue this alternating pattern down to the nape, creating the ladder effect through the center.
- Secure the braids together at the bottom with a single elastic.
- Allow remaining curls below the ladder braid to cascade freely, creating beautiful movement.
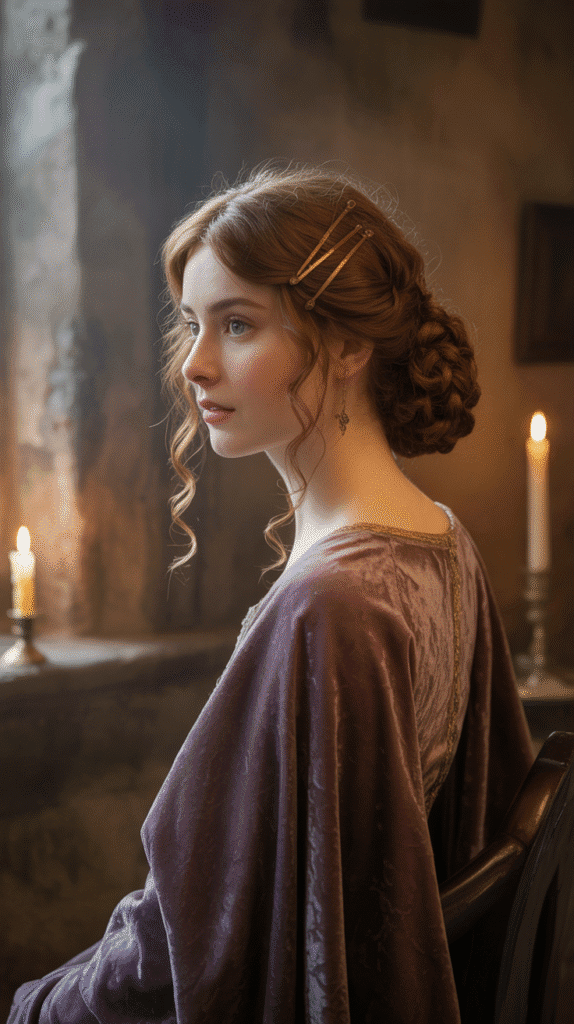
20. The Curly Low Chignon with Braided Wrap
The low chignon offers timeless elegance while the braided wrap adds medieval detail.
This sophisticated updo keeps curls beautifully contained for formal occasions.
- Gather all your hair into a low ponytail at the nape, but leave out one small section.
- Twist the ponytail loosely to maintain curl texture rather than smoothing it completely.
- Wrap the twisted ponytail around its base to create a low chignon bun.
- Secure the chignon with bobby pins inserted in multiple directions for stability.
- Braid the section you left out into a thin three-strand braid.
- Wrap the braid around the base of the chignon to conceal the elastic and pins.
- Tuck the braid end underneath the chignon and pin it securely out of sight.
- Allow a few curly tendrils to escape around your hairline for softness.
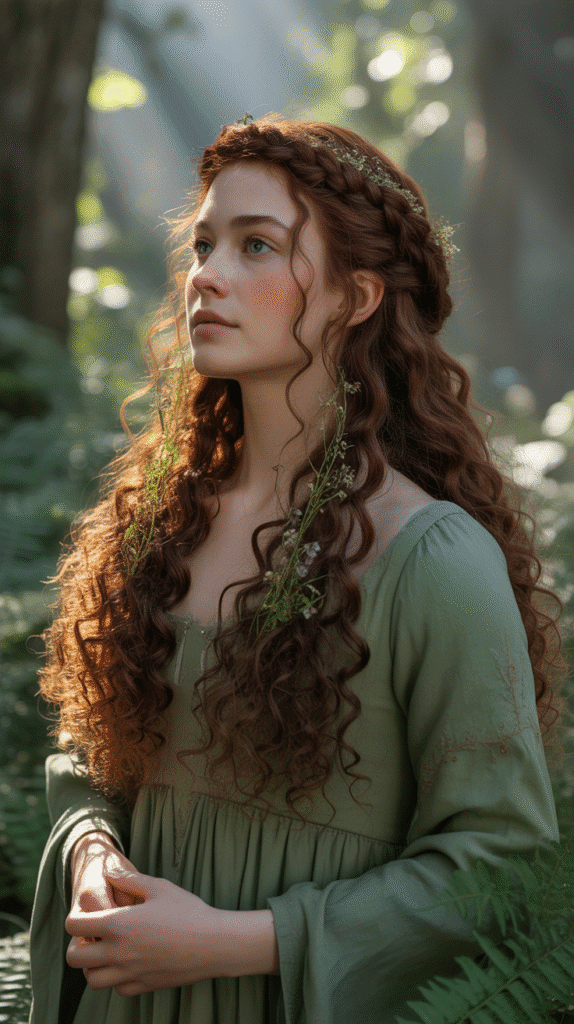
21. The Crown of Roses with Natural Curls
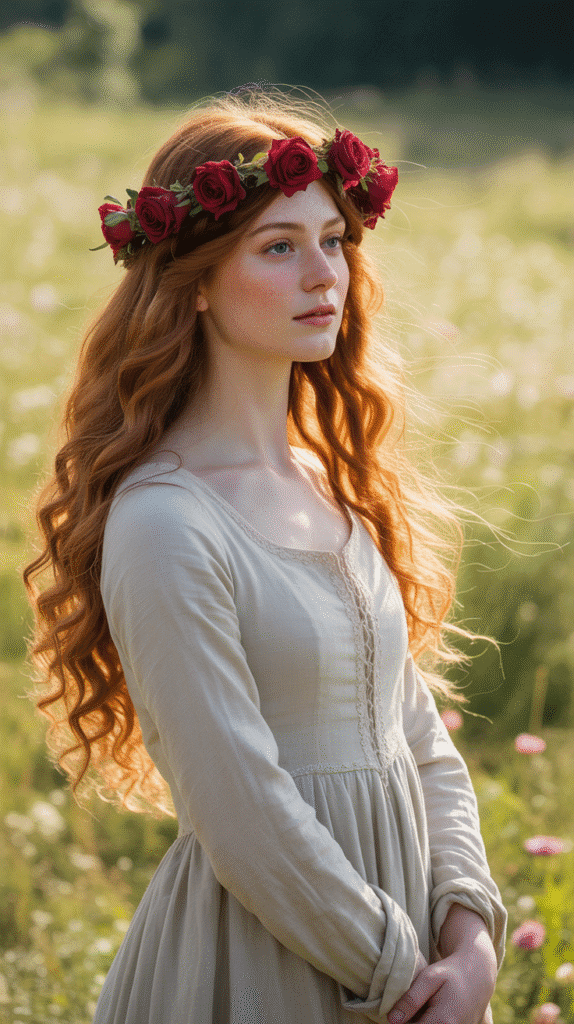
Floral crowns were beloved medieval accessories that complemented natural hair beautifully.
This style pairs a rose crown with loose, flowing curls for maximum romantic impact.
- Enhance your natural curl pattern with a curl cream or mousse for definition.
- Create soft waves throughout by scrunching your hair as it dries.
- Place a crown of fresh or artificial roses on your head, positioning it like a halo.
- Secure the floral crown with bobby pins at intervals around your head.
- Adjust your curls around and through the flowers for an integrated, natural appearance.
- Pull a few curls forward over your shoulders for a flowing, romantic effect.
- Allow the rest of your curls to cascade down your back naturally.
- Use a flexible-hold hairspray to maintain the style without creating stiffness.
22. The Braided Mohawk with Curly Sides
This bold medieval-inspired style features a braided center section with curls flowing on both sides.
While dramatic, it maintains the romantic quality of medieval princess hairstyles.
- Create two vertical parts from your forehead to nape, about two inches apart in the center.
- French braid or Dutch braid the center section from front to back.
- Keep the center braid tight and close to the scalp for maximum impact.
- Secure the end of the center braid at the nape with a small elastic.
- Allow the hair on both sides to flow naturally in loose, voluminous curls.
- Apply curl-enhancing cream to the side sections to maximize their definition and volume.
- Pin the braided section at intervals if needed for a flatter profile.
- Use decorative pins along the center braid to add medieval embellishment.
23. The Infinity Braid Half Crown
The infinity braid creates a beautiful figure-eight pattern that adds unique visual interest.
This medieval-inspired technique works wonderfully as a crown accent for curly hair.
- Section off hair from temple to temple across the top of your head.
- Divide this section into two strands to begin the infinity braid pattern.
- Take a small piece from under the right strand, cross it over the right strand and under the left strand.
- Take a small piece from under the left strand, cross it over the left strand and under the right strand.
- Continue this under-over-under pattern all the way across your head.
- Keep the braid tight enough to show the infinity pattern clearly.
- Secure the infinity braid at the back with bobby pins, tucking ends underneath.
- Allow your remaining curls to cascade naturally from beneath the braided crown.
24. The Side-Pinned Curls with Jeweled Comb

This elegant style features curls swept to one side and secured with an ornamental comb.
Medieval nobility often used decorative combs as both functional and beautiful accessories.
- Apply volumizing mousse to your roots and curl-defining cream to your lengths.
- Create a deep side part that extends from front hairline to crown.
- Sweep all your hair to the opposite side from your part.
- Position a large decorative comb at the side of your head, just above and behind your ear.
- Insert the comb through several layers of hair to ensure it’s secure.
- Arrange your curls over the shoulder on the pinned side in cascading spirals.
- Leave a few face-framing curls loose on the heavy side for softness.
- Use a shine serum on your curls to enhance their luster and catch candlelight beautifully.
25. The Dutch Braid Updo with Curly Bun
The Dutch braid creates raised texture that leads into a voluminous curly bun.
This combination offers both structure and romance, perfect for medieval princess aesthetics.
- Begin a Dutch braid (reverse French braid) at your forehead, starting at the hairline.
- Continue the Dutch braid straight back along the center of your head toward the crown.
- As you braid, add sections from both sides to incorporate more hair.
- When you reach the crown area, stop adding new sections and complete a regular braid.
- Gather the braid and any remaining unbraided hair into a high ponytail.
- Twist the ponytail loosely and wrap it around its base to form a curly bun.
- Secure the bun with bobby pins, maintaining the curly texture rather than smoothing it.
- Gently pull at the Dutch braid to make it fuller and more prominent.
26. The Wrapped Ponytail with Medieval Ribbons
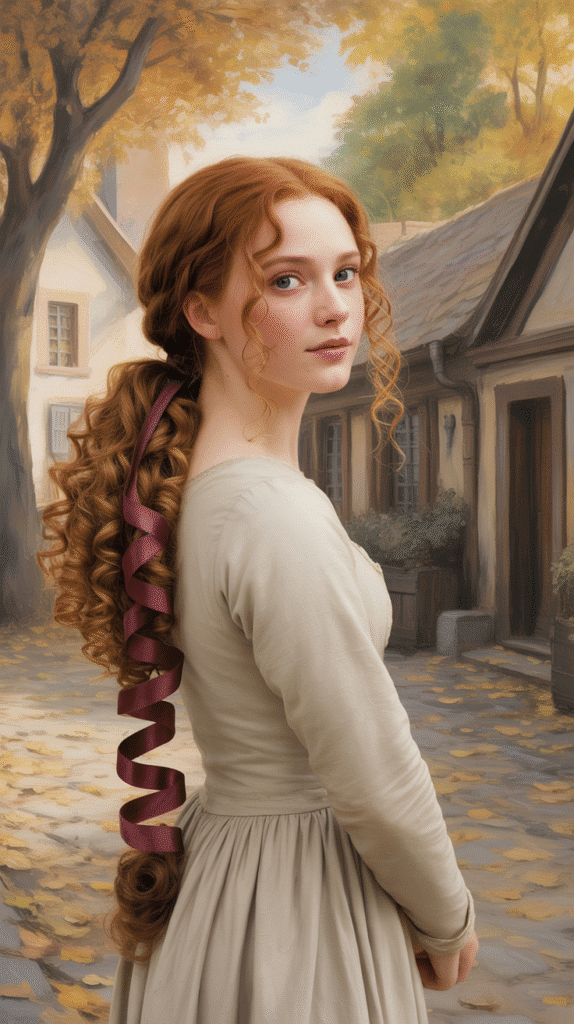
A simple ponytail becomes medieval royalty when adorned with wrapped ribbons in authentic period colors.
This style showcases curly hair while adding historical accuracy.
- Gather your hair into a ponytail at your desired height (mid-level works well for medieval looks).
- Secure the ponytail with a strong elastic that matches your hair color.
- Take a length of velvet or silk ribbon in medieval colors like burgundy, gold, or deep green.
- Begin wrapping the ribbon around the ponytail base, covering the elastic completely.
- Continue wrapping the ribbon down the length of the ponytail in a spiral pattern.
- Secure the ribbon at the bottom with a small knot or bow.
- Allow your curls to cascade from the wrapped ponytail in natural spirals.
- Add additional ribbons in complementary colors for extra medieval authenticity.
27. The Lace Braid Cascade with Loose Curls
The lace braid, which adds sections only from one side, creates a delicate cascade effect.
This medieval technique beautifully frames curly hair while maintaining a romantic, flowing appearance.
- Begin at your temple on one side, taking a small section to start your lace braid.
- Create a regular three-strand braid for the first stitch to establish the foundation.
- As you continue braiding, add small sections only from the front/top side (not the back).
- This creates a braid that hugs your head while the opposite side remains smooth.
- Continue the lace braid in a curved line from temple to behind your opposite ear.
- Secure the braid behind your ear with bobby pins that match your hair color.
- Allow all remaining curls to cascade naturally over your shoulders and down your back.
- Gently pull at the lace braid to soften it and create more romantic volume.
28. The Crossed Braids Updo with Curly Top Knot
This intricate style features crossed braids at the back that lead into a curly top knot.
The combination of braided structure and curly texture creates visual interest and medieval elegance.
- Divide your hair into three sections: two side sections and one back section.
- Braid each side section into a three-strand braid, keeping them slightly loose.
- Cross the right braid over to the left side at the back of your head and pin it.
- Cross the left braid over to the right side, laying it over the first braid, and pin it.
- Gather the back section that wasn’t braided into a high ponytail at your crown.
- Twist the ponytail loosely and wrap it into a curly top knot bun.
- Secure the top knot with bobby pins, allowing curly texture to show prominently.
- Pull gently at the crossed braids to make them fuller and more visible.
29. The Romantic Loose Waves with Front Twist
This simple yet elegant style features gentle twists at the front that keep hair off the face while allowing curls to flow naturally.
Medieval princesses appreciated understated elegance that highlighted natural beauty.
- Apply a heat protectant and curl-enhancing product to damp hair.
- Allow your curls to air dry or use a diffuser for enhanced definition.
- Twist this section backward toward your crown, keeping the twist loose and romantic.
- Secure the twist at the back of your head with bobby pins, about ear level.
- Repeat the process on the opposite side, creating a matching twist.
- Pin the second twist to meet the first at the back center of your head.
- Allow all remaining curls to flow naturally down your back and over your shoulders.
- Pull out a few wispy face-framing curls for added softness and romance.
- Finish with a light mist of flexible-hold hairspray to maintain the style without weighing down curls.
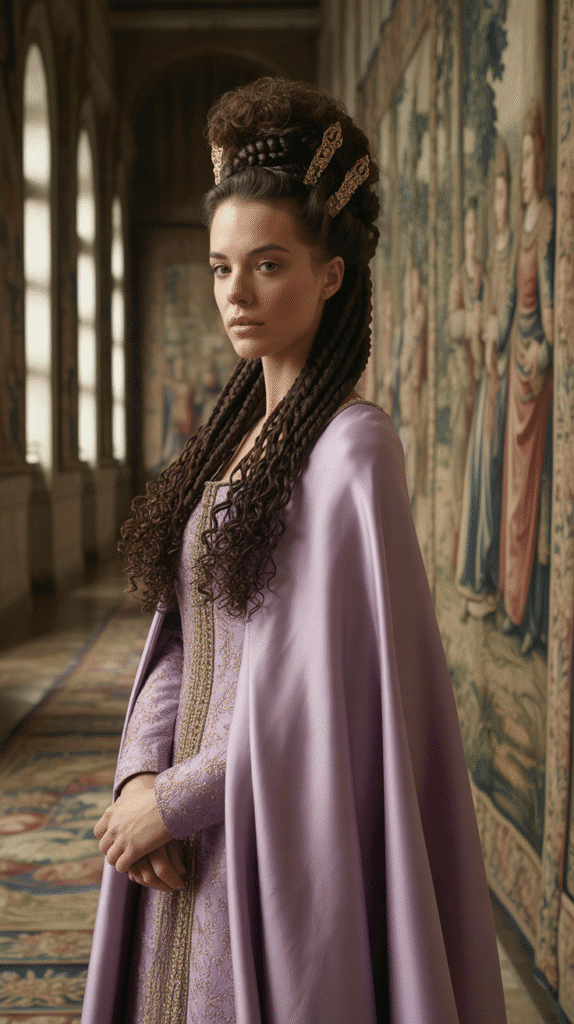
30. The Full Medieval Updo with Braided Crown and Curly Bun
This elaborate style combines multiple medieval hairstyling techniques into one show-stopping look.
The braided crown with curly bun represents the pinnacle of medieval princess elegance and works beautifully for weddings or formal events.
- Section off a band of hair around your entire head from temple to temple, about two inches wide from hairline.
- Dutch braid this section all the way around your head, following your natural hairline closely.
- When the Dutch braid meets its starting point, continue braiding the remaining length without adding sections.
- Gather all remaining hair from the center of your head into a high ponytail at the crown.
- Tease the ponytail gently at the roots to create volume and height.
- Twist the ponytail sections loosely to maintain beautiful curly texture throughout.
- Wrap the twisted curls around the ponytail base to form a large, voluminous bun.
- Secure the curly bun with numerous bobby pins placed in a circular pattern around the base.
- Take the end of your Dutch braid and wrap it around the base of the bun to connect both elements.
- Pin the braid end securely underneath the bun where it won’t be visible.
- Gently pull at sections of the Dutch braid to create maximum volume and a fuller crown effect.
- Add decorative elements like pearl pins, jeweled hairpins, or small flowers throughout the style.
- Allow a few intentional curly tendrils to escape around your face and neck for romantic softness.
- Use a combination of firm-hold hairspray on the structured elements and light-hold spray on the curls.
- Add a delicate veil or jeweled headpiece if desired for maximum medieval authenticity.
Conclusion
The timeless allure of 30 Romantic Medieval Hairstyles for Princesses with Curls transcends centuries, bringing the elegance and romance of medieval courts into our modern world.
These hairstyles celebrate the natural beauty of curly hair while honoring the intricate braiding techniques, flowing styles, and ornamental accessories that defined medieval princess aesthetics.
Whether you choose a simple braided crown for everyday elegance, an elaborate updo for your wedding day, or a flowing veiled style for a Renaissance faire, each look offers a unique way to embrace your inner royalty.
The beauty of these medieval hairstyles lies not only in their historical authenticity but in their adaptability to various curl types, hair lengths, and personal styles—from loose waves to tight coils, every princess can find her perfect medieval look.
The combination of structured braids and free-flowing curls creates a perfect balance between control and natural beauty, much like the medieval princesses who inspired these styles.
By incorporating authentic elements like velvet ribbons, jeweled pins, pearl accessories, and delicate veils, you can transform any of these hairstyles into truly regal statements.
Remember that medieval beauty celebrated individuality and natural texture, so embrace your unique curl pattern and make each style your own.
With practice and patience, these romantic medieval hairstyles will become treasured additions to your styling repertoire, ready to transport you to an age of castles, chivalry, and timeless elegance whenever the occasion calls for a touch of royal magic.