Step into a world where romance meets royalty, and every strand of hair tells a story of elegance and grace.
Medieval braided hairstyles have captivated hearts for centuries, combining intricate weaving techniques with timeless beauty that transforms anyone into a vision of regal splendor.
Whether you’re preparing for a Renaissance faire, a themed wedding, a costume party, or simply want to channel your inner princess for a special occasion, these 27 beautiful medieval braided hairstyles for princesses offer the perfect blend of historical authenticity and modern charm.
From crown braids that circle your head like a delicate tiara to cascading plaits adorned with ribbons and flowers, each style in this comprehensive guide will transport you to an era of castles, knights, and courtly love.
This article explores the most enchanting braided hairstyles inspired by medieval royalty, complete with styling tips, historical context, and creative variations that will help you achieve that coveted princess-worthy look.
1. The Classic Crown Braid
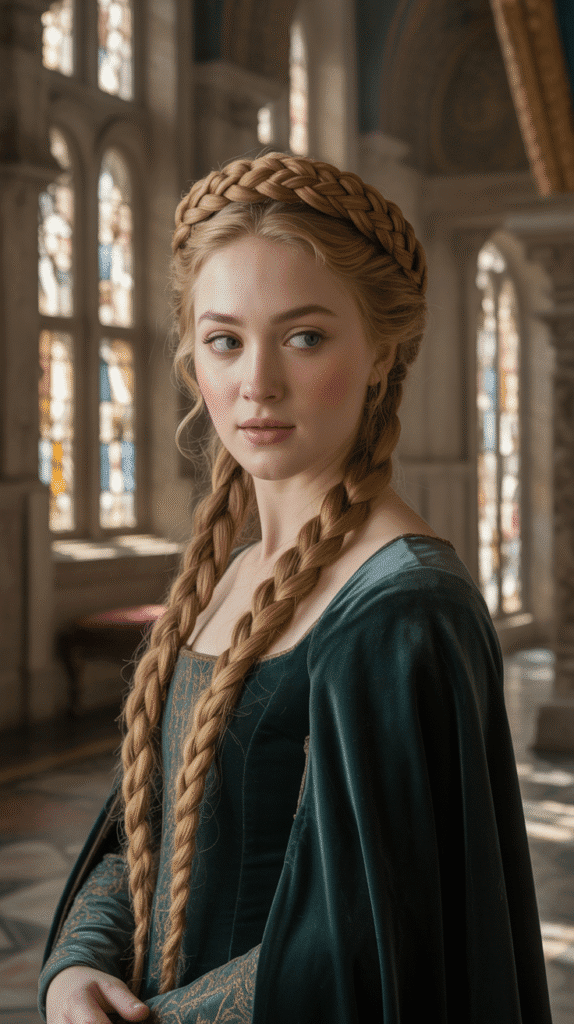
The crown braid stands as one of the most iconic medieval hairstyles, creating a halo effect that perfectly embodies royal elegance.
This timeless style involves braiding hair around the circumference of the head, resembling a natural crown.
- The crown braid was frequently worn by noblewomen during medieval banquets and ceremonies as a symbol of their status and refinement.
- To create this style, part your hair down the middle and begin Dutch braiding from one side, continuing around your head until both ends meet.
- Secure the braid with bobby pins that match your hair color for an invisible hold that maintains the illusion of a seamless crown.
- For added medieval authenticity, weave thin ribbons in gold or jewel tones throughout the braid as you work.
- This hairstyle works exceptionally well on medium to long hair and can be adapted for various hair textures with proper preparation and styling products.
2. Cascading Waterfall Braid
The waterfall braid creates an enchanting flowing effect that mimics streams of water cascading down a mountainside, perfect for the romantic medieval aesthetic.
This intricate technique involves dropping sections of hair as you braid, creating delicate strands that fall freely.
- Begin at your temple and create a regular three-strand braid, but drop the bottom strand with each crossing and pick up a new section from the top.
- The waterfall braid works beautifully for half-up, half-down styles that were popular among younger noblewomen and princesses in medieval courts.
- Continue the braid along the curve of your head toward the opposite ear, maintaining consistent tension for uniform loops.
- This style pairs wonderfully with loose curls in the remaining hair, creating volume and movement that enhances the overall romantic effect.
- Secure the end with a decorative hair tie or ribbon, and consider adding small flowers or pearls to the dropped sections for authentic medieval embellishment.
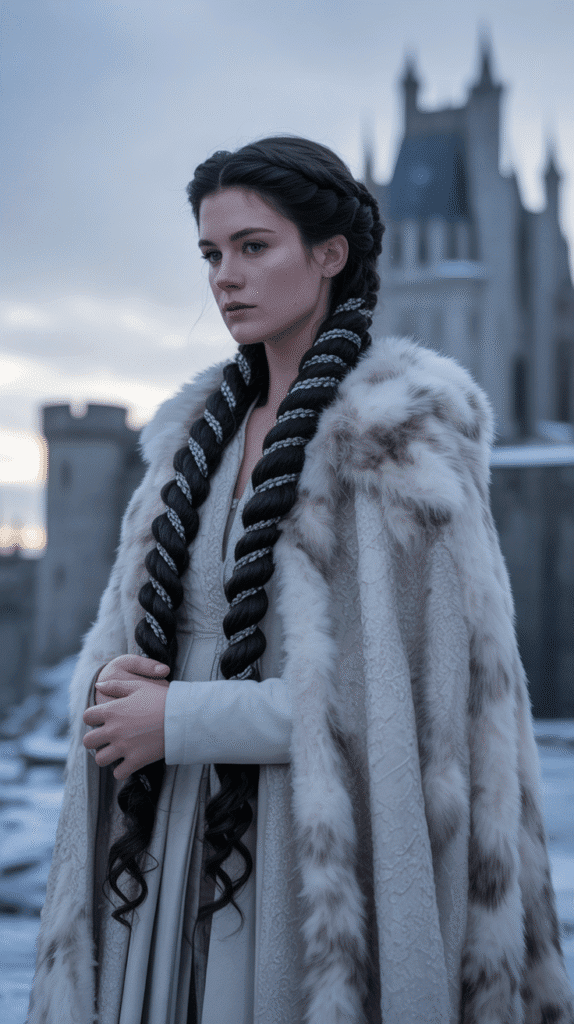
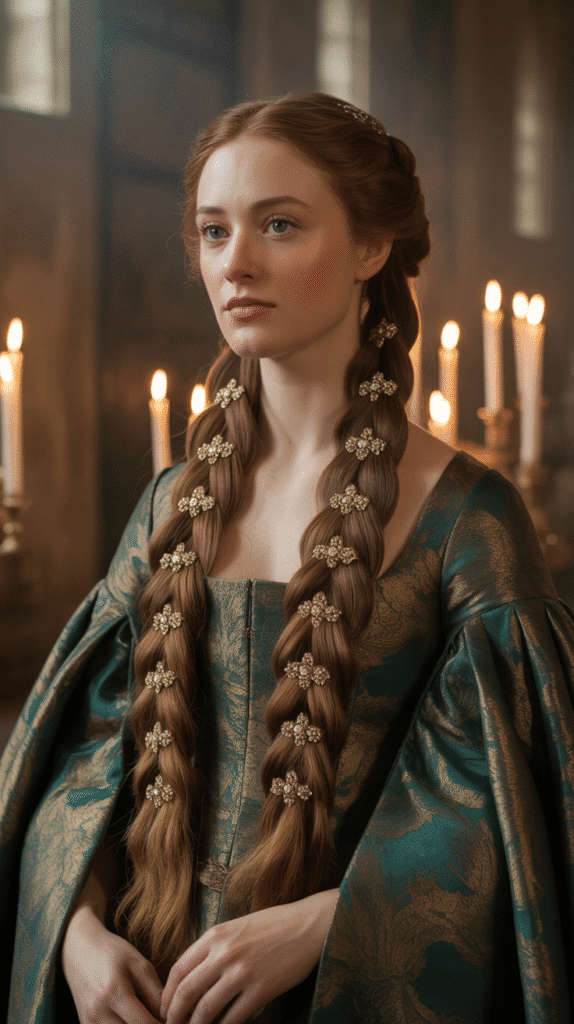
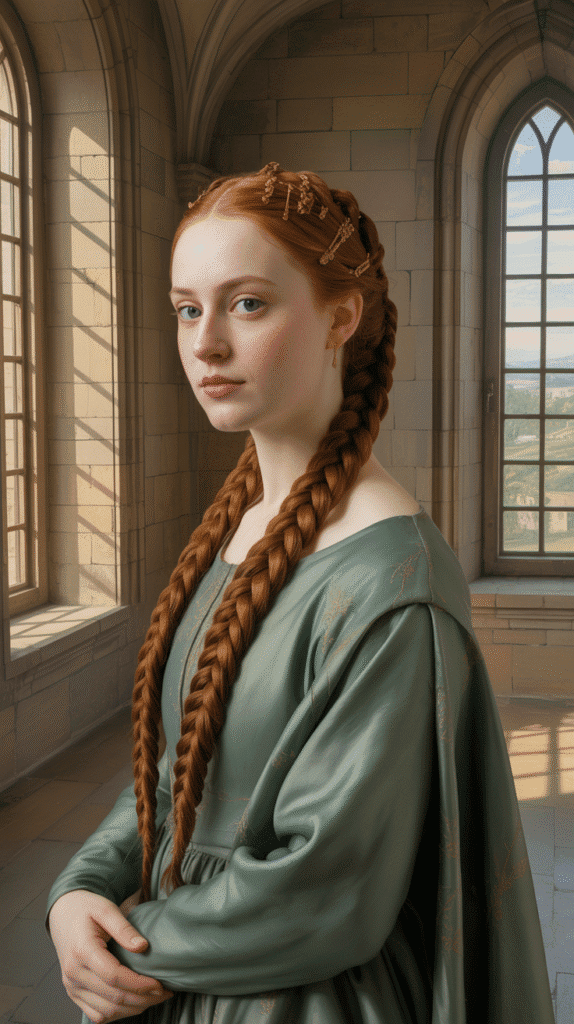
3. Double Dutch Braids with Ribbons
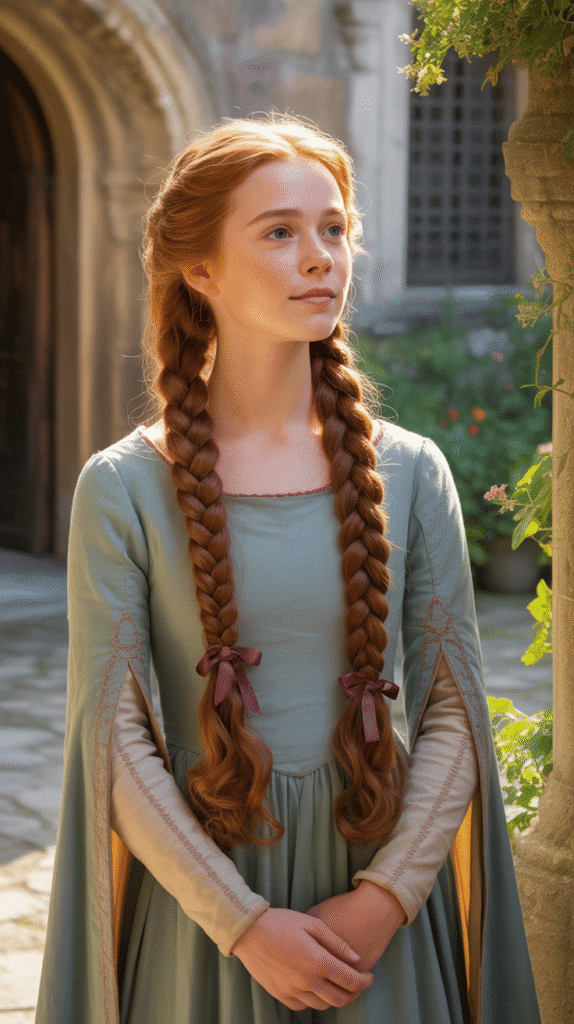
Double Dutch braids offer a striking symmetrical look that was favored by medieval maidens for both practical and aesthetic purposes.
These raised braids sit prominently on the scalp, creating dimension and visual interest.
- Part your hair straight down the center from forehead to nape, creating two equal sections for balanced braids.
- Dutch braiding involves crossing sections under rather than over, which creates the signature raised appearance that stands out from the scalp.
- Weave ribbons into each braid as you work, alternating the ribbon as a fourth strand for integrated color and texture.
- Medieval women often used ribbons made from silk or velvet in deep jewel tones like emerald, sapphire, or ruby to coordinate with their gowns.
- Complete the look by wrapping the ends around the base of each braid to create a low bun, or leave them hanging with decorative ribbon bows at the ends.
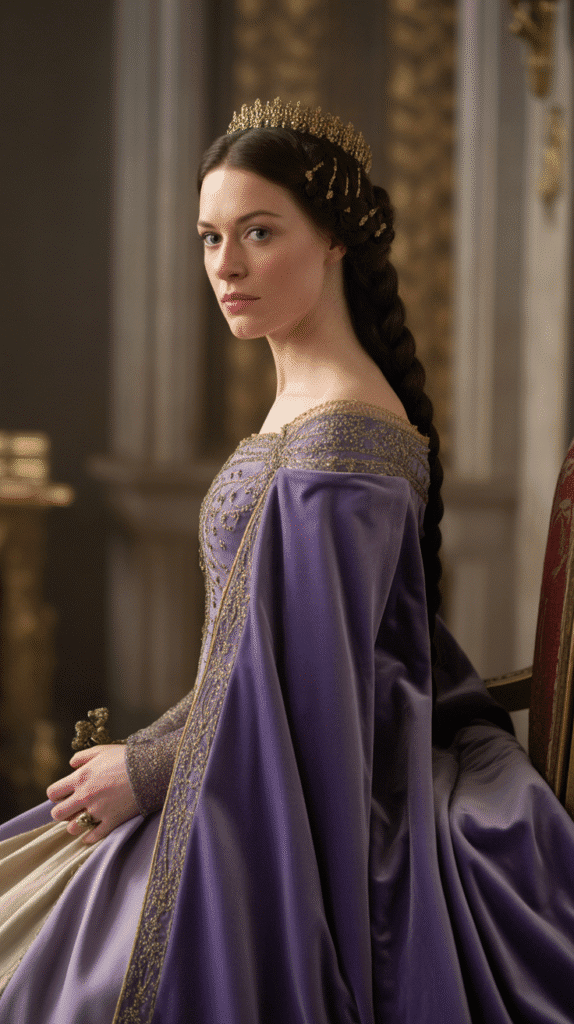
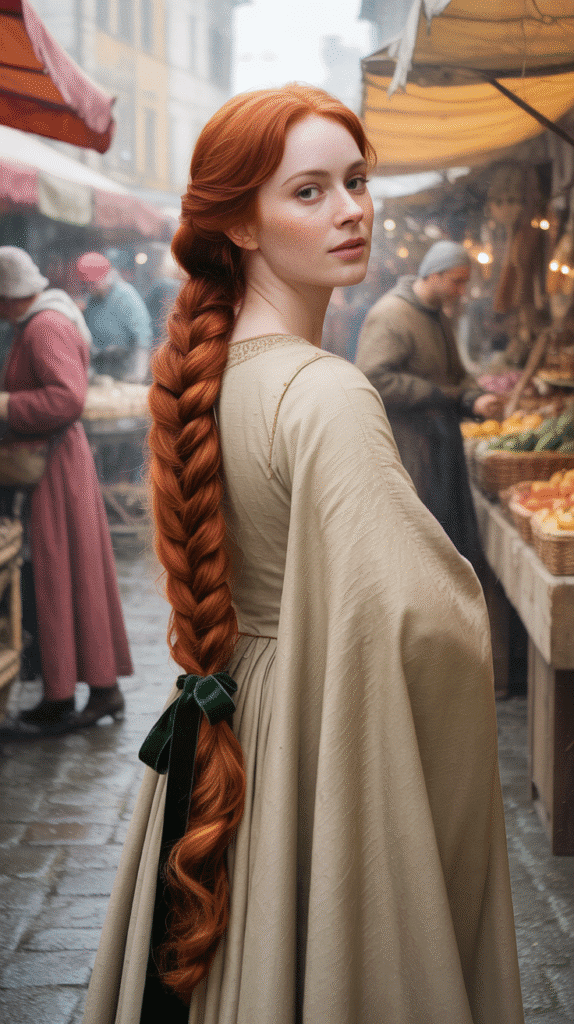
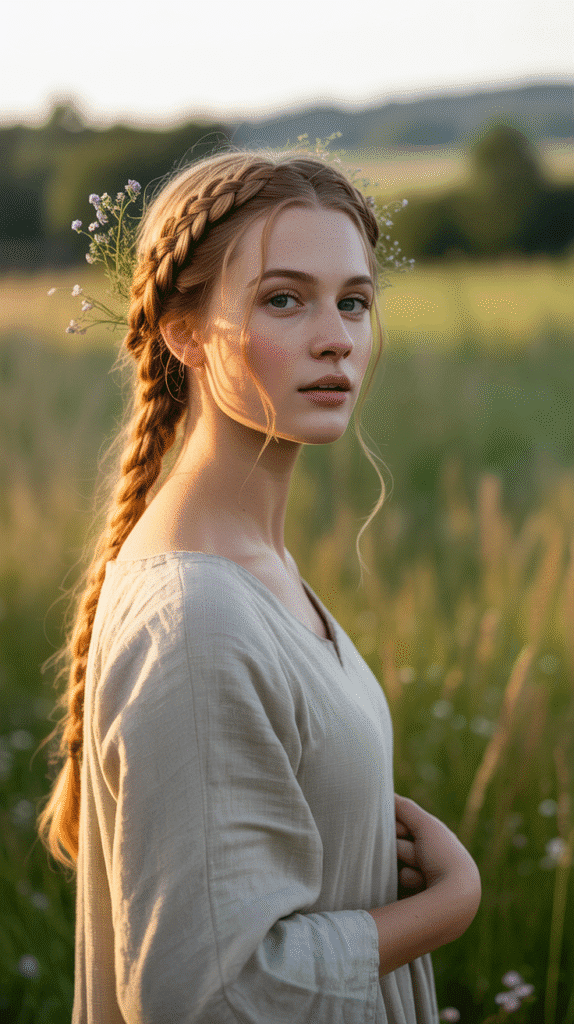
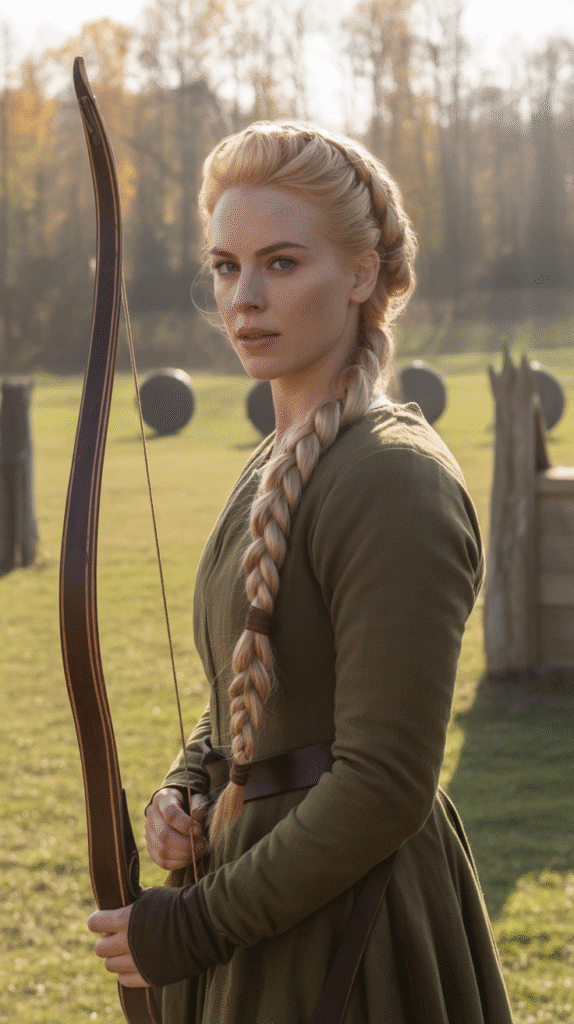
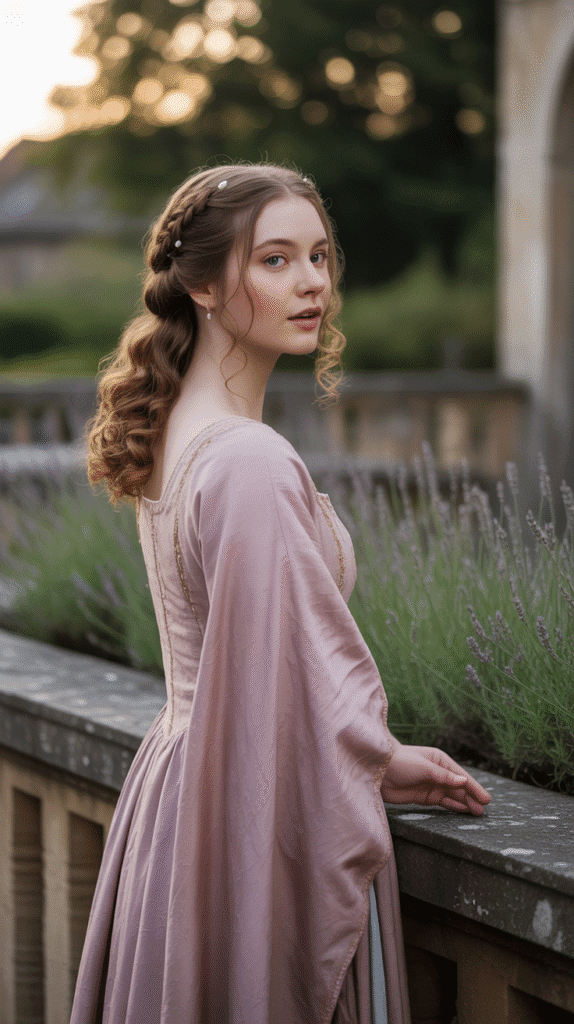
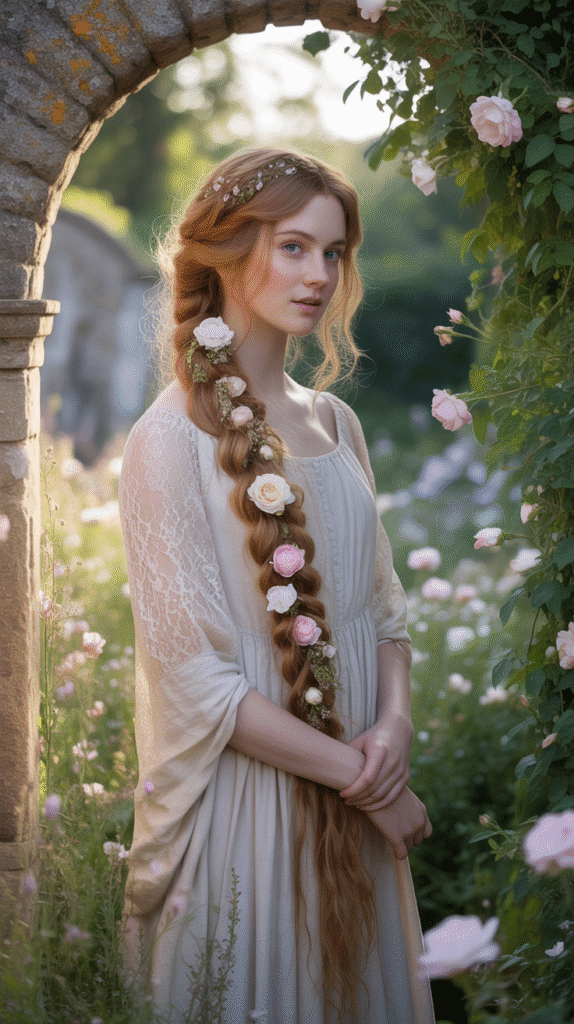
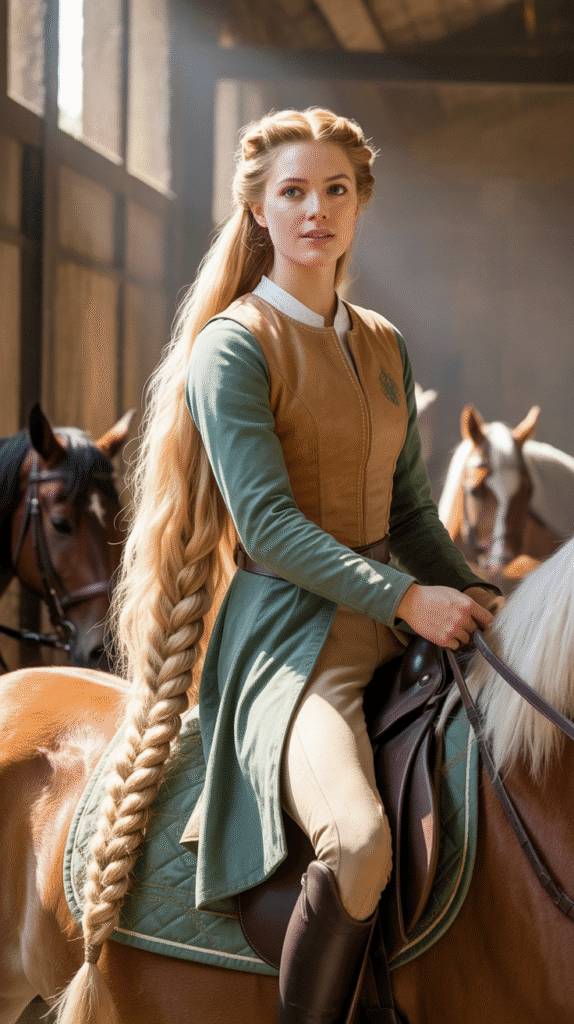
4. The Romantic Side Braid
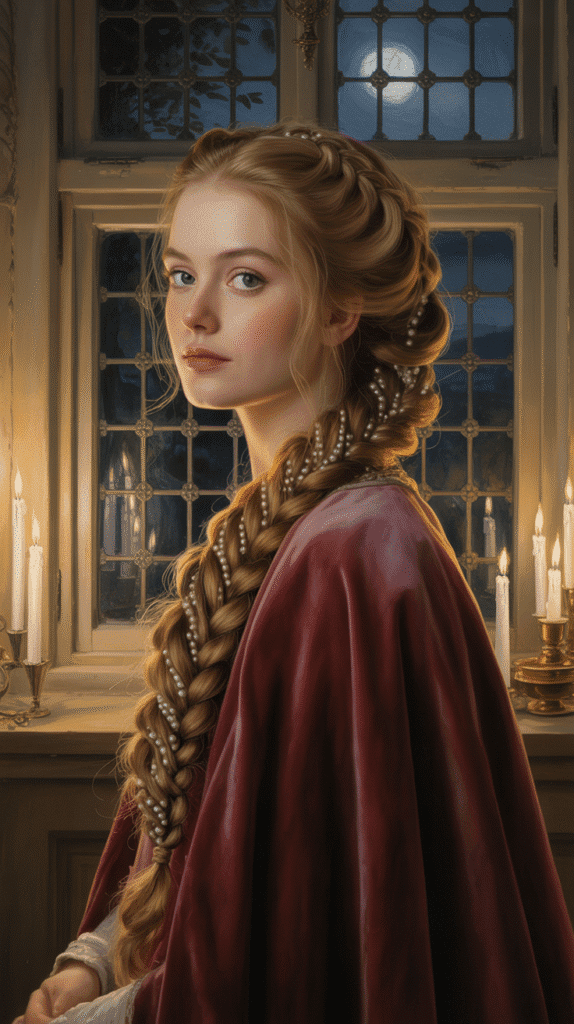
A single side braid draped over one shoulder embodies effortless elegance and was a favorite among medieval princesses during informal court gatherings.
This asymmetrical style draws attention to the face while maintaining a regal appearance.
- Sweep all your hair to one side and secure with a clear elastic at the nape before beginning your braid to maintain the side placement.
- Choose from various braiding techniques such as fishtail, rope braid, or four-strand braid to create different textures and visual effects.
- The side braid can be worn loose and slightly messy for a carefree romantic look, or pulled tight and sleek for more formal occasions.
- Incorporate decorative elements like small chains, pearls, or flowers at regular intervals throughout the braid for authentic medieval ornamentation.
- This versatile style works particularly well for those with thick, long hair and can be easily maintained throughout long events or celebrations.
5. Braided Bun Updo
The braided bun combines the sophistication of an updo with the intricate beauty of braiding, creating a hairstyle fit for the highest nobility.
This elegant style keeps hair secure while showcasing detailed braid work.
- Create multiple braids throughout your hair using various techniques to add depth and complexity to the final bun.
- Twist and wrap each braid around a central point at the crown or nape of your neck, securing with pins as you build the structure.
- Leave some face-framing pieces loose and curled to soften the overall look and prevent the style from appearing too severe.
- Medieval queens often decorated their braided buns with jeweled nets called crespines or ornate pins studded with precious stones.
- This hairstyle provides excellent staying power for extended wear during medieval-themed weddings, Renaissance festivals, or formal events.
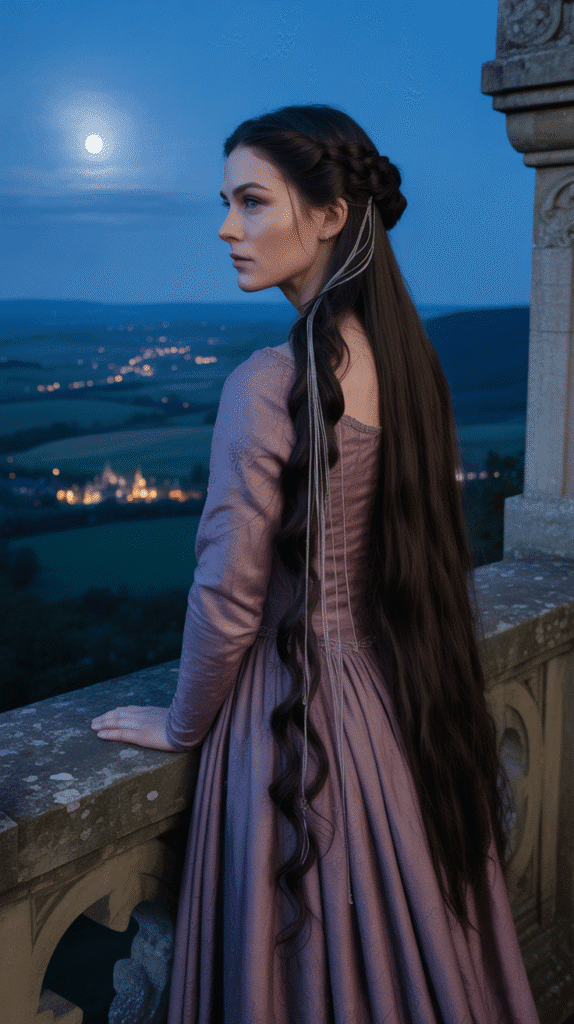
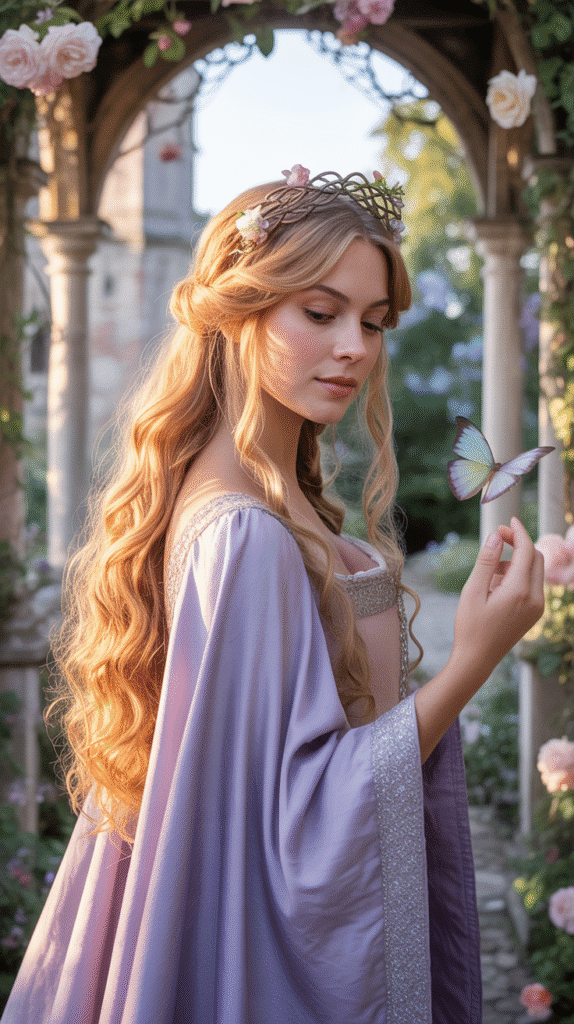
6. Half-Up Crown Braid with Curls
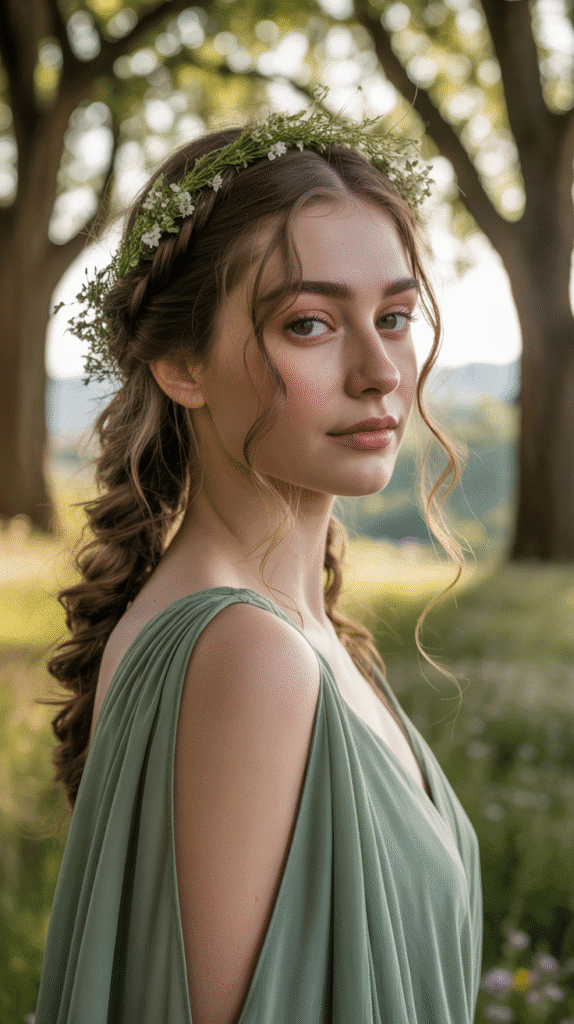
This hybrid style combines the best of both worlds—an elegant crown braid on top with romantic flowing curls below.
It was particularly popular among younger princesses who wanted sophistication with a touch of youthful charm.
- Section off the top half of your hair from ear to ear and create a crown braid that wraps around like a headband.
- Curl the remaining hair using a curling iron or hot rollers, creating loose spirals that add volume and movement.
- The contrast between the structured braid and free-flowing curls creates a balanced look that’s both controlled and romantic.
- Pin small flowers, baby’s breath, or decorative jewels along the crown braid to enhance the medieval princess aesthetic.
- This style is ideal for those who want the elegance of an updo with the softness and femininity of wearing hair down.
7. Fishtail Braid Ponytail
The fishtail braid creates a unique herringbone pattern that adds visual intrigue to a simple ponytail, elevating it to royal status.
This technique produces a more delicate and intricate appearance than traditional three-strand braids.
- Gather your hair into a ponytail at your desired height and secure with an elastic that you can later conceal with a ribbon or decorative wrap.
- Divide the ponytail into two equal sections and take small pieces from the outer edge of one section, crossing them over to the inner edge of the opposite section.
- Continue this alternating pattern all the way down the length of your hair, maintaining even tension for a uniform appearance.
- The fishtail braid creates a more textured look when you gently pull apart the woven sections after securing the end, adding width and dimension.
- Finish with a ribbon tied in a bow at the base of the ponytail and another at the bottom for an authentic medieval touch.
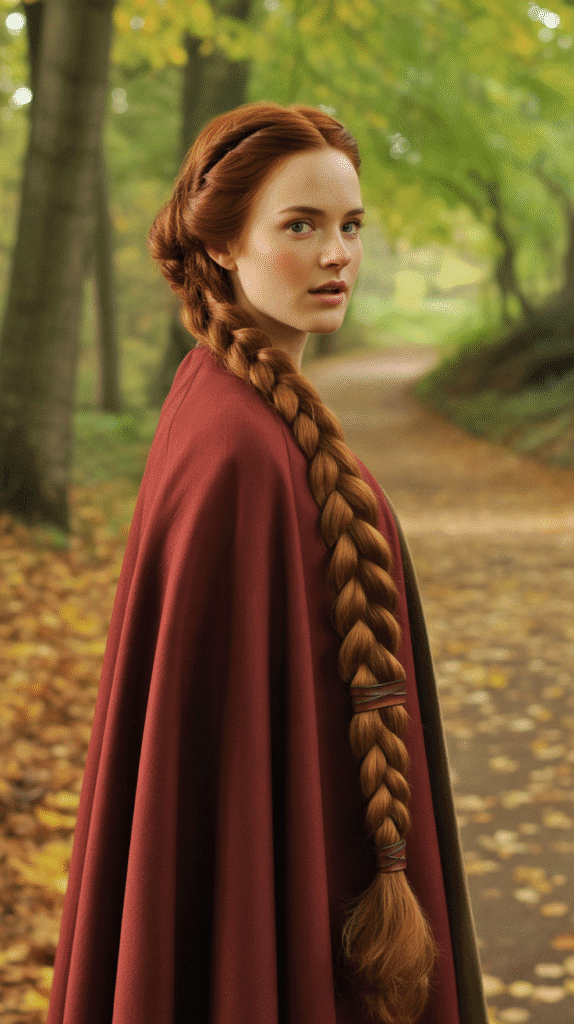
8. Twisted Rope Braid
The rope braid is one of the simplest yet most elegant medieval styles, consisting of two sections twisted together to create a spiral effect.
Despite its simplicity, this technique produces a sophisticated look worthy of nobility.
- Divide your hair into two equal sections and twist each section tightly in the same direction—typically clockwise.
- Once both sections are twisted, wrap them around each other in the opposite direction—counterclockwise—to create the rope effect.
- The opposing twist directions are crucial; they create tension that keeps the braid secure and prevents it from unraveling.
- This style can be worn as a single rope braid down the back, a side braid, or multiple smaller rope braids incorporated into more complex updos.
- For medieval authenticity, wrap metallic thread or thin chains around the rope braid, securing at intervals with small pins.
9. Medieval Milkmaid Braids
Milkmaid braids, also known as halo braids, create a soft, romantic crown effect by wrapping two braids over the top of the head.
This style was practical for working women but elevated to royal status with proper embellishments.
- Part your hair down the middle and create two standard three-strand braids, securing each end with a small elastic.
- Cross one braid over the top of your head from ear to ear, pinning it securely along the way with bobby pins.
- Take the second braid and cross it over the first, creating a layered crown effect, and tuck the ends underneath for a seamless finish.
- This style works beautifully with ribbons woven through the braids or flowers tucked into the crown for added color and texture.
- The milkmaid braid is particularly flattering for oval and heart-shaped faces, as it adds width and dimension to the crown area.
10. Four-Strand Braid
The four-strand braid creates a complex woven pattern that appears intricate and detailed, perfect for those wanting to showcase advanced braiding skills.
This technique produces a flatter, wider braid with beautiful dimension.
- Divide your hair into four equal sections and assign each a number from one to four to help track the weaving pattern.
- The basic pattern involves crossing the outside strands toward the center, alternating sides as you work down the length.
- Specifically, cross strand one over strand two, strand four over strand three, then strand two over strand three, and repeat this sequence.
- Four-strand braids can incorporate ribbons or chains as one of the four strands, adding color and medieval authenticity to the style.
- Practice on a friend or mannequin before attempting this braid on yourself, as the coordination required can be challenging initially.
11. Braided Headband with Loose Hair
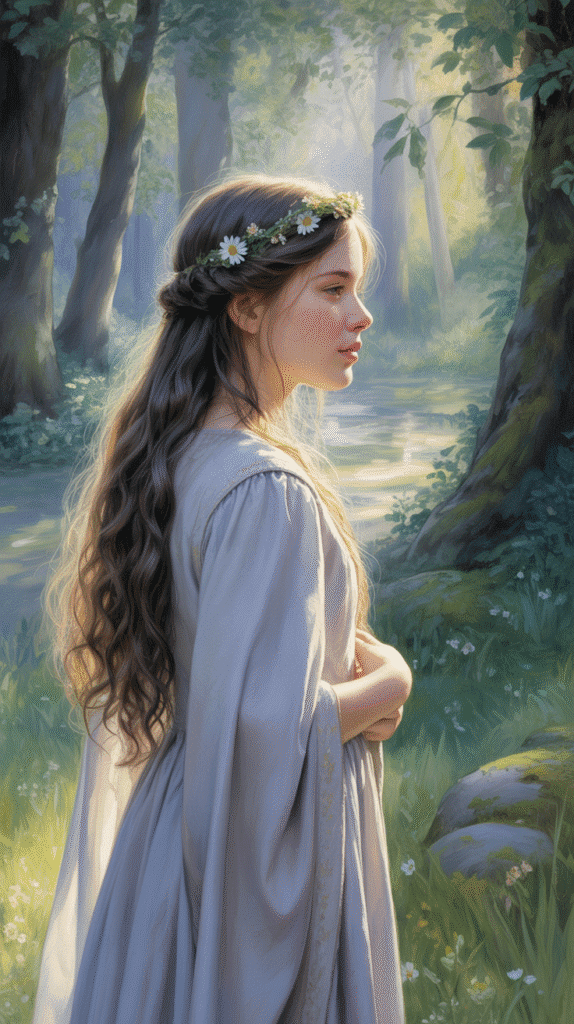
This style creates a natural headband from your own hair while leaving the rest flowing freely—a perfect combination of structure and softness.
Medieval princesses wore this style during casual court activities and outdoor pursuits.
- Take a thin section of hair from behind one ear and create a regular three-strand braid, keeping it relatively tight for definition.
- Bring the braid across the top of your head like a headband and secure it behind the opposite ear with bobby pins.
- The remaining hair can be left straight, curled, or styled in loose waves for a contrasting texture against the structured braid.
- Create a second braided headband below the first for a more dramatic effect, or stack multiple thin braids for layered dimension.
- This style is ideal for showcasing hair color variations or highlights, as the braid creates a frame that draws attention to the flowing hair beneath.
12. Intricate Celtic Knot Braid

Celtic knot braids incorporate complex weaving patterns that create the illusion of interlocking designs, inspired by traditional Celtic artwork.
These braids require patience but produce stunning results.
- Celtic knot braids typically involve five or more strands woven in specific patterns that cross over and under each other repeatedly.
- Mark out sections of hair and practice the weaving pattern on loose hair before attempting to braid directly on your head.
- These braids work best when kept relatively small and used as accent pieces within larger hairstyles rather than as the entire style.
- Pin Celtic knot braids along the sides of your head, creating decorative elements that resemble the metalwork on medieval jewelry and manuscripts.
- Enhance the Celtic theme with metallic cuffs, beads, or rings placed strategically throughout the braid to emphasize the knot pattern.
13. Wrapped Ponytail Braid
This sophisticated style disguises a simple ponytail by wrapping it with braids, creating the illusion of an entirely braided style.
It offers the convenience of a ponytail with the elegance of intricate braid work.
- Create a mid to high ponytail and secure it firmly with an elastic band that matches your hair color.
- Take a small section from the ponytail and braid it, then wrap this braid around the elastic base to conceal it, pinning the end underneath.
- Create additional braids from sections of the ponytail and wrap them around the base at different angles for a layered, dimensional effect.
- The remaining unbraided portion of the ponytail can be left smooth, curled, or textured depending on your desired level of formality.
- This versatile style transitions easily from day to night and works well for both casual medieval costumes and formal themed events.
14. Double Crown Braids
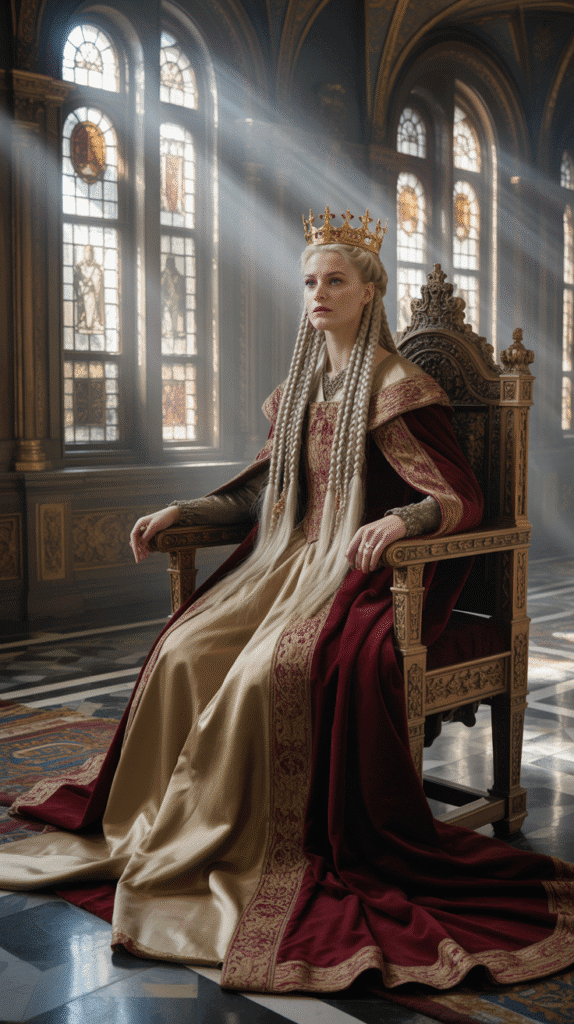
Two crown braids stacked one above the other create a dramatic, regal effect that commands attention.
This style was reserved for the highest nobility and special ceremonial occasions in medieval times.
- Part your hair horizontally from ear to ear, creating top and bottom sections that will each form a separate crown braid.
- Begin with the lower section, creating a crown braid around the back of your head just above the nape.
- Once the first crown is secure, create a second crown braid with the upper section, positioning it higher on your head for a stacked effect.
- The double crown style requires significant hair length and density to achieve the full, prominent appearance seen in medieval artwork.
- Embellish the space between the two braids with jeweled pins, small flowers, or a delicate chain for added royal splendor.
15. Braided Low Bun with Face-Framing Pieces
This refined style combines practical functionality with romantic details, featuring multiple braids wound into a low bun while leaving soft tendrils around the face.
It perfectly balances elegance with approachability.
- Create three to five separate braids throughout your hair, leaving out sections at the front and sides for face-framing.
- Gather all braids at the nape of your neck and twist them together, wrapping them around to form a low bun.
- Secure the bun with bobby pins, making sure each braid is visible and contributes to the textured appearance of the finished style.
- Curl the face-framing pieces away from your face using a small-barrel curling iron for soft, romantic tendrils.
- This style is particularly flattering for formal events and photographs, as it keeps hair neat while maintaining a soft, feminine silhouette.
16. Medieval Ladder Braid
The ladder braid creates a unique visual effect with horizontal sections that appear to form rungs between two vertical braids.
This eye-catching style showcases advanced braiding technique and creativity.
- Begin with a section of hair at the crown and divide it into two parts, creating two parallel braids that will form the sides of the ladder.
- As you braid each side, periodically take a horizontal section of hair from between the two braids and incorporate it, creating the ladder rungs.
- Maintain consistent spacing between the horizontal sections for a uniform ladder appearance throughout the style.
- Ribbon can be woven through the horizontal sections to emphasize the ladder effect and add color contrast.
- This braid works best on long, thick hair and serves as a stunning centerpiece for medieval-themed events or performances.
17. Braided Updo with Jeweled Accessories
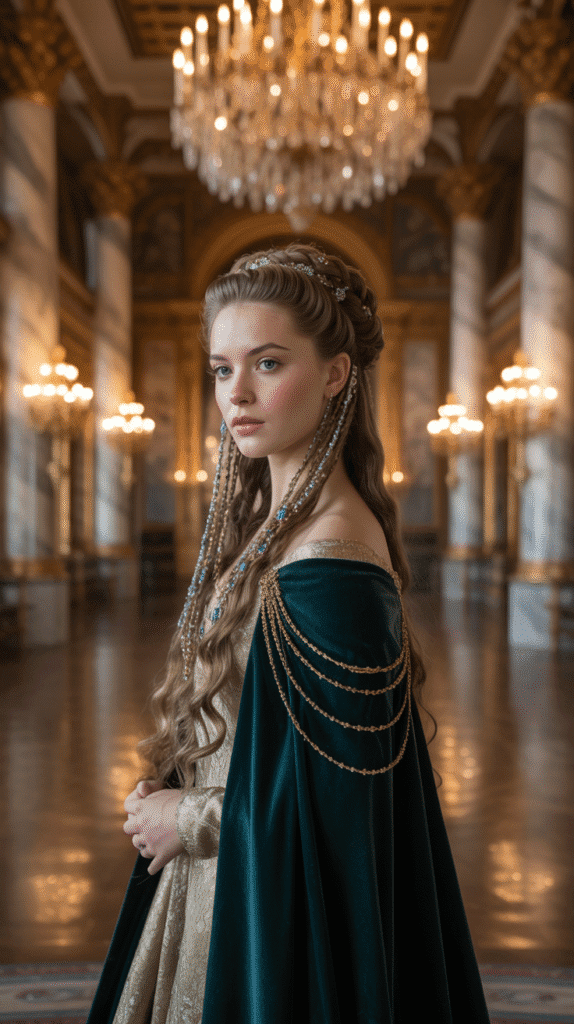
A fully braided updo adorned with jewels and metallic accessories represents the pinnacle of medieval hairstyling luxury.
This elaborate style showcases wealth, status, and attention to detail.
- Create various types of braids throughout your hair—fishtail, Dutch, rope, and traditional three-strand—to add textural variety.
- Pin these braids in different directions and at different levels on your head, building an architectural structure of woven hair.
- Weave chains, beads, or jeweled strands throughout the braids as you construct the updo for integrated embellishment.
- Leave strategic loops and twists visible rather than hiding all the ends, as these add dimension and showcase the complexity of the style.
- Finish with decorative hairpins topped with crystals or pearls, placing them at focal points where multiple braids intersect.
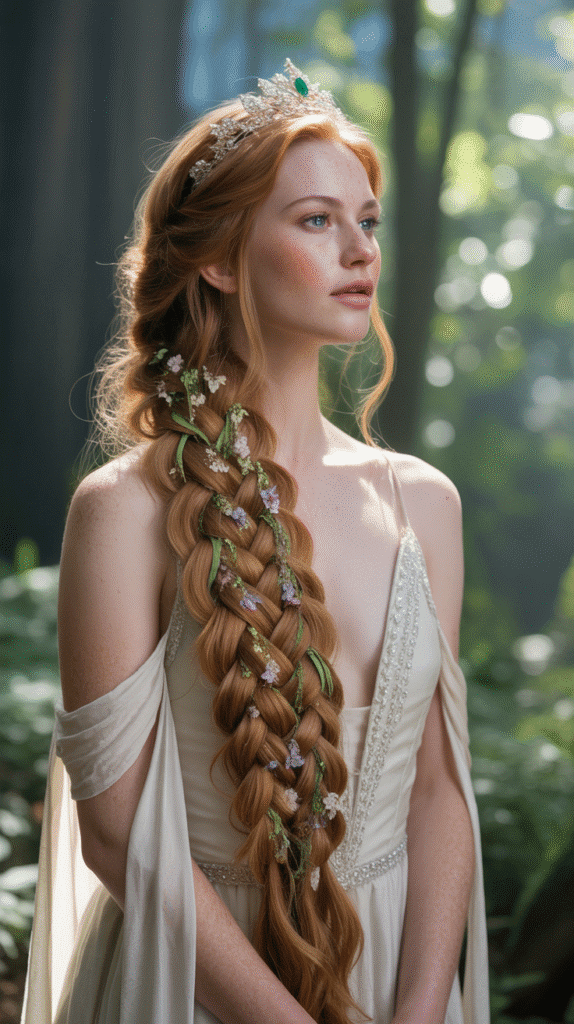
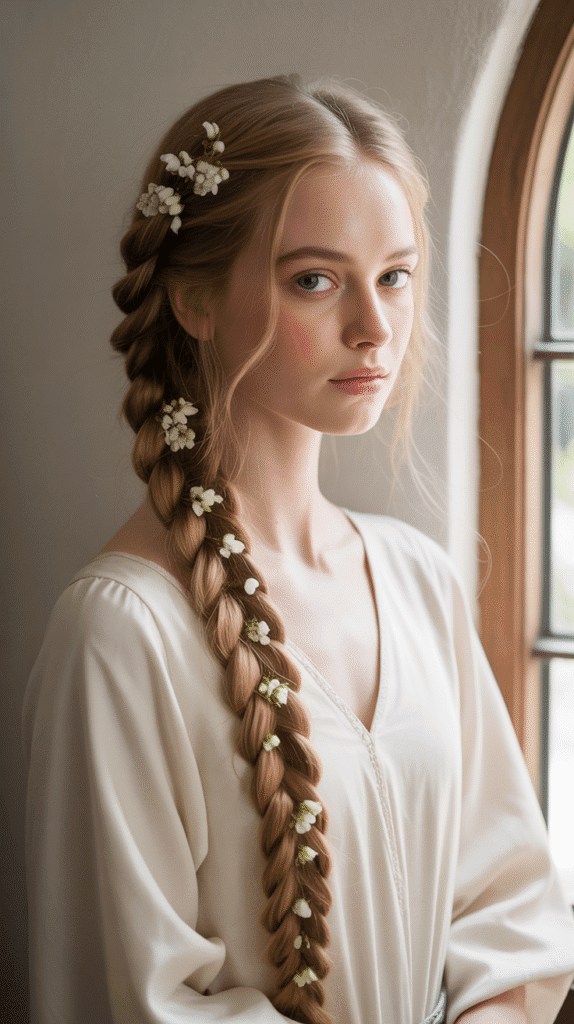
18. Side-Swept Fishtail with Flowers
This romantic style features a loose fishtail braid swept to one side and embellished with fresh or silk flowers, perfect for outdoor medieval celebrations.
The combination of intricate braiding and natural elements creates an enchanting effect.
- Gather all hair to one side at the base of your neck and secure loosely with a clear elastic before beginning the fishtail braid.
- As you create the fishtail pattern, intentionally keep the braid loose and textured rather than tight and sleek for a softer appearance.
- After completing the braid, gently pull apart the woven sections with your fingers to create width and a more relaxed, romantic texture.
- Tuck flower stems into the braid at regular intervals, using bobby pins beneath the flowers to secure them properly.
- Choose flowers that complement your outfit color scheme—roses, daisies, lavender, and baby’s breath work particularly well for medieval aesthetics.
19. Triple Braid into Single Plait
This unique style begins with three separate braids at the crown that merge into one large single braid, creating visual interest through changing patterns and textures.
The technique demonstrates braiding versatility and creates dramatic dimension.
- Section off three equal parts at the crown of your head and create individual braids with each section down to ear level.
- At the point where all three braids hang at approximately the same length, gather them together and create one large three-strand braid using each previous braid as a single section.
- The transition point where three becomes one creates an interesting focal point that can be emphasized with a ribbon, bead, or decorative tie.
- This style works wonderfully for thick hair, as it channels volume into a manageable single braid while maintaining visual complexity.
- The upper three braids can be different types—one Dutch, one standard, one rope—for even more textural variation before merging.
20. Asymmetrical Side Braid with Chain
An asymmetrical braid positioned off-center and adorned with delicate chains creates an edgy yet elegant medieval look.
This style balances traditional braiding with unexpected modern elements.
- Create a deep side part that positions the majority of your hair to one side, leaving minimal hair on the opposite side.
- Begin braiding at the temple on the fuller side, gradually incorporating all hair as you work toward the opposite shoulder.
- Thread fine chains through the braid by looping them around sections as you work, or attach them afterward with small pins for easier removal.
- Medieval-style chains with antique finishes work best for authentic period feel, though modern delicate chains can also achieve the look.
- Secure the end of the braid with a ribbon or fabric-wrapped elastic, and consider adding a small charm or pendant at the bottom for additional detail.
21. Braided Crown with Veil
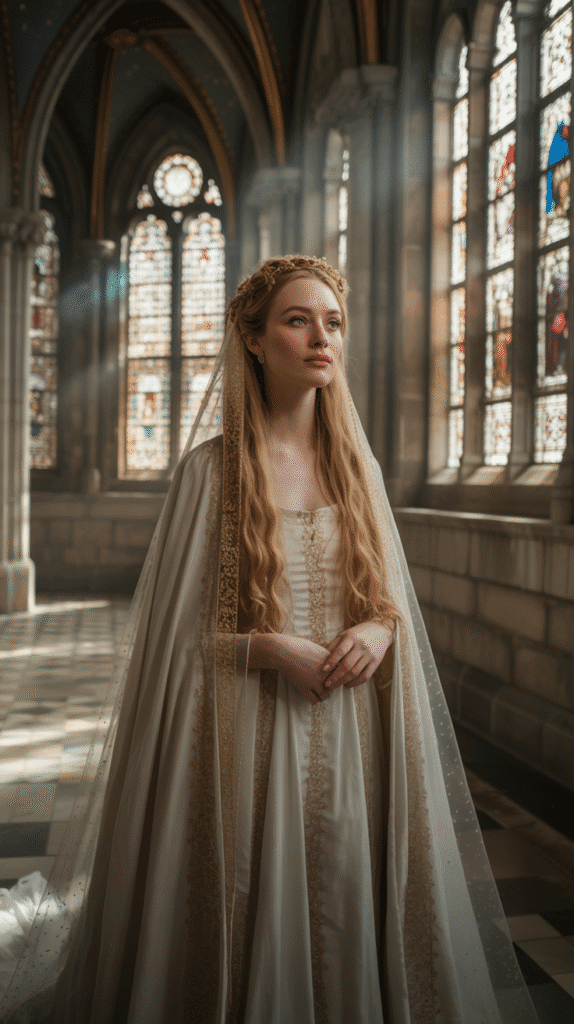
The combination of a braided crown with a flowing veil represents the ultimate medieval bridal style or formal court appearance.
This regal look combines structured braiding with soft, romantic drapery.
- Create a full crown braid around the circumference of your head, ensuring it sits prominently and is firmly secured with pins.
- Attach the veil just behind the crown braid, allowing it to flow over the braid and down the back for a layered effect.
- The veil can be secured with a decorative comb, ornamental pins, or a small tiara placed atop the crown braid.
- Medieval veils were often made from sheer fabrics like gossamer, silk, or fine linen, and could be single or double-layered.
- This style is ideal for medieval weddings, handfasting ceremonies, or playing the role of a queen at Renaissance events.
22. Spiral Braid Bun
The spiral braid bun creates a mesmerizing circular pattern by wrapping a long braid around itself in a deliberate spiral formation.
This geometric approach to the traditional bun adds artistic flair to a classic style.
- Create a single long braid—fishtail, rope, or traditional three-strand—ensuring it’s tight enough to hold its shape but loose enough to manipulate.
- Starting at the base of the braid near your head, begin winding the braid in a flat spiral, keeping each rotation tight against the previous one.
- Pin the spiral at regular intervals as you wind, ensuring the entire structure is secure and the spiral pattern remains visible.
- The end of the braid should be tucked underneath the spiral and pinned firmly to prevent unraveling throughout wear.
- Decorate the spiral with pins placed along the curves or at the center point, using jeweled or metallic pins for medieval authenticity.
23. Dutch Braid into Bubble Ponytail
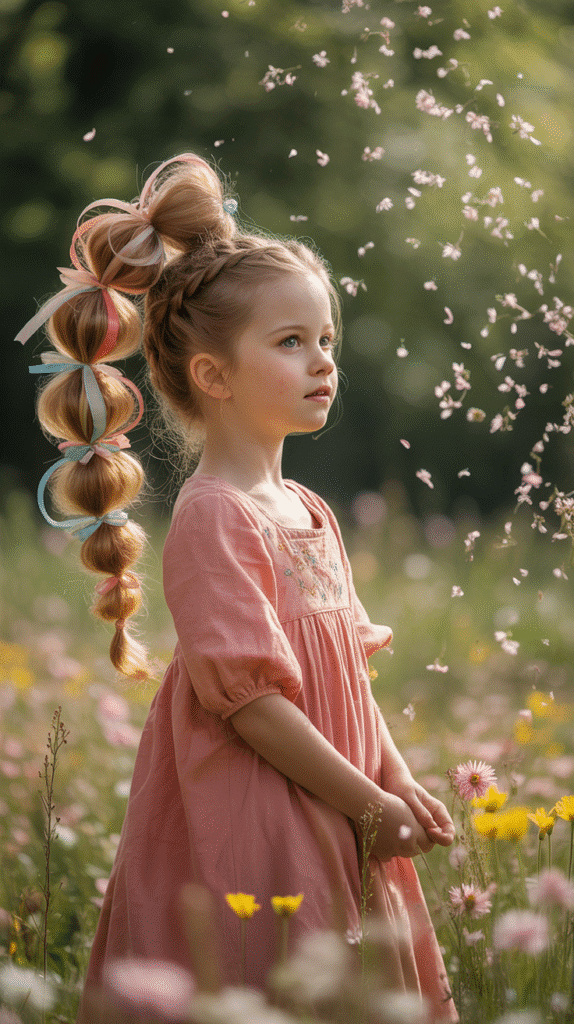
This playful yet elegant style combines structured Dutch braiding at the crown with a modern bubble ponytail effect, creating dimension and visual interest.
The combination feels both historical and contemporary.
- Begin with a Dutch braid at the crown, braiding from the hairline back toward the crown for three to five inches.
- Gather all remaining hair including the braid into a ponytail at the desired height and secure with an elastic.
- Place additional elastics down the length of the ponytail at regular intervals—every two to three inches.
- Gently tug on the hair between each elastic to create the bubble effect, pulling evenly around the circumference for uniform bubbles.
- Weave ribbons around each elastic or through the bubbles for color and to maintain the medieval aesthetic.
24. Medieval Half-Braid with Back Detail
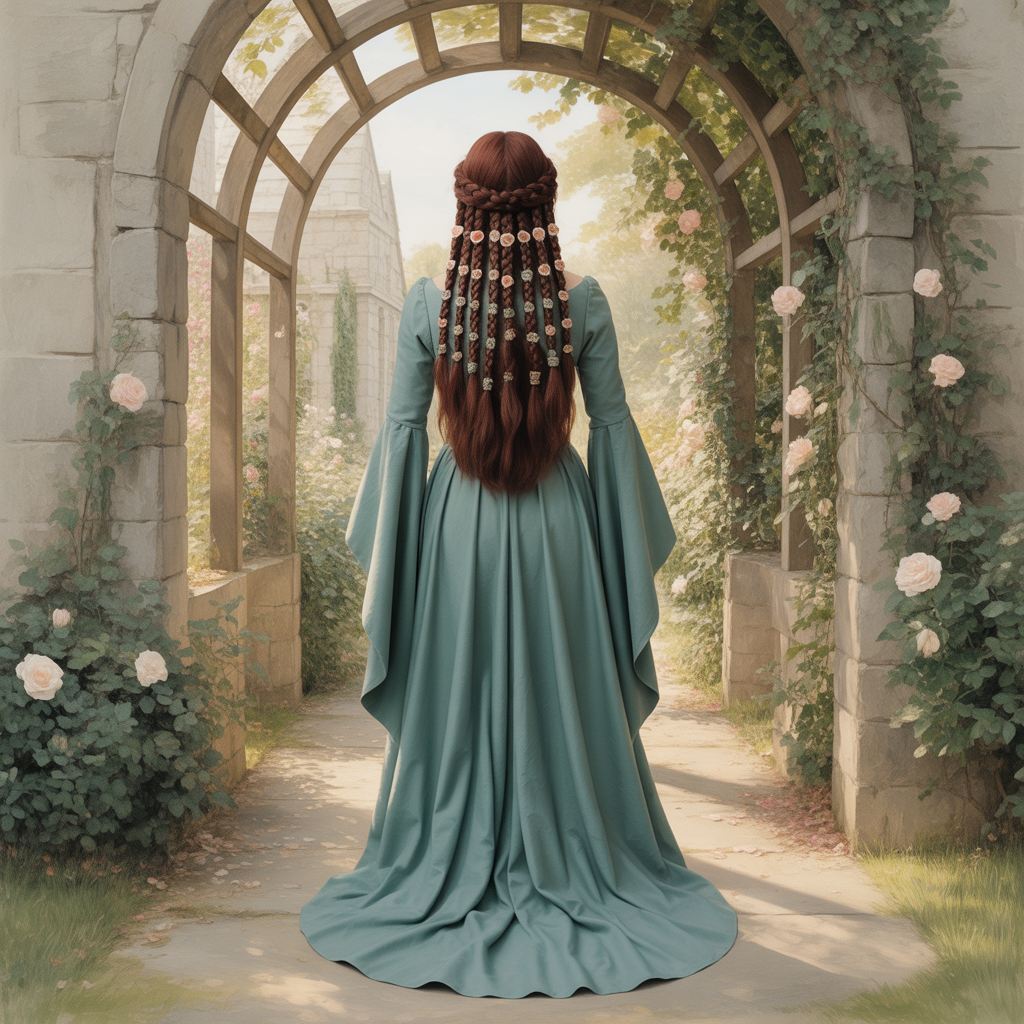
This style features intricate braiding in the back while keeping the front sections smooth and elegant, creating a hairstyle that looks polished from every angle.
It’s perfect for those who want complexity without overwhelming the face.
- Leave the front sections of hair on either side of your face smooth and straight or gently waved.
- In the back section, create multiple small braids—three to seven depending on hair thickness—in various patterns.
- These back braids can be left hanging, twisted together, or pinned into decorative shapes for different effects.
- The contrast between smooth front sections and intricately braided back sections creates visual interest without hiding your face.
- Embellish the back braids with small beads, ribbons, or flowers that coordinate with your outfit for a cohesive medieval look.
25. Twisted Crown with Braided Sides
This hybrid style combines twists and braids for a textured, dimensional look that showcases multiple techniques.
The crown twists provide softness while side braids add structure and frame the face.
- Take sections of hair from each temple and twist them back toward the crown, pinning them to meet in the middle.
- Create small braids on either side of your face, just in front of where the twists begin, to frame your features.
- The combination of twisted and braided elements adds depth and prevents the style from appearing flat or one-dimensional.
- Allow the back section to remain loose, curled, or gathered into a ponytail depending on the occasion and desired formality level.
- This versatile style works well for both daytime casual events and evening formal occasions with simple adjustments to the loose hair.
26. Five-Strand Braid
The five-strand braid creates an exceptionally intricate pattern that appears complex and sophisticated, perfect for showcasing advanced braiding skills.
This style produces a wide, flat braid with beautiful dimension and detail.
- Divide your hair into five equal sections, numbering them one through five from left to right to track the weaving pattern.
- The basic pattern involves crossing the outer strands toward the center in a specific sequence that creates the interwoven appearance.
- Start by crossing strand five over four, then one over two, then five over three, then one over three, and repeat this sequence.
- Five-strand braids work best when kept relatively tight, as loose weaving can make the pattern difficult to distinguish.
- Incorporate ribbons or colored strands as one or more of the five sections to make the complex pattern more visible and add medieval color.
27. Braided Ponytail with Wrapped Base
This final style elegantly elevates a simple ponytail by incorporating braiding throughout and wrapping the base for a polished, refined finish.
It combines functionality with medieval elegance.
- Gather hair into a ponytail at your desired height—high ponytails suit active occasions while low ponytails feel more formal.
- Before securing, create a small braid from a section of the ponytail that you’ll later use to wrap the base.
- Secure the ponytail with a strong elastic, then wrap the pre-made braid around the base to conceal the elastic completely.
- Create additional braids with sections of the ponytail itself—one large central braid or multiple smaller braids for varied effects.
- Finish with ribbons tied at intervals along the braids or a decorative hair cuff at the base for authentic medieval detail.
Conclusion
The timeless elegance captured in these 27 beautiful medieval braided hairstyles for princesses proves that historical beauty continues to inspire and enchant modern audiences.
From the simple grace of a side-swept braid to the intricate complexity of Celtic knots and five-strand plaits, each style offers a unique way to channel royal sophistication and romantic charm.
These hairstyles transcend their historical origins, remaining relevant for today’s weddings, costume events, Renaissance faires, and anyone seeking to add a touch of regal elegance to their appearance.
With practice, patience, and the right embellishments like ribbons, flowers, chains, and jeweled pins, you can transform yourself into a vision of medieval royalty.
Whether you choose a single dramatic centerpiece braid or combine multiple techniques for an elaborate updo, these styles celebrate the artistry of hair braiding and the enduring appeal of princess-worthy beauty.
May these 27 beautiful medieval braided hairstyles for princesses inspire you to create your own crowning glory and step confidently into a world where every day holds the magic of a fairy tale.