Cutting your son’s curly hair at home can feel intimidating at first, but with the right techniques and a little patience, you’ll discover it’s entirely manageable and even enjoyable.
This comprehensive guide on How to Cut Boys’ Curly Hair at Home – Simple Guide for Parents will walk you through everything from selecting the proper tools to mastering cutting techniques specifically designed for curly textures.
You’ll learn how to prepare your child’s hair, choose the right style, avoid common mistakes, and maintain those beautiful curls between cuts.
Whether you’re looking to save money on salon visits or simply want the convenience of trimming your child’s hair whenever needed, this article provides practical, step-by-step instructions that any parent can follow.
By the end of this guide, you’ll have the confidence and knowledge to give your son a professional-looking haircut right in the comfort of your own home.
Contents
- 1 1. Understanding Curly Hair Texture and Growth Patterns
- 2 2. Essential Tools and Products for Cutting Curly Hair
- 3 3. Preparing Your Child and Their Hair for Cutting
- 4 4. Basic Cutting Techniques for Curly Hair
- 5 5. Step-by-Step Process for a Basic Curly Haircut
- 6 6. Popular Curly Haircut Styles for Boys
- 7 7. Common Mistakes and How to Avoid Them
- 8 8. Maintaining Curly Hair Between Cuts
- 9 9. When to Consider Professional Help
- 10 Conclusion
1. Understanding Curly Hair Texture and Growth Patterns

Before picking up scissors, it’s essential to understand what makes curly hair unique and how it behaves differently from straight hair.
Curly hair has its own personality, growth patterns, and specific needs that directly impact how you should approach cutting it.
Curl Pattern Types
- Curly hair ranges from loose waves (Type 2) to tight coils (Type 4), and boys can have any combination of these patterns on different parts of their head.
- Understanding your child’s specific curl pattern helps you predict how much the hair will spring up after cutting, which is crucial for avoiding cutting too short.
- Many children have multiple curl patterns, with tighter curls at the nape and looser curls on top, which means you’ll need to adjust your approach for different sections.
Growth Direction and Shrinkage
- Curly hair can shrink up to 75% of its actual length when dry, a phenomenon called “shrinkage” that you must account for when cutting.
- Hair grows in different directions on the scalp, creating cowlicks and natural part lines that become more pronounced with curly textures.
- The hair around the crown typically grows in a circular pattern, while the sides may grow forward or downward depending on the individual child.
- Always cut curly hair when it’s dry or only slightly damp to see the true length and shape, as wet curly hair stretches significantly and can mislead you into cutting too much.
Density and Thickness Considerations
- Hair density refers to how many individual strands grow per square inch of scalp, which can range from fine and sparse to thick and dense.
- Boys with high-density curly hair need more frequent thinning and shaping to prevent the hair from becoming too bulky or triangular.
- Fine curly hair requires a gentler approach with less layering to maintain volume and avoid creating a stringy appearance.
- Thicker hair can handle more aggressive texturizing techniques and deeper layers without looking sparse or over-cut.
2. Essential Tools and Products for Cutting Curly Hair
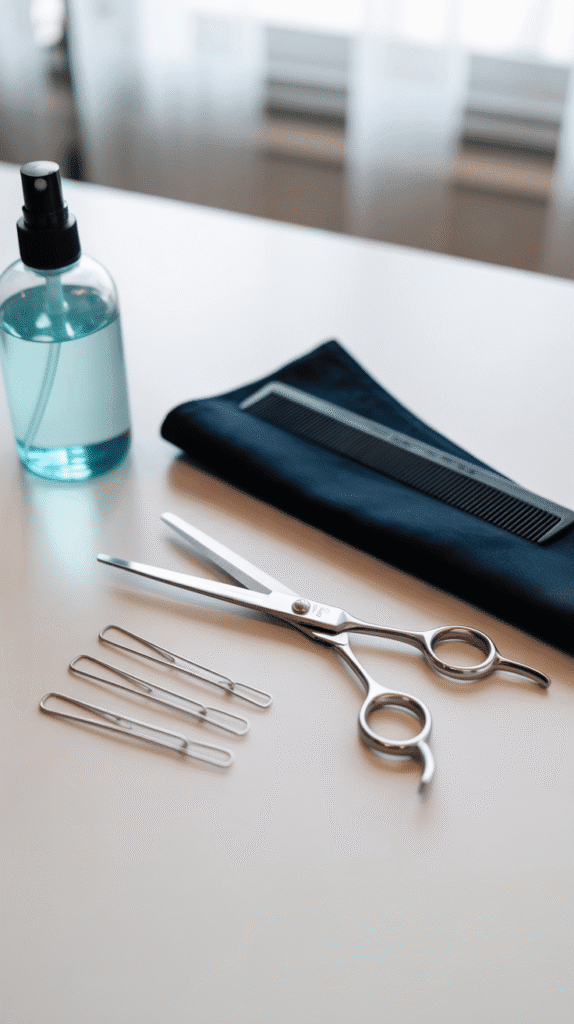
Having the right equipment makes the difference between a frustrating experience and a smooth, successful haircut.
Investing in quality tools specifically designed for cutting hair will serve you well for years to come.
Professional Cutting Tools
- Professional haircutting shears with a length of 5.5 to 6.5 inches provide the control and precision necessary for cutting curly hair effectively.
- Avoid using household or craft scissors, as these have blunt edges that crush the hair shaft instead of cutting cleanly, leading to split ends and frizz.
- Thinning shears with 30-40 teeth are essential for removing bulk from thick curly hair without creating harsh lines or choppy sections.
- A quality spray bottle filled with water or a water-conditioner mix helps refresh curls and keep them defined during the cutting process.
Combs and Styling Aids
- A wide-tooth comb is mandatory for detangling curly hair without causing breakage or disrupting the natural curl pattern.
- A fine-tooth comb can be used for precision work around the ears and neckline but should be used sparingly on the curls themselves.
- Hair clips or sectioning clamps help divide the hair into manageable portions, making it easier to work methodically through the entire head.
- A spray bottle with a fine mist setting allows you to lightly dampen sections as needed without soaking the hair completely.
Safety and Comfort Items
- A proper haircutting cape or a large towel protects your child’s clothing from hair clippings and keeps them comfortable during the process.
- A comfortable chair at the right height for you to work without straining your back is essential, especially for longer cutting sessions.
- A handheld mirror allows your child to see the back and sides of their head, helping them feel involved and providing feedback opportunities.
- Entertainment such as a tablet with cartoons or a favorite book keeps younger children still and cooperative throughout the haircut.
3. Preparing Your Child and Their Hair for Cutting

Proper preparation sets the stage for a successful haircut and minimizes stress for both parent and child.
Taking time to prepare the hair and create a positive environment makes the entire process smoother.
Hair Washing and Conditioning
- Wash your child’s hair with a sulfate-free, moisturizing shampoo designed for curly hair 2-3 hours before cutting to remove product buildup and dirt.
- Apply a generous amount of conditioner or a leave-in conditioning treatment to enhance curl definition and make detangling easier.
- Detangle the hair completely while the conditioner is still in, working from the ends up to the roots with your fingers or a wide-tooth comb.
- Rinse thoroughly but gently, allowing the hair to retain some moisture without being dripping wet, which can obscure the natural curl pattern.
Drying and Curl Definition
- Gently squeeze excess water from the hair using a microfiber towel or an old t-shirt rather than rubbing, which causes frizz and disrupts curls.
- Allow the hair to air dry to about 80-90% dry so you can see the natural curl pattern and how the hair will actually sit after cutting.
- Apply a small amount of curl-defining cream or gel if your child regularly uses these products, as cutting styled hair shows you the true finished result.
- Never cut soaking wet curly hair, as it will appear much longer when wet and will shrink dramatically when dry, leading to unexpected short results.
Creating a Positive Environment
- Choose a time when your child is well-rested, fed, and in a good mood rather than attempting a haircut when they’re tired or cranky.
- Explain what you’ll be doing in age-appropriate language, showing them the tools and letting them touch the scissors (closed) to reduce fear.
- Set up the cutting area in a familiar, comfortable location with good lighting, preferably near a mirror so your child can watch if they want to.
- Have rewards ready, such as a special snack or extra screen time, to motivate cooperation and create positive associations with home haircuts.
4. Basic Cutting Techniques for Curly Hair
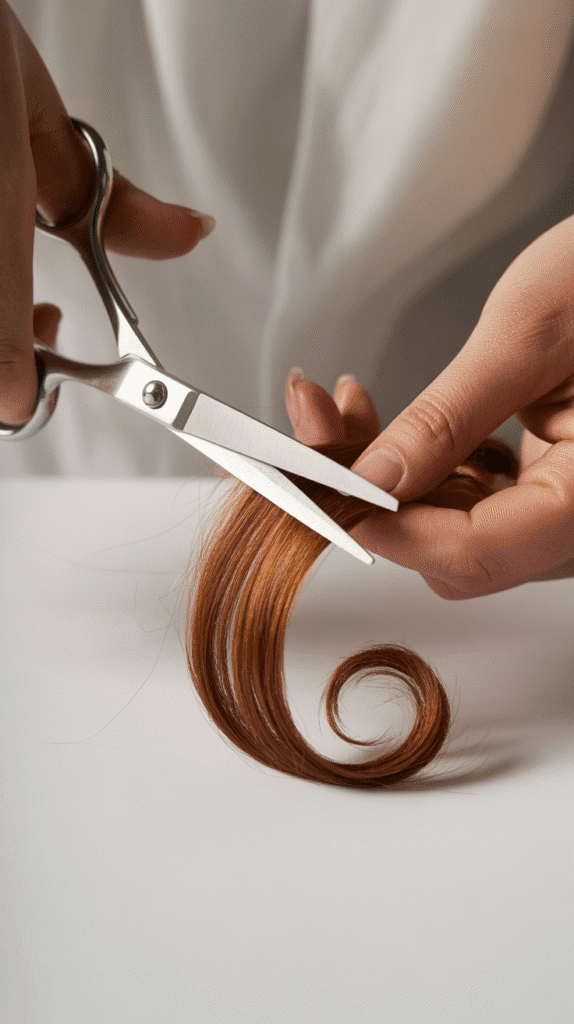
Mastering a few fundamental techniques gives you the foundation to create various styles and handle different curly hair situations.
These methods work specifically with curly hair’s unique properties rather than against them.
The Curl-by-Curl Method
- This technique involves cutting individual curls or small curl clusters one at a time to maintain the natural curl pattern and create a customized shape.
- Hold a curl gently at the point where you want to cut it, allowing the curl to rest naturally without pulling or stretching.
- Cut perpendicular to the curl’s direction at a slight angle, following the natural spiral shape rather than cutting straight across.
- This method takes longer but provides the most natural-looking results and prevents the dreaded “triangle head” shape that can happen with curly hair.
The Twist-and-Snip Technique
- Twist small sections of hair into loose spirals to see the natural length and then trim the ends with your scissors pointed vertically.
- This technique works exceptionally well for removing damaged ends while preserving length and maintaining curl integrity.
- Cut conservatively, removing only a quarter to half inch at a time, as you can always cut more but cannot add hair back.
- The twist method naturally creates subtle layers and helps blend different curl patterns throughout the head.
Point Cutting for Texture
- Point cutting involves holding scissors vertically and cutting into the hair ends at an angle rather than straight across.
- This technique softens blunt lines, removes weight, and creates natural-looking texture that works harmoniously with curly hair.
- Use point cutting primarily on the ends and throughout the canopy of the hair where you want to create movement and reduce bulk.
- Never point cut more than one-third of the way up the hair shaft, as going too far creates holes and sparse areas in the style.
5. Step-by-Step Process for a Basic Curly Haircut
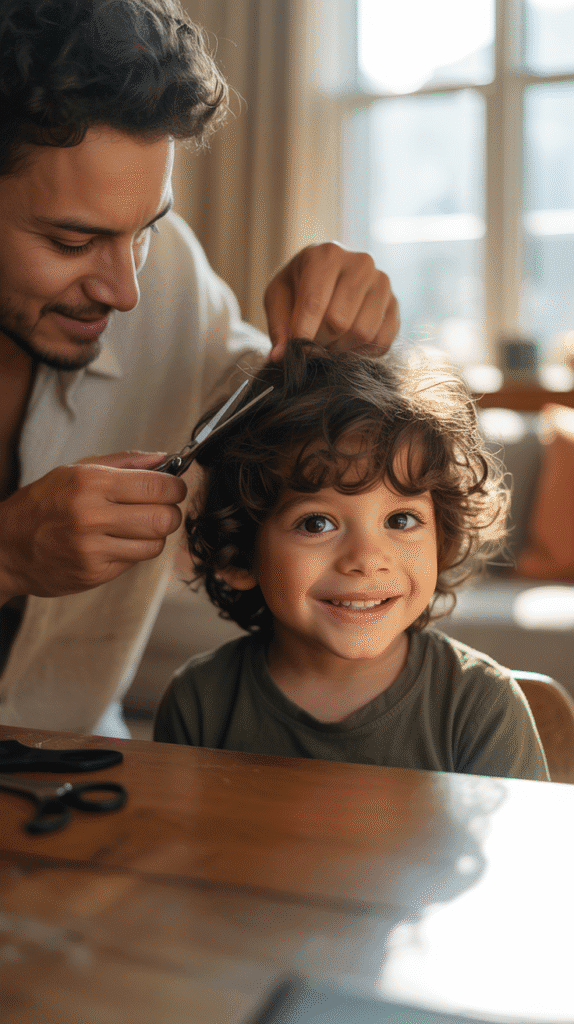
Following a systematic approach ensures you don’t miss sections and helps you maintain an even, balanced cut throughout the head.
This method works for most basic boys’ curly haircut styles.
Sectioning the Hair
- Divide the hair into four main quadrants: top, back, and two sides, securing each section with clips to keep them separated and manageable.
- Start with the back section first, as this is typically the most difficult area to see and requires the most attention to detail.
- Create horizontal partings within each section, working from the bottom up so that each new layer can be checked against the previous one for consistency.
- Keep sections small enough to manage easily but large enough to work efficiently, typically about one to two inches wide.
Cutting the Back and Sides
- Begin at the nape of the neck, establishing your baseline length which will guide all subsequent cutting in the back section.
- Work in horizontal layers, moving upward from the nape to the crown, cutting each new section slightly longer to create natural graduation.
- For the sides, cut in front of the ears first, then move to the area above and behind the ears, maintaining consistent length with the back.
- Use the previously cut sections as guides by pulling down a small amount of already-cut hair with each new section to ensure evenness.
Working on the Top Section
- The top section typically requires the most length and should be approached conservatively, as this area is most visible and defines the overall style.
- Cut the top section in horizontal layers moving from front to back, or from back to front, maintaining consistency in your direction.
- Leave the front hairline and fringe for last, as these require the most precision and careful attention to avoid cutting too short.
- Check symmetry frequently by stepping back and viewing the entire head from multiple angles, adjusting any uneven areas as you notice them.
Blending and Refining
- After completing all sections, release all the clips and allow the hair to fall naturally to identify any obvious imbalances or long pieces.
- Blend any harsh lines between sections by taking small vertical sections and point cutting to soften transitions.
- Pay special attention to the areas where different sections meet, such as where the sides connect to the back or where the top meets the sides.
- Have your child shake their head and move around naturally, then check again for any pieces that stick out or appear uneven in motion.
6. Popular Curly Haircut Styles for Boys

Different styles work better with different curl patterns, face shapes, and hair densities.
Understanding various options helps you choose a cut that complements your child’s natural features and lifestyle.
The Curly Fade
- This modern style combines short or shaved sides with longer curls on top, creating a clean, contemporary look that’s popular among boys of all ages.
- The fade requires more advanced skills with clippers and typically involves gradual blending from very short sides to the longer top section.
- Home execution is possible with quality clippers and guard attachments, but you may want to attempt this style only after mastering basic scissor cuts.
- The curly fade requires more frequent maintenance, typically every 2-3 weeks, to keep the sides neat and the contrast sharp.
The Uniform Curly Cut
- This classic style maintains relatively even length all over the head, typically ranging from 2-4 inches, allowing the natural curl pattern to shine.
- The uniform cut works beautifully for boys with consistent curl patterns and creates a balanced, low-maintenance style that grows out gracefully.
- Slight layering throughout adds dimension and prevents the dreaded round or triangular shape that can occur with single-length curly cuts.
- This style requires trimming every 6-8 weeks to maintain shape and remove any damaged ends that may develop.
The Curly Fringe Style
- Featuring longer curls on top that fall forward onto the forehead, this style creates a youthful, playful appearance that many boys love.
- The sides and back are cut shorter than the top to create contrast and keep the overall style from becoming too bulky or overwhelming.
- The fringe can be styled forward for a casual look or swept to the side for a neater appearance, offering versatility for different occasions.
- This cut requires regular trims every 4-6 weeks to prevent the fringe from growing too long and obscuring vision.
The Shaped Afro
- For boys with tighter curl patterns (Type 3C-4C), a shaped afro creates a beautiful, rounded silhouette that celebrates natural texture.
- This style involves cutting around the perimeter to create a defined shape while maintaining length and fullness on top.
- Regular shaping every 6-8 weeks keeps the silhouette clean while allowing the hair to grow gradually larger over time if desired.
7. Common Mistakes and How to Avoid Them
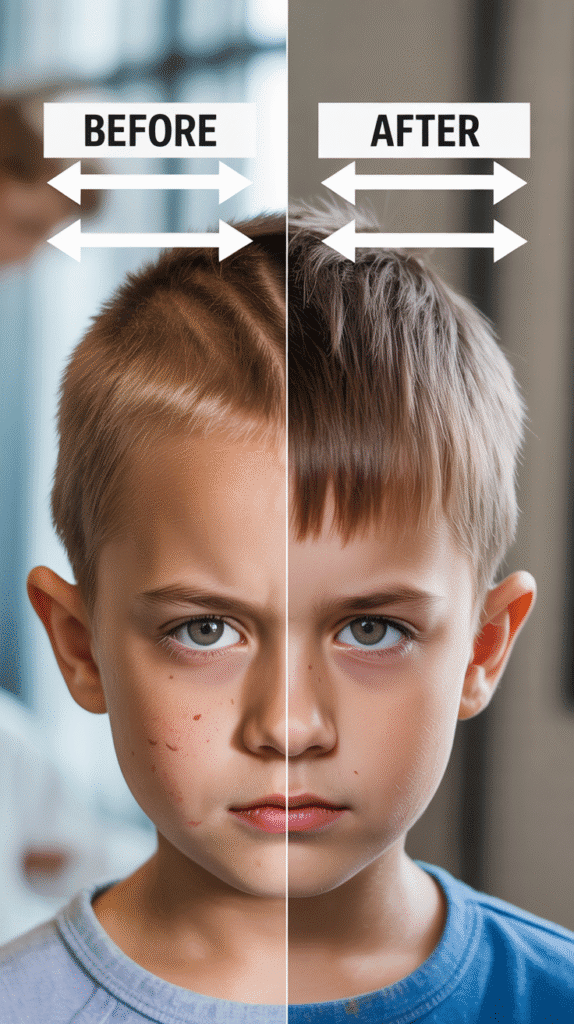
Even experienced parents make mistakes when cutting curly hair, but being aware of common pitfalls helps you avoid them or fix them quickly.
Learning from others’ errors saves you from costly mistakes.
Cutting Too Much Length
- The single biggest mistake is underestimating shrinkage and cutting hair too short, which then springs up even shorter than you intended.
- Always cut conservatively, removing only a small amount at a time, and remember that you can always cut more but cannot add hair back.
- Start with your planned length plus at least an extra inch to account for shrinkage, then reassess and trim more if needed.
- When in doubt, cut less than you think necessary, let your child wear the style for a day, and make adjustments after seeing how the hair settles.
Creating Unwanted Layers or Gaps
- Cutting at inconsistent angles or pulling hair at different tensions creates unintentional layers that result in a choppy, uneven appearance.
- Maintain the same angle and tension throughout each section, using your previous cuts as guides to ensure consistency.
- Avoid cutting too deeply into the hair when point cutting, as removing too much creates holes and sparse spots in the overall style.
- If you accidentally create gaps, you can sometimes fix them by carefully trimming surrounding areas to blend, though this may mean going shorter overall.
Ignoring the Natural Growth Pattern
- Fighting against cowlicks, whorls, or natural part lines creates a style that won’t lay properly and constantly looks messy or awkward.
- Observe how your child’s hair naturally falls and grows, then work with these patterns rather than trying to force the hair into unnatural positions.
- The crown area typically has a circular growth pattern that causes hair to stick up or lay in specific directions, so leave slightly more length here.
- Hair around the face and neckline often grows in different directions on each side, so you may need to cut these areas slightly differently to achieve symmetry.
Using Dull or Improper Tools
- Dull scissors crush and tear hair instead of cutting cleanly, leading to split ends, frizz, and an unprofessional appearance.
- Regular household scissors lack the proper blade angle and sharpness needed for cutting hair effectively and can damage the hair cuticle.
- Have your scissors professionally sharpened every 6-12 months depending on use frequency, or invest in a new pair when they begin pulling hair.
- Using the wrong comb type, such as a fine-tooth comb on thick curls, causes breakage and makes the cutting process more difficult and painful for your child.
8. Maintaining Curly Hair Between Cuts
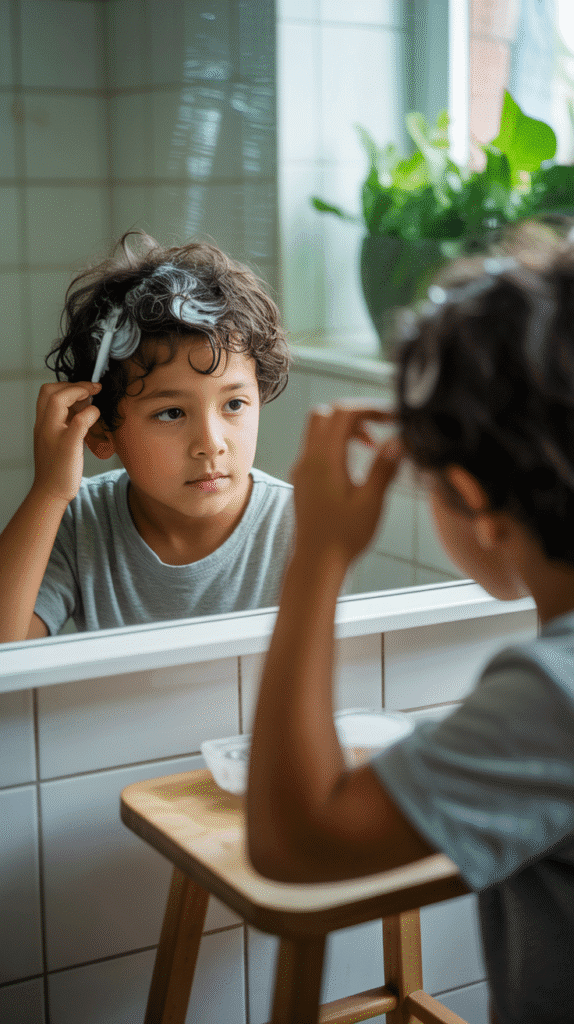
Proper maintenance between haircuts keeps your child’s curls healthy, defined, and manageable while extending the time between trims.
A good care routine makes each subsequent haircut easier and more successful.
Daily and Weekly Care Routines
- Refresh curls daily or every other day with a water spray bottle containing a mixture of water and a small amount of leave-in conditioner.
- Scrunch the hair gently after spraying to reactivate curls and reduce frizz without completely re-wetting or re-styling the hair.
- Sleep on a satin or silk pillowcase to reduce friction that causes frizz, tangles, and breakage during the night.
- Consider a satin bonnet or loose pineapple-style top bun for longer curls to preserve the curl pattern overnight and wake up with more defined curls.
Washing and Conditioning Schedule
- Wash curly hair only 1-2 times per week, as over-washing strips natural oils that curly hair desperately needs to stay moisturized and healthy.
- Use sulfate-free shampoo or co-wash (conditioner-only washing) for most washes, reserving clarifying shampoo for monthly deep cleaning sessions.
- Apply conditioner generously from mid-shaft to ends, avoiding the roots to prevent greasiness, and leave it on for 3-5 minutes before rinsing.
- Deep condition monthly with a thick conditioning mask or treatment to restore moisture and elasticity to the hair, preventing dryness and breakage.
Product Selection and Application
- Choose products specifically formulated for curly hair that provide moisture without weighing down the curls or leaving greasy residue.
- Apply styling products to soaking wet hair immediately after washing, using the “praying hands” method to smooth product over curl clumps.
- Use the amount of product appropriate for your child’s hair density and length, starting with less than you think you need and adding more if necessary.
- Avoid products containing drying alcohols (alcohol denat, SD alcohol 40) and heavy silicones that cause buildup and require frequent clarifying.
9. When to Consider Professional Help
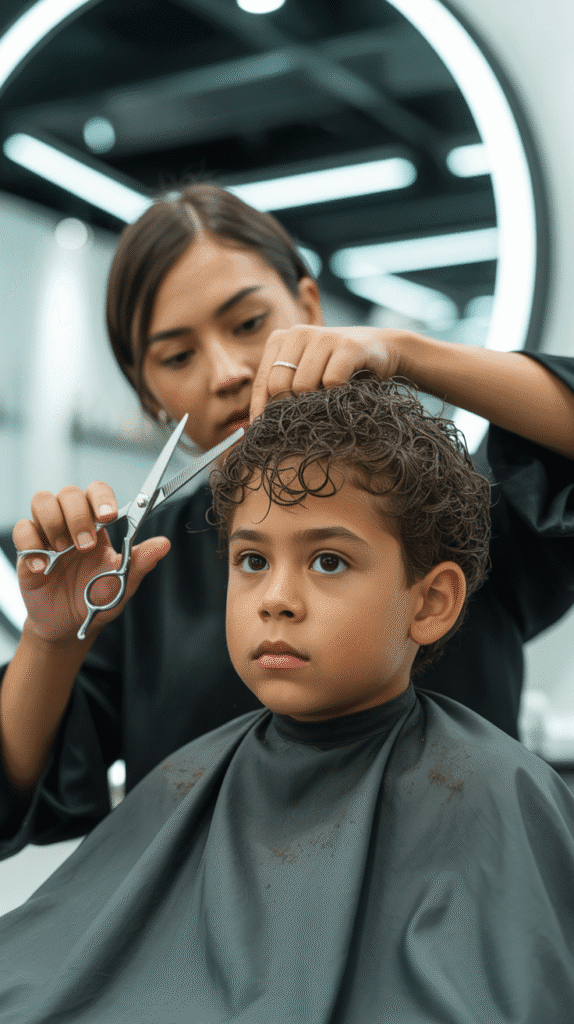
While home haircuts are convenient and economical, some situations warrant the expertise of a professional stylist who specializes in curly hair.
Knowing when to seek help prevents disasters and ensures your child’s hair stays healthy.
Complex Style Requests
- Intricate styles requiring precise fading, detailed designs, or specific technical skills are best left to trained professionals with appropriate experience.
- The first time attempting a dramatically different style from what your child currently has should ideally be done by a professional who can establish the shape correctly.
- Styles requiring clipper work beyond basic attachment guards, such as skin fades or tapered necklines, need professional training to execute properly.
- If your child wants a specific celebrity or influencer hairstyle, a professional can better interpret and adapt that style to your child’s specific hair type and face shape.
Damaged or Problem Hair
- Hair with significant heat damage, chemical damage, or excessive breakage requires professional assessment to determine the best corrective cutting approach.
- Severe tangling or matting that you cannot gently work through at home should be handled by a professional to minimize hair loss and damage.
- Scalp conditions such as severe dandruff, psoriasis, or fungal infections should be evaluated by a professional before cutting to avoid spreading or worsening the condition.
- If you notice bald patches, excessive shedding, or other concerning hair loss patterns, consult a dermatologist before attempting to cut the hair.
After a Home Haircut Gone Wrong
- If you’ve made a significant mistake that you cannot fix yourself, a professional stylist can often salvage the situation and create a workable style.
- Uneven sections, choppy layers, or major length discrepancies are easier for professionals to correct while they’re fresh rather than after you’ve attempted multiple fixes.
- Be honest with the stylist about what happened and what you attempted to fix, as this information helps them determine the best corrective approach.
Building Skills Through Observation
- Schedule occasional professional haircuts even if you primarily cut at home, using these appointments as learning opportunities to observe techniques and ask questions.
- Many stylists are happy to explain what they’re doing and offer tips for home maintenance if you express genuine interest in learning.
- Taking your child to a curly hair specialist every 6-12 months for a “shape-up” helps maintain the overall structure while you handle the maintenance trims.
- Consider taking a curly hair cutting class or workshop offered by beauty schools or experienced stylists to develop your skills more formally.
Conclusion
Mastering the art of cutting your boy’s curly hair at home truly is an achievable goal with the right knowledge, tools, and practice.
This guide on How to Cut Boys’ Curly Hair at Home – Simple Guide for Parents has provided you with comprehensive information covering everything from understanding curl patterns and selecting proper tools to executing various cutting techniques and maintaining healthy curls between cuts.
Remember that every child’s hair is unique, and what works perfectly for one may need adjustment for another, so don’t be discouraged if your first attempts aren’t flawless.
Start with simple trims to build confidence, always cut conservatively to avoid removing too much length, and work with your child’s natural curl pattern rather than against it.
The time you invest in learning these skills will reward you with years of convenient home haircuts, significant cost savings, and the special bonding experience of caring for your child’s hair yourself.
Most importantly, approach each haircut with patience, positivity, and the understanding that hair grows back, so any mistakes are temporary learning experiences on your journey to becoming proficient at cutting curly hair at home.