Cutting your child’s curly hair at home might seem intimidating, but it’s absolutely achievable with the right techniques and a little patience.
Many parents struggle with finding stylists who understand curly hair textures, or they simply want to save time and money by learning to trim their child’s curls themselves.
This comprehensive guide will walk you through everything you need to know about How to Cut Curly Hair for Kids at Home – Safe & Easy Method, from understanding curl patterns to mastering kid-friendly cutting techniques.
Whether your child has loose waves or tight coils, you’ll discover practical strategies that work with their natural texture rather than against it.
By the end of this article, you’ll feel confident picking up those scissors and giving your little one a haircut that enhances their beautiful curls while keeping them comfortable and happy throughout the process.
Contents
- 1 1. Understanding Your Child’s Curly Hair Type Before Cutting
- 2 2. Essential Tools and Materials You’ll Need
- 3 3. Preparing Your Child for the Home Haircut Experience
- 4 4. Step-by-Step: The Dry Cutting Method for Kids’ Curly Hair
- 5 5. The Wet Cutting Alternative: When and How to Use It
- 6 6. Safety Precautions When Cutting Children’s Hair at Home
- 7 7. Shaping and Layering Techniques for Different Curl Types
- 8 8. How to Fix Common Mistakes During the Cutting Process
- 9 9. Post-Cut Styling and Maintenance Tips
- 10 10. Managing Nervous or Fidgety Children During Haircuts
- 11 Conclusion
1. Understanding Your Child’s Curly Hair Type Before Cutting

Before you even pick up scissors, understanding your child’s specific curl pattern is crucial for achieving the best results.
Curly hair isn’t one-size-fits-all—it ranges from loose waves to tight coils, and each type requires different cutting approaches.
- Curly hair is typically classified using the Andre Walker Hair Typing System, which categorizes curls from Type 2 (wavy) to Type 4 (coily/kinky).
- Type 2 hair has loose, S-shaped waves that may be fine or coarse in texture and tends to be easier to manage.
- Type 3 hair features well-defined spiral curls that range from loose ringlets (3A) to tight corkscrews (3C).
- Type 4 hair has tight coils or zig-zag patterns that are densely packed and often more fragile than other types.
- Each curl type shrinks differently when dry—Type 4 hair can shrink up to 75% of its actual length, which is critical to remember when cutting.
- Children’s curly hair also varies in porosity (how well it absorbs moisture) and density (how many hair strands per square inch), affecting how you should cut and style it.
- Observing your child’s hair when it’s both wet and dry helps you understand its true behavior and prevents cutting too much length.
- According to NaturallyCurly.com, cutting curly hair while dry allows you to see the natural curl pattern and prevents the “shrinkage shock” that happens when wet-cut curls dry shorter than expected.
2. Essential Tools and Materials You’ll Need
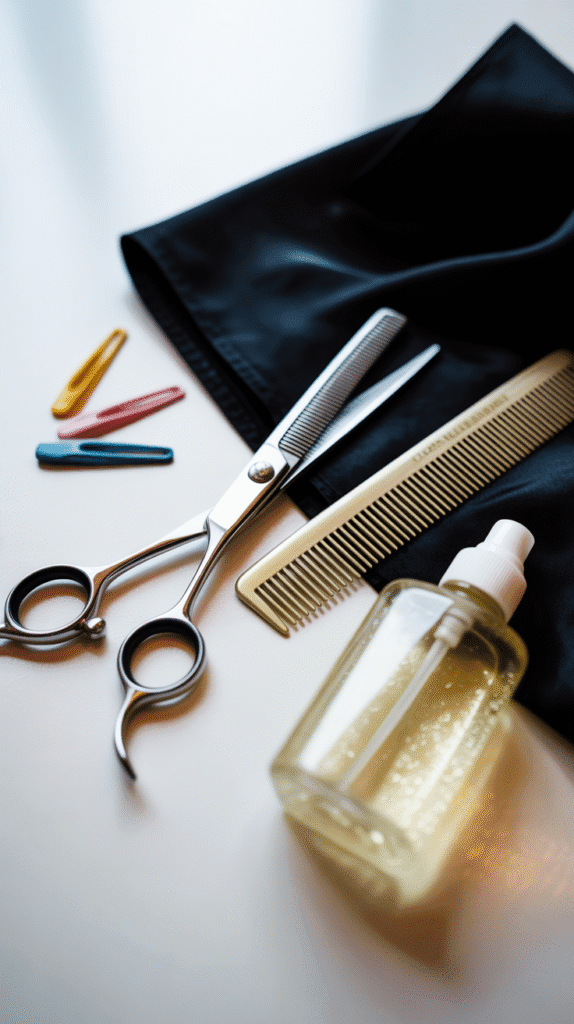
Having the right tools makes all the difference between a successful home haircut and a frustrating experience.
Professional-quality supplies designed for curly hair will give you better control and safer results.
- Sharp haircutting shears (not regular household scissors) are essential—dull blades will snag and damage curly hair rather than making clean cuts.
- Professional hair shears typically range from 5.5 to 6.5 inches for home use and should have a comfortable grip for better control.
- A wide-tooth comb or detangling brush specifically designed for curly hair prevents breakage while sectioning.
- Sectioning clips (at least 6-8 clips) help divide hair into manageable portions and keep cut sections separate from uncut ones.
- A spray bottle filled with water or leave-in conditioner mixture keeps hair damp and workable throughout the cutting process.
- A haircutting cape or large towel protects your child’s clothing and makes cleanup easier afterward.
- A handheld mirror allows you to check the back and sides of the cut for evenness and symmetry.
- Hair clips or elastic bands help secure hair you’re not currently working on to prevent accidentally cutting the wrong section.
- Quality lighting is crucial—natural daylight or bright overhead lighting helps you see every curl clearly and cut accurately.
3. Preparing Your Child for the Home Haircut Experience

Mental and physical preparation makes the haircutting process smoother for both you and your child.
Creating a positive, comfortable environment reduces anxiety and helps your child sit still longer.
- Choose a time when your child is well-rested and fed—hungry or tired children are more likely to be irritable and uncooperative.
- Set up your cutting station in a comfortable, well-lit area with easy-to-clean flooring like tile or hardwood rather than carpet.
- Let your child watch age-appropriate videos or listen to their favorite music during the cut to keep them entertained and distracted.
- Explain what you’re going to do in simple, positive terms—saying “we’re going to make your curls even prettier” sounds much better than “I’m cutting your hair.”
- Show them the tools you’ll be using and let them touch the comb and spray bottle (but not the scissors) to reduce fear of the unknown.
- Consider doing a practice run where you pretend to cut their hair without actually using scissors to help them get comfortable with the process.
- Establish a signal system where your child can tell you if they need a break, helping them feel they have some control over the situation.
- Have small rewards ready for cooperation—stickers, a small toy, or extra screen time can motivate reluctant children to sit through the haircut.
4. Step-by-Step: The Dry Cutting Method for Kids’ Curly Hair
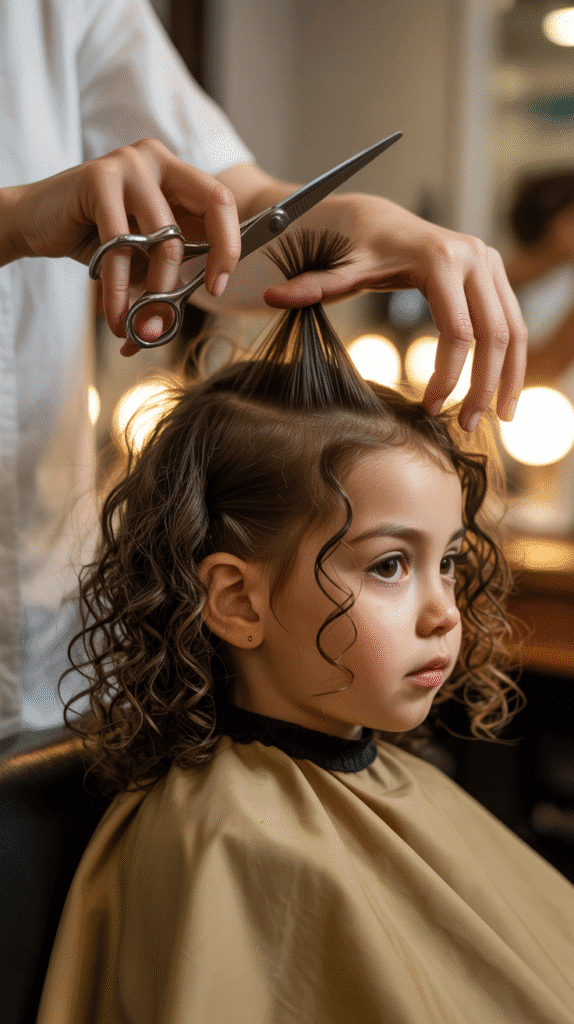
The dry cutting method is widely considered the best approach for curly hair because it allows you to see exactly how each curl will fall naturally.
This technique prevents over-cutting and respects the hair’s natural pattern.
- Start with completely dry, detangled hair that’s been styled in its natural state—this shows you the true length and shape of each curl.
- Divide the hair into four main sections (top, sides, and back) using sectioning clips to make the process more manageable.
- Begin at the back and work your way forward, as this area is less visible and gives you practice before moving to more noticeable sections.
- Use the “curl-by-curl” or “twist cutting” method: isolate a single curl, hold it gently, and trim the very end without disturbing the curl pattern.
- Cut conservatively—you can always take more off later, but you can’t put hair back once it’s cut.
- Hold the scissors vertically (not horizontally) and point cut into the ends rather than cutting straight across for a more natural, textured look.
- For children with very tight curls (Type 4), consider cutting slightly longer than your target length to account for shrinkage as the hair settles.
- Check your progress frequently by stepping back and viewing the overall shape rather than focusing too intensely on individual sections.
- Trim any longer curls that stick out noticeably from the overall shape, but avoid cutting too many curls at once.
- When trimming around the face and ears, be extra cautious and consider having your child close their eyes or look down for safety.
- After finishing one section, unclip the next section and repeat the process until you’ve worked through all four sections.
- Once complete, gently shake out the hair and have your child move their head to see how the curls fall naturally before making any final adjustments.
5. The Wet Cutting Alternative: When and How to Use It
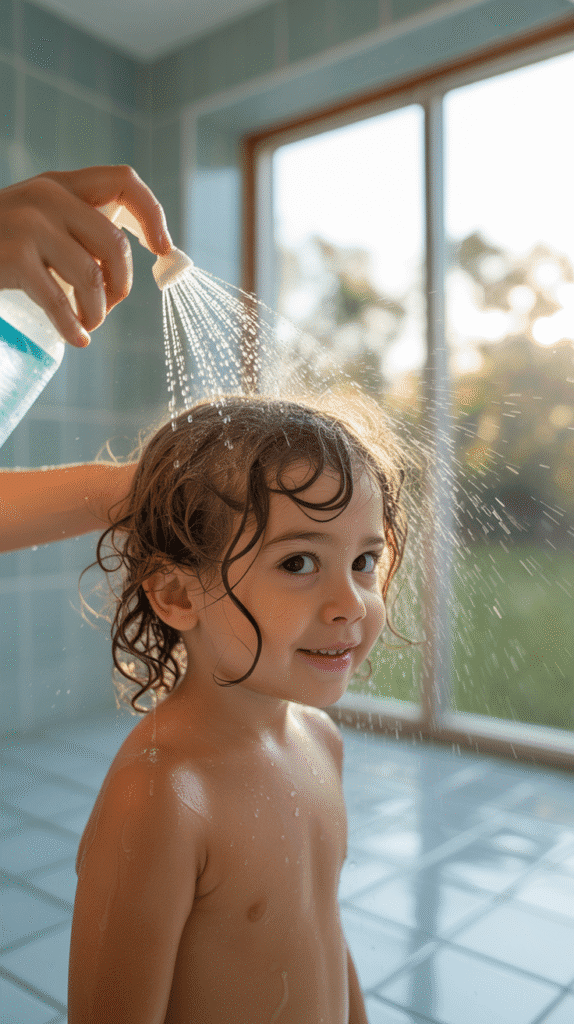
While dry cutting is preferred for curly hair, wet cutting has its place in certain situations and can be easier for complete beginners.
Understanding when and how to use this method expands your haircutting toolkit.
- Wet cutting works best for very dense, thick curly hair that’s difficult to manage when dry or for children who have extremely tangled hair.
- Apply water or a leave-in conditioner mixture to saturate the hair completely, making it more pliable and easier to comb through.
- Gently detangle the hair using a wide-tooth comb or detangling brush, starting from the ends and working your way up to the roots.
- Section the hair into four quadrants just as you would for dry cutting, keeping unworked sections clipped away.
- Remember the shrinkage rule: curly hair will spring up significantly when it dries, so cut at least 1-2 inches longer than your desired dry length.
- Use the same conservative, point-cutting technique with vertical scissors rather than blunt horizontal cuts.
- According to professional hairstylists at DevaCurl, wet cutting requires experience in predicting shrinkage patterns, which is why beginners often prefer dry cutting.
- Check your progress by allowing small sections to air dry periodically so you can see how much the hair is actually shrinking.
- Never cut wet curly hair to the exact length you want when dry—this is the most common mistake that leads to hair being much shorter than intended.
6. Safety Precautions When Cutting Children’s Hair at Home

Safety should always be your top priority when cutting your child’s hair, as even small accidents can lead to injuries or traumatic experiences.
Following strict safety protocols protects both you and your child.
- Never use regular household scissors or kitchen shears—they’re not designed for hair and can slip unpredictably, causing injuries.
- Always point scissors downward and away from your child’s face, eyes, and ears, even when repositioning or resting.
- Keep scissors closed when not actively making a cut, and never walk around the room with open scissors in your hand.
- Establish a “freeze rule” where your child knows to stay completely still when you say “freeze,” especially during cuts near sensitive areas.
- Cut small amounts at a time—this gives you better control and allows you to stop quickly if your child moves unexpectedly.
- Never cut hair when you’re feeling rushed, stressed, or distracted, as these conditions increase the likelihood of mistakes and accidents.
- Keep all cutting tools well out of reach of younger siblings or the child being cut when not in use.
- If your child becomes increasingly agitated or uncooperative, stop the haircut and resume another day rather than forcing them to continue.
- Be especially cautious around the ears—hold them flat against the head and cut away from them rather than toward them.
- Never let your child hold or play with scissors, even closed ones, as this normalizes them as toys rather than tools.
- Have a first aid kit nearby in case of minor nicks or cuts, though proper technique should prevent any injuries.
7. Shaping and Layering Techniques for Different Curl Types
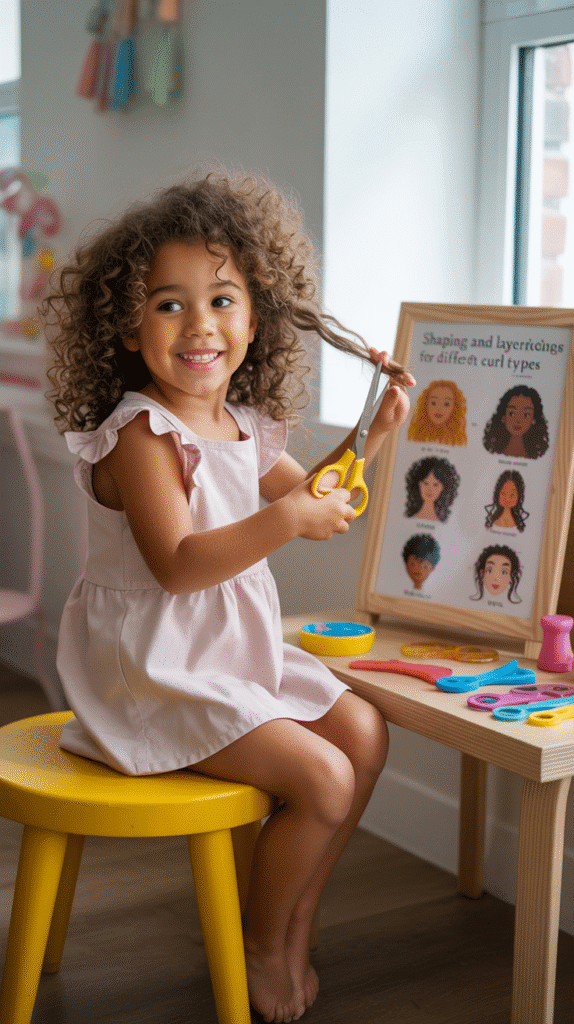
Creating the right shape and layers for your child’s specific curl type enhances their natural texture and makes daily styling easier.
Different curl patterns require adapted techniques for the best results.
- For wavy to loose curly hair (Type 2-3A), long layers add movement without creating too much volume or frizz.
- Face-framing layers around the front can highlight your child’s features and give the haircut a more polished, intentional look.
- Medium to tight curls (Type 3B-3C) benefit from layers that start mid-length to prevent the dreaded “triangle” shape as hair grows.
- Very tight curls and coils (Type 4) generally look best with minimal layering or even a uniform length, which creates a beautiful rounded silhouette.
- The “slide cutting” technique involves gliding scissors down the hair shaft at an angle, creating soft, blended layers without harsh lines.
- When creating layers, always cut less than you think necessary—layers become more apparent as curly hair bounces up when released.
- Avoid heavy layering on fine or thin curly hair, as this can make the hair look sparse and emphasize thinner areas.
- For children with very thick, dense curls, internal layering (removing bulk without shortening length) can reduce weight and make hair more manageable.
8. How to Fix Common Mistakes During the Cutting Process
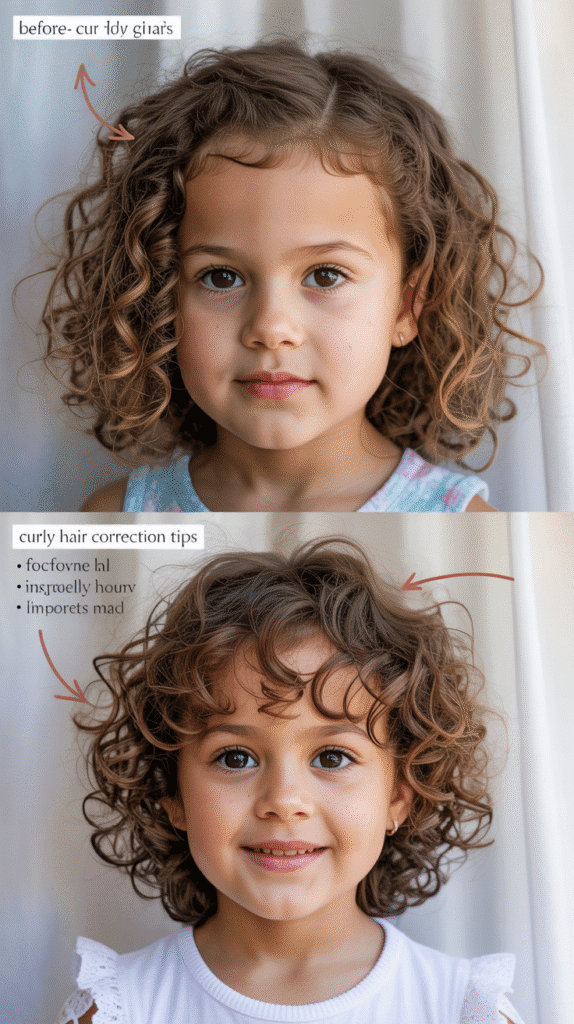
Even experienced home haircutters make mistakes occasionally, but most errors with curly hair are surprisingly easy to correct or camouflage.
Knowing how to address problems quickly prevents panic and poor decisions.
- If you cut one side noticeably shorter than the other, don’t immediately cut the longer side to match—instead, assess whether the curl pattern naturally disguises the difference when the hair is styled.
- For accidental choppy or blunt lines, go back with point-cutting technique and soften the harsh edges by cutting vertically into the hair rather than across.
- When you’ve cut too much length in one area, resist the urge to cut everything shorter to match—curly hair is forgiving and slight variations often blend naturally.
- If you create an unwanted hole or gap in the hair, carefully cut a few surrounding curls slightly shorter to help fill in the sparse area.
- Overly bulky sections can be thinned by internal cutting with thinning shears, but use these sparingly on curly hair to avoid creating frizz.
- For curls that end up too short near the face, consider styling them behind the ears or using gentle styling products to encourage them to blend with longer sections.
- If the overall shape looks unbalanced after cutting, wait 24-48 hours and observe the hair in different conditions before making additional cuts—sometimes hair settles into place after sleeping and washing.
- When in doubt, embrace the philosophy that “hair grows back”—most cutting mistakes on children’s hair correct themselves within 2-3 months.
- Avoid cutting more when frustrated or trying to “fix” too many things at once, as this often leads to over-cutting and worse results.
9. Post-Cut Styling and Maintenance Tips

Properly styling your child’s hair after cutting enhances the shape of your haircut and helps maintain healthy curls between trims.
The right products and techniques make a significant difference in how the haircut looks.
- After cutting, rinse your child’s hair with cool water to remove loose hair clippings that can cause itching and irritation.
- Apply a moisturizing leave-in conditioner while hair is still damp to define curls and add hydration that may have been lost during cutting.
- Use the “praying hands” method or scrunching technique to apply products—this distributes product evenly while encouraging natural curl formation.
- Avoid brushing or combing curly hair after it’s dried, as this breaks up curl clumps and creates frizz.
- Consider using a microfiber towel or cotton t-shirt to dry hair instead of regular towels, which can rough up the hair cuticle and cause frizz.
- For children with Type 4 hair, sealing moisture with natural oils like coconut, jojoba, or argan oil helps maintain curl definition and prevents dryness.
- Encourage your child to sleep on a satin or silk pillowcase to reduce friction and maintain the haircut’s shape overnight.
- Refresh curls between wash days by lightly misting with water and reapplying a small amount of leave-in conditioner or curl refresher spray.
- According to CurlyNikki, maintaining properly trimmed curls requires consistent moisture and gentle handling rather than frequent cutting.
- Trim curls every 8-12 weeks to maintain shape and remove any split ends, keeping your child’s hair healthy and bouncy.
10. Managing Nervous or Fidgety Children During Haircuts

Many children struggle to sit still during haircuts, which can make the process stressful and potentially unsafe.
Strategic approaches help keep even the most active children calm and cooperative.
- Break the haircut into shorter sessions if your child has a limited attention span—cutting for 10 minutes, taking a break, and resuming later is better than forcing them to sit for 30 minutes straight.
- Time haircuts around your child’s natural rhythm—some kids are calmer in the morning, while others do better after they’ve burned off energy playing.
- Use sensory-friendly approaches for children with autism or sensory processing issues, such as letting them wear headphones or using a weighted lap pad.
- Create a “haircut reward chart” where they earn a sticker for each successful haircut, building positive associations with the experience.
- Let them hold a special toy or fidget object in their hands (but nothing that requires looking down, which changes head position).
- Make haircut time special by only allowing certain favorite shows or videos during haircuts, creating anticipation rather than dread.
- For very young children (toddlers), consider cutting hair during or immediately after a meal when they’re naturally more settled and contained in a high chair.
- Involve older siblings or a co-parent who can make funny faces, read stories, or otherwise keep the child engaged and looking forward.
- Practice deep breathing exercises together before starting—this calms both you and your child and establishes a peaceful atmosphere.
- Never show frustration or anger if your child doesn’t cooperate perfectly—your emotional state directly affects theirs and can create negative associations with haircuts.
Conclusion
Learning How to Cut Curly Hair for Kids at Home – Safe & Easy Method empowers you to care for your child’s unique hair texture with confidence and skill.
Throughout this guide, you’ve discovered that successfully cutting curly hair at home isn’t about perfection—it’s about understanding your child’s specific curl pattern, using the right tools and techniques, prioritizing safety, and creating a positive experience for everyone involved.
By working with your child’s natural texture rather than against it, preparing thoroughly before each cut, and maintaining patience throughout the process, you’ll develop a valuable skill that saves time and money while strengthening your bond with your child.
Remember that practice makes progress, not perfection, and each haircut you complete will build your confidence for the next one.
Your child’s beautiful, healthy curls deserve care that respects their natural pattern, and now you have all the knowledge you need to provide exactly that from the comfort of your own home.