
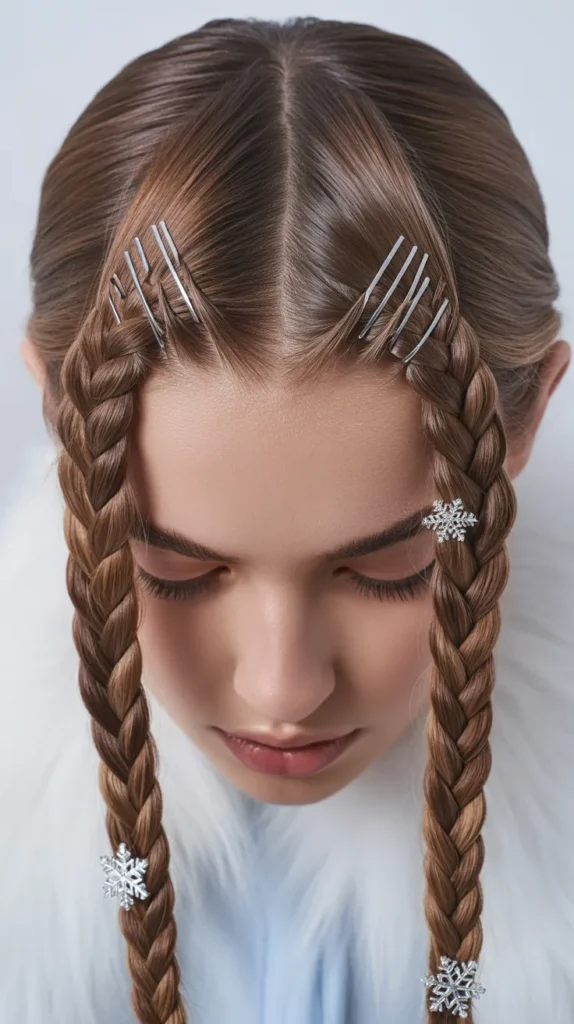
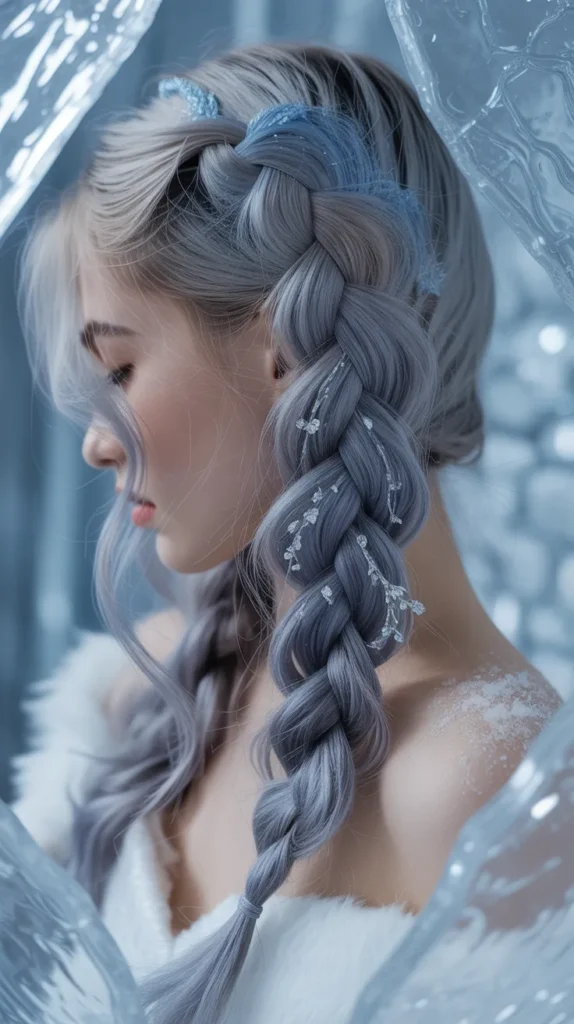
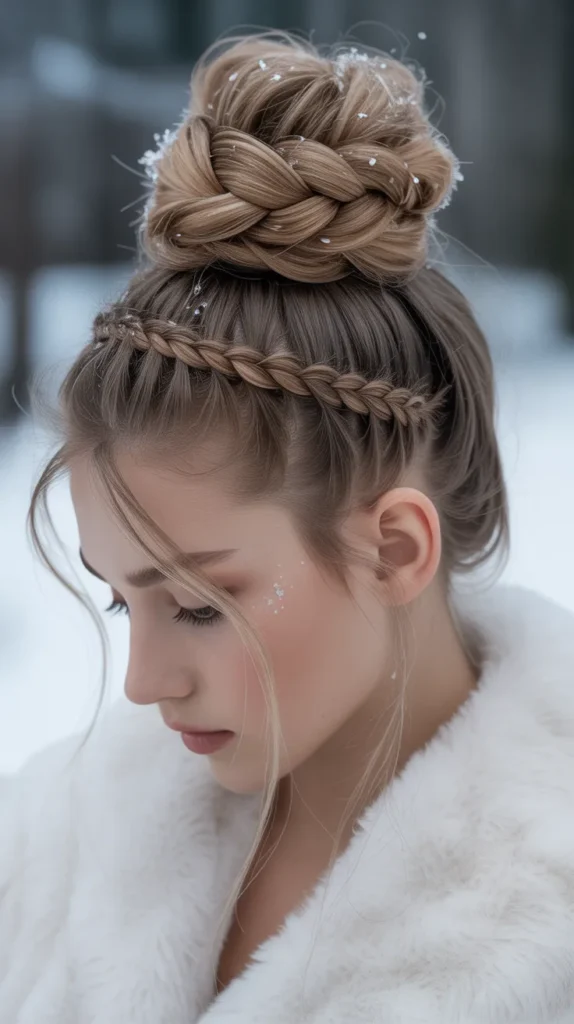
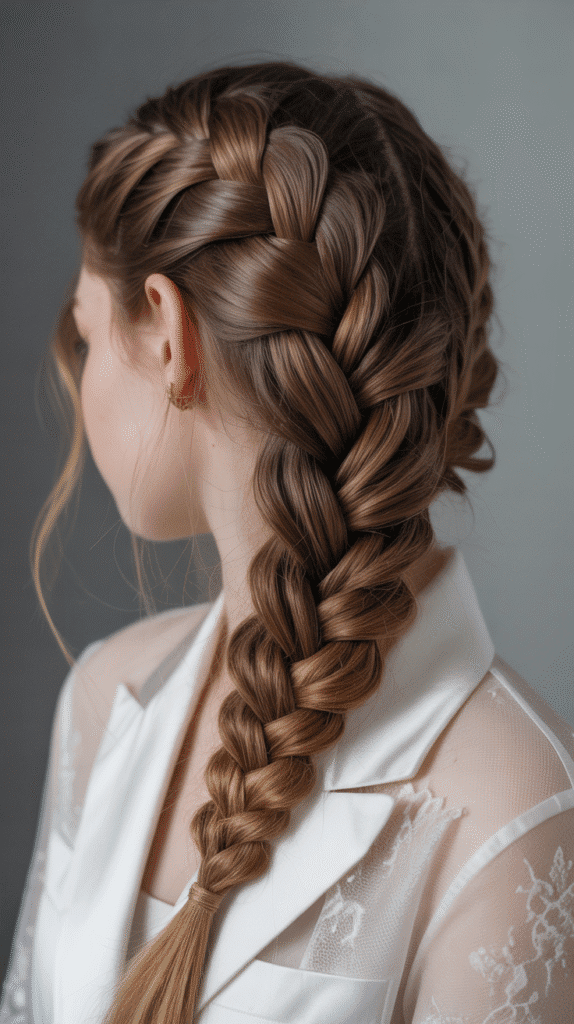
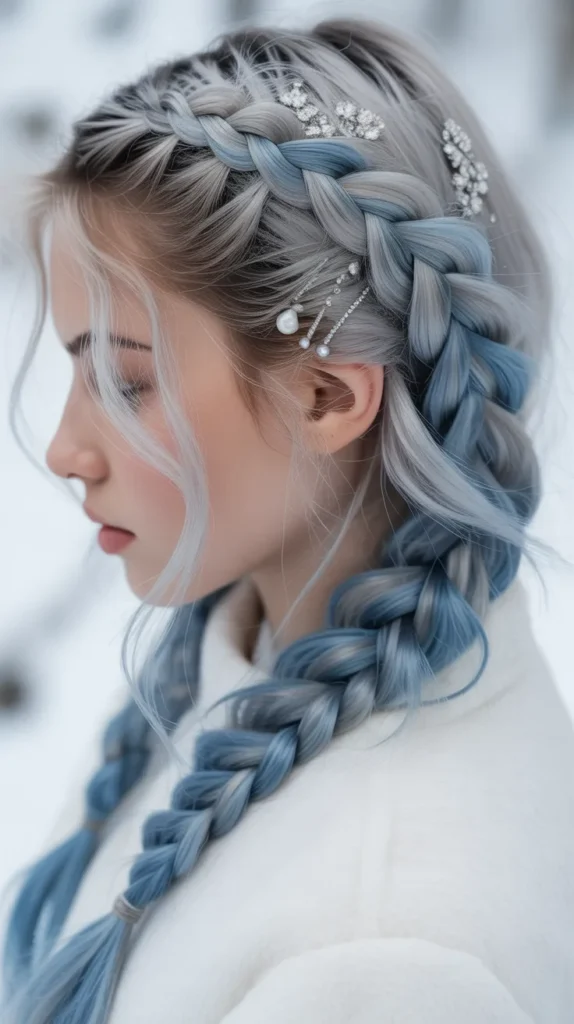
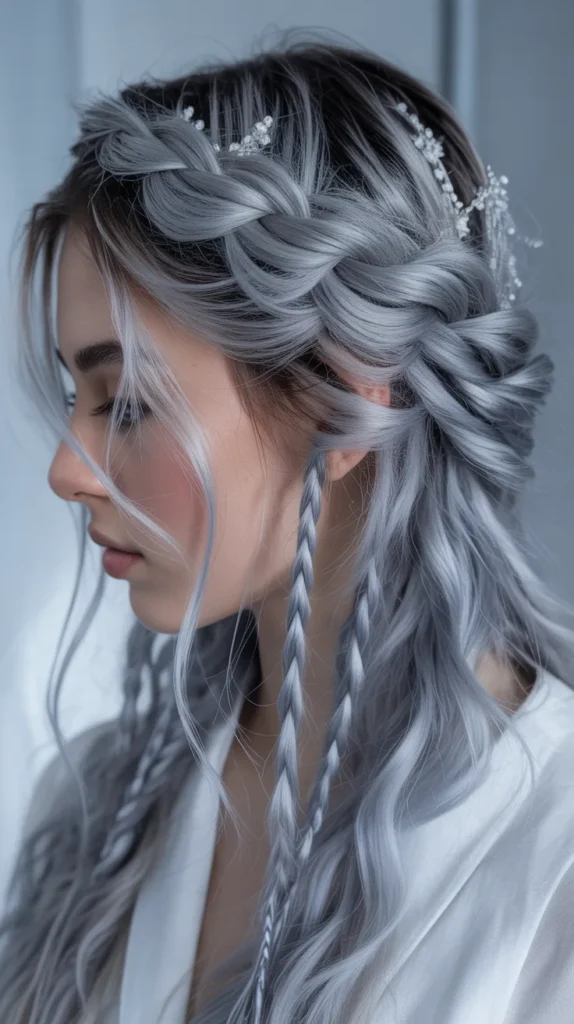
Winter is the perfect season to experiment with intricate braided hairstyles that combine warmth, style, and K-pop glamour.
When it comes to hair inspiration, few groups capture the essence of innovative beauty quite like Aespa, the revolutionary K-pop sensation known for their futuristic aesthetics and bold styling choices.
Their members consistently showcase stunning braided looks that blend traditional techniques with modern edge, making them the ultimate muse for anyone seeking to elevate their winter hair game.
This article explores 30 Winter Hair Braids Inspired by Aespa, offering you a comprehensive guide to recreating these show-stopping styles that will keep you looking fierce and fashionable throughout the coldest months.
From sleek cornrows to romantic loose braids, each style has been carefully curated to help you channel your inner Aespa member while protecting your hair from harsh winter elements.
1. Karina’s Sleek High Ponytail with Side Braids
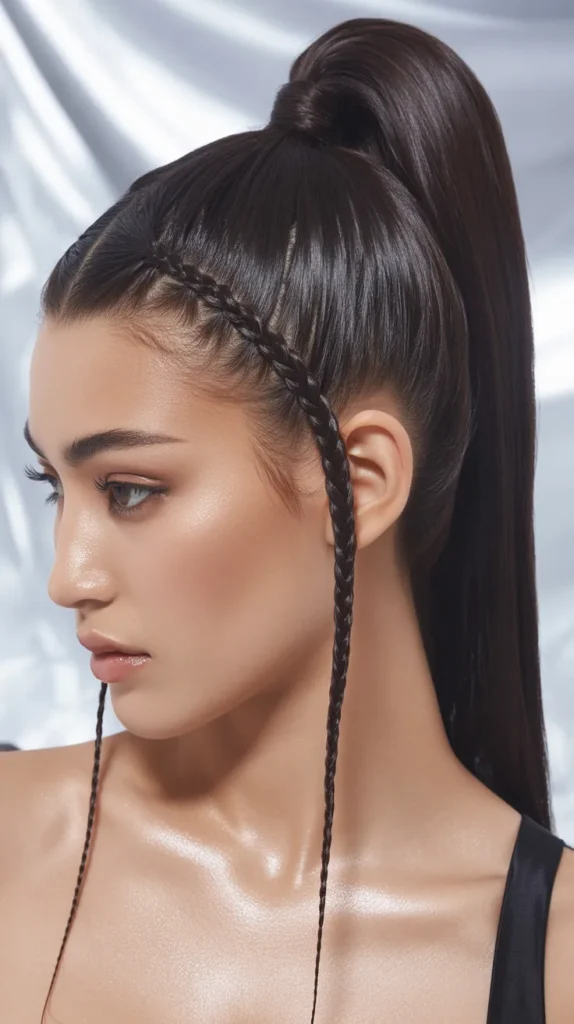
Karina’s signature look combines elegance with edginess through strategically placed side braids that frame the face before being swept into a high ponytail.
This style works exceptionally well for winter events where you want to make a statement while keeping hair off your neck.
- The foundation of this look starts with creating two tight Dutch braids along each side of the head, beginning at the temples and working backward toward the crown.
- These braids should be kept close to the scalp to create that sleek, polished appearance that Karina is known for in her performances.
- Once the side braids reach the crown area, gather all hair including the braids into a high ponytail positioned at the upper back of the head.
- Secure the ponytail with a strong elastic band and wrap a small section of hair around the base to conceal the elastic for a polished finish.
- Apply a light-hold hairspray to tame any flyaways and add shine spray to achieve that glossy, stage-ready finish.
- This style protects your ends while showcasing your facial features, making it ideal for winter occasions ranging from holiday parties to casual outings.
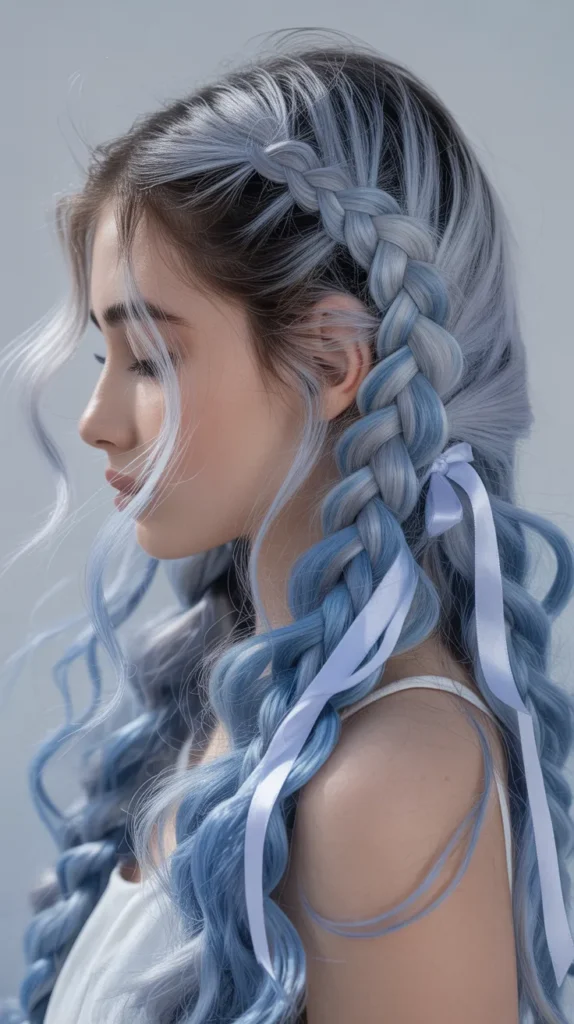
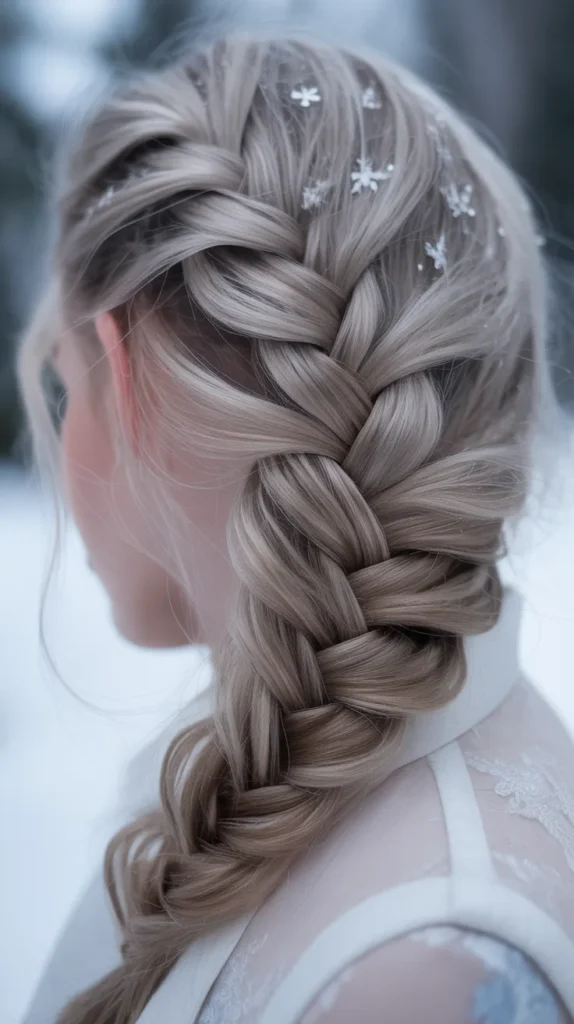
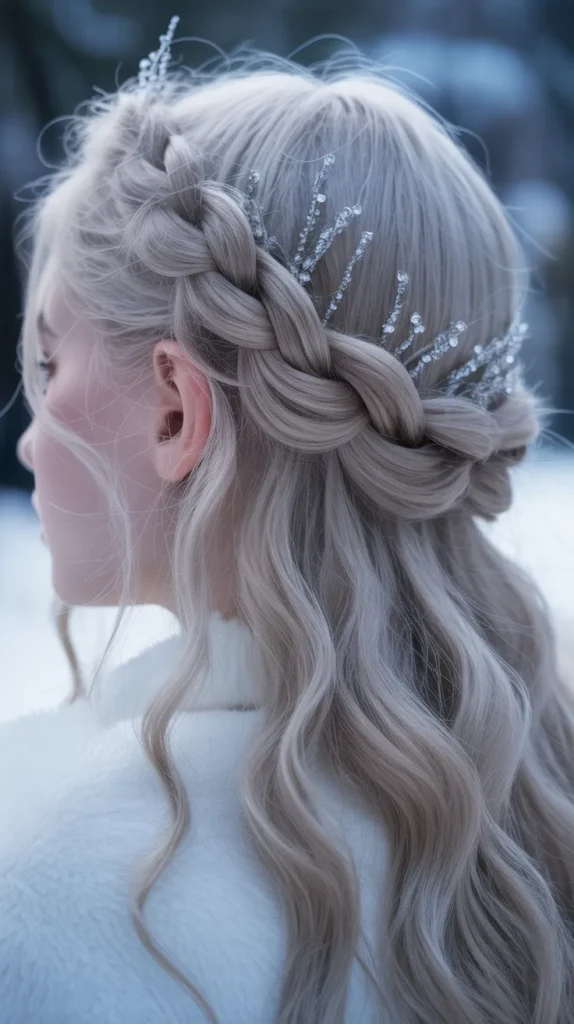
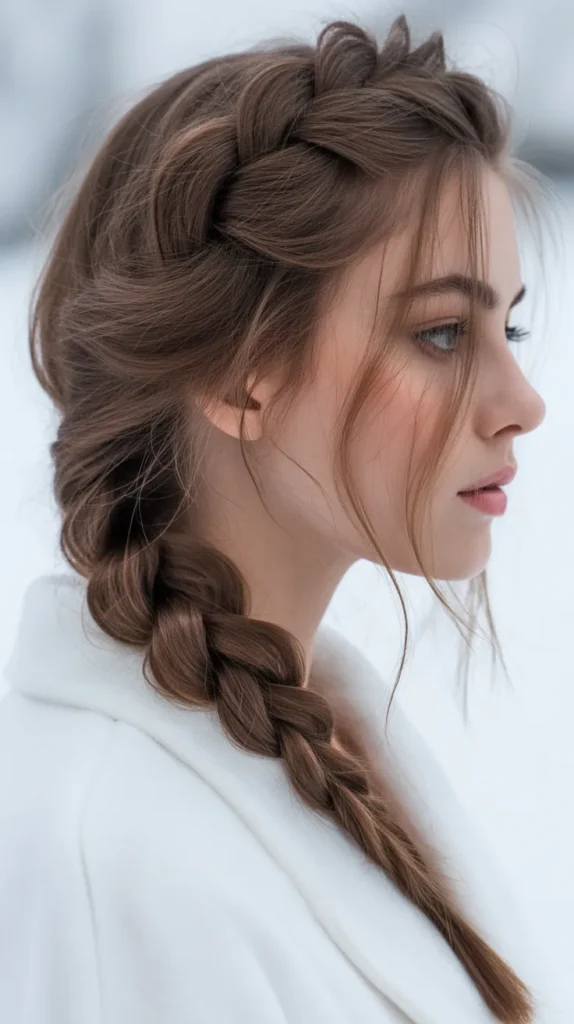
2. Winter’s Classic French Braid Crown

Named after Aespa member Winter, this ethereal crown braid wraps around the head like a delicate halo, creating a romantic and sophisticated winter aesthetic.
The style offers both protection and beauty, keeping hair secure while looking effortlessly elegant.
- Begin by parting the hair down the middle from forehead to nape, creating two equal sections for symmetrical braiding.
- Start a French braid on one side at the front hairline, incorporating small sections of hair as you braid along the side of the head toward the back.
- Continue the French braid around the back of the head, maintaining consistent tension to ensure the braid lies flat and creates a seamless crown effect.
- When you reach the starting point, tuck the end of the braid underneath the crown and secure it with bobby pins that match your hair color.
- Repeat the process on the other side, ensuring both braids meet at the back and are securely pinned to create a complete crown.
- Gently pull at the edges of the braids to create a fuller, more voluminous crown that appears soft and romantic rather than overly tight.
- Finish with a flexible-hold hairspray to maintain the style throughout winter weather conditions while keeping the look touchably soft.
3. Giselle’s Edgy Boxer Braids
Giselle brings street-style edge to Aespa’s aesthetic with boxer braids that combine athletic vibes with fashion-forward appeal.
These two tight cornrows running from front to back are perfect for winter activities while maintaining a chic appearance.
- Part the hair straight down the middle from the forehead to the nape, creating two perfectly equal sections for symmetrical boxer braids.
- Begin the first Dutch braid at the hairline on one side, crossing sections under rather than over to create that raised, three-dimensional effect characteristic of boxer braids.
- Keep the braid tight and close to the scalp as you work down the length of the hair, maintaining consistent tension for a clean, athletic look.
- Secure the end with a small clear elastic band, and repeat the exact process on the other side to create matching boxer braids.
- For added edge like Giselle’s styling, consider weaving in colored extensions or hair accessories at the base of each braid.
- Apply edge control gel along the hairline and parts to ensure a smooth, sleek finish that withstands winter hats and scarves.
- These braids can last several days when properly maintained with a silk scarf at night, making them ideal for busy winter schedules.
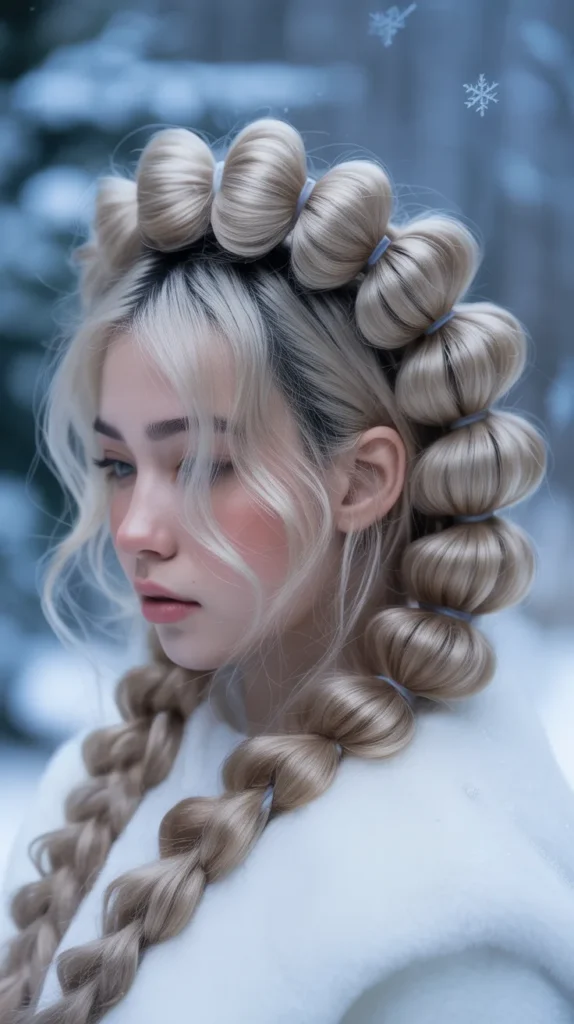
4. Ningning’s Bubble Braids with Ribbons
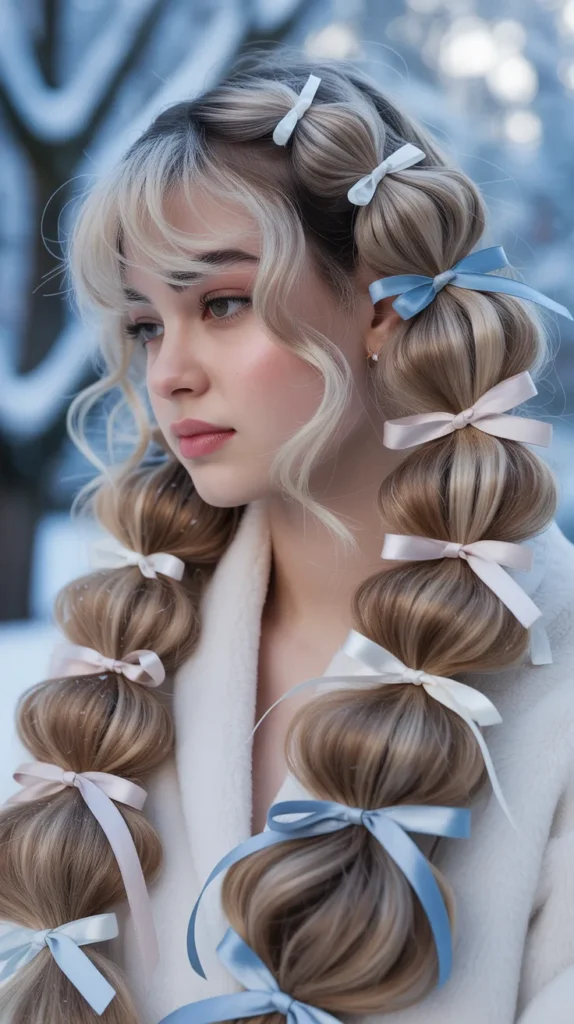
Ningning’s playful approach to braiding incorporates bubble braids adorned with ribbons, creating a youthful and whimsical winter look.
This style adds dimension and personality while being surprisingly simple to achieve.
- Start by creating a high ponytail at the crown of the head, securing it tightly with a clear elastic band to serve as the foundation.
- At two-inch intervals down the length of the ponytail, add additional clear elastic bands to section the hair into bubble segments.
- Gently pull and tease each section between the elastic bands outward to create the characteristic bubble effect, making each segment fuller and more pronounced.
- Weave thin satin ribbons in winter colors like deep burgundy, forest green, or icy blue through each elastic band for added visual interest.
- The ribbons can be tied into small bows at each section or left to trail down for a more flowing, romantic effect.
- This style works beautifully with various hair textures and can be adapted to side ponytails or twin bubble braids for different looks.
- Finish with a light texture spray to maintain the bubble volume throughout the day while keeping the style touchable and flexible.
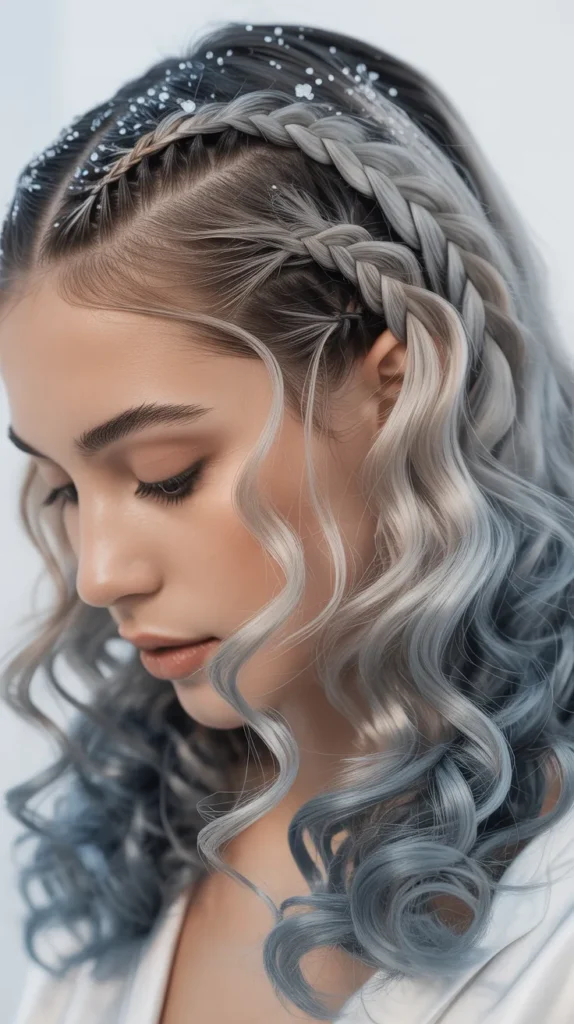
5. Mixed Texture Braids with Loose Waves
This Aespa-inspired style combines the structure of braids with the softness of loose waves, creating a balanced look perfect for winter date nights or special occasions.
The contrast between braided and wavy sections adds depth and sophistication.
- Section off the top layer of hair from temple to temple, leaving the bottom two-thirds free for wave styling.
- Create two or three small Dutch braids within the sectioned top layer, starting at different points for an asymmetrical, artistic effect.
- Secure these braids with small clear elastics, then release the bottom section of hair to prepare for wave styling.
- Using a large-barrel curling iron or wand, create loose, flowing waves throughout the unbraided lower section, alternating curl directions for natural movement.
- Allow the waves to cool completely before gently running fingers through them to break up the curls into soft, romantic waves.
- The braided top section provides structure and keeps hair off the face, while the wavy bottom section adds femininity and movement.
- Apply a lightweight oil or serum to the wavy sections for added shine and protection against winter dryness.
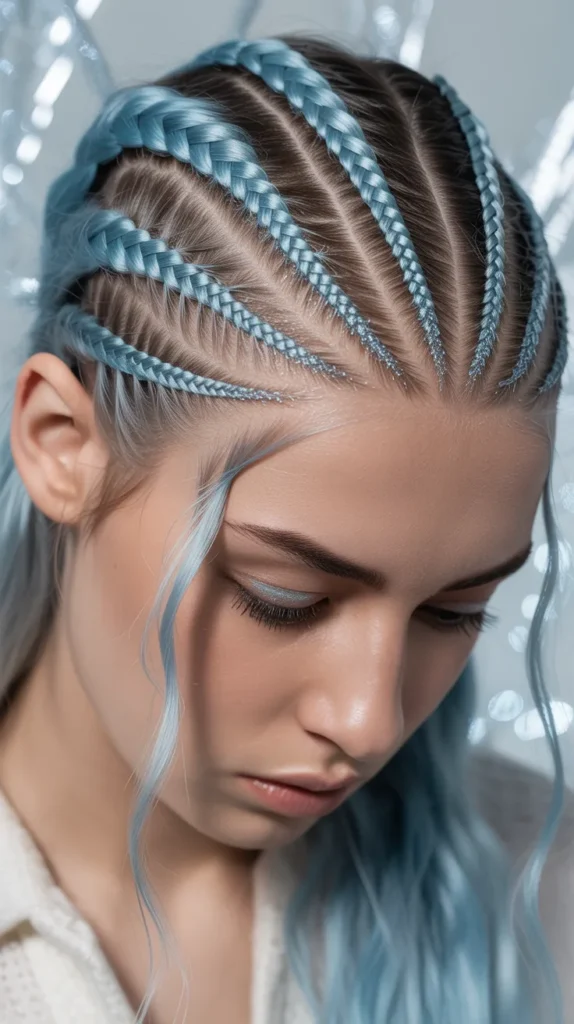
6. Diagonal Cornrow Design

The diagonal cornrow design takes inspiration from Aespa’s futuristic aesthetics, featuring braids that angle across the head in geometric patterns.
This bold style makes a strong fashion statement while providing excellent winter hair protection.
- Begin by mapping out your desired diagonal pattern using a rat-tail comb, creating sections that angle from one side of the head to the other.
- Start the first cornrow at the front hairline on one side, braiding diagonally across the head toward the opposite back section.
- Each subsequent cornrow should follow the same diagonal angle, creating parallel lines that flow in the same direction across the scalp.
- Maintain tight, even tension throughout each cornrow to ensure clean lines and a professional-looking finish that mimics Aespa’s stage-ready styling.
- The ends can be left free, braided to the tips, or tucked and pinned under for a different aesthetic depending on your preference.
- This style pairs exceptionally well with bold makeup and statement earrings, as the clean lines draw attention to the face.
- Use a lightweight oil on the scalp and braids to maintain moisture and add shine without weighing down the intricate pattern.
7. Waterfall Braid with Winter Florals
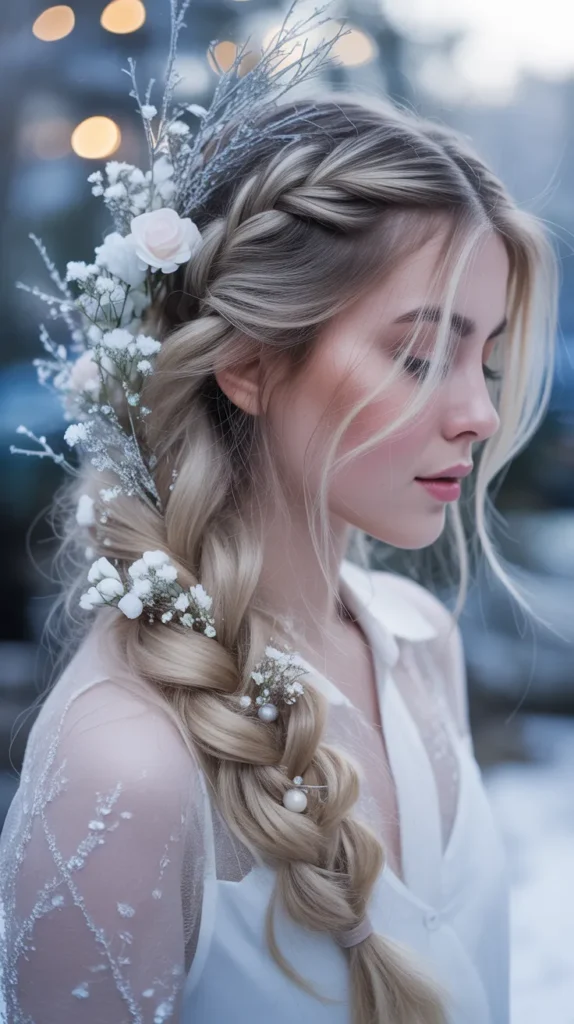
The waterfall braid creates a cascading effect where strands are dropped and picked up throughout the braiding process, creating the illusion of hair flowing through a braid like water.
Adding winter florals elevates this romantic style perfect for the season.
- Start at the front hairline on either side of a side part, taking a three-strand section to begin a basic French braid.
- After the first stitch of the braid, drop the bottom strand completely and pick up a new section from the top to replace it.
- Continue this pattern of dropping bottom strands and adding new top sections as you work the braid from front to back along one side of the head.
- The dropped strands create the waterfall effect, hanging freely and creating a curtain of hair beneath the braid.
- Secure the braid at the back of the head with a small clear elastic, allowing the remaining hair to flow freely in waves or curls.
- Tuck small winter florals like white roses, eucalyptus sprigs, or berry branches into the braid at strategic points for seasonal decoration.
- This style works beautifully for winter weddings, holiday gatherings, or any occasion where romantic elegance is desired.
8. Sleek Low Bun with Wrapped Braids
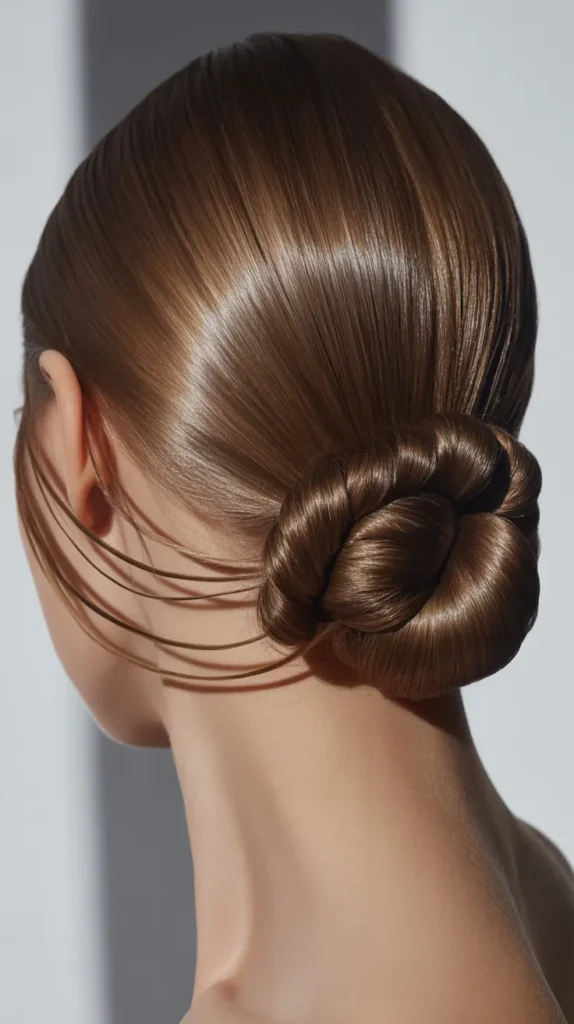
This sophisticated style combines the polish of a low bun with the detail of thin wrapped braids, creating a look that’s both professional and fashion-forward.
It’s ideal for winter work events or formal occasions where understated elegance is key.
- Begin by creating a deep side part and smoothing all hair back with a boar bristle brush to eliminate any bumps or texture.
- Before gathering hair into the low bun, separate out two thin sections from behind each ear to reserve for braiding.
- Gather the remaining hair into a low ponytail at the nape of the neck, then twist and wrap it around the base to form a classic bun shape.
- Secure the bun with bobby pins, ensuring it’s smooth and firmly attached to the head.
- Braid each of the reserved thin sections into tight three-strand braids, then wrap them around the base of the bun in opposite directions.
- Cross the braids over the top of the bun or wind them around the base, securing the ends with bobby pins hidden beneath the bun.
- Apply a strong-hold hairspray and shine serum to achieve that sleek, glossy finish characteristic of Aespa’s polished styling.
9. Half-Up Space Buns with Braided Base
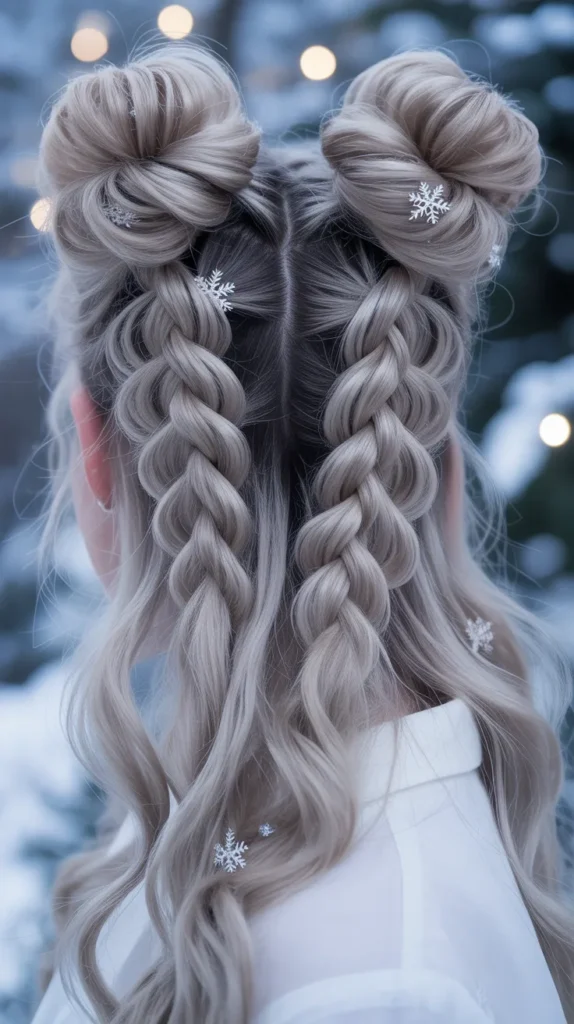
Space buns get an Aespa upgrade with braided bases that add structure and detail to this playful style.
Perfect for winter concert outings or casual days when you want to channel K-pop energy.
- Part the hair horizontally from ear to ear, separating the top half from the bottom half which will remain loose.
- Divide the top section vertically down the middle, creating two equal sections for the space buns.
- On each side, create a small Dutch braid starting at the front hairline and working backward for about two to three inches.
- Gather the remaining hair from each section including the braid into a high ponytail on each side of the head.
- Twist each ponytail and wrap it around its base to form a bun, securing with bobby pins and elastic bands as needed.
- The braided base adds dimension and prevents the buns from looking too simple or childish, giving them an elevated, fashion-forward appearance.
- Leave the bottom half of hair straight, wavy, or curled depending on your preference and the overall vibe you want to achieve.
10. Fishtail Braid Side Sweep
The fishtail braid swept to one side creates an asymmetrical look that’s both bohemian and polished, perfect for winter’s layered fashion aesthetic.
This Aespa-inspired variation adds intricate detail to a classic style.
- Create a deep side part and sweep all hair over one shoulder, gathering it at the nape just behind the ear on your preferred side.
- Divide the hair into two equal sections to begin the fishtail braiding technique.
- Take a thin strand from the outer edge of the left section, cross it over to join the right section, then repeat from the right side crossing to the left.
- Continue this alternating pattern of taking thin outer strands and crossing them to the opposite section, maintaining even tension throughout.
- The key to a beautiful fishtail is using very thin strands, which creates that intricate, woven appearance that sets it apart from regular braids.
- Secure the end with a clear elastic band, then gently pull at the edges of the braid to create width and a fuller, more relaxed appearance.
- Allow a few face-framing pieces to escape at the front for a softer, more romantic finish that complements winter’s cozy aesthetic.
11. Crown Braid with Twisted Back Section
This regal style combines a crown braid around the hairline with a twisted back section, creating dimension and visual interest from every angle.
It’s a sophisticated choice for winter formal events or when you want to feel like royalty.
- Section off a band of hair about two inches wide around the entire hairline from temple to temple across the forehead and around the sides.
- Create a Dutch braid with this front section, working from one temple around the forehead to the other temple, keeping it close to the hairline.
- Once the crown braid reaches the other temple, secure it temporarily with a clip while you work on the back section.
- Divide the remaining loose hair at the back into two sections and twist them individually in the same direction.
- Cross the two twisted sections over each other repeatedly, creating a rope-like effect down the length of the hair.
- Bring the ends of the twisted section and the crown braid together, combining them into a low side ponytail or bun.
- This style beautifully showcases hair accessories like jeweled pins or winter-themed clips placed along the crown braid for added sparkle.
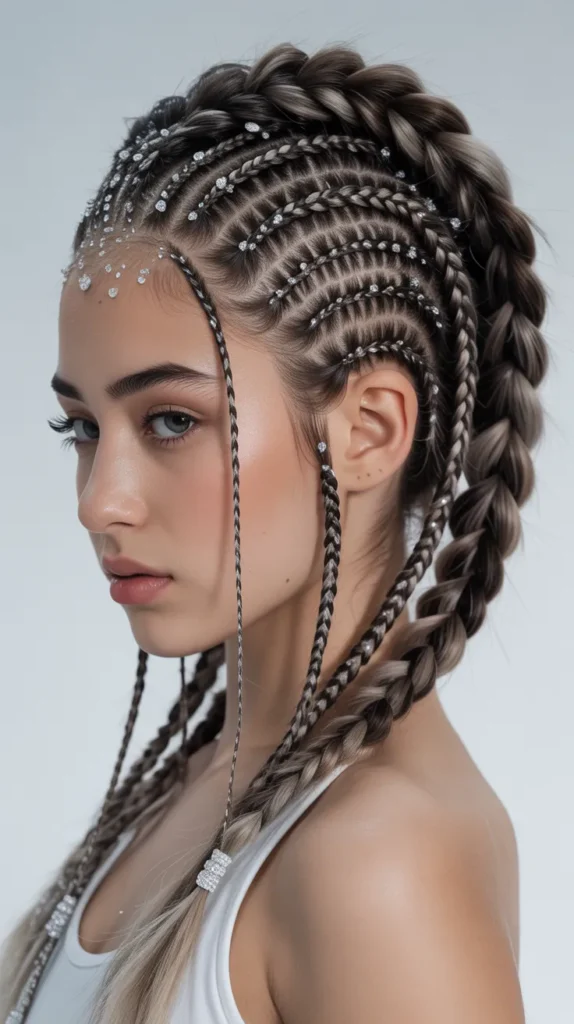
12. Micro Braids Accent Style
Micro braids as accent pieces add subtle detail without committing to a full head of braids, making this an accessible Aespa-inspired look for anyone.
These thin braids can be strategically placed to frame the face or add interest to otherwise simple hairstyles.
- Select three to five small sections of hair from around the face, at the temples, or scattered throughout one side of the head.
- Create very thin three-strand braids with each selected section, braiding all the way to the ends and securing with tiny clear elastics.
- These micro braids should be no thicker than a shoelace, creating delicate, thread-like accents throughout your hairstyle.
- The remaining hair can be worn down in its natural texture, curled, straightened, or gathered into a ponytail with the micro braids adding detail.
- For winter interest, wrap the micro braids with metallic thread or add tiny braid cuffs in silver or gold.
- This low-commitment style allows you to experiment with the braided look without the time investment of a full braided hairstyle.
- Micro braids can last several days if properly cared for, making them perfect for extending your winter hairstyle versatility.
13. Dutch Braid Mohawk Style
The Dutch braid mohawk creates an edgy, punk-inspired look that perfectly captures Aespa’s bold aesthetic.
This style features a central Dutch braid running from forehead to nape while the sides remain sleek and close to the head.
- Create a rectangular section down the center of the head from the front hairline to the nape, about three to four inches wide.
- Smooth the hair on both sides of this central section back and secure it temporarily with clips or gel to keep it flat against the head.
- Begin a Dutch braid at the front of the central section, braiding backward and incorporating all the hair from that center panel as you progress.
- Keep the Dutch braid tight and raised by crossing strands under rather than over, creating that three-dimensional mohawk effect.
- Continue braiding all the way to the nape, then either braid to the ends or leave the tail free depending on your hair length and preference.
- Release the side sections and slick them down with strong-hold gel or pomade, creating a stark contrast with the raised central braid.
- This bold style pairs perfectly with winter’s darker fashion palette and makes a statement at concerts, parties, or any event where you want to stand out.
14. Rope Braid Ponytail
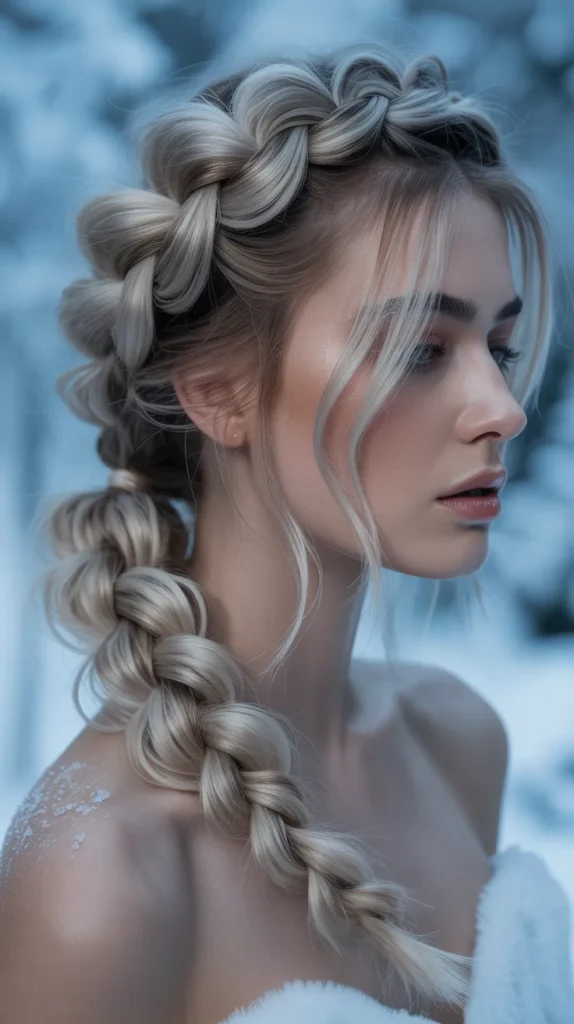
The rope braid ponytail offers a simple yet striking alternative to traditional braiding, creating a twisted, cable-like texture that adds dimension to a basic ponytail.
This Aespa-inspired style is quick to create but looks impressively intricate.
- Gather all hair into a high, mid, or low ponytail depending on your preference, securing it tightly with a strong elastic band.
- Divide the ponytail into two equal sections and twist each section individually in the same direction, either clockwise or counterclockwise.
- Once both sections are tightly twisted, wrap them around each other in the opposite direction from which you twisted them.
- This creates the rope effect where the two twisted sections naturally coil around each other like a nautical rope or cable.
- Secure the end with another elastic band and gently pull at the rope braid to widen it slightly for a fuller appearance.
- The rope braid is excellent for winter because it’s secure enough to withstand hats and scarves while looking polished and intentional.
- Add a decorative hair tie or wrap a section of hair around the base of the ponytail for an elevated, Aespa-worthy finish.
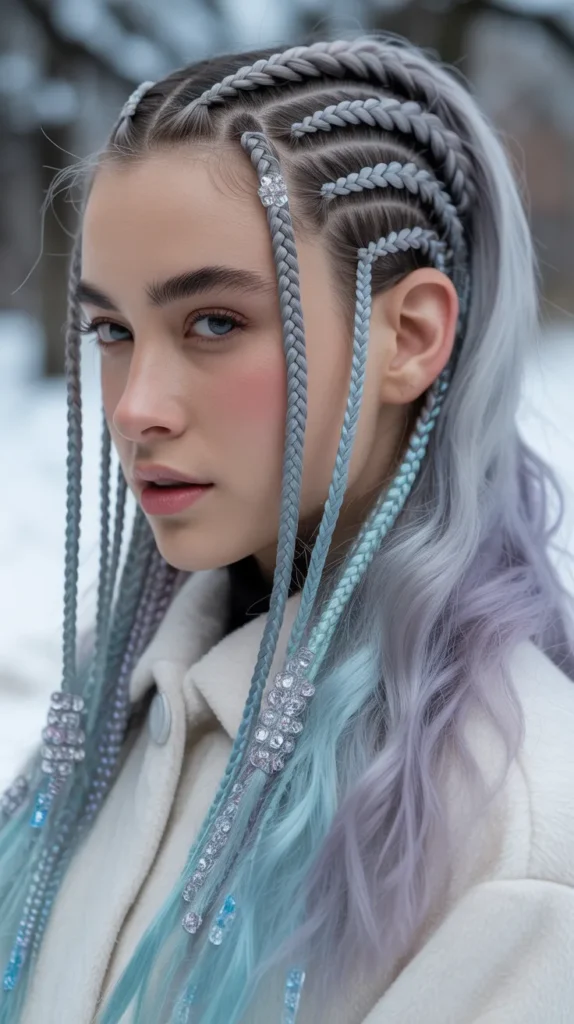
15. Zig-Zag Part with Double Dutch Braids
The zig-zag part adds a playful geometric element to classic double Dutch braids, creating visual interest even before the braiding begins.
This style perfectly embodies Aespa’s love of unexpected details and futuristic aesthetics.
- Using the pointed end of a rat-tail comb, create a zig-zag part down the center of the head from forehead to nape instead of a straight line.
- The zig-zag should have sharp, defined angles rather than soft curves for maximum impact and a clean, geometric appearance.
- Beginning on one side of the zig-zag part, create a tight Dutch braid starting at the front hairline and working backward along the side of the head.
- Repeat on the other side of the zig-zag part, ensuring both Dutch braids are equally tight and symmetrical despite the unconventional parting.
- The braids can continue all the way to the ends of the hair or can transition into regular three-strand braids partway down for a different look.
- Secure each braid with a clear elastic band and apply edge control along the zig-zag part to keep it sharp and defined throughout the day.
- This style looks particularly striking when the braids are worn hanging down, as the zig-zag part is visible from above and behind.
16. Braided Headband with Loose Curls
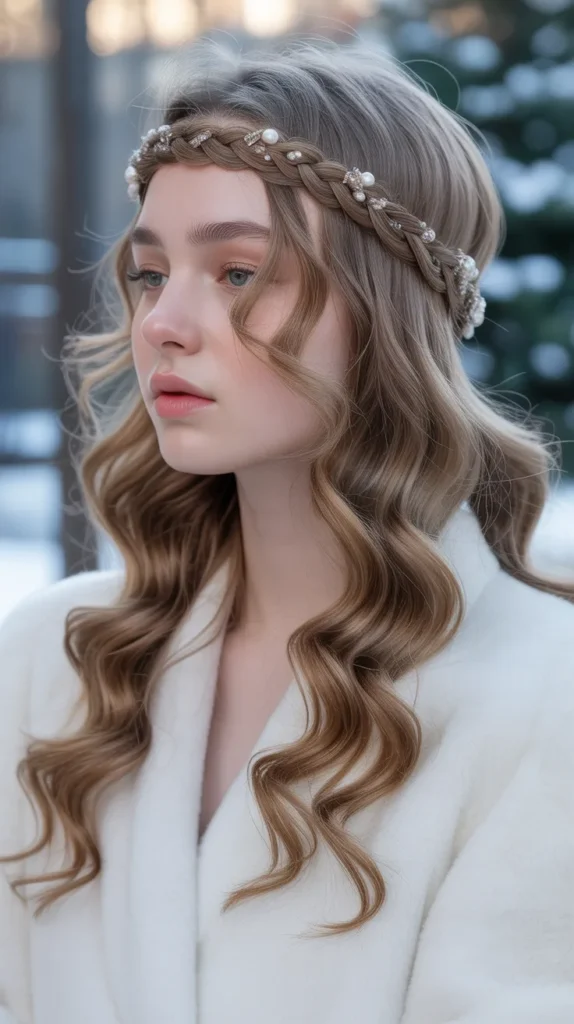
The braided headband style creates a natural-looking accessory from your own hair, paired with loose curls for a romantic winter aesthetic inspired by Aespa’s softer styling moments.
This versatile look works for both casual and dressy occasions.
- Take a section of hair from behind one ear, about one to two inches wide, and create a three-strand braid from root to tip.
- Bring this braid across the top of the head like a headband, positioning it wherever you prefer from close to the hairline to further back on the crown.
- Secure the end of the braid behind the opposite ear with bobby pins, tucking the end under so it’s hidden from view.
- The remaining loose hair should be curled with a medium-barrel curling iron, creating soft, romantic curls throughout.
- For added dimension, alternate the direction of the curls and gently separate them with your fingers once cooled.
- The braided headband keeps hair off the face while the curls provide volume and movement, creating a balanced and feminine silhouette.
- This style is perfect for winter because the braid adds detail while the curls can be loosened over time without diminishing the overall effect.
17. Pull-Through Braid Illusion
The pull-through braid creates the illusion of a complex braided style while actually being constructed from a series of ponytails pulled through each other.
This Aespa-inspired look offers maximum impact with moderate effort.
- Create a small ponytail at the crown of the head, securing it with a clear elastic band to begin the pull-through pattern.
- Take a section of hair from beneath the first ponytail and create a second ponytail directly below it, about two inches down.
- Split the first ponytail in half and bring each half down on either side of the second ponytail, temporarily clipping them out of the way.
- Create a third ponytail below the second, then split the second ponytail in half and bring those sections down around the third.
- Continue this pattern of creating ponytails and pulling the previous section through and around each new ponytail down the length of your hair.
- The result is a thick, intricate-looking braid that has tremendous volume and dimension, perfect for Aespa’s bold aesthetic.
- Gently tug at the sides of each ponytail section to widen and volumize the pull-through braid for an even more dramatic effect.
18. Side Cornrows with Curled Ends
Side cornrows concentrated on one side of the head create an asymmetrical look that’s balanced by voluminous curls on the opposite side.
This style captures Aespa’s ability to blend structured and soft elements seamlessly.
- Create a deep side part and section off about one-third of the hair on the side with less hair for the cornrows.
- Beginning at the front hairline on the cornrow side, create three to five tight cornrows running parallel from front to back along the side of the head.
- Keep these cornrows close together and tight to the scalp, maintaining clean parts between each row for a polished appearance.
- Once the cornrows reach the back of the head, allow them to blend with the remaining loose hair rather than braiding to the ends.
- The larger section of hair on the opposite side should be curled with a medium-barrel iron, creating bouncy, voluminous curls.
- This contrast between the sleek, structured cornrows and the soft, romantic curls creates visual interest and dimension.
- The style works beautifully when swept over one shoulder, showcasing both the braided and curled elements in one flowing look.
19. Infinity Braid Style
The infinity braid creates a figure-eight pattern as you weave, producing a unique texture that sets it apart from standard braids.
This intricate Aespa-inspired technique makes a statement while being surprisingly secure for winter activities.
- Begin with a standard three-strand section at the starting point, whether at the crown, temple, or nape depending on your desired style.
- Instead of crossing outside strands over the center as in a traditional braid, you’ll create a figure-eight motion with each incorporation.
- Take the right strand under the center strand, then over the left strand, creating the first half of the infinity symbol.
- Then take the left strand under the center and over the right, completing the figure-eight pattern.
- Continue this under-and-over pattern while incorporating new hair if doing a French-style infinity braid.
- The resulting texture has a unique woven appearance that looks complex and catches light beautifully, perfect for Aespa’s detail-oriented aesthetic.
- This braid type holds incredibly well, making it ideal for winter sports, outdoor activities, or long days where your hair needs to stay perfect.
20. Braided Top Knot
The braided top knot elevates a simple bun by incorporating braiding into the gathering process, creating texture and detail that makes this casual style feel special.
It’s perfect for winter days when you want to look put-together quickly.
- Flip your head upside down and begin a French or Dutch braid at the nape of your neck, braiding upward toward the crown.
- Incorporate all the hair from the sides and back as you braid up, creating a tight braid that gathers all hair toward the top of the head.
- When you reach your desired bun placement at the crown, secure the braid with an elastic band.
- The remaining length of the braid and any loose ends should be twisted and wrapped around the base to form a bun.
- Secure the bun with bobby pins, ensuring it’s tight enough to last all day but comfortable against your scalp.
- Pull slightly at the braid leading into the bun to create volume and a slightly messy, lived-in texture that’s very on-trend.
- This style keeps all hair off your neck and face while the braided base adds an Aespa-worthy detail that elevates it beyond a basic bun.
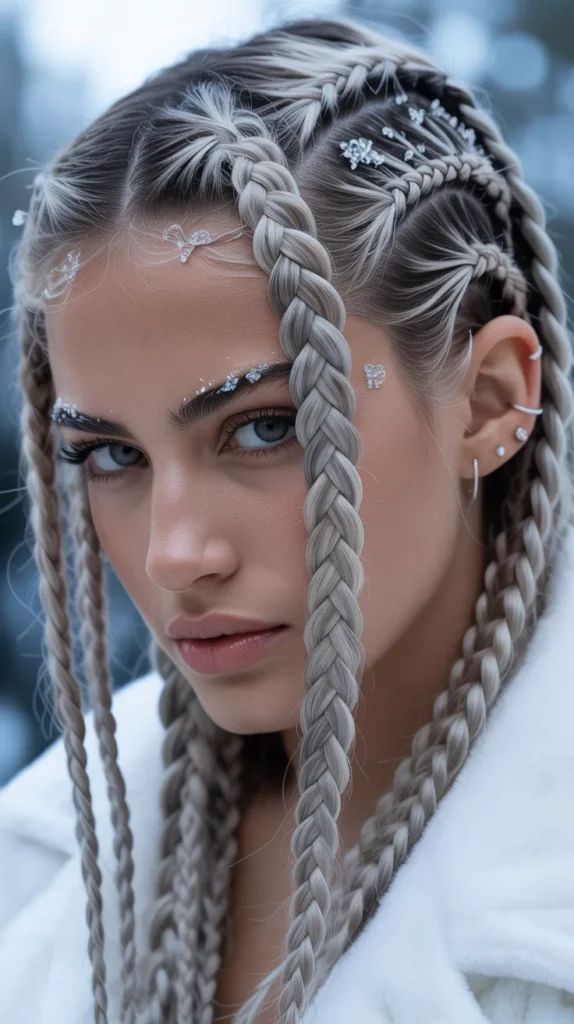
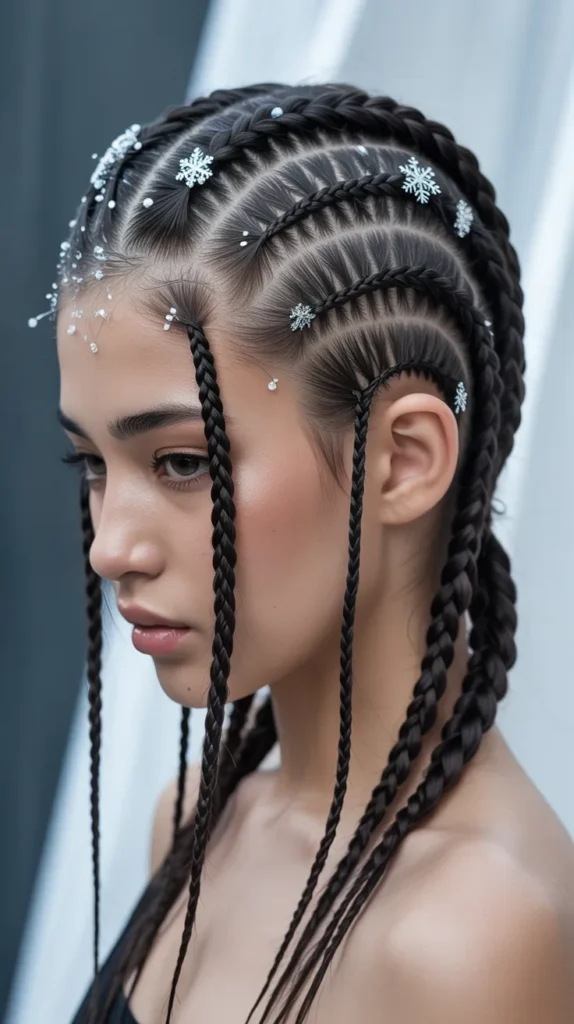
21. Lattice Braid Design
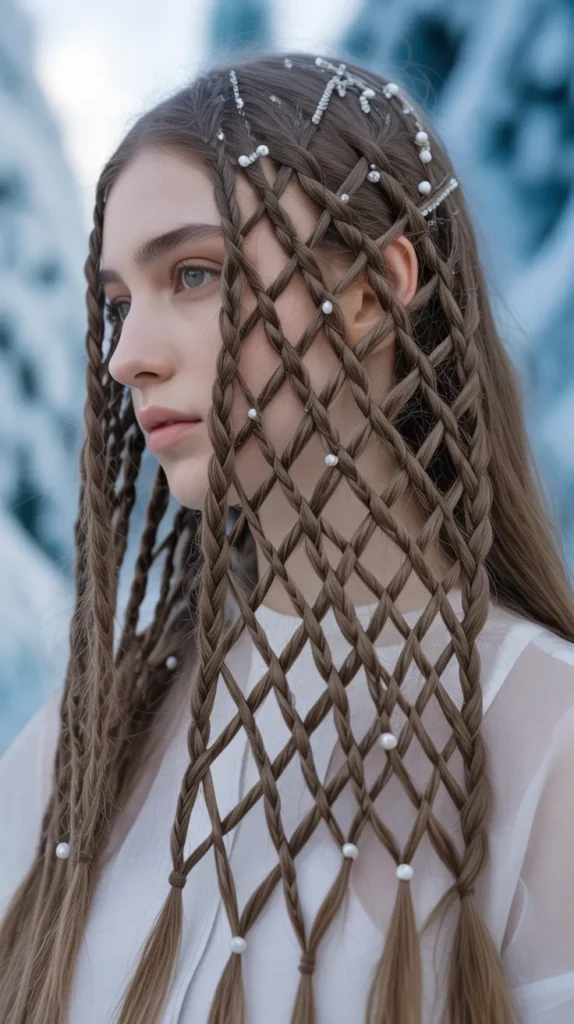
The lattice braid creates a woven, basket-like pattern across the head using multiple thin braids that intersect and weave through each other.
This complex Aespa-inspired style is a true work of art that showcases advanced braiding skills.
- Section the hair into a grid pattern across the scalp, creating five to seven small sections horizontally and the same number vertically.
- Begin by braiding one direction first, creating thin cornrows that run horizontally across the head from side to side.
- Once all horizontal braids are complete, weave the vertical sections over and under the existing horizontal braids like basket weaving.
- Each vertical section should alternate its over-under pattern to create the lattice effect where strands appear to weave through each other.
- This technique requires patience and precision but creates a stunning geometric pattern that perfectly captures Aespa’s futuristic aesthetic.
- The ends can be gathered into a low ponytail or bun, or left loose if the hair is long enough to showcase the full lattice pattern.
- Due to its intricacy, this style is best created by a professional braider or very experienced friend who understands the weaving technique.
22. Messy Side Braid with Face-Framing Pieces
The messy side braid embraces imperfection and creates a bohemian, effortless vibe while still being intentionally styled.
This Aespa-inspired look proves that not every braid needs to be perfectly tight and polished.
- Create a deep side part and sweep all hair over one shoulder, leaving out a few thin face-framing pieces at the front.
- Begin a loose three-strand braid on the side where the hair is gathered, starting below the ear rather than at the scalp.
- Keep tension intentionally relaxed throughout the braiding process, allowing the braid to have a soft, undone appearance.
- Once the braid is complete, gently pull at the edges to make it even wider and messier, creating a fuller, more romantic effect.
- The key is to make it look like the braid happened naturally throughout your day rather than being meticulously crafted in the morning.
- Spray with a light texturizing spray rather than hairspray to maintain the piece-y, touchable texture that defines this style.
- This look pairs perfectly with winter’s cozy sweaters and casual fashion, offering a laid-back alternative to Aespa’s more structured braided styles.
23. Four-Strand Braid Elegance
The four-strand braid creates a complex, dimensional pattern that’s more intricate than a standard three-strand braid, making it perfect for special winter occasions when you want an Aespa-level sophisticated look.
- Divide the hair into four equal sections instead of the typical three, numbering them one through four from left to right in your mind.
- Cross strand two over strand three, then cross strand one over strand three, bringing it to the center position.
- Next, cross strand four under strand two, completing one full sequence of the four-strand braid pattern.
- Repeat this sequence—crossing the second strand over the third, the first over the third, and the fourth under the second—down the length of the hair.
- The pattern creates a braid with a distinctive raised center section that catches light beautifully and appears incredibly intricate.
- This braid type can be done as a single braid down the back or as side braids for a different effect.
- While it requires practice to master, the four-strand braid’s unique texture makes it worth the effort for special winter events and photography.
24. Asymmetric Triple Braid
Three braids of varying sizes positioned asymmetrically create a modern, artistic look that embodies Aespa’s innovative approach to beauty.
This style plays with proportion and placement for maximum visual impact.
- Create three sections of intentionally different sizes—one large section on one side, one medium section at the back, and one small section on the opposite side.
- Braid each section using your preferred braiding technique, whether standard three-strand, Dutch, or fishtail braids.
- The varying sizes create natural dimension, with the largest braid making the boldest statement and the smallest serving as a delicate accent.
- Position the braids at different heights and angles rather than parallel to each other, creating that asymmetric, artistic placement.
- The ends can be left loose, tied together, or pinned up in various configurations depending on your desired final look.
- This style showcases how traditional braiding techniques can be made contemporary through unexpected proportions and placements.
- It works particularly well for winter fashion shoots, creative events, or any occasion where you want to showcase artistic, forward-thinking style.
25. Braided Faux Hawk
The braided faux hawk creates punk-inspired edge without the commitment of shaving the sides, using Dutch braids and teasing to achieve height and drama.
This bold Aespa-inspired style makes a powerful statement.
- Create two tight Dutch braids on each side of the head, starting at the temples and running parallel back toward the nape.
- These side braids should be positioned close to the ears, leaving a center section of hair from forehead to crown untouched.
- Tease the center section aggressively at the roots using a fine-tooth comb to create maximum height and volume along the mohawk area.
- Smooth the top layer of the teased section lightly with a brush while maintaining the volume underneath, creating a controlled yet voluminous appearance.
- Pin the center section upward and backward, securing it with bobby pins to maintain the elevated faux hawk shape throughout the day.
- The contrast between the flat, sleek side braids and the dramatically raised center section creates that signature faux hawk silhouette.
- Finish with strong-hold hairspray to lock the style in place, ensuring it withstands winter weather and maintains its rebellious edge.
- This style pairs exceptionally well with bold makeup and statement accessories, channeling Aespa’s fearless approach to experimental beauty.
26. Twisted Crown with Braided Ends
This hybrid style combines hair twisting and braiding techniques to create a textured crown that transitions into traditional braids.
The mixed techniques add complexity and visual interest that captures Aespa’s layered aesthetic approach.
- Section off the front portion of hair from temple to temple, dividing it into two equal parts at the center.
- Twist each front section backward along the sides of the head, incorporating new hair as you twist to create a twisted crown effect.
- When the twists reach the back of the head near the crown, secure them temporarily with clips while you gather the remaining hair.
- Transition the twisted sections into traditional three-strand braids once they reach the back, creating a clear shift from twisted to braided texture.
- The braids can hang loose, be pinned up, or combined into a single braid depending on your hair length and desired final appearance.
- This technique showcases different texturing methods within one hairstyle, creating dimension that’s visible from multiple angles.
- The twisted crown keeps hair elegantly off the face while the braided ends provide security and polish perfect for winter’s active lifestyle.
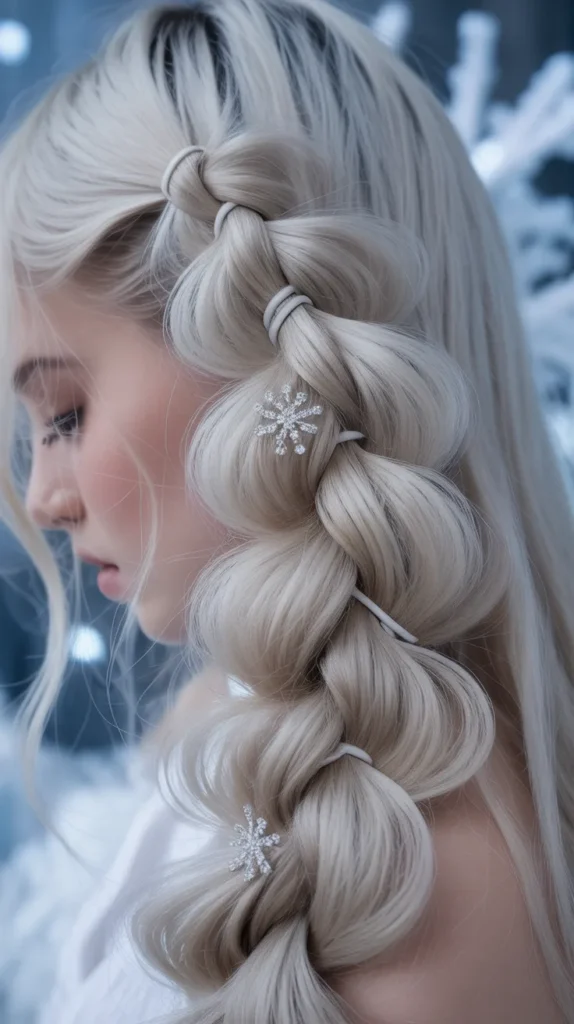
27. Bubble Braid Crown
The bubble braid crown takes the playful bubble technique and wraps it around the head like a halo, creating a youthful yet sophisticated style inspired by Aespa’s ability to balance cute and chic aesthetics.
- Part the hair horizontally from ear to ear, separating the top section from the bottom which will remain loose or styled separately.
- Create a side part within the top section and begin a ponytail at the temple on one side, securing it with a clear elastic.
- Add another elastic band two inches down from the first, then gently pull the hair between the elastics outward to create the first bubble.
- Continue adding elastics at regular intervals and creating bubbles as you work the ponytail around the head like a crown.
- Each bubble should be gently teased and pulled to create fullness, making the crown effect more prominent and dimensional.
- When the bubble braid reaches the opposite side of the head, secure it with bobby pins, tucking the end under or allowing it to blend with loose hair.
- The bottom section can be left straight, curled, or gathered into a complementary style depending on the overall look you want to achieve.
28. Zigzag Dutch Braids
Zigzag Dutch braids create a serpentine pattern across the scalp rather than running in straight lines, adding movement and dynamism to traditional cornrow-style braiding.
This Aespa-inspired technique shows how traditional methods can be modernized through creative patterning.
- Map out a zigzag pattern on the scalp using the end of a rat-tail comb, creating curved sections that flow back and forth across the head.
- Begin the first Dutch braid following the zigzag pattern, incorporating hair along the curved line as you braid backward.
- The braid should snake across the head rather than running straight back, creating visual movement even in a static hairstyle.
- Continue creating parallel zigzag braids across the entire head, ensuring each follows a similar wave pattern for cohesive design.
- The number of zigzag braids depends on your hair density and desired look, typically ranging from three to seven braids.
- This style requires precision in sectioning and braiding to maintain clean zigzag lines, but the result is a truly unique geometric pattern.
- The ends can be left loose, braided to the tips, or gathered together, and the style provides excellent protection for hair during harsh winter weather.
29. Vintage-Inspired Victory Rolls with Braids
This retro-meets-modern style combines vintage victory rolls with contemporary braiding for a look that bridges decades.
The fusion creates a unique aesthetic that aligns with Aespa’s ability to blend different style eras.
- Section off the front portion of hair on each side of a center part, from the hairline back about three to four inches.
- Create a small Dutch braid along the hairline on each side, braiding backward for about two inches before securing.
- Take the hair behind each braid and roll it forward toward the face, creating the classic victory roll shape on each side.
- Secure each victory roll with bobby pins, ensuring the rolls are symmetrical and sit at the same height on both sides.
- The braided detail at the base of each roll adds texture and prevents the style from looking too costume-like or dated.
- The remaining hair at the back can be styled in waves, left straight, or gathered into a low bun depending on the occasion.
- This style works beautifully for winter themed parties, vintage-inspired events, or anytime you want to showcase creative hairstyling that stands out.
30. Cascading Multi-Braid Waterfall
This final Aespa-inspired style creates a cascading effect using multiple waterfall braids at different levels, building a layered, dimensional look that’s both romantic and technically impressive.
- Begin the first waterfall braid at the front hairline on one side, working it horizontally across the head toward the opposite side.
- The dropped strands from this first waterfall braid will serve as the starting points for the second level of waterfall braids.
- Create a second waterfall braid positioned about two inches below the first, picking up the previously dropped strands and creating new waterfalls.
- Continue this pattern for three to four levels depending on your hair length, creating a cascading, tiered effect down the head.
- Each level should slightly overlap with the one above it, creating seamless integration rather than distinct separated sections.
- The final result resembles a waterfall flowing down a series of terraced levels, with hair cascading through multiple braid layers.
- This intricate style showcases advanced braiding skills and creates a stunning effect perfect for winter formal events, photo shoots, or special occasions.
- Finish with flowers, jeweled pins, or leave it unadorned to let the technical braiding speak for itself.
Conclusion
Winter is the ideal season to explore the stunning world of braided hairstyles, and drawing inspiration from Aespa elevates these looks from simple to spectacular.
These 30 Winter Hair Braids Inspired by Aespa offer something for everyone, whether you’re seeking sleek and sophisticated styles for professional settings or bold and edgy looks for making fashion statements.
From Karina’s polished elegance to Giselle’s street-style edge, from Winter’s romantic crowns to Ningning’s playful accents, each member brings unique inspiration that translates beautifully into wearable winter braids.
The versatility of these styles means you can protect your hair from harsh winter elements while looking absolutely stunning and camera-ready.
Whether you’re a braiding beginner starting with simple bubble braids or an advanced stylist ready to tackle lattice designs, these Aespa-inspired looks provide endless creative possibilities.
Remember that practice makes perfect with braiding, and even the most complex styles become manageable with patience and repetition.
This winter, channel your inner Aespa member, experiment with these diverse braiding techniques, and discover which styles make you feel most confident and beautiful while keeping your hair healthy and protected throughout the coldest months of the year.
