
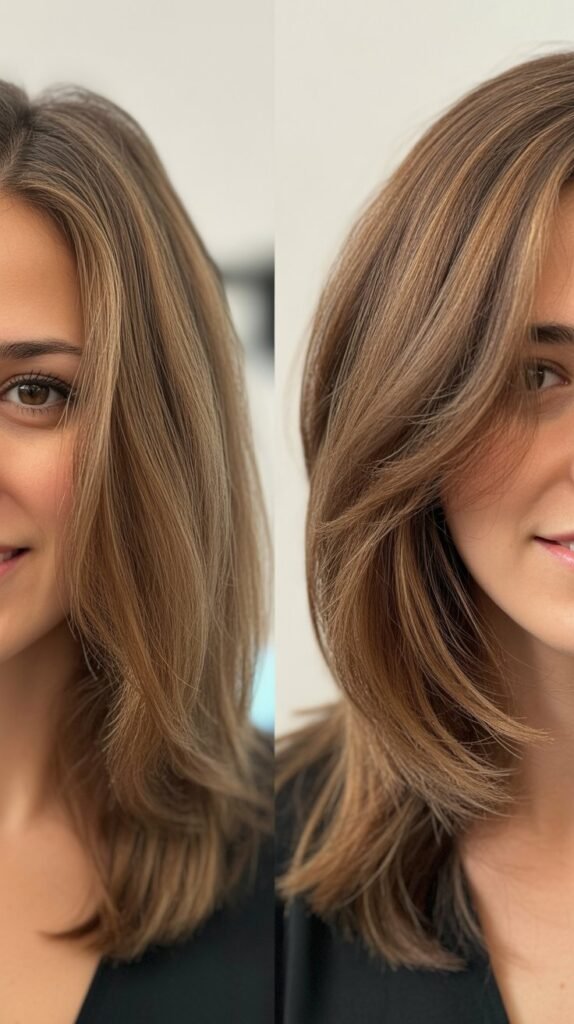
Flat, lifeless hair weighing you down? You’re about to discover a game-changing technique that transforms thin, limp locks into bouncy, voluminous hair without stepping foot in a salon.
This Add Volume Fast: Easy At-Home Layer Cutting Trick reveals professional secrets that hairstylists use to create movement and body, all achievable in your own bathroom.
Throughout this guide, you’ll learn the exact positioning, cutting angles, and finishing touches that make the difference between a DIY disaster and salon-quality results.
Whether you have straight, wavy, or curly hair, this method adapts to your unique texture while delivering the fuller look you’ve been craving.
Get ready to say goodbye to expensive salon visits and hello to gorgeous, layered hair that moves with natural volume.
1. Understanding Why Layers Create Volume
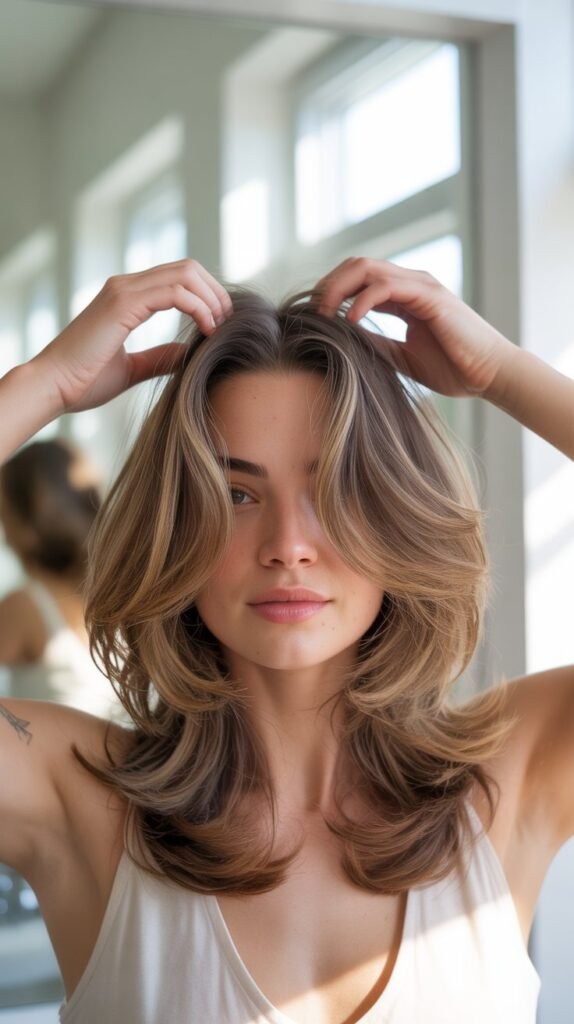
Layers work by removing weight from your hair, allowing individual strands to lift away from your scalp rather than hanging straight down under their own heaviness.
- When all your hair is cut to the same length, the weight pulls everything down toward your shoulders, creating a flat appearance against your head.
- Strategic layering removes bulk from specific sections, particularly the underlayers, which reduces the gravitational pull on your roots.
- Shorter pieces underneath naturally push longer pieces upward, creating space between hair strands that translates to visible volume.
- The stepped effect of layers catches light differently than blunt-cut hair, enhancing the illusion of thickness and movement.
- Different layer lengths create multiple points of bounce rather than one heavy endpoint, giving your hair dynamic motion throughout the day.
- Hair texture determines how dramatically layers affect volume, with finer hair showing more immediate lift than coarse, dense hair types.
2. Essential Tools You Need Before Starting
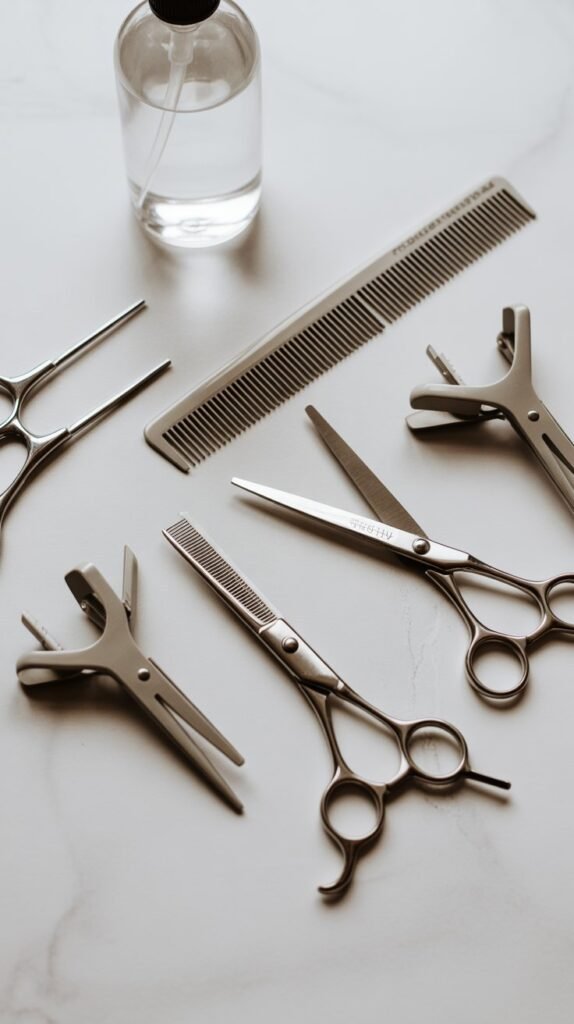
Gathering the right equipment ensures clean cuts and professional-looking results while protecting your hair from damage during the process.
- Professional hair-cutting shears with blades measuring 5.5 to 6.5 inches provide the control needed for precise layer placement.
- Regular household scissors crush hair strands rather than cutting cleanly, creating split ends and uneven texture.
- Multiple sectioning clips (at least 6-8) hold hair firmly in place while you work through different areas systematically.
- A fine-mist spray bottle filled with clean water keeps hair damp and manageable throughout the cutting process.
- A wide-tooth comb detangles without pulling or breaking hair, essential for creating smooth sections before cutting.
- A handheld mirror combined with your bathroom mirror allows you to view the back and sides of your head accurately.
- A cutting cape or old towel protects your clothing from hair clippings and makes cleanup significantly easier afterward.
- Point-cutting shears with serrated edges create softer, more blended layers compared to standard straight-blade scissors.
3. Preparing Your Hair for the Perfect Cut
Proper preparation determines whether your DIY layers turn out beautifully blended or choppy and disconnected.
- Wash your hair with a clarifying shampoo to remove all styling products, oils, and buildup that might affect how scissors glide through strands.
- Skip conditioner before cutting since it makes hair too slippery, preventing you from seeing the true texture and natural fall of your hair.
- Towel-dry your hair until damp but not dripping wet, as the ideal moisture level allows hair to maintain its natural pattern while remaining manageable.
- Comb through your entire head starting from the ends and working upward to remove all tangles without causing breakage.
- Part your hair exactly how you normally style it, since cutting against your natural part creates awkward pieces that won’t blend properly.
- Divide your hair into four quadrants by creating a center part from forehead to nape and a horizontal part from ear to ear across the crown.
- Secure each quadrant with strong clips positioned flat against your scalp to prevent sections from mixing during the cutting process.
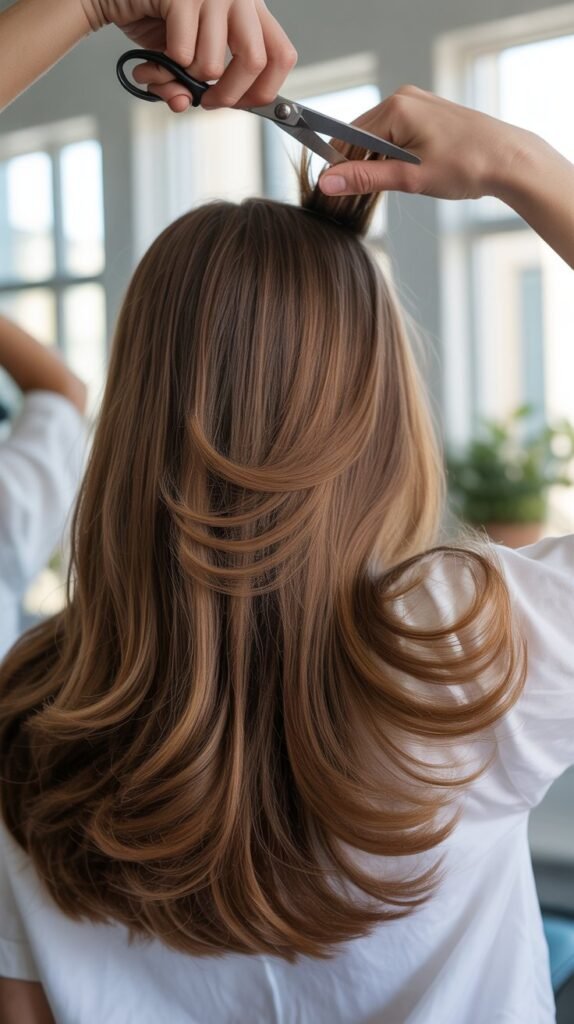
4. The Ponytail Method for Quick Volume Layers
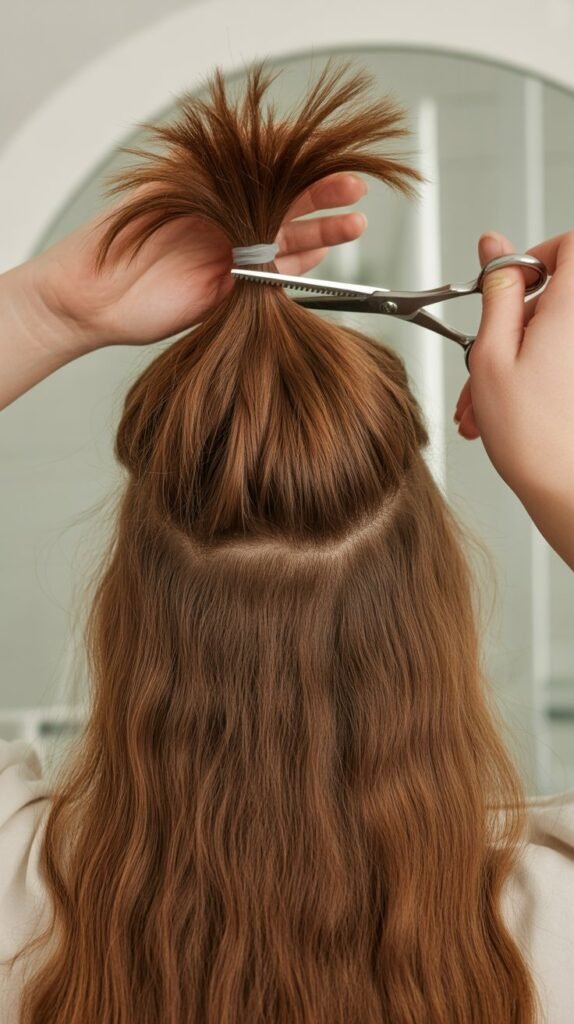
This technique stands as the easiest approach for beginners, creating instant volume through one strategic cut at the crown of your head.
- Flip your head upside down completely, allowing all your hair to fall forward toward the floor while you remain bent at the waist.
- Gather every single strand into one high ponytail positioned at your forehead hairline, ensuring no pieces escape around the edges.
- Secure the ponytail tightly with a hair elastic, placing it exactly where your forehead meets your hairline for optimal layer placement.
- Slide the elastic down the ponytail to the length where you want your shortest layer to hit, typically 2-3 inches from the elastic.
- Hold the ponytail straight up from your head at a 90-degree angle, keeping consistent tension to ensure an even cut.
- Cut straight across the ponytail end in one smooth motion, removing all hair below your fingers simultaneously.
- Release the ponytail and flip your head back up to reveal graduated layers that radiate from your crown outward, creating natural volume.
- This method works exceptionally well for people with one-length hair who want movement without complicated sectioning.
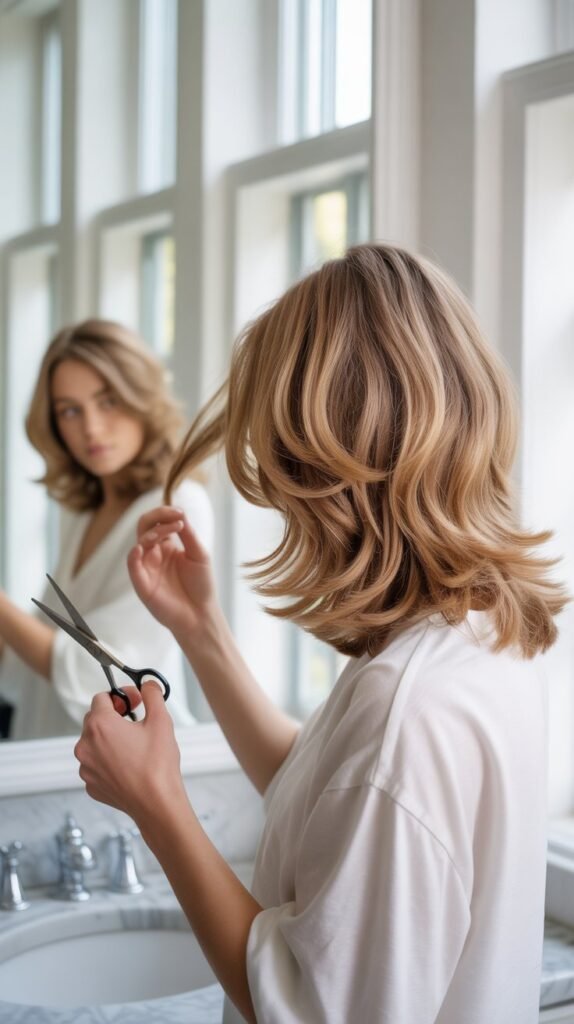
5. The Twist and Cut Technique for Subtle Dimension
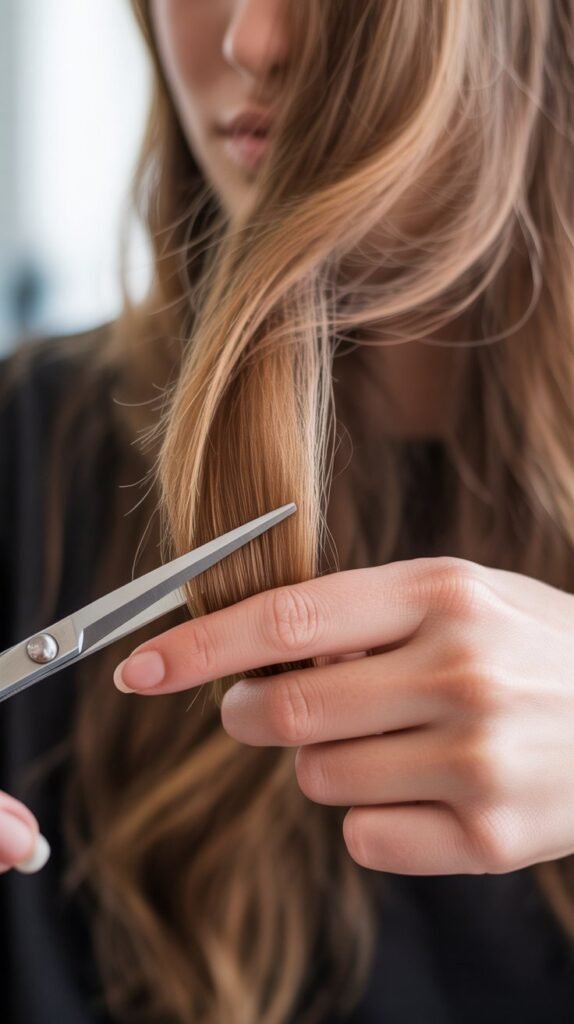
When you need softer, more controlled layers, the twist method provides precision that prevents removing too much length at once.
- Select a vertical section of hair approximately one inch wide from the area where you want to add volume and dimension.
- Twist the section tightly in one direction, rotating continuously until the hair forms a compact rope-like shape.
- The twisting motion naturally causes different lengths within the section to align at various points along the twist.
- Hold your scissors at a 45-degree angle to the twisted section rather than cutting straight across for softer results.
- Make small cuts into the twist at intervals, removing only tiny amounts of hair with each snip.
- Point your scissors tip into the hair and cut inward toward the twist center, a technique called point-cutting that creates texture.
- Release the twist and comb through gently to see the soft, graduated layer you’ve created within that section.
- Repeat this process on sections throughout your head wherever you want to reduce weight and add movement.
- This approach works beautifully for people nervous about cutting too much, since you control exactly how much length you remove.
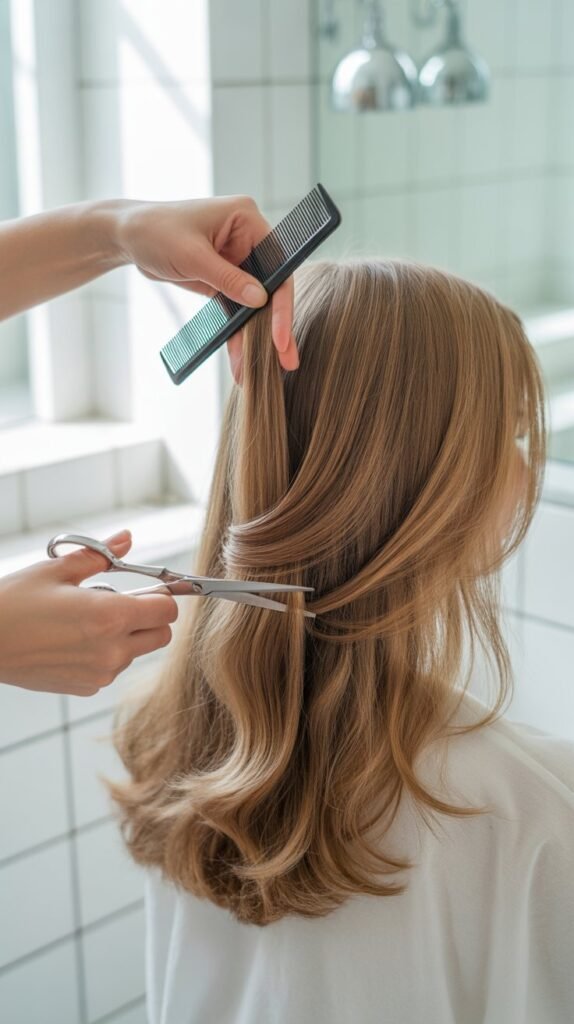
6. Face-Framing Layers That Lift Your Features
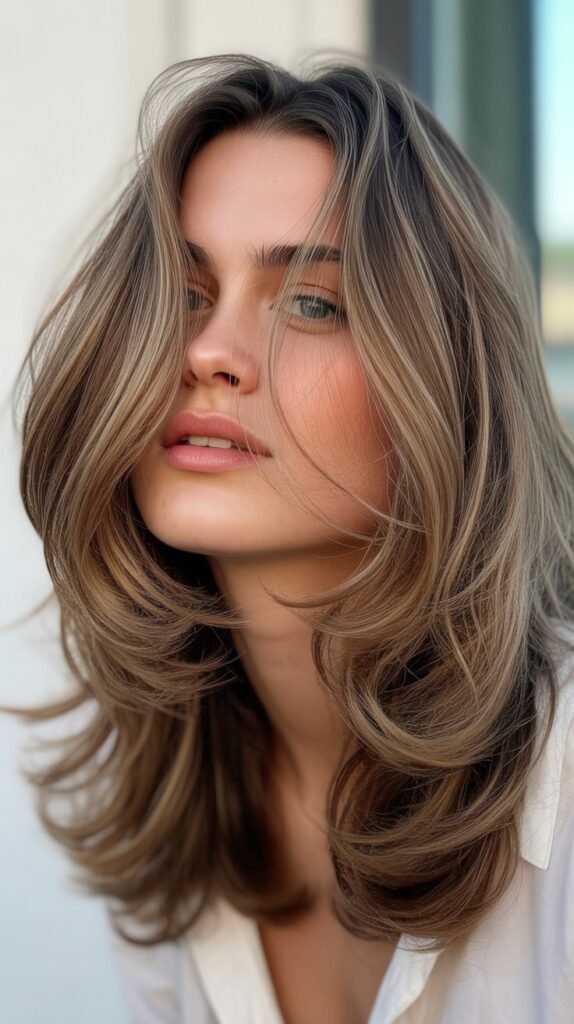
Strategic layers around your face create the illusion of fuller hair while highlighting your best features and balancing your face shape.
- Pull a front section of hair forward on each side of your face, isolating approximately one inch of width from your hairline.
- Determine where you want the shortest face-framing piece to hit, typically at cheekbone, jawline, or collarbone depending on your face shape.
- Round faces benefit from layers starting at the chin to elongate, while long faces look best with layers beginning at the cheekbones.
- Hold the section straight down alongside your face, positioning your fingers at the exact point where you want the cut to end.
- Angle your scissors diagonally rather than cutting straight across, creating a gradual transition from shorter to longer pieces.
- Cut in small increments, checking frequently in the mirror to ensure both sides match in length and angle.
- The diagonal cut creates movement that blends seamlessly with the rest of your hair rather than creating harsh lines.
- Face-framing layers catch light and create shadows that add instant dimension, making your entire head of hair appear fuller.
7. Creating Crown Volume with Targeted Layering
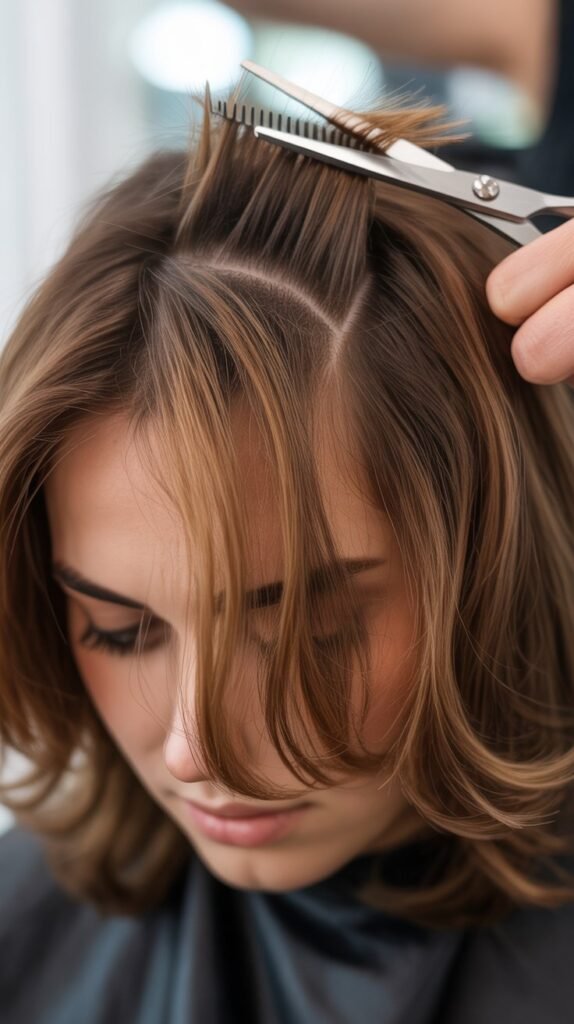
The crown area determines whether your hair appears voluminous or flat, making strategic layering here essential for overall lift and body.
- Section a circular area at the crown of your head, approximately 3-4 inches in diameter centered at your highest point.
- This crown section should start where the top of your head begins to curve downward toward your face and nape.
- Subdivide the crown circle into smaller sections working from front to back for more controlled, even results.
- Pull each subsection straight up at a 90-degree angle perpendicular to your scalp, holding it firmly between your fingers.
- Slide your fingers up the section to the length where you want the layer to end, typically leaving the crown layers 2-4 inches shorter than your base length.
- Cut straight across above your fingers, removing the excess hair with one confident snip for the cleanest edge.
- Shorter crown layers create lift at the root when they dry and push against the longer hair below them.
- Avoid cutting crown layers too short, as pieces shorter than 2 inches may stick straight up rather than blending smoothly.
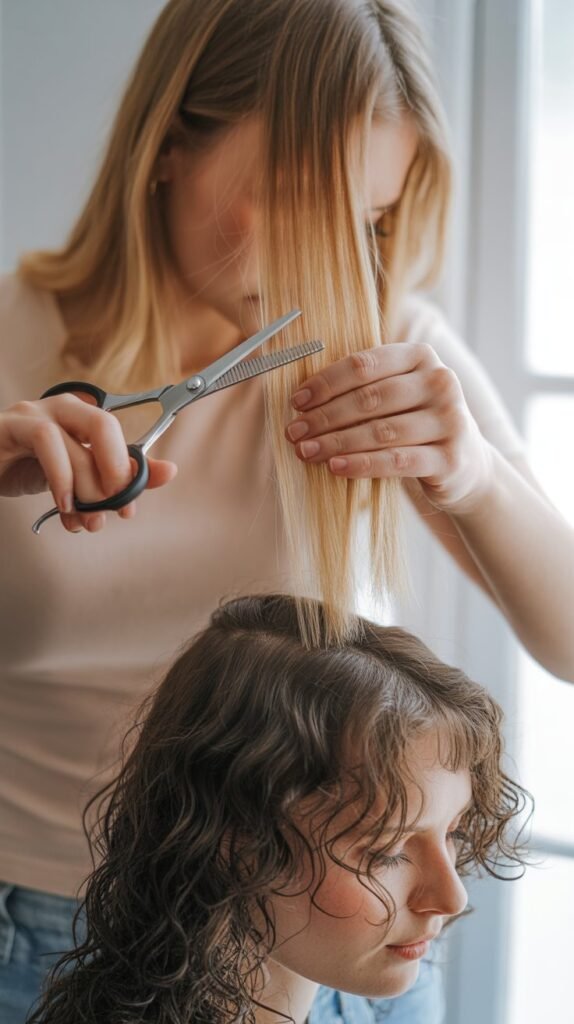
8. Blending Layers for Natural-Looking Results
The difference between obvious DIY haircuts and professional-looking layers lies entirely in how well you blend the transitions between lengths.
- Point-cutting involves holding scissors vertically and snipping into the hair ends rather than cutting straight across horizontally.
- This technique removes tiny V-shaped pieces that create soft, feathered edges instead of blunt, harsh lines between layers.
- Take small sections of hair where different layer lengths meet and hold them at a 45-degree angle from your head.
- Point your scissors into the hair at the same angle, making quick, shallow cuts that remove minimal length.
- Work systematically around your head, focusing especially on areas where you can see obvious demarcation lines between layers.
- A texturizing razor gently run over the ends of layers creates additional softness, though beginners should use this tool sparingly.
- Blend crown layers into the surrounding hair by taking sections that include both the shorter crown pieces and longer side pieces together.
- Cut these combined sections at a slight angle to create a gradual transition rather than a visible shelf of shorter hair.
9. Common Mistakes to Avoid While Layer Cutting

Understanding what not to do prevents the most common DIY disasters and saves you from needing professional correction afterward.
- Cutting completely dry hair leads to uneven results since you cannot see the natural fall and texture accurately.
- Pulling sections with inconsistent tension causes some areas to end up shorter than intended once you release the hair.
- Using dull or incorrect scissors creates ragged edges that fray and split, making your hair look damaged rather than layered.
- Cutting too much length at once removes your safety net, since you cannot add hair back if you remove too much.
- Angling your scissors incorrectly creates harsh steps rather than blended transitions, leaving obvious lines throughout your hair.
- Ignoring your natural part leads to awkward pieces that fall strangely or stick out when you style your hair normally.
- Rushing through the process increases mistakes exponentially, especially when working on the back where you cannot see easily.
- Cutting layers into extremely damaged or chemically treated hair accentuates existing problems rather than improving appearance.
| Common Mistake | Why It’s Problematic | How to Avoid It |
|---|---|---|
| Cutting bone-dry hair | Creates uneven lengths and split ends | Always work with damp, freshly washed hair |
| Using regular scissors | Crushes hair shaft instead of clean cutting | Invest in professional hair shears |
| Cutting too much at once | Cannot correct if you go too short | Remove length gradually in small increments |
| Skipping the blending step | Creates obvious, harsh layer lines | Always point-cut to soften transitions |
| Inconsistent sectioning | Results in random, uneven layers | Use clips to maintain organized sections |
10. Styling Your New Layers for Maximum Volume
Proper styling techniques activate the volume potential of your newly layered hair, ensuring you see immediate, dramatic results.
- Apply volumizing mousse or root-lifting spray to damp hair, focusing the product at your roots where you need the most lift.
- Flip your head upside down while blow-drying the first 80% of moisture out, encouraging hair to lift away from your scalp.
- Use a round brush to direct heat at the roots while rolling the brush away from your head to create tension and lift.
- Blow-dry each layer separately, starting with the bottom layers and working toward the crown for maximum volume throughout.
- Point the dryer nozzle downward along the hair shaft to smooth the cuticle while maintaining root lift you created.
- Allow your hair to cool completely before touching it, as hair sets its shape in the cooling phase of blow-drying.
- Lightly backcomb or tease the crown layers at the root for additional height, then smooth the surface layer over the teased section.
- Finish with a light-hold hairspray focused at the roots rather than the ends to maintain volume without weighing hair down.
- Sleep on a silk or satin pillowcase to maintain your styled volume overnight without creating friction-related flatness.
- Consider using velcro rollers on completely dry hair for 10-15 minutes before an event to maximize volume and body.
11. Maintenance Tips to Keep Your Layers Looking Fresh
Regular upkeep between cuts prevents layers from losing their volume-creating shape and keeps your hair looking intentionally styled.
- Trim your ends every 6-8 weeks by dusting off only the bottom quarter-inch to prevent split ends from traveling upward.
- Deep condition weekly, focusing treatment on the mid-lengths and ends rather than roots to maintain body while preventing damage.
- Layers grow out faster at the crown due to growth patterns, meaning you’ll need to refresh crown volume before other areas.
- Use a clarifying shampoo monthly to remove buildup that weighs down layers and prevents them from maintaining their lifted shape.
- Avoid heavy oils and serums near your roots, as these products collapse layers and eliminate the volume you worked to create.
- Refresh face-framing pieces more frequently than interior layers since they’re more visible and frame your features prominently.
- Consider your hair’s growth rate when planning layer maintenance, as faster-growing hair requires touch-ups every 4-6 weeks.
- Protect your layers during heat styling by using heat protectant spray and keeping tools at appropriate temperatures for your hair type.
12. Adapting the Technique for Different Hair Types
Each hair texture requires slight modifications to the basic layering technique for optimal volume without creating unwanted frizz or flatness.
- Fine, straight hair benefits from shorter, more aggressive layers that remove maximum weight and create instant lift at the roots.
- Cut fine hair when completely damp to see accurate lengths, as this texture shrinks minimally when drying.
- Medium-textured wavy hair requires moderate layering that enhances natural texture without creating triangle-shaped volume.
- Remove weight from wavy hair primarily from the interior underlayers rather than the surface to maintain smooth definition.
- Thick, coarse hair needs longer layers with minimal layering at the crown to avoid creating pyramid-shaped silhouettes.
- Focus thickness reduction on the mid-lengths of coarse hair where bulk accumulates most heavily.
- Curly hair should be cut dry and in its natural curl pattern, as wet cutting leads to dramatically shorter results when hair springs up.
- Add layers to curls by cutting individual curls at their extended length, creating varied curl heights that add dimension.
- Coily and kinky textures require cutting stretched hair to avoid removing too much length when hair recoils to its natural state.
- Natural hair benefits from layers cut into twist-outs or braid-outs that show the hair’s styling pattern accurately.
Conclusion
The Add Volume Fast: Easy At-Home Layer Cutting Trick empowers you to transform flat, lifeless hair into bouncy, salon-worthy volume without spending hundreds of dollars or hours in a professional chair.
By understanding how layers work, gathering the right tools, and following proven techniques like the ponytail method or twist-and-cut approach, you’ve gained the skills to customize your hair exactly to your preferences.
Remember that successful layering requires patience, proper preparation, and careful blending to achieve natural-looking results that enhance rather than overwhelm your features.
Whether you have fine, thick, straight, wavy, or curly hair, these adaptable techniques work with your unique texture to create movement and body.
With regular maintenance and proper styling, your new layers will continue delivering gorgeous volume that moves naturally and catches light beautifully.
Take your time, start conservatively, and gradually build confidence as you perfect your personal layer-cutting technique that saves you money while giving you control over your hair’s volume and style.