
Transforming your hair with stylish shag layers no longer requires expensive salon visits or professional expertise.
Learning to Cut Trendy Shag Layers at Home Easily empowers you to take control of your hairstyle while saving time and money.
This comprehensive guide walks you through every essential step, from understanding what shag layers are to mastering the cutting techniques that create that coveted textured, voluminous look.
Whether you have short, medium, or long hair, the shag haircut offers versatility and movement that flatters nearly every face shape.
This article provides detailed instructions on preparing your hair, selecting the right tools, sectioning properly, and executing precise cuts that deliver professional-quality results.
You’ll discover common mistakes to avoid, styling tips to enhance your new layers, and maintenance advice to keep your shag looking fresh between cuts.
By the end of this guide, you’ll have the confidence and knowledge to create beautiful, trendy shag layers in the comfort of your own home.
1. Understanding Shag Layers and Their Benefits
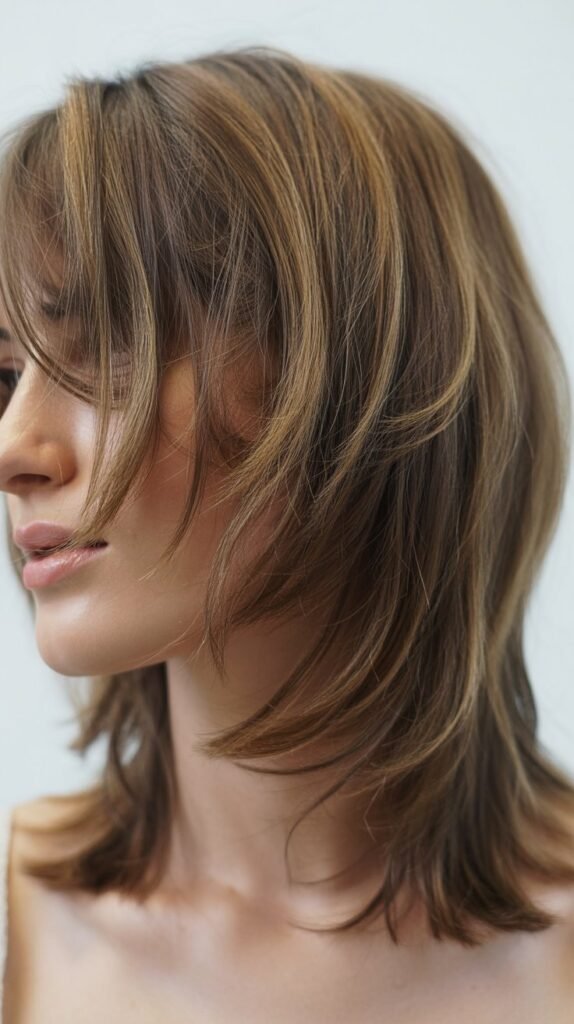
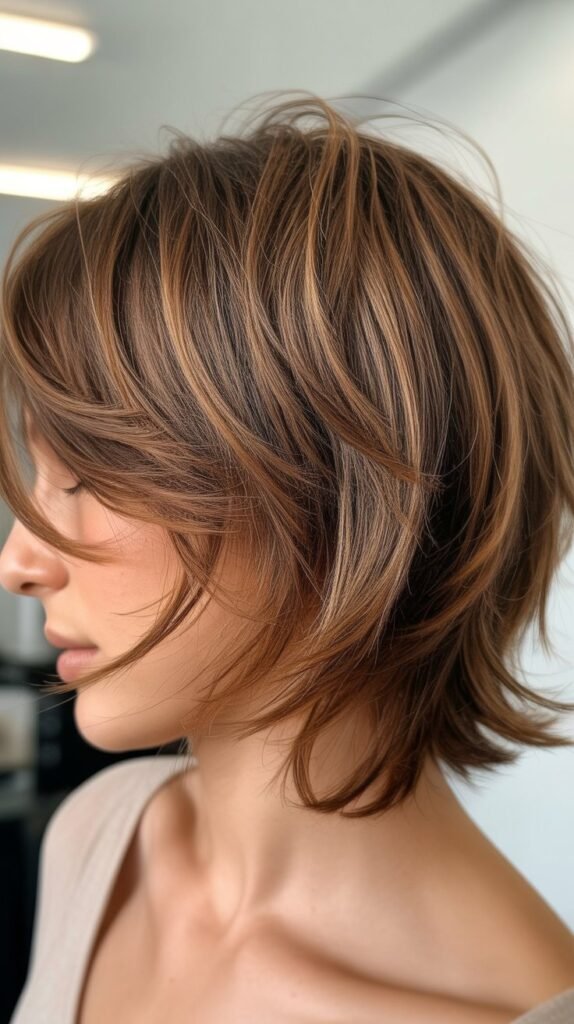
Shag layers represent a haircutting technique that creates multiple graduated lengths throughout your hair, producing texture, volume, and movement.
This style originated in the 1970s and has experienced numerous revivals due to its flattering, effortless appearance.
What Makes Shag Layers Unique:
- Shag haircuts feature heavily layered strands that start from the crown and cascade downward in varying lengths.
- The layers are typically choppy and textured rather than blended smoothly, creating a deliberately messy, lived-in aesthetic.
- Unlike traditional layered cuts, shags incorporate more aggressive graduation with shorter pieces on top and progressively longer pieces toward the bottom.
- The technique involves point cutting and slide cutting to remove bulk while adding dimension.
Key Benefits of Shag Layers:
- They add instant volume to flat or fine hair by removing weight and creating lift at the roots.
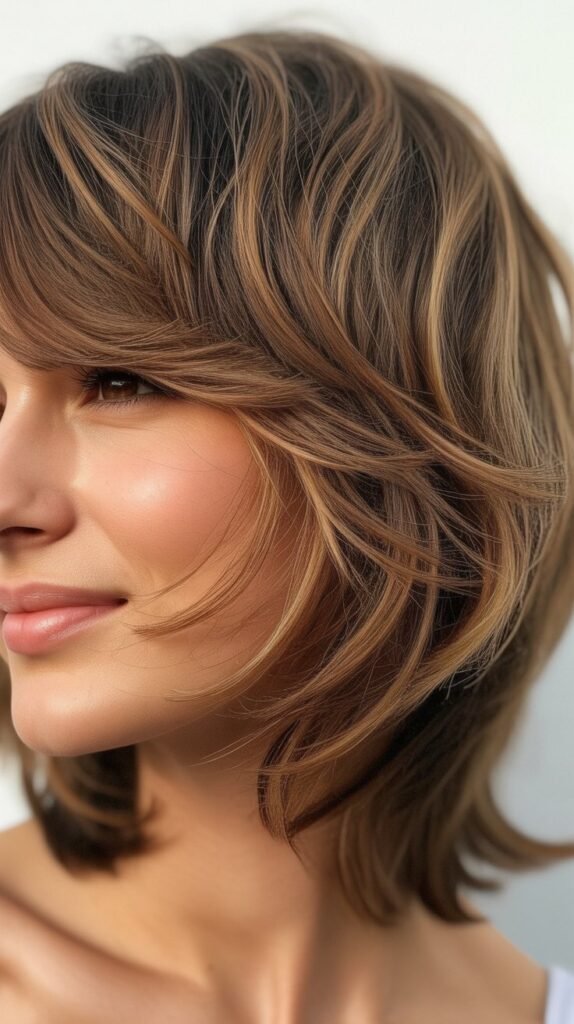
- Shag layers provide natural movement and bounce that makes hair appear more dynamic and lively.
- This style works exceptionally well for hiding damaged ends while maintaining overall length.
- The textured nature of shag cuts reduces styling time since the intentionally tousled look requires minimal effort.
- Shag layers complement various face shapes by strategically framing facial features and softening angular jawlines.
- They offer versatility in styling, transitioning easily from casual to polished looks.
2. Essential Tools and Materials You Need
Gathering the proper equipment before starting ensures clean, precise cuts and prevents frustration during the cutting process.
Professional-quality tools make a significant difference in achieving salon-worthy results.
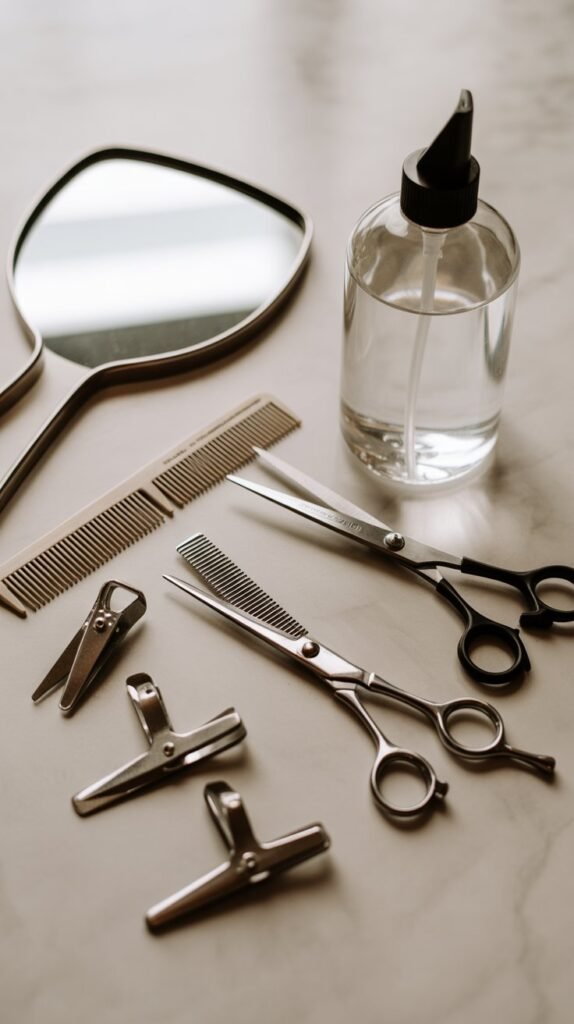
Cutting Tools:
- Sharp haircutting shears with a blade length between 5.5 to 6.5 inches provide optimal control for creating layers.
- Thinning shears or texturizing scissors help remove bulk and create that signature shaggy texture without harsh lines.
- A fine-tooth comb allows for precise sectioning and smooth combing through hair during cutting.
- Hair clips or sectioning clamps keep uncut portions separated and organized throughout the process.
- A spray bottle filled with water maintains moisture in hair for easier cutting and more accurate length assessment.
Additional Supplies:
- A handheld mirror enables you to view the back of your head when checking symmetry and evenness.
- A cape or old towel protects clothing from falling hair clippings.
- Bobby pins secure smaller sections when working with intricate layering patterns.
- A rat-tail comb assists with creating clean, straight parts for precise sectioning.
Quality Considerations:
- Invest in professional-grade scissors rather than household scissors, as dull blades create split ends and uneven cuts.
- Stainless steel shears resist rust and maintain sharpness longer than lower-quality alternatives.
- Ergonomic handles reduce hand fatigue during extended cutting sessions.
- Regular blade maintenance and sharpening preserve cutting precision and extend tool lifespan.
3. Preparing Your Hair Before Cutting
Proper preparation sets the foundation for successful shag layer cutting and prevents common mistakes that result from working with unprepared hair.
This crucial step influences the final outcome significantly.
Washing and Conditioning:
- Wash your hair thoroughly with clarifying shampoo to remove product buildup, oils, and debris that affect cutting accuracy.
- Apply a lightweight conditioner focusing on mid-lengths to ends, avoiding roots to prevent excessive slipperiness.
- Rinse completely with cool water to close cuticles and reduce frizz during cutting.
- Gently squeeze excess water from hair using a towel rather than rubbing vigorously to minimize tangles.
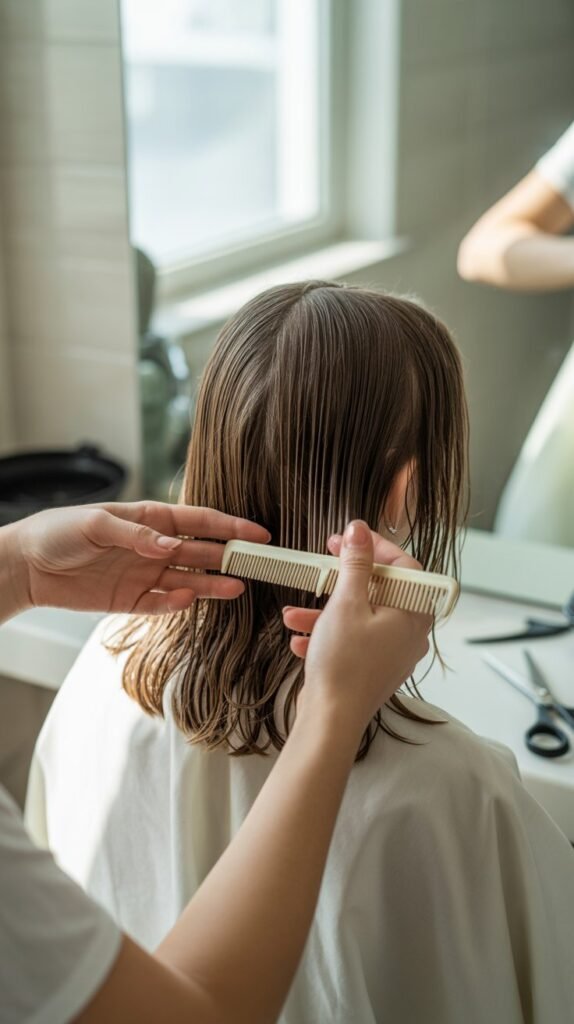
Detangling Process:
- Apply a detangling spray or leave-in conditioner if your hair tangles easily.
- Start combing from the ends and gradually work upward toward roots using a wide-tooth comb.
- Remove all knots and tangles completely before beginning sectioning to ensure smooth, even cutting.
- Hair should be damp but not dripping wet, as overly saturated hair appears longer and shrinks when dry.
Pre-Cut Assessment:
- Examine your current hair condition, identifying damaged ends that need trimming and areas requiring more layers.
- Determine your face shape and which layer lengths will complement your features most effectively.
- Consider your hair’s natural texture, as curly hair requires different layering approaches than straight hair.
- Decide on the desired shag intensity, from subtle graduation to dramatic choppy layers.
4. Basic Sectioning Techniques for Shag Cuts
Mastering sectioning creates the structural foundation for achieving balanced, symmetrical shag layers throughout your entire head.
Organized sections ensure you don’t miss areas and maintain consistent layer graduation.
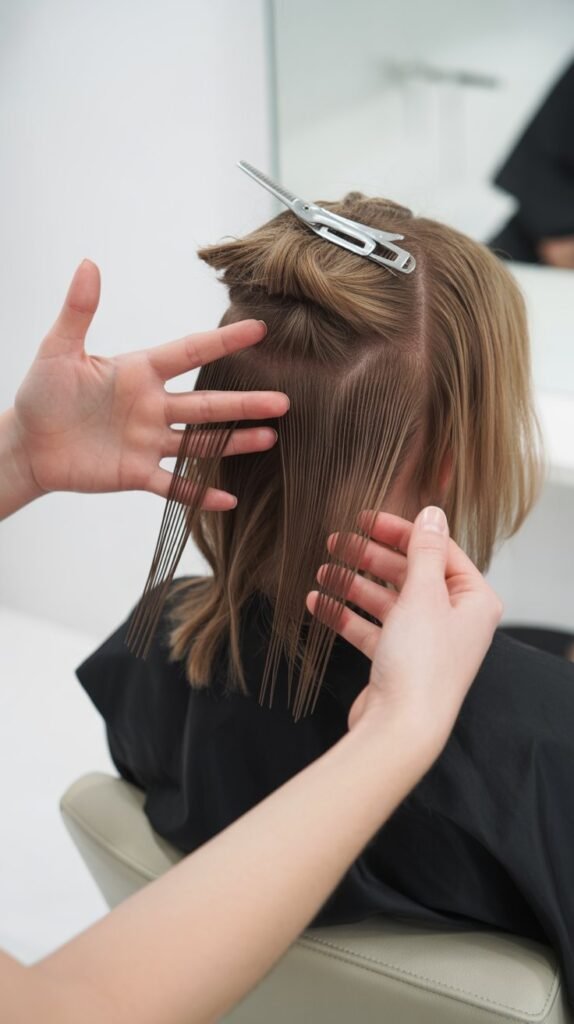
Creating the Initial Sections:
- Part your hair down the center from forehead to nape, dividing it into equal left and right halves.
- Create a horizontal part from ear to ear across the crown, separating top sections from bottom sections.
- Clip away the top section securely to prevent interference while working on lower layers.
- Divide the bottom section into left and right subsections for easier management.
Advanced Sectioning Patterns:
- Establish a horseshoe section by parting from the highest point of each eyebrow arch back to the crown.
- This horseshoe section contains the hair that frames your face and requires the most attention.
- Separate the remaining hair into quadrants: two in the back and two on the sides.
- Each quadrant should contain roughly equal amounts of hair for balanced layering.
Section Size Guidelines:
- Work with sections no thicker than half an inch to maintain cutting precision and control.
- Smaller sections provide more accuracy but require additional time to complete the cut.
- Larger sections work faster but risk uneven results and missed spots.
- Adjust section size based on your hair’s thickness and density.
Maintaining Organization:
- Number your sections mentally or use different colored clips to track your progress.
- Always work systematically from one section to the next rather than jumping around randomly.
- Release only the section you’re currently cutting while keeping others clipped away.
- Re-dampen hair as needed if sections dry out before you reach them.
5. Step-by-Step Cutting Process for Front Layers
Front layers frame your face and significantly impact your overall appearance, making this section particularly important for achieving a flattering shag style.
Careful attention to these pieces creates the signature face-framing effect.
Starting with Face-Framing Pieces:
- Begin with the horseshoe section at the front of your head, as these pieces determine your shag’s shortest layers.
- Take a small vertical subsection from the center of your forehead area, approximately one inch wide.
- Comb this section straight forward and determine where you want the shortest layer to fall.
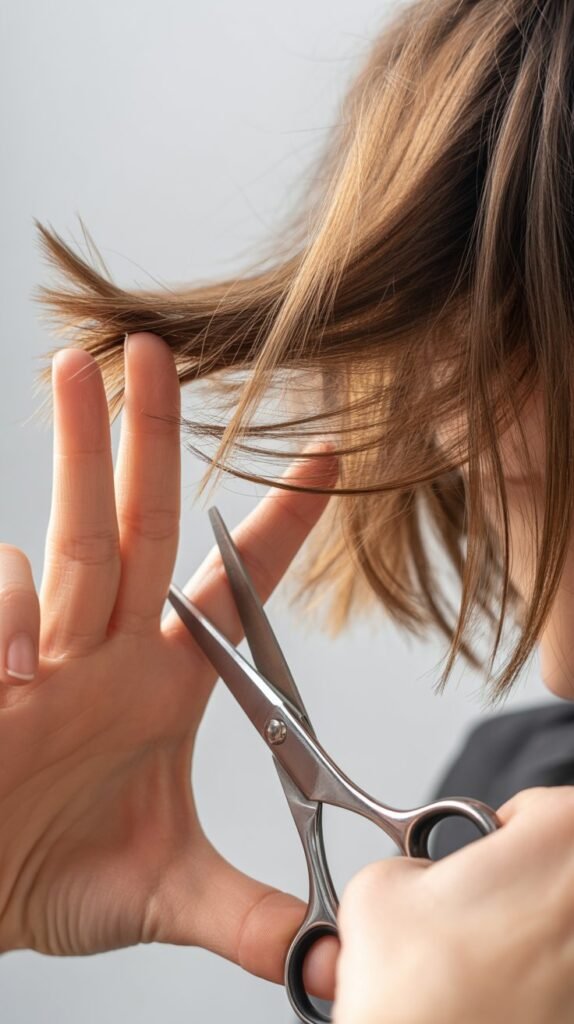
- Hold the hair between your index and middle fingers, pulling it taut at the desired cutting length.
Executing the Cut:
- Position your scissors at a 45-degree angle pointing upward rather than cutting straight across.
- Use point-cutting technique by snipping into the hair vertically, creating soft, textured edges instead of blunt lines.
- Cut conservatively at first, as you can always remove more length but cannot add it back.
- Release the cut section and comb it forward to check the length and shape.
Progressing Through Front Sections:
- Move to the next adjacent subsection, taking a slightly wider piece that includes some of the previously cut hair as a guide.
- Match the new section to your guide piece and cut at the same angle and length.
- Continue working outward from center to sides, maintaining consistent angles and lengths.
- Each new section should be slightly longer than the previous, creating gradual graduation.
Creating Symmetry:
- After completing one side, measure the length against corresponding sections on the opposite side.
- Make adjustments to ensure both sides match before proceeding to subsequent sections.
- Stand directly in front of a mirror to assess balance and evenness from a frontal view.
- Pull both sides forward simultaneously to verify they meet at the same point.
6. Creating Mid-Length and Back Layers
Mid-length and back layers provide the body and movement that characterize shag haircuts, building upon the foundation established by front layers.
These sections require consistent technique to maintain the flowing, graduated appearance.
Transitioning to Middle Sections:
- Release the side sections previously clipped away, working with the hair that falls naturally around your ears.
- Take horizontal subsections approximately one inch thick, starting from the area just behind your ears.
- Use the front layers as your guide length, gradually increasing length as you move backward.
- Maintain the same 45-degree cutting angle used for front sections to ensure cohesive graduation.
Cutting Technique for Sides:
- Elevate each section perpendicular to the head at a 90-degree angle before cutting.
- This elevation creates internal layers that add volume and remove bulk.
- Point-cut into the ends using the same vertical snipping motion from the front sections.
- Check your work frequently by releasing cut sections and observing how they fall naturally.
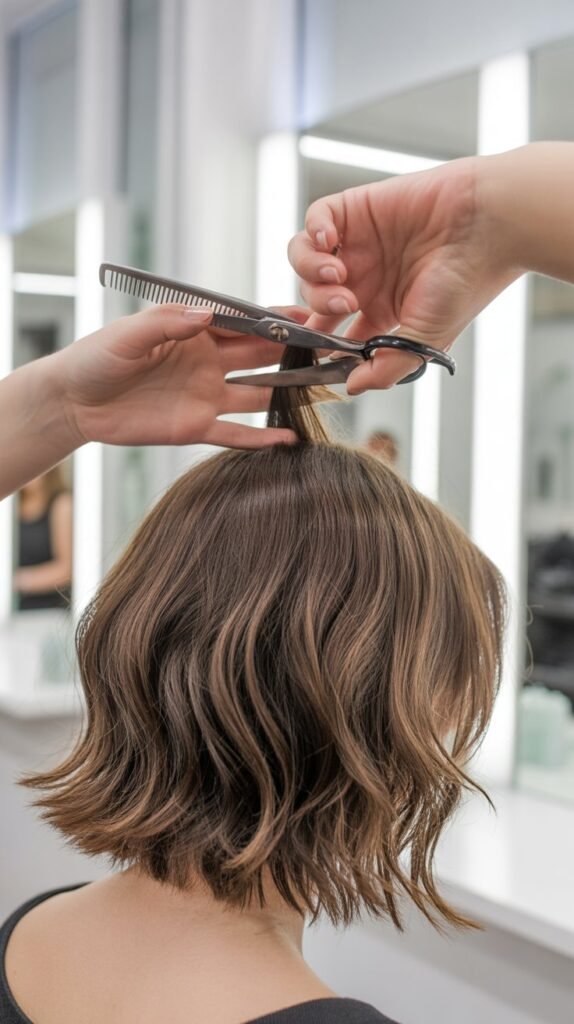
Addressing the Crown Area:
- The crown section typically contains the shortest layers that create maximum volume and lift.
- Take small vertical sections from the horseshoe area, pulling straight up from the scalp.
- Cut these sections 1-2 inches shorter than surrounding hair to establish prominent crown layers.
- Blend these shorter pieces into adjacent sections gradually to avoid abrupt transitions.
Back Section Strategy:
- Working on your own back hair presents challenges due to limited visibility and awkward angles.
- Use dual mirrors positioned to show the back of your head clearly.
- Bring side sections forward over your shoulders where you can see them more easily.
- For center back sections, flip your head forward and cut while looking in a mirror positioned on the floor.
- Maintain consistent elevation and angles even though the position feels awkward.
7. Texturizing and Thinning Techniques
Texturizing transforms blunt, heavy layers into the soft, piecey appearance that defines authentic shag haircuts.
This refinement step adds dimension and reduces bulk without sacrificing length.
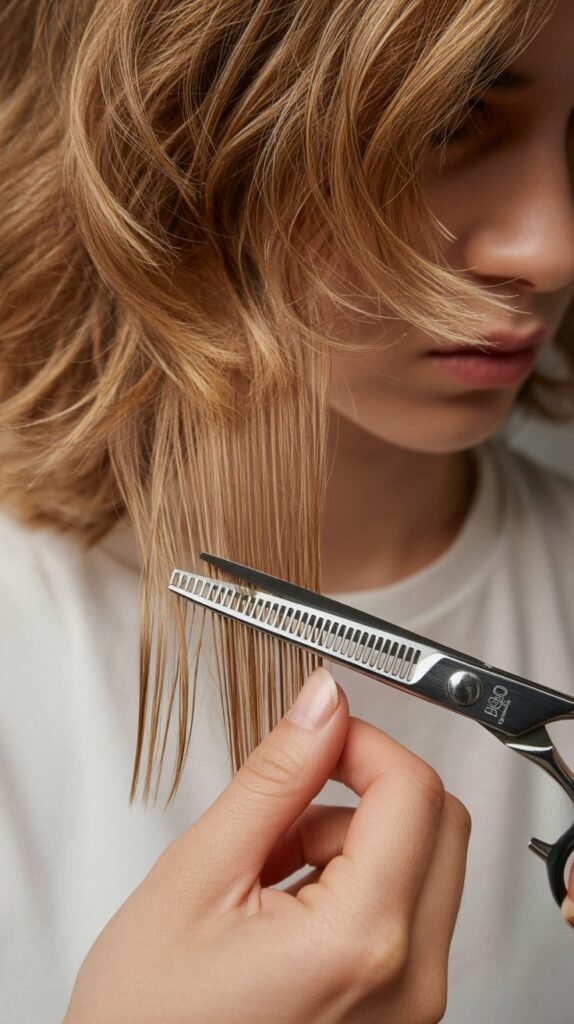
Understanding Thinning Shears:
- Thinning scissors feature teeth on one or both blades that remove only a portion of hair rather than cutting everything.
- These specialized shears create texture by randomly removing strands while leaving others intact.
- One-sided thinning shears offer more control and precision than double-sided versions.
- The number of teeth determines how much hair gets removed with each cut.
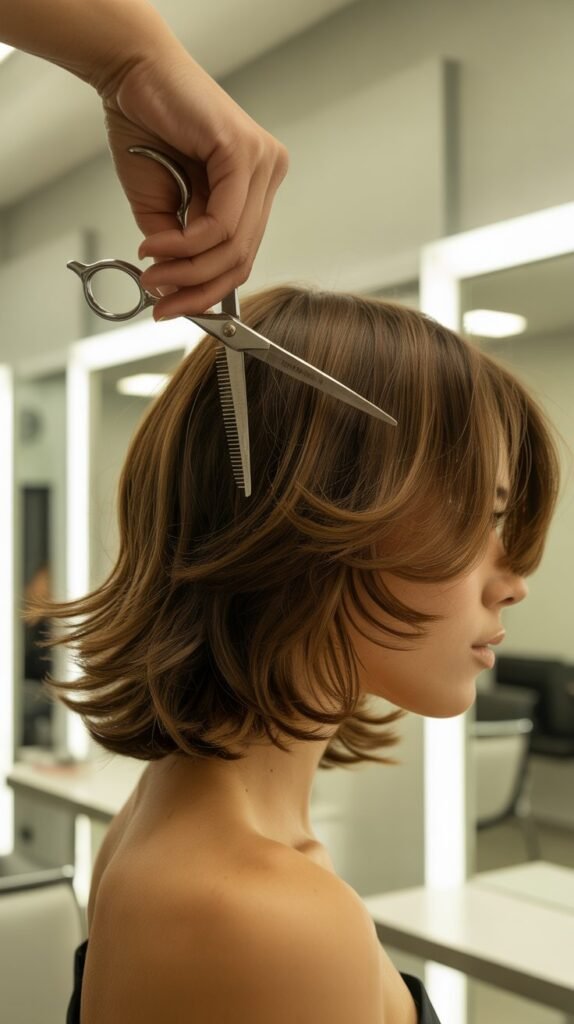
Thinning Application Method:
- Work with the same sections used during the initial layering process for consistency.
- Take a small horizontal subsection and comb it smooth and taut.
- Position thinning shears 1-2 inches from the ends rather than at the roots to preserve volume.
- Close the shears partially and slide down toward the ends, removing weight gradually.
- Open and close the shears 2-3 times per section depending on thickness and desired texture.
Point-Cutting for Texture:
- Even without thinning shears, point-cutting with regular scissors creates beautiful texture.
- Hold scissors vertically and snip into the hair ends at varying depths.
- This technique breaks up solid lines and creates soft, feathered edges.
- Point-cut the very ends of all sections after completing the basic layering.
Avoiding Over-Texturizing:
- Excessive thinning creates stringy, wispy ends that appear damaged and unhealthy.
- Focus thinning efforts on the thickest, heaviest sections rather than treating every area equally.
- Leave at least 50% of the hair intact to maintain density and fullness.
- Assess results after each pass before continuing with additional thinning.
8. Common Mistakes to Avoid When Cutting Shag Layers
Awareness of frequent errors prevents disappointing results and saves you from potentially drastic corrections.
Learning from these common pitfalls ensures a successful first attempt.
Length-Related Errors:
- Cutting hair too short initially leaves no room for corrections or adjustments if you’re unsatisfied.
- Always start longer than your target length and gradually trim more as needed.
- Failing to account for shrinkage causes hair to appear significantly shorter when dry, especially with curly or wavy textures.
- Cutting large sections all at once rather than working gradually creates uneven, choppy results.
Technical Mistakes:
- Using dull scissors or regular household scissors creates split ends and ragged, uneven cuts.
- Cutting dry hair makes it difficult to assess true length and often results in mistakes.
- Cutting hair while soaking wet causes excessive shrinkage and inaccurate length estimation.
- Skipping the sectioning process leads to missed areas and unbalanced layers.
Angle and Direction Errors:
- Cutting straight across rather than at angles produces blunt, heavy lines instead of soft, graduated layers.
- Inconsistent elevation angles throughout different sections create disconnected, unblended layers.
- Cutting against the hair’s natural growth pattern causes pieces to stick out awkwardly.
- Failing to account for cowlicks and natural movement patterns results in layers that don’t lay properly.
Over-Processing Issues:
- Excessive thinning removes too much density, creating stringy, sparse ends that lack body.
- Cutting too many short layers on top eliminates weight needed to control frizz and volume.
- Creating layers that are too close in length results in insufficient dimension and movement.
- Making layers too dramatically different in length creates obvious lines of demarcation.
9. Styling Your New Shag Layers
Proper styling techniques maximize the beauty of your freshly cut shag layers, emphasizing texture, volume, and movement.
The right approach brings out the best qualities of this versatile haircut.
Foundational Styling Steps:
- Apply a volumizing mousse or texturizing spray to damp hair, focusing on roots for maximum lift.
- Distribute product evenly using fingers or a wide-tooth comb to ensure consistent coverage.
- Rough-dry hair with your fingers while tousling and scrunching to encourage natural texture.
- Avoid brushing hair during or after drying, as this smooths out the intentional texture.
Blow-Drying Techniques:
- Use a diffuser attachment when blow-drying to preserve natural wave patterns and enhance texture.
- Direct airflow downward from roots to ends to smooth cuticles while maintaining volume.
- Flip your head upside down while drying to boost root lift and create dramatic volume.
- Focus heat on roots where you want volume and allow ends to air-dry partially for softer texture.
Adding Definition and Texture:
- Work a small amount of texturizing paste or pomade through mid-lengths and ends using fingertips.
- Twist small pieces randomly throughout your hair to create separated, piecey texture.
- Use a flat iron or curling wand on select sections to add varied bends and waves for dimension.
- Avoid uniform curling; instead, create random directions and sizes for an effortless, undone look.
Finishing Touches:
- Spray dry shampoo or texturizing spray at roots for additional volume and grip.
- Tousle hair with fingers to break up any overly styled areas and restore natural movement.
- Apply a light-hold hairspray to preserve the style without creating stiffness or crunchiness.
- Embrace the imperfect, lived-in aesthetic that makes shag haircuts so appealing.
10. Maintaining Your Shag Layers Between Cuts
Proper maintenance preserves the shape, texture, and health of your shag layers, extending the time between full cutting sessions.
Consistent care keeps your style looking fresh and intentional.
Trimming Schedule:
- Trim your shag layers every 6-8 weeks to maintain the shape and remove split ends.
- Focus mini-trims on the shortest layers around your face, as these grow out and lose shape most quickly.
- Schedule deeper cutting sessions every 3-4 months to refresh the overall layer structure.
- Adjust timing based on your hair’s growth rate and how quickly the style loses its shape.
Home Touch-Up Techniques:
- Keep thinning shears accessible for quick texture refreshes between major cuts.
- Point-cut any pieces that become too blunt or heavy as they grow.
- Trim face-framing layers slightly shorter to restore the graduated effect.
- Address any uneven areas immediately rather than waiting for the next full cutting session.
Daily Care Practices:
- Use sulfate-free shampoo to preserve hair health and prevent excessive dryness.
- Apply leave-in conditioner or hair oil to ends daily to maintain softness and prevent split ends.
- Sleep on silk or satin pillowcases to minimize friction and reduce tangling.
- Avoid excessive heat styling that damages hair and requires more frequent trimming.
Product Recommendations:
- Invest in quality texturizing sprays that enhance the shaggy aesthetic without weighing hair down.
- Use dry shampoo between washes to maintain volume and texture at roots.
- Apply heat protectant spray before using hot tools to minimize damage.
- Choose lightweight styling products that provide hold without creating stiffness or buildup.
| Maintenance Task | Frequency | Purpose |
|---|---|---|
| Full layer refresh | Every 3-4 months | Restore overall shape and structure |
| Face-framing trim | Every 6-8 weeks | Maintain shortest layers |
| Split end removal | Monthly | Preserve hair health |
| Texturizing touch-up | As needed | Restore piecey texture |
| Deep conditioning | Weekly | Maintain moisture and softness |
11. Adapting Shag Layers for Different Hair Types
Different hair textures require modified approaches to achieve optimal shag layer results.
Understanding your specific hair type ensures the cutting technique complements your natural characteristics.
Fine and Thin Hair:
- Focus on creating maximum layers throughout the crown and top sections to generate volume.
- Avoid excessive thinning, as fine hair already lacks density and can become wispy easily.
- Cut layers slightly shorter on top to create the illusion of fuller, thicker hair.
- Use texturizing products during styling to add grip and body that fine hair naturally lacks.
Thick and Dense Hair:
- Incorporate aggressive thinning and texturizing to remove bulk without sacrificing length.
- Create more dramatic graduation between layers to reduce weight and improve movement.
- Point-cut extensively throughout all sections to break up density and create softness.
- Focus thinning efforts on interior layers while preserving some weight around the perimeter.
Curly and Wavy Hair:
- Cut curly hair dry to accurately assess how layers will fall when styled naturally.
- Account for significant shrinkage by leaving extra length initially.
- Create longer layers that elongate curls rather than shortening them into unmanageable frizz.
- Avoid thinning curly hair extensively, as this disrupts curl patterns and creates frizz.
Straight Hair:
- Straight hair shows cutting mistakes more obviously, requiring precise technique and attention to detail.
- Incorporate more texturizing to prevent blunt, heavy lines that appear harsh on straight textures.
- Create subtle, graduated layers that add movement without creating obvious steps.
- Use varied cutting angles throughout to generate dimension that straight hair otherwise lacks.
12. Troubleshooting and Fixing Layer Mistakes

Even experienced cutters occasionally encounter issues that require correction.
Knowing how to address common problems prevents panic and helps salvage less-than-perfect results.
Uneven Layers:
- Identify the longer side by pulling corresponding sections from both sides forward to compare directly.
- Trim the longer side gradually to match the shorter side rather than cutting large amounts at once.
- Work with small subsections and check frequently to avoid over-correcting.
- If one side is significantly shorter, wait for growth rather than dramatically shortening the entire head.
Too-Short Layers:
- Unfortunately, hair cut too short requires patience and time to grow back to desired length.
- Focus styling efforts on creating volume and texture that makes shorter layers appear intentional.
- Use extensions or clip-ins strategically to add temporary length while waiting for regrowth.
- Schedule regular trims to maintain shape during the growing-out phase.
Choppy, Disconnected Sections:
- Blend harsh lines by point-cutting along the demarcation where layers transition abruptly.
- Use thinning shears to soften edges and create gradual transitions between different lengths.
- Increase the number of intermediate layers to bridge gaps between dramatically different lengths.
- Apply texturizing products that help pieces blend together through styling rather than cutting.
Excessive Volume or Frizz:
- Over-layered or over-thinned hair requires careful conditioning and smoothing products.
- Trim any extremely damaged or over-processed ends that contribute to frizz.
- Use smoothing serums and leave-in treatments to control excessive volume temporarily.
- Allow hair to grow slightly before attempting further cutting to restore needed weight.
When to Seek Professional Help:
- Major mistakes affecting overall balance or symmetry benefit from professional assessment and correction.
- Extremely uneven cuts or significant length discrepancies between sections warrant salon visits.
- Damaged hair from improper technique needs professional treatment and correction.
- Complex hair types like very curly or mixed textures often require experienced specialist assistance.
Conclusion
Mastering the art of how to Cut Trendy Shag Layers at Home Easily opens up a world of styling possibilities while providing significant savings on salon expenses.
This comprehensive guide has equipped you with the knowledge, techniques, and confidence to create beautiful, textured shag layers that enhance your natural features and complement your lifestyle.
From understanding the foundational principles of shag layering to mastering advanced texturizing techniques, you now possess a complete toolkit for achieving professional-quality results.
Remember that practice improves your skills over time, and even small imperfections contribute to the intentionally undone aesthetic that makes shag haircuts so appealing.
By following proper sectioning methods, using quality tools, and applying the cutting techniques outlined in this guide, you can maintain a fresh, stylish look without depending on frequent salon appointments.
Embrace the creative freedom of cutting your own hair, experiment with different layer intensities, and adapt the techniques to suit your unique hair type and personal preferences.
With patience, attention to detail, and the comprehensive instructions provided here, you’ll consistently create stunning shag layers that showcase your individuality and style confidence.