
Tired of spending hundreds of dollars at salons for a simple layered haircut? You’re not alone.
Learning how to create a DIY Layered Haircut for Short and Medium Hair at home can save you money, give you complete control over your style, and empower you with a valuable skill that lasts a lifetime.
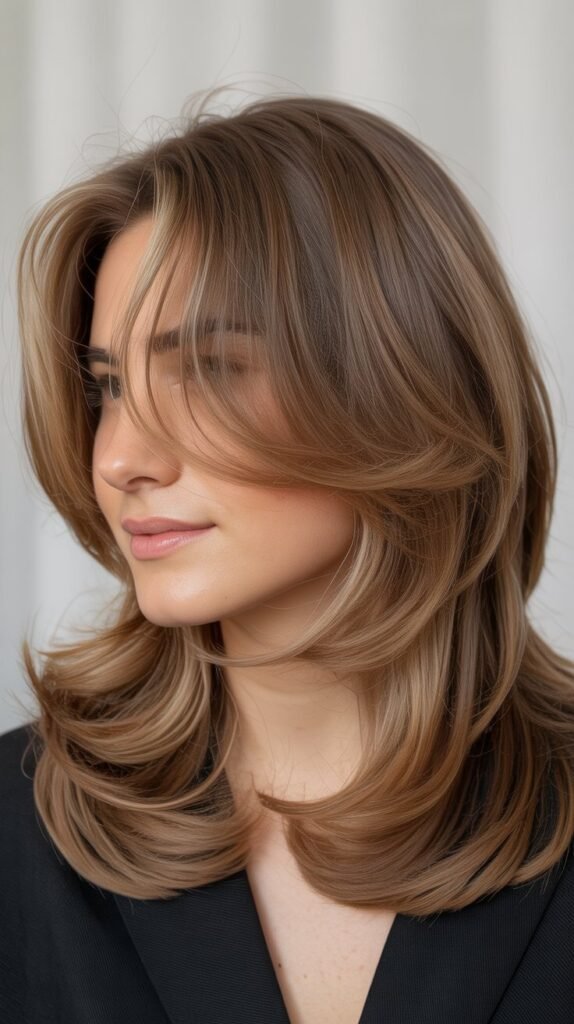
Whether you’re looking to add volume, movement, or texture to your hair, layering is the secret technique professionals use to transform flat, lifeless locks into dynamic, dimensional styles.
This comprehensive guide walks you through every step of the process, from gathering the right tools to executing professional-quality cuts in the comfort of your own bathroom.
You’ll discover the fundamental techniques that hairstylists use, learn how to avoid common mistakes that ruin home haircuts, and gain the confidence to customize your look whenever inspiration strikes.
By the end of this article, you’ll have all the knowledge needed to achieve salon-worthy results without the salon price tag.
1. Understanding Hair Layers and Face Shapes
Before picking up scissors, understanding how layers work with different face shapes determines whether your DIY cut enhances or detracts from your natural features.
Layers create dimension by cutting hair at varying lengths, which adds movement and removes bulk from thick hair while adding volume to fine hair.
Face Shape Analysis
- Oval faces work with virtually any layering technique because of their balanced proportions
- Round faces benefit from longer layers that start below the chin to create vertical lines and elongate
- Square faces look best with soft, wispy layers around the jawline to soften angular features
- Heart-shaped faces need layers that add width at the chin level while minimizing volume at the temples
- Long faces require horizontal layers and volume at the sides rather than height at the crown
Layer Types and Their Effects
- Short layers create maximum volume at the crown and work best for fine hair needing lift
- Medium layers provide versatile styling options and suit most hair types and face shapes
- Long layers offer subtle movement without dramatic length differences, ideal for first-time DIY cutters
- Choppy layers deliver edgy, textured looks but require more precision and confidence
- Blended layers create seamless transitions between lengths for a polished, professional appearance
Hair Texture Considerations
- Straight hair shows every cutting mistake, so start conservatively with longer layers
- Wavy hair naturally enhances layered cuts and forgives minor imperfections in technique
- Curly hair requires dry cutting to account for shrinkage and natural spring
- Thick hair needs aggressive layering to remove weight and prevent triangle-shaped results
- Fine hair demands careful layering to avoid removing too much density and creating stringy ends
2. Essential Tools and Preparation
Investing in professional-grade tools makes the difference between a decent home haircut and a disastrous one that requires expensive correction.
Quality equipment provides precision, control, and safety throughout the cutting process.
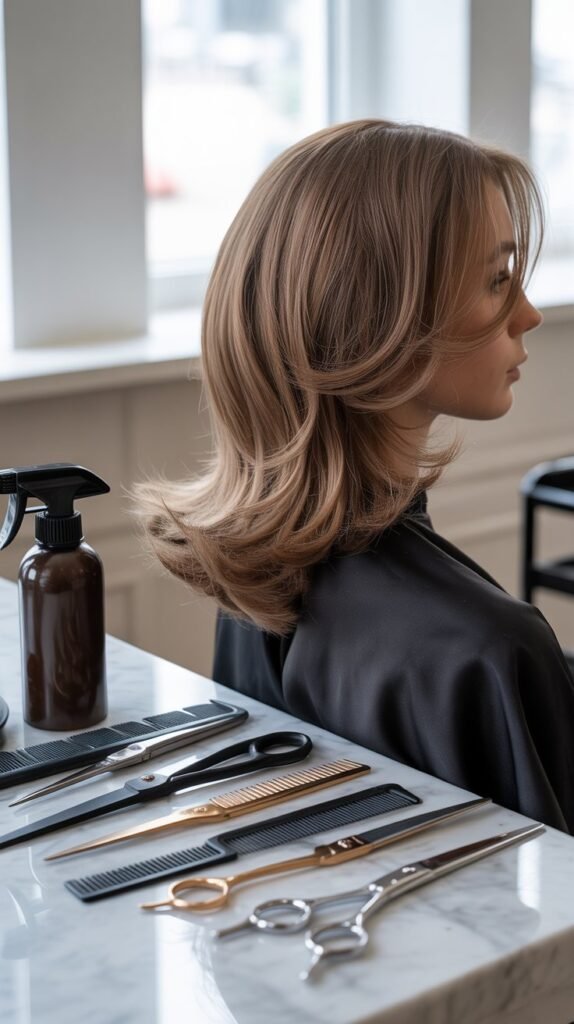
Must-Have Cutting Tools
- Professional haircutting scissors (6-7 inches long) with sharp blades designed specifically for hair, not paper or fabric scissors
- Thinning shears with 25-40 teeth for blending layers and removing bulk without creating harsh lines
- Fine-tooth cutting comb for precise sectioning and creating clean parts throughout the hair
- Sectioning clips (at least 6-8 clips) to keep hair organized and prevent accidentally cutting the wrong sections
- Spray bottle filled with clean water to maintain consistent dampness during cutting
Preparation Steps
- Wash hair with clarifying shampoo to remove all product buildup that affects how hair falls naturally
- Towel-dry until damp, not soaking wet, as excessively wet hair stretches and appears longer than it actually is
- Comb through thoroughly to remove all tangles and ensure smooth, even sections
- Set up in a well-lit room with mirrors positioned to see both front and back views
- Cover shoulders with a cape or old towel to catch falling hair and make cleanup easier
- Have reference photos ready showing exactly the layered style you want to achieve
Safety Precautions
- Never use dull scissors that crush hair instead of cutting cleanly
- Keep all tools sanitized with rubbing alcohol before and after each use
- Work slowly and deliberately rather than rushing through the process
- Cut less than you think you need because you can always remove more but cannot add back
- Avoid cutting when tired, distracted, or under the influence of anything that impairs judgment
3. Basic Sectioning Techniques
Proper sectioning creates the foundation for successful layering by organizing hair into manageable portions that ensure even, consistent results throughout the entire head.
Creating the Base Sections
- Part hair down the center from forehead to nape, creating two equal halves
- Make a horizontal part from ear to ear across the crown, separating top from bottom sections
- Clip the top section securely out of the way using large sectioning clips
- Divide the bottom section into left and right sides along the center part
- Further subdivide thick hair into smaller 1-2 inch sections for more control
Top Section Division
- Release the top section and create a horizontal part from temple to temple
- Separate the very front section (bangs area) if you plan to cut it differently
- Create a mohawk section by parting from the front hairline to the crown along the center
- Divide remaining top sides into vertical sections parallel to the face
- Keep unused sections clipped away to prevent confusion and accidental cutting
Maintaining Organization
- Work systematically from one section to the next rather than jumping randomly
- Re-dampen hair with the spray bottle as sections begin to dry during cutting
- Check that parts are clean and straight before cutting each section
- Use different colored clips for different sections to track your progress
- Take photos after completing each section to document the process for future reference
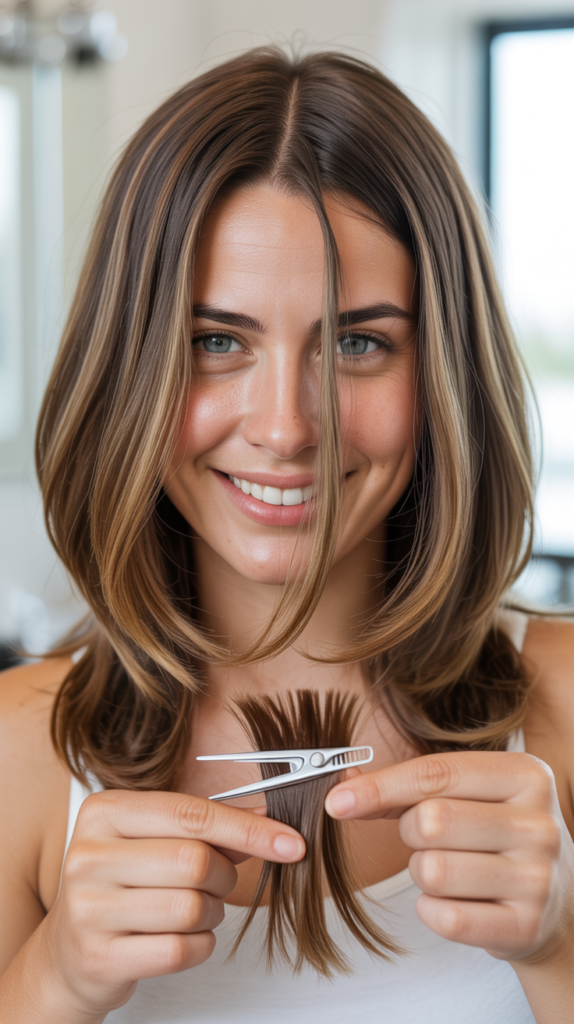
4. The Point-Cutting Method for Natural Layers
Point cutting creates soft, natural-looking layers by texturizing the ends rather than creating blunt, harsh lines that look obviously self-cut.
Understanding Point Cutting
- Point cutting involves holding scissors vertically and cutting into the hair at an angle rather than straight across
- This technique removes weight while creating texture and movement at the ends
- The method prevents the “ruler-straight” appearance that screams “home haircut”
- Point cutting works on all hair types but particularly benefits thick, heavy hair
- Master this technique before attempting more advanced layering methods
Proper Technique Execution
- Hold a small section of hair between your index and middle fingers with tension
- Position fingers at the desired cutting length, pointing slightly downward
- Hold scissors vertically with tips pointing toward the scalp
- Snip small, quick cuts into the hair ends at varying depths (about 1/4 to 1/2 inch)
- Work across the entire section rather than cutting in just one spot
- Repeat the process on each section, maintaining consistent depth of cuts
Common Mistakes to Avoid
- Cutting too deeply into the hair shaft creates excessive thinning and stringy results
- Holding scissors at the wrong angle produces blunt lines instead of soft texture
- Rushing through the process leads to uneven, choppy results that look unprofessional
- Cutting dry hair with this technique causes split ends and damage
- Failing to maintain tension while cutting results in uneven, crooked ends
5. The Ponytail Method for Quick Layering
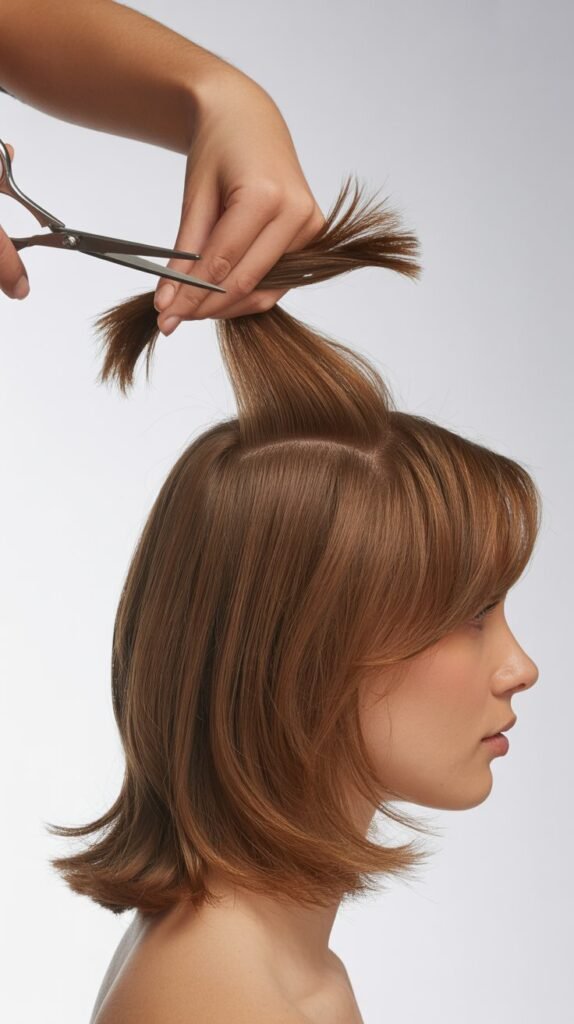
The ponytail method offers the simplest approach for creating basic layers throughout short to medium hair, making it perfect for beginners attempting their first DIY haircut.
Setting Up the Ponytail
- Flip head upside down and brush all hair forward toward the forehead
- Gather all hair into a single high ponytail at the front of the crown
- Secure tightly with a hair elastic, ensuring no bumps or loose sections
- Pull the ponytail straight up toward the ceiling, maintaining even tension
- Slide the elastic down the ponytail to the desired cutting point
Making the Cut
- Hold the ponytail firmly with one hand while cutting with the other
- Cut straight across just above the elastic, removing the desired amount
- For more dramatic layers, cut shorter; for subtle layers, cut less
- Use point-cutting technique on the ends after making the initial straight cut
- Remove the elastic and shake hair out to see the layered result
Advantages and Limitations
| Advantages | Limitations |
|---|---|
| Extremely quick and simple for beginners | Creates uniform layers rather than customized shaping |
| Requires minimal sectioning and technique | Not suitable for very short hair or specific face-framing layers |
| Difficult to make major mistakes with this method | Results may look too uniform or lack professional polish |
| Works well for adding volume to flat hair | Cannot create different layer lengths in different areas |
| Great for maintenance between professional cuts | May not work well on extremely thick or curly hair |
Modifications for Better Results
- Create two ponytails (top and bottom) for more controlled layering
- Cut at an angle rather than straight across for more dramatic graduation
- Combine with face-framing layers cut separately for added dimension
- Use this method for the back and sides, then customize the front sections
- Cut slightly longer than desired, then refine with additional techniques
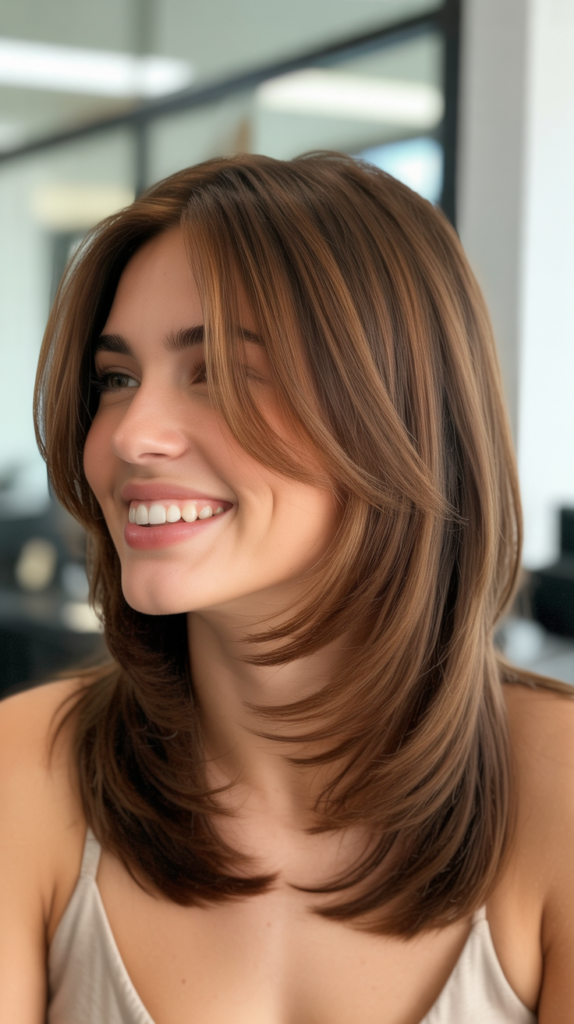
6. Face-Framing Layers and Bang Trimming
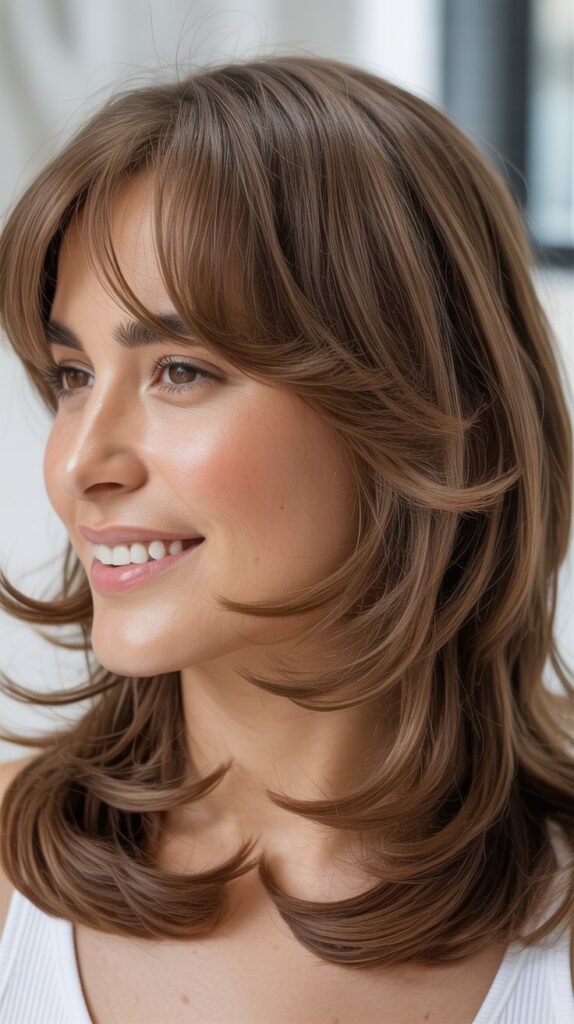
Face-framing layers draw attention to your best features while creating a polished, intentional look that elevates any DIY layered haircut from basic to beautiful.
Creating Face-Framing Sections
- Separate triangular sections starting at the temples and extending forward to frame the face
- The sections should be approximately 1-2 inches wide on each side
- Comb these sections forward and ensure they’re completely smooth
- Decide where you want the shortest point (typically cheekbone to chin length)
- Keep these sections separate from the rest of your hair throughout the cutting process
Cutting Technique for Face-Framing Layers
- Hold the hair between your fingers at the desired shortest length (usually cheek or chin)
- Angle your fingers downward to create a diagonal line toward the longer back sections
- Cut following the angle of your fingers, creating a gradual slope rather than a harsh drop
- Use point-cutting technique to soften the ends and blend with surrounding hair
- Repeat on the opposite side, ensuring both sides match in length and angle
- Check symmetry by combing both sides forward and comparing at the center
Bang Trimming Basics
- Separate the bang section in a triangular shape from the crown to the temples
- Dampen the section slightly but avoid soaking, as wet bangs appear longer than they dry
- Hold the section straight down against the forehead without pulling or tension
- Cut horizontally at eyebrow length or slightly longer, accounting for shrinkage when dry
- Use point-cutting to create texture rather than a blunt line across the forehead
- Trim small amounts at a time, checking frequently by allowing hair to dry naturally
Advanced Face-Framing Options
- Curtain bangs require cutting two separate diagonal pieces that part in the center
- Wispy layers around the face need aggressive point-cutting for maximum softness
- Side-swept sections should be cut longer on one side to naturally fall to the preferred direction
- Graduated face-framing creates shorter pieces at the front that get progressively longer toward the back
7. Blending and Refining Your Layers
Raw cuts require blending and refinement to achieve the seamless, professional appearance that distinguishes intentional styling from obvious home haircuts gone wrong.
Identifying Areas Needing Blend
- Run fingers through hair in all directions to feel for obvious choppy transitions
- Look for visible lines where one layer ends and another begins
- Check for pieces that stick out at odd angles or lengths
- Examine the overall shape in mirrors from multiple angles
- Take photos to see the haircut objectively as others will see it
Using Thinning Shears
- Hold thinning shears at a 45-degree angle to the hair shaft
- Start cutting about 1-2 inches from the ends, not at the scalp
- Make 2-3 gentle snips per section, checking results before continuing
- Work throughout all the layers, focusing on areas with harsh transitions
- Use thinning shears sparingly on fine hair to avoid over-thinning
- Blend the shortest layers into medium layers, then medium into the longest sections
Final Refinement Steps
- Dry hair completely to see the true result and identify remaining issues
- Style hair as you normally would to check how layers fall in real-life conditions
- Trim any obvious longer pieces that stick out from the overall shape
- Use point-cutting to soften any remaining blunt areas
- Check the back view carefully using a handheld mirror and bathroom mirror combination
- Make final adjustments by cutting less than 1/4 inch at a time
Checking for Symmetry
- Part hair down the center and compare both sides for matching lengths
- Pull small sections from each side forward simultaneously to check they match
- Have someone else examine your haircut from all angles for objective feedback
- Fix any asymmetry by cutting the longer side to match the shorter side
- Remember that hair doesn’t need to be perfectly identical to look good
8. Troubleshooting Common DIY Cutting Mistakes
Even experienced DIY cutters encounter problems, but knowing how to fix common mistakes prevents panic and expensive emergency salon visits to correct botched haircuts.
Uneven Layers or Lengths
- Identify which side or section is longer by carefully combing and comparing
- Cut the longer sections to match the shorter sections rather than trying to even up
- Work in small increments of 1/8 inch cuts, checking frequently
- Use the shortest piece as your guide length for correcting everything else
- Accept that hair grows back and slight imperfections aren’t catastrophic
Cut Too Much Off
- Avoid the temptation to keep cutting shorter trying to “fix” the problem
- Focus on styling techniques that add volume and disguise shorter length
- Use texturizing products to create piece-y separation that makes hair appear fuller
- Consider getting creative with clips, headbands, or other accessories
- Remember hair typically grows about 6 inches per year, so patience helps
- Schedule a professional consultation for major corrections if truly needed
Choppy, Disconnected Layers
- Use thinning shears throughout to soften harsh lines and create better transitions
- Point-cut all the ends to add texture and blend the layers naturally
- Apply smoothing products when styling to help hair lay together cohesively
- Consider cutting slightly shorter to create more intentional, uniform layers
- Blend problem areas by taking small vertical sections and point-cutting along the length
Created Unwanted Bulk or Holes
| Problem | Solution |
|---|---|
| Too much bulk remains at certain areas | Use thinning shears to remove interior weight without affecting length |
| Created holes or gaps in the hair | Allow those sections to grow while trimming surrounding areas to minimize contrast |
| One side appears thicker than the other | Use thinning shears more aggressively on the thicker side to balance |
| Removed too much bulk, hair looks stringy | Focus on styling with volumizing products and avoid further thinning |
When to Seek Professional Help
- Dramatic asymmetry that you cannot correct confidently on your own
- Accidental removal of large chunks that creates obvious bald or thin spots
- Extremely short cuts that require precision to salvage
- Specialized techniques like razor cutting or advanced texturizing beyond your skill level
- When emotional distress over the result outweighs the cost of professional correction
9. Maintaining Your Layers Between Cuts
Regular maintenance extends the life of your DIY layered haircut, keeping it looking fresh and intentional rather than grown-out and neglected.
Trimming Schedule
- Touch up face-framing pieces every 4-6 weeks to maintain their shape and impact
- Trim the overall length and layers every 8-12 weeks depending on hair growth rate
- Remove split ends every 6-8 weeks to prevent them from traveling up the hair shaft
- Fine or thin hair requires more frequent trims to maintain fullness
- Thick hair can go longer between cuts without losing shape
Between-Cut Maintenance
- Deep condition weekly to keep hair healthy and prevent breakage that affects layer appearance
- Use heat protectant before any hot tool styling to minimize damage
- Avoid over-washing which strips natural oils and leads to dry, damaged ends
- Sleep on silk or satin pillowcases to reduce friction and prevent breakage
- Apply hair oil or serum to ends daily to maintain moisture and prevent splitting
Styling for Longevity
- Rotate between different styling methods to avoid stressing the same areas repeatedly
- Use lightweight products that don’t weigh down layers or cause buildup
- Avoid tight hairstyles that pull on layers and cause breakage
- Refresh layers by blow-drying with a round brush to restore volume and movement
- Embrace different styling techniques as layers grow to work with changing lengths
Products That Enhance Layers
- Volumizing mousse applied at roots lifts layers and creates dimension
- Texturizing spray adds separation and makes layers more visible and defined
- Sea salt spray enhances natural texture and gives layers a beachy, lived-in look
- Light-hold hairspray maintains styled layers without making them stiff or crunchy
- Dry shampoo refreshes roots and adds volume to maintain layer definition between washes
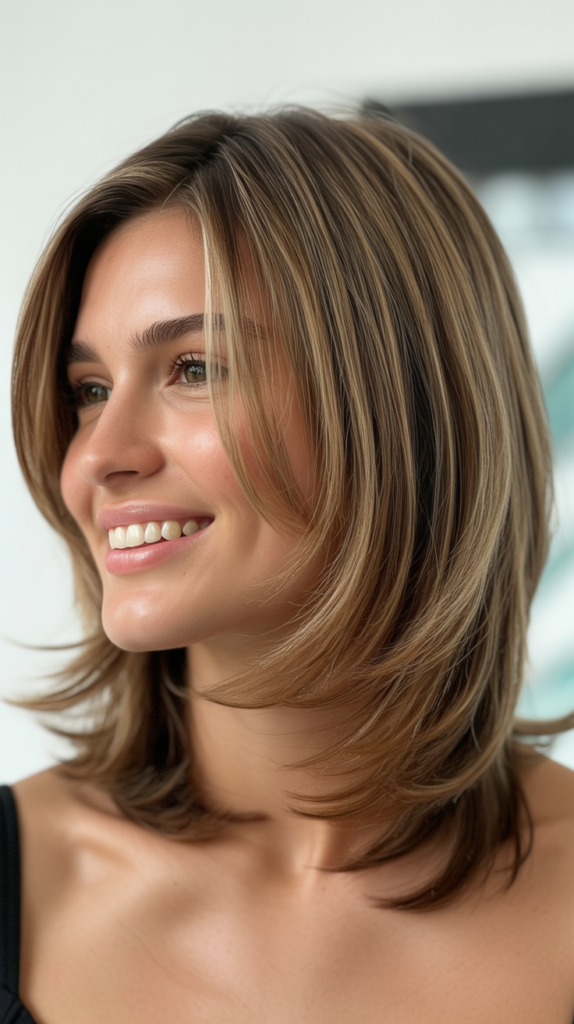
10. Styling Tips for Layered Short to Medium Hair
Proper styling techniques transform your DIY layered haircut from a simple cut into a dynamic, versatile look that adapts to different occasions and personal preferences.
Heat Styling Techniques
- Blow-drying with round brush: Direct hair upward at roots while pulling brush through lengths to create volume and movement
- Flat ironing: Straighten layers while adding subtle bend at ends for polished, sleek appearance
- Curling iron: Curl alternating sections toward and away from face for natural, dimensional waves
- Hot rollers: Set hair while doing makeup for effortless volume and classic styling
- Always use heat protectant spray before any hot tool touches your hair
Air-Dry Methods
- Apply light styling cream to damp hair and scrunch upward to enhance natural texture
- Twist random sections while drying to create natural-looking waves without heat
- Use clips at the crown while air-drying to maintain volume rather than flat roots
- Braid damp hair and release when dry for soft, beachy waves
- Apply mousse to roots and diffuse on low heat if you have wavy or curly hair
Product Application Strategy
- Start with small amounts of product and add more if needed rather than over-applying
- Apply volumizing products to roots only, not through lengths where they weigh hair down
- Use smoothing serums and oils on ends only to prevent greasy appearance at scalp
- Distribute products evenly using fingers or wide-tooth comb through damp hair
- Layer products strategically: volumizer at roots, styling cream through mid-lengths, oil on ends
Creating Different Looks
- Professional/polished: Sleek blow-dry with paddle brush, slight bend at ends, glossing serum
- Casual/everyday: Air-dry with texturizing cream, tousle with fingers, minimal styling
- Romantic/soft: Loose waves with curling iron, soft face-framing, light hairspray
- Edgy/modern: Piece-y texture with pomade, messy separation, defined layers
- Athletic/practical: Secure with headband or clips while showcasing layer dimension
Conclusion
Mastering a DIY Layered Haircut for Short and Medium Hair empowers you with creative control, significant cost savings, and the confidence to experiment with your personal style whenever the mood strikes.
Throughout this guide, you’ve learned the essential foundations of face shape analysis, proper sectioning, professional cutting techniques, and styling methods that work together to create salon-quality results at home.
From understanding how different layer types affect various hair textures to troubleshooting common mistakes and maintaining your cut between trims, you now possess comprehensive knowledge that transforms an intimidating task into an achievable skill.
Remember that every professional hairstylist started as a beginner, making mistakes and learning through practice.
Your first attempt may not be perfect, but each cut builds your confidence and refines your technique.
Start conservatively, cut less than you think you need, and always remember that hair grows back.
With patience, practice, and the detailed techniques outlined in this article, you’ll soon find yourself creating beautiful, dimensional layers that rival expensive salon cuts, all while saving hundreds of dollars per year and enjoying the creative satisfaction of styling your own hair exactly the way you envision it.