
Are you dreaming of a salon-worthy layered look but don’t want to spend hours or dollars at a professional stylist? DIY Short Hair Layers: A Quick, Fresh Look is your answer to achieving that coveted dimension and movement right at home.
Short hair doesn’t have to look flat or one-dimensional—with the right techniques and a bit of confidence, you can create beautiful layers that frame your face, add volume, and give your style a complete refresh.
This comprehensive guide walks you through everything from understanding what layers actually do for short hair, to preparing your space and tools, mastering cutting techniques, and maintaining your new look.
Whether you’re working with a pixie cut, a bob, or anything in between, you’ll discover step-by-step methods, safety tips, and styling secrets that professional hairdressers use.
By the end of this article, you’ll have the knowledge and confidence to transform your short hair into a dynamically layered masterpiece that turns heads and saves you money.
Get ready to pick up those scissors and unlock a whole new level of style that’s been waiting inside you all along.
1. Understanding Layers for Short Hair

Before you pick up scissors and start cutting, it’s essential to understand what layers actually are and how they work specifically with short hair.
Layers create depth, dimension, and movement by cutting hair at different lengths throughout your head, which prevents that heavy, blunt look.
For short hair, layers are particularly transformative because they can add volume where you need it, soften harsh lines, and create a more flattering frame around your face.
What Layers Do for Your Hair:
- Layers remove bulk from thick hair, making it easier to manage and style.
- They add volume and lift to fine or thin hair by creating the illusion of fullness.
- Layers create movement and texture, preventing your short hair from looking stiff or flat.
- They frame your face strategically, highlighting your best features like cheekbones and jawline.
- Layers make styling faster because the hair naturally falls into place with less effort.
Types of Layers for Short Hair:
- Face-framing layers focus on the hair around your face, creating soft, flattering angles.
- Choppy layers give an edgy, textured look with intentionally uneven lengths.
- Graduated layers are shorter at the back and longer at the front, creating a stacked effect.
- Subtle layers add gentle dimension without drastically changing your overall length.
- Razor layers create wispy, feathered ends for a softer, more romantic appearance.
2. Essential Tools and Materials
Having the right tools makes the difference between a successful DIY layering session and a hair disaster you’ll regret for months.
Professional-grade tools aren’t necessarily expensive, but they are specifically designed for hair cutting and will give you cleaner, more precise results.
Investing in quality scissors and the proper equipment sets you up for success and ensures your layers look intentional rather than accidental.
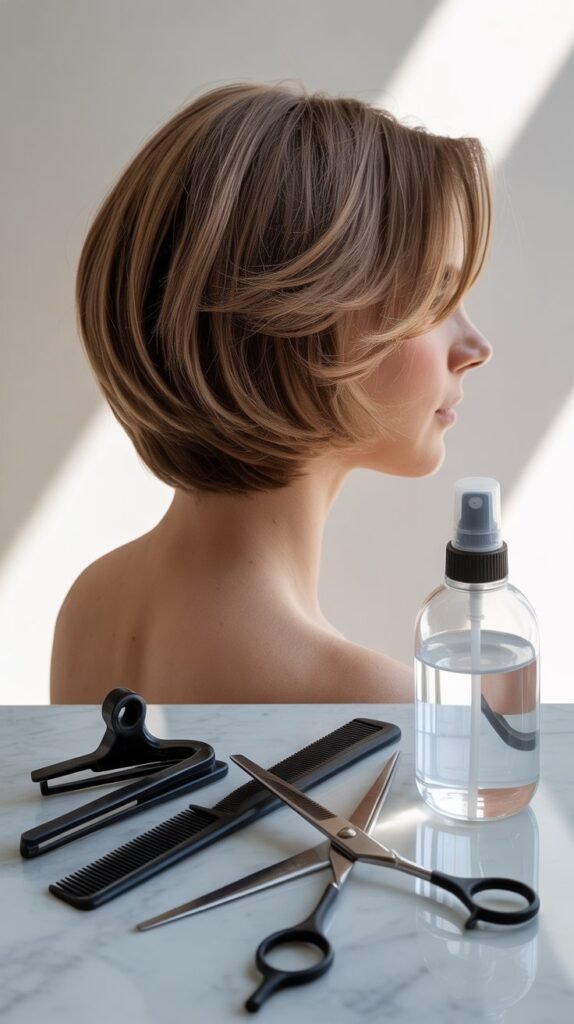
Must-Have Cutting Tools:
- Professional hair cutting scissors (not craft or kitchen scissors) with sharp, beveled blades between 5.5 to 6.5 inches.
- Thinning shears or texturizing scissors for blending and softening harsh lines.
- Fine-tooth comb for sectioning and creating clean parts in your hair.
- Hair clips or sectioning clips to keep hair organized and out of the way while cutting.
- A spray bottle filled with water to keep hair damp and easier to cut evenly.
- A handheld mirror to check the back and sides of your head during cutting.
Additional Helpful Materials:
- A cape or old towel to protect your clothes from falling hair.
- A well-lit area with a large mirror, preferably with natural lighting or bright overhead lights.
- A vacuum cleaner or broom for easy cleanup after your cutting session.
- Reference photos of the layered style you want to achieve.
- Styling products like mousse, texturizing spray, or light pomade for finishing.
Where to Purchase Quality Tools:
- Professional beauty supply stores carry salon-quality scissors and tools at reasonable prices.
- Invest in scissors with a warranty or satisfaction guarantee for peace of mind.
3. Preparing Your Hair and Workspace
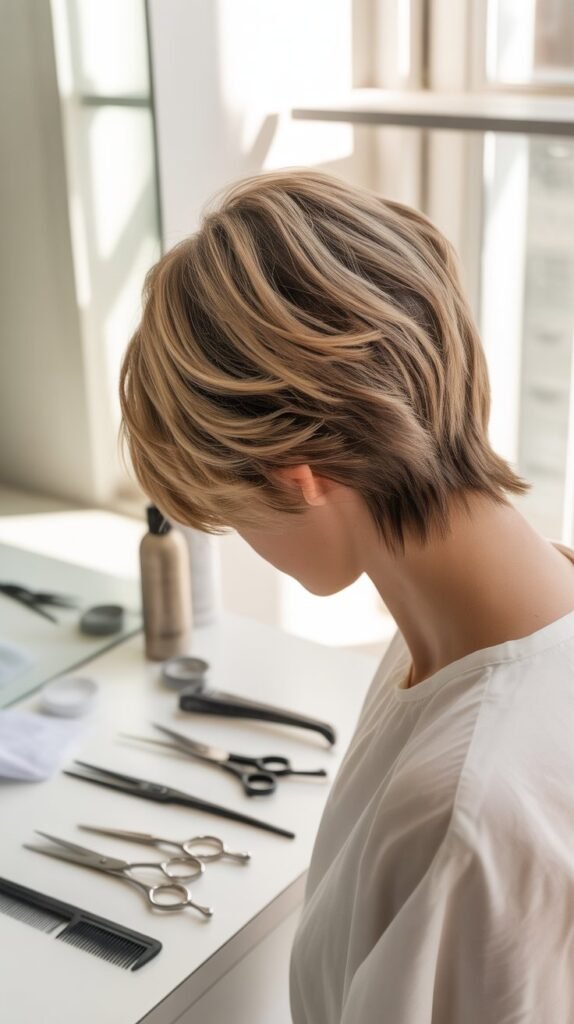
Preparation is half the battle when it comes to successful DIY hair cutting. Your workspace needs to be comfortable, well-lit, and organized so you can focus entirely on the cutting process without distractions or fumbling for tools.
Proper hair preparation ensures your cuts are even, accurate, and give you the results you’re envisioning.
Setting Up Your Cutting Space:
- Choose a bathroom or well-lit room with a large mirror mounted at eye level.
- Position a second handheld mirror so you can easily check the back of your head.
- Ensure your lighting is bright and even, avoiding shadows that can distort your perception.
- Clear the counter or workspace of unnecessary items to give yourself room to work.
- Have all your tools within easy reach but organized to avoid confusion.
- Place a towel or cape around your shoulders and secure it comfortably.
Preparing Your Hair:
- Wash your hair with your regular shampoo and conditioner, then towel dry until damp.
- Detangle your hair completely using a wide-tooth comb to remove all knots.
- Avoid using heavy styling products before cutting, as they can affect how hair falls.
- Part your hair the way you normally wear it so the layers complement your natural style.
- Keep your hair damp throughout the cutting process by misting with water as needed.
- Sit or stand at a comfortable height where you can easily see your entire head in the mirror.
4. Safety Precautions and What Not to Do
While cutting your own hair can be empowering and cost-effective, it’s important to approach it with caution and awareness of potential pitfalls.
Understanding what can go wrong helps you avoid common mistakes that lead to uneven cuts, damaged hair, or results that require professional correction.
Safety isn’t just about avoiding injury—it’s also about protecting your hair from damage that takes months to grow out.
Critical Safety Rules:
- Never use dull scissors, as they cause split ends, uneven cuts, and hair damage.
- Avoid cutting large sections of hair at once, which makes it nearly impossible to correct mistakes.
- Don’t cut your hair when you’re tired, emotional, or under the influence of anything that impairs judgment.
- Keep scissors pointed away from your face, eyes, and ears at all times during cutting.
- Never cut hair while it’s completely dry unless you’re experienced, as dry hair shows cut marks differently.
- Avoid standing or sitting in unstable positions that could lead to slips or awkward angles.
Common Mistakes to Avoid:
- Cutting too much hair too quickly without constantly checking progress in the mirror.
- Attempting complicated techniques you’ve never practiced before on your actual hair.
- Ignoring your hair’s natural texture and how it will behave when styled versus wet.
- Creating layers that are too short on top, which can make hair stick up awkwardly.
- Cutting horizontal lines into short hair, which creates obvious blunt edges rather than blended layers.
- Forgetting that wet hair appears longer and will shrink up when it dries, especially curly hair.
When to Stop and Seek Professional Help:
- If you make a mistake that you can’t figure out how to fix within a few minutes.
- When you feel overwhelmed, frustrated, or unsure about what you’re doing.
- If your hair texture or growth pattern is creating unexpected challenges.
- After experiencing any injury, no matter how minor, to your scalp or skin.
5. The Point-Cutting Technique for Soft Layers
Point cutting is one of the most forgiving and effective techniques for creating soft, natural-looking layers in short hair.
This method involves cutting into the hair at an angle rather than straight across, which creates texture and removes the blunt edge that screams “I just got a haircut.
” Point cutting works beautifully for all hair types and is especially useful for short hair because it prevents harsh lines and allows layers to blend seamlessly.
How to Execute Point Cutting:
- Hold a small section of hair between your fingers, pulling it away from your head at the angle you want to cut.
- Position your scissors vertically, pointing into the hair rather than horizontally across it.
- Make small, gentle snips into the ends of the hair, cutting about a quarter inch into the section.
- Work your way across the section, creating a slightly jagged edge rather than a straight line.
- Continue this process on each section, maintaining consistency in the depth of your cuts.
- Step back frequently to assess how the layers are developing and ensure evenness.
Benefits of Point Cutting:
- Creates soft, feathered ends that blend naturally rather than looking chopped.
- Allows for easy correction if you cut slightly too much, as the texture disguises minor errors.
- Works with your hair’s natural movement rather than fighting against it.
- Reduces the appearance of bulk and weight in thick hair without removing too much length.
- Gives your layers a lived-in, effortless appearance rather than an overly styled look.
6. The Twist-and-Cut Method for Quick Layers
The twist-and-cut method is an ingenious technique that creates instant layers throughout your short hair with minimal effort and maximum impact.
This approach is perfect for beginners because it’s nearly foolproof and delivers consistent results without requiring advanced sectioning skills.
By twisting small sections of hair before cutting, you create natural, graduated layers that add dimension and movement.
Step-by-Step Twist-and-Cut Process:
- Section your hair into manageable areas using clips, typically dividing into top, sides, and back sections.
- Take a small section of hair about one inch wide and twist it tightly in one direction.
- Hold the twisted section away from your head at a slight angle.
- Use your scissors to cut into the twisted hair at your desired length, making several small snips.
- Untwist the hair and check the layer you’ve created before moving to the next section.
- Repeat this process throughout your head, maintaining consistent twisting and cutting angles.
Advantages of This Technique:
- The twisting naturally creates variation in length, producing soft, blended layers automatically.
- It’s difficult to create harsh lines or obvious mistakes with this method.
- You can work quickly through your entire head without complex measurements or planning.
- The technique adapts well to different hair textures and density levels.
- Corrections are simple—just twist and trim again if a section needs adjustment.
Pro Tips for Best Results:
- Keep your twists uniform in tightness throughout your head for consistency.
- Start with less hair removed than you think you need, as you can always cut more.
- Work in natural lighting to see the true texture and length as you cut.
- Focus on creating layers that work with your face shape and natural part.
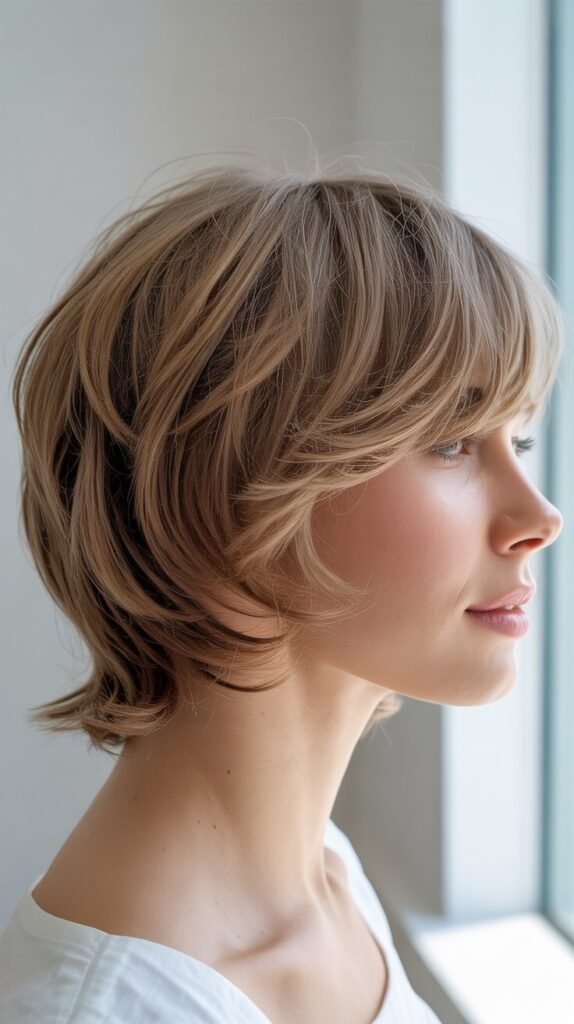
7. Face-Framing Layers Technique
Face-framing layers are the secret weapon for making short hair look incredibly polished and flattering.
These strategic layers draw attention to your best facial features while softening angles and creating a more dimensional, salon-quality appearance.
Face-framing layers are particularly impactful for short hair because they create movement around your face without requiring layers throughout your entire head.
Creating Perfect Face-Framing Layers:
- Part your hair down the middle or in your natural part to establish symmetry.
- Take a triangular section of hair at the front of your head, starting from your part and extending to your temple.
- Pull this section forward and determine where you want the shortest layer to fall (typically cheekbone or chin length).
- Hold the section between your fingers at a slight downward angle and use point-cutting to create the layer.
- Repeat on the opposite side, ensuring both sides are symmetrical by comparing lengths frequently.
- Blend these face-framing pieces into the hair behind them by taking diagonal sections and gradually increasing length.
Customizing Face-Framing Layers:
- For a round face, create longer, more angled layers that draw the eye downward.
- For a square face, add softer, more textured layers around the jawline to soften angles.
- For an oval face, experiment with various layer lengths as this face shape suits most styles.
- For a heart-shaped face, focus layers around the chin to balance a wider forehead.
- For a long face, create shorter, fuller layers that add width around the cheeks.
Maintenance and Styling:
- Face-framing layers require more frequent trims every 4-6 weeks to maintain their shape.
- Style these layers with a round brush and blow dryer, directing them away from your face.
- Use a small amount of styling cream or serum on the ends to prevent frizz and define texture.
- Experiment with tucking layers behind your ears or letting them fall forward for different looks.
8. Texturizing and Blending Your Layers
After creating your basic layers, texturizing and blending are crucial steps that separate amateur cuts from professional-looking results.
These finishing techniques ensure your layers flow seamlessly into each other without obvious demarcation lines or choppy transitions.
Proper blending creates that coveted effortless look where layers appear to naturally graduate rather than being obviously cut.
Texturizing Techniques:
- Use thinning shears to remove bulk and create softer edges where layers meet.
- Hold thinning shears at a slight angle and make 2-3 snips through the mid-lengths and ends of each section.
- Avoid using thinning shears near the roots, as this can create frizz and awkward short pieces.
- Point-cut into any areas that look too blunt or heavy after your initial layering.
- Create micro-layers by taking tiny sections and making small, random cuts throughout.
- Check your work by running your fingers through your hair to feel for any sharp lines or edges.
Blending Different Layer Lengths:
- Work with diagonal sections rather than horizontal ones to create seamless transitions.
- Use your comb to check that hair flows smoothly from one layer to the next without stepping.
- Take sections that span two different layer lengths and gently blend them together with point cutting.
- Pay special attention to the areas around your ears and nape where layers often need extra blending.
- Stand in front of the mirror and move your head in different directions to spot any unblended areas.
Professional Finishing Touches:
- Use a razor or razor comb on the very ends of your hair for a feathered, wispy effect.
- Create internal texture by making vertical cuts into the mid-lengths of your hair.
- Soften any harsh lines around your hairline with careful point-cutting.
- Remove any stray long hairs that stand out from your overall shape.
9. Styling Your New Layered Short Hair
Once your layers are cut, knowing how to style them properly will maximize their impact and keep them looking fresh and intentional.
Layered short hair has natural movement built in, but strategic styling techniques will enhance the dimension you’ve created and help your layers look their absolute best.
The right products and tools can make your DIY layers look like you stepped out of an expensive salon.
Essential Styling Products:
- Volumizing mousse applied to damp roots lifts your layers and creates body throughout.
- Texturizing spray or sea salt spray enhances the piecey, dimensional quality of your layers.
- Light pomade or styling cream defines individual layers and controls flyaways without weighing hair down.
- Heat protectant spray is essential before using any hot tools on your freshly cut layers.
- Dry shampoo refreshes layers between washes and adds grip for easier styling.
Blow-Drying Techniques:
- Use a round brush to direct layers away from your face for maximum volume and shape.
- Blow-dry your hair upside down at the roots to create lift and separation in your layers.
- Use the concentrator nozzle on your dryer to smooth the cuticle and add shine to each layer.
- Direct air flow downward along the hair shaft to prevent frizz and encourage smooth texture.
- Allow your hair to cool completely before touching or styling to set the shape.
Styling Options for Layered Short Hair:
- Create a sleek, polished look by flat-ironing layers smooth and using a shine serum on ends.
- Enhance texture by scrunching layers with styling product and diffusing on low heat.
- Add curls or waves to your layers using a small-barrel curling iron for extra dimension.
- Create a messy, bedhead look by applying texturizing product and tousling with your fingers.
- Experiment with different parts to change how your layers fall and frame your face.
10. Troubleshooting Common Problems
Even with careful planning and execution, DIY hair cutting sometimes produces unexpected results or challenges.
Knowing how to identify and fix common problems can save your style and your confidence
Most issues with DIY layers are correctable without needing to cut everything off and start over, so don’t panic if things don’t look perfect immediately.
Uneven Layers:
- Check your layers in natural lighting rather than just bathroom lights, which can be misleading.
- Wet your hair again and re-section it, carefully comparing lengths on both sides.
- Identify which side is longer and carefully trim to match the shorter side.
- Use your face as a guide—pull sections from each side forward and compare them at the same facial landmark.
- Remember that slight imperfections are normal and often invisible to others.
Too Much Removed:
- Style your hair with volumizing products to make the most of the length you have remaining.
- Consider getting creative with accessories like headbands, clips, or scarves while your hair grows.
- Visit a professional stylist who can reshape your cut into an intentional shorter style.
- Be patient and use hair growth supporting products like biotin supplements and scalp treatments.
- Avoid further cutting attempts until your hair has grown out sufficiently.
Choppy or Disconnected Layers:
- Use thinning shears throughout the problem areas to soften and blend harsh lines.
- Point-cut into the transitions between layers to create a more gradual shift in length.
- Apply smoothing products that help hair lay flatter and disguise uneven sections.
- Consider consulting online tutorials specific to fixing choppy layers for additional techniques.
11. Maintaining Your DIY Layers
Creating beautiful layers is just the beginning—maintaining them properly ensures they continue to look fresh and intentional between cuts.
Layer maintenance is actually simpler than maintaining a blunt cut because the textured nature of layers is forgiving and disguises growth more effectively.
With the right care routine and periodic touch-ups, your DIY layers can look salon-fresh for weeks.
Regular Maintenance Schedule:
- Trim your layers every 4-6 weeks to maintain shape and prevent the cut from growing out awkwardly.
- Focus touch-up trims on the face-framing pieces and any areas that grow faster than others.
- Deep condition your hair weekly to keep the ends of your layers healthy and prevent split ends.
- Get regular trims on your neckline and around your ears to keep your overall shape clean.
- Assess your layers each week to catch and address any problem areas before they become obvious.
Products That Extend Your Cut:
- Leave-in conditioners protect layer ends from environmental damage and breakage.
- Hair oils applied to ends seal the cuticle and prevent fraying that makes layers look messy.
- Protein treatments strengthen hair and prevent the thinning and breakage that ruins layer definition.
- UV protection sprays prevent sun damage that can make layer ends appear dry and unhealthy.
Between-Cut Care:
- Avoid excessive heat styling that damages layer ends and creates split ends.
- Sleep on silk or satin pillowcases to reduce friction that causes breakage at layer ends.
- Use a wide-tooth comb rather than a brush to detangle without pulling out shorter layer pieces.
- Refresh your style with dry shampoo and texturizing spray rather than washing daily.
- Experiment with different styling techniques to keep your layered look fresh and interesting.
Self-Trimming Tips:
- Keep your cutting scissors exclusively for hair to maintain their sharpness.
- Only trim small amounts during touch-ups—a quarter inch or less is usually sufficient.
- Focus on point-cutting any ends that look blunt or have split ends.
- Use the twist-and-cut method on any areas that have lost dimension or seem to be falling flat.
12. Adjusting Layers for Different Hair Types
Hair texture significantly impacts how layers look and behave, so understanding your specific hair type helps you customize your layering approach for the best possible results.
What works beautifully for straight, fine hair might be disastrous for thick, curly hair, and vice versa.
Tailoring your technique to your unique hair characteristics ensures your DIY layers enhance rather than fight your natural texture.
Layering Fine or Thin Hair:
- Focus layers primarily around the crown and top to create the illusion of volume and fullness.
- Avoid too many layers or over-texturizing, which can make fine hair look even thinner.
- Keep layers longer and more subtle to maintain the appearance of density.
- Use razoring techniques sparingly, as they can remove too much hair and create wispy ends.
- Consider leaving the underneath hair slightly heavier to create the illusion of more hair overall.
Layering Thick or Coarse Hair:
- Embrace aggressive layering to remove bulk and prevent your hair from looking triangular or boxy.
- Use thinning shears liberally throughout to reduce interior weight and create movement.
- Create more dramatic length variation between layers to prevent heaviness.
- Focus on texturizing and point-cutting to soften the natural density of your hair.
- Layer the underneath sections more heavily to prevent the bottom from being too bulky.
Layering Curly or Wavy Hair:
- Always cut curly hair dry or only slightly damp to see exactly how the layers will fall when styled.
- Remember that curly hair shrinks significantly when it dries, so cut conservatively.
- Use the curly cutting technique of cutting each curl individually at its natural resting length.
- Avoid thinning shears on curly hair, as they can disrupt curl pattern and create frizz.
- Create layers that work with your curl pattern rather than fighting against it.
Table: Hair Type Recommendations
13. Advanced Layering Techniques
Once you’ve mastered basic layering methods, these advanced techniques can take your DIY skills to the next level and create even more sophisticated, salon-quality results.
These approaches require more confidence and precision but deliver dramatic, professional-looking dimension and movement.
Attempting advanced techniques is optional but can be rewarding for those who want to push their DIY cutting skills further.
The Slide-Cutting Technique:
- This method involves sliding your scissors along the hair shaft while gently closing the blades.
- Hold a section of hair taut and position your scissors at a slight angle along the hair.
- Gently close the scissors while sliding them down the hair shaft, removing small amounts continuously.
- This creates ultra-soft, graduated layers with imperceptible transitions between lengths.
- Slide-cutting requires extremely sharp scissors and a steady hand to avoid accidental choppy cuts.
Creating Invisible Layers:
- Invisible layers add dimension without obvious length variation, perfect for maintaining a one-length appearance.
- Take horizontal sections and elevate them straight up from the head at 90 degrees.
- Cut the very ends of the elevated section, creating internal layers that don’t affect perimeter length.
- This technique adds movement and removes weight while keeping your overall length intact.
- Invisible layers are perfect for those who want volume without an obviously layered look.
The Channel-Cutting Technique:
- Channel cutting creates deep texture and removes significant bulk in thick hair.
- Take a section of hair and make vertical cuts into the interior, creating channels of removed hair.
- These channels should be random and varied in depth to create natural-looking texture.
- This technique is particularly effective for thick, coarse hair that needs significant weight removal.
- Use sharp scissors and work conservatively, as channel cuts remove substantial amounts of hair.
Combining Multiple Techniques:
- Use point-cutting for initial layers, then refine with slide-cutting for seamless blending.
- Create face-framing layers with traditional cutting, then add texture with channel-cutting throughout.
- Layer your hair using the twist method, then refine problem areas with more precise techniques.
- Experiment with combining techniques to find the approach that works best for your hair type.
14. Cost Comparison: DIY vs. Salon
Understanding the financial implications of cutting your own layers versus visiting a salon helps you make an informed decision about your hair care budget.
While professional cuts offer expertise and guaranteed results, DIY layering can save significant money over time, especially for those who need frequent trims to maintain their style.
Consider both immediate costs and long-term value when deciding which approach makes sense for your situation.
Initial Investment for DIY Layering:
- Professional hair cutting scissors range from $20-$100, with quality options around $30-$50.
- Thinning shears typically cost $15-$40 for reliable, effective pairs.
- Sectioning clips, combs, and spray bottles add approximately $10-$20 to your initial investment.
- Total initial investment for quality tools: approximately $50-$100 for everything you need.
- These tools last for years with proper care, making the per-use cost minimal.
Salon Cut Costs:
- Basic short hair cut at chain salons: $20-$40 per visit.
- Mid-range salon short hair cut with layers: $40-$80 per visit.
- High-end salon cut from experienced stylist: $80-$150+ per visit.
- Recommended cutting frequency for maintaining layered short hair: every 4-6 weeks.
- Annual cost for maintaining salon cuts: $240-$1,800 depending on salon choice.
Long-Term Financial Comparison:
- After the initial tool investment, DIY cuts cost essentially nothing except your time.
- Breaking even on tool costs typically happens after 2-4 self-cuts compared to salon pricing.
- Over one year, DIY cutting saves $200-$1,700+ depending on your alternative salon choice.
- Over five years, savings can exceed $1,000-$8,000 for those who would use quality salons.
- Consider that mistakes might require professional correction, which should factor into savings calculations.
Non-Financial Considerations:
- DIY cutting saves travel time and the need to schedule appointments around your availability.
- Professional cuts offer expertise, especially for correcting problems or trying completely new styles.
- Some people find the salon experience relaxing and worth the cost for stress relief.
- DIY cutting provides complete control over your look and timing of cuts.
- Consider combining approaches: maintain with DIY cuts and refresh with occasional professional shaping.
15. Inspiration and Style Ideas
Looking at diverse examples of layered short hair helps you visualize possibilities and choose a direction that complements your personal style and features.
Layered short hair is incredibly versatile, ranging from edgy and punk-inspired to soft and romantic, professional and polished to tousled and carefree.
Collecting inspiration before you cut helps clarify your goals and ensures your DIY layers align with your vision.
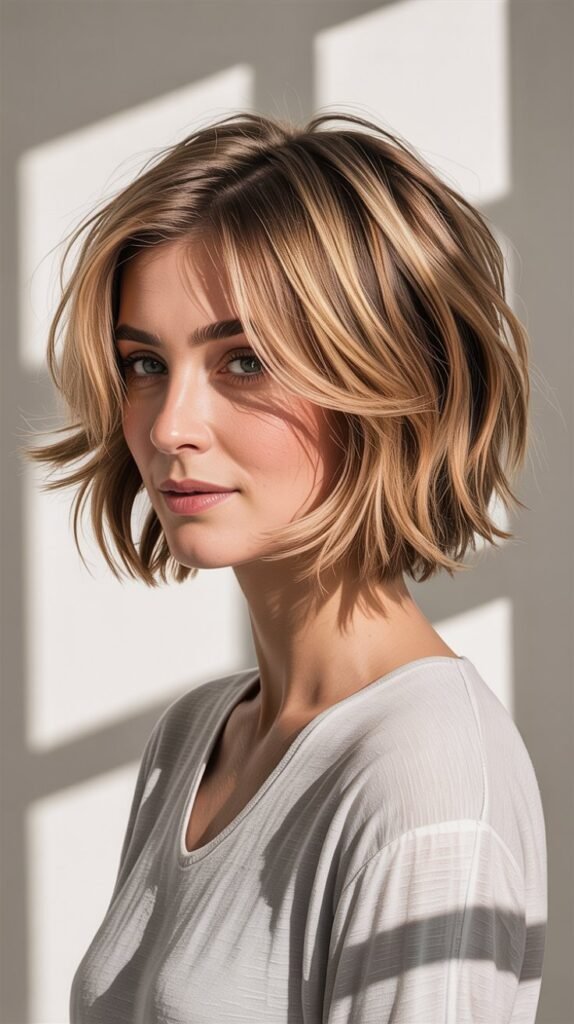
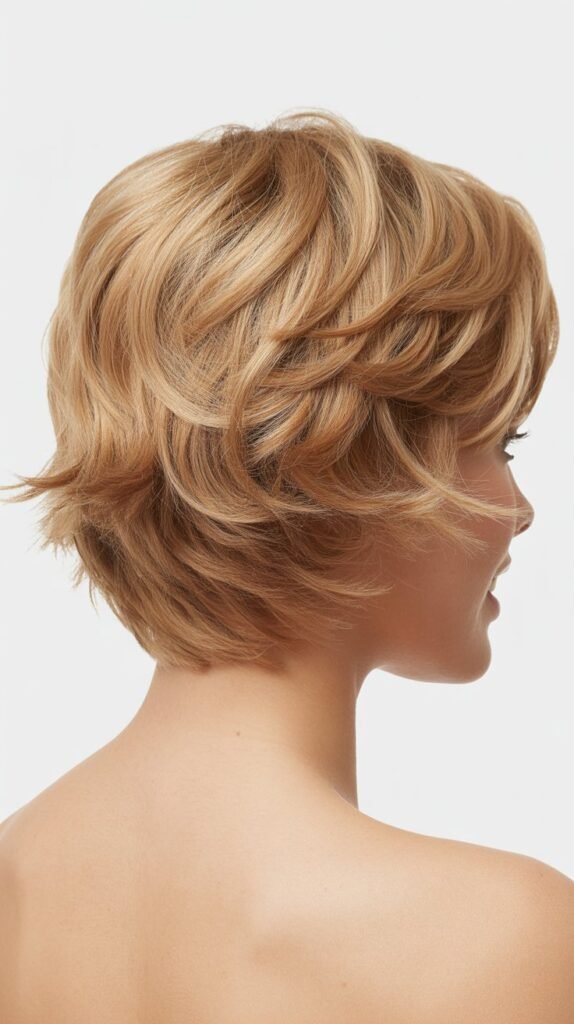
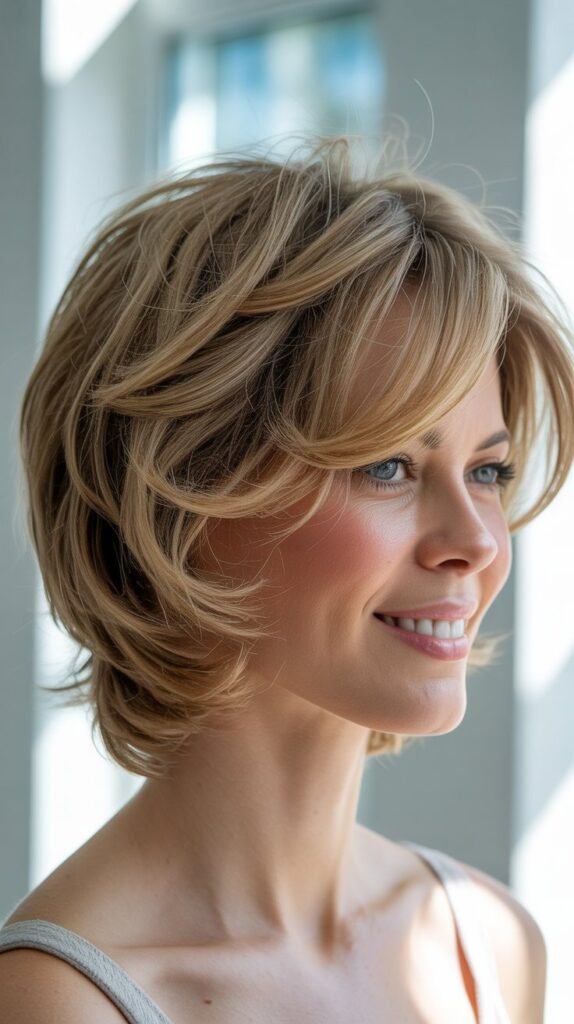
Classic Layered Short Bob:
- This timeless style features graduated layers that are shorter in the back and longer toward the front.
- Works beautifully for professional environments while remaining stylish and modern.
- Suits most face shapes and can be customized with subtle or dramatic layer variation.
- Style sleek and straight for formal occasions or add texture for casual, everyday wear.
- Requires regular maintenance to keep the graduated shape looking intentional.
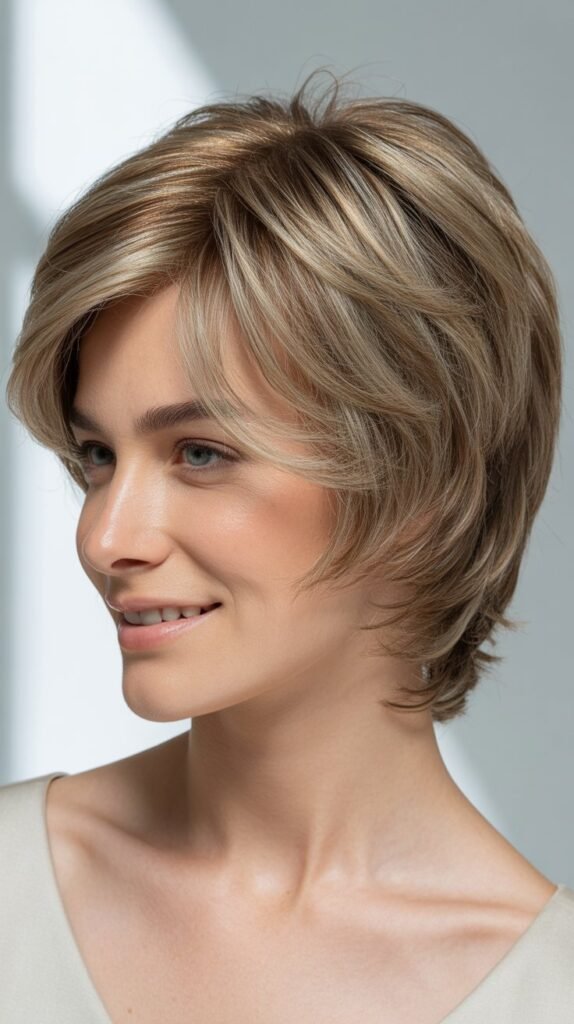
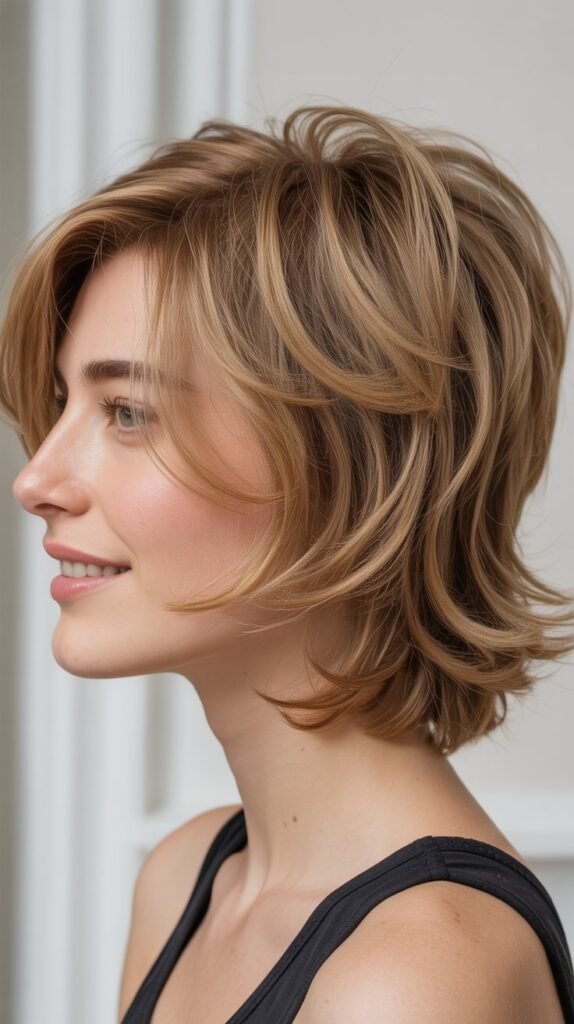
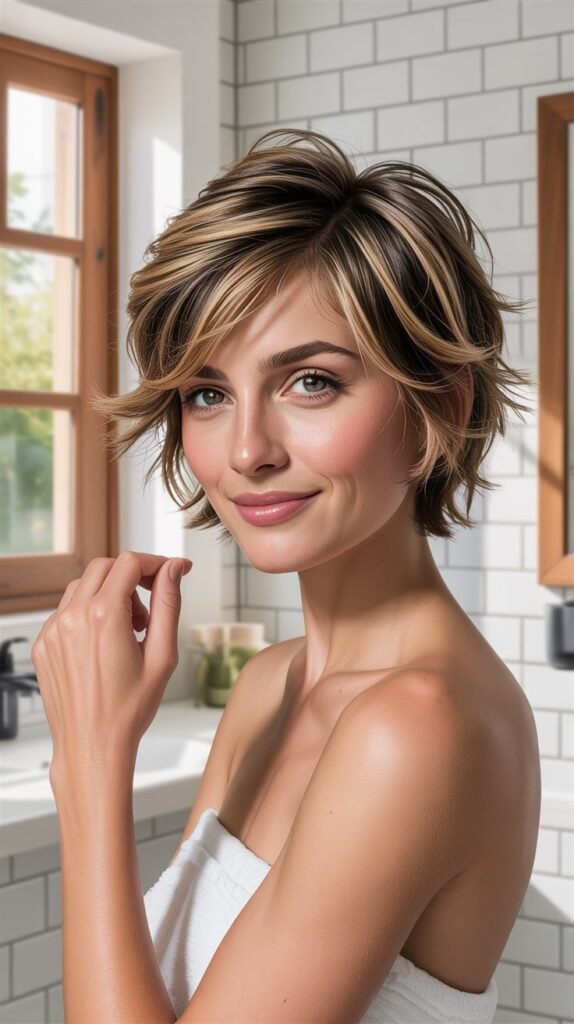
Textured Pixie with Layers:
- Features choppy, piece-y layers throughout with significant texture and movement.
- Creates an effortlessly cool, slightly messy aesthetic that’s perfect for low-maintenance styling.
- Works especially well for those with naturally wavy or slightly unruly hair texture.
- Can be styled in numerous ways from sleek and polished to deliberately messy and tousled.
- Grows out gracefully, with layers blending naturally as hair lengthens.
Asymmetrical Layered Cut:
- One side is intentionally longer than the other, creating dramatic, eye-catching dimension.
- Layers on the shorter side add volume while the longer side provides elegant contrast.
- Perfect for those who want to make a bold statement with their hair.
- Requires confidence to wear but creates an undeniably fashion-forward appearance.
- More challenging for DIY cutting but achievable with patience and careful measurement.
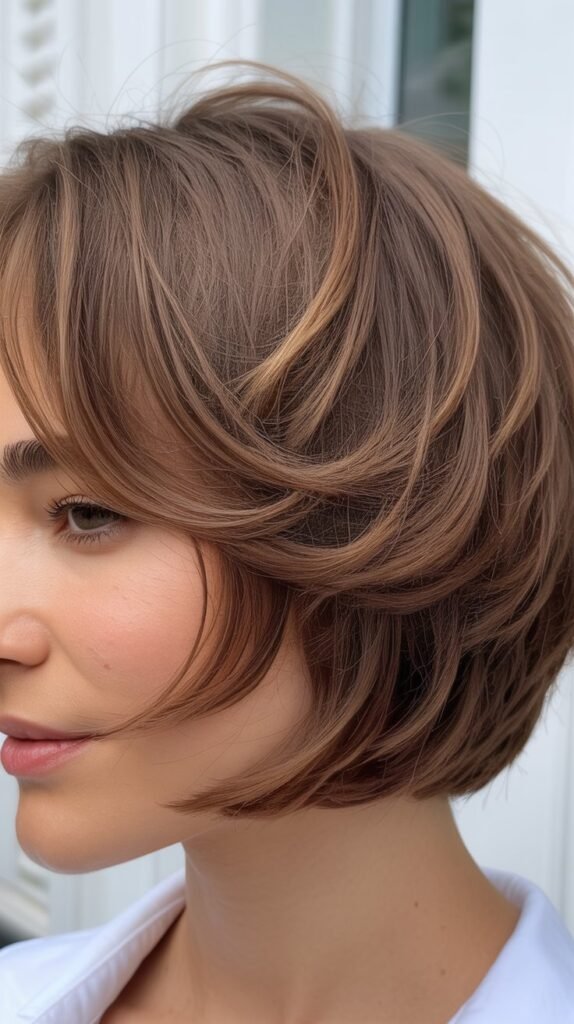
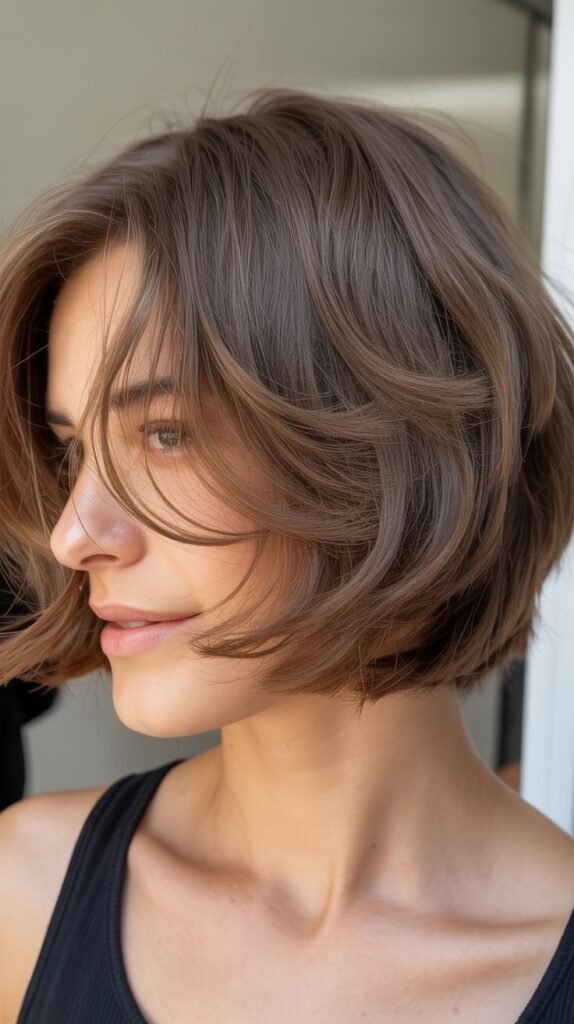
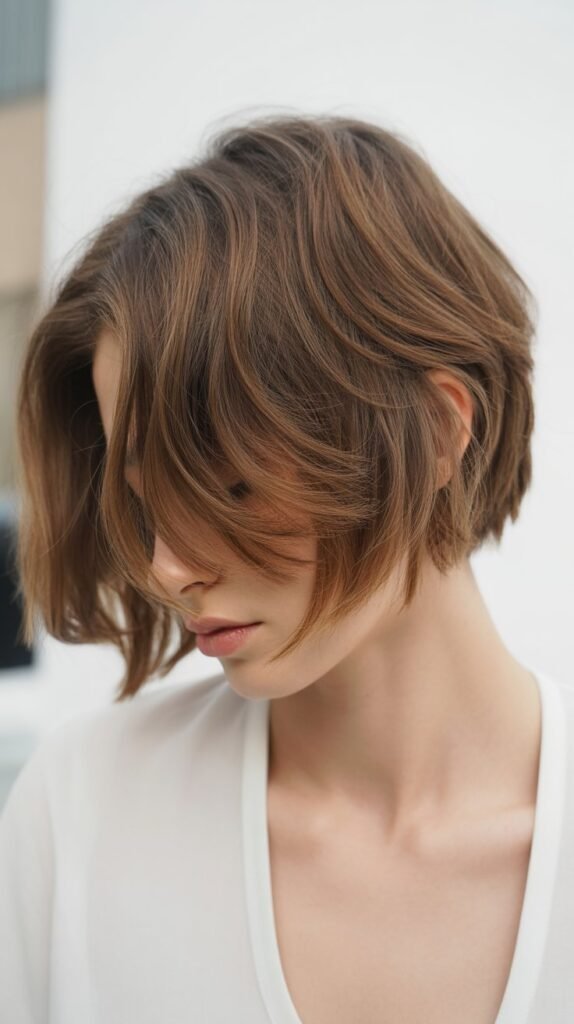
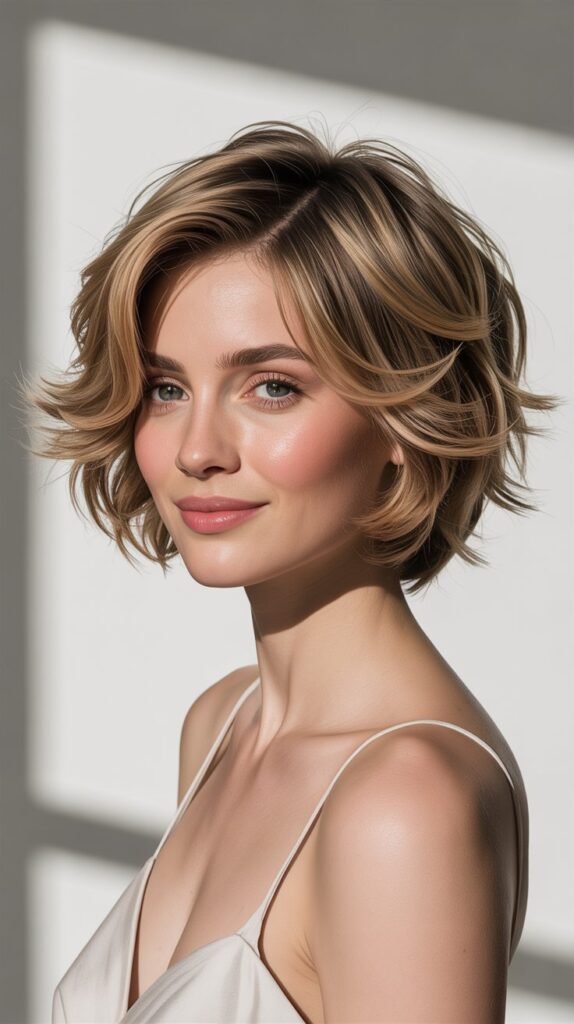
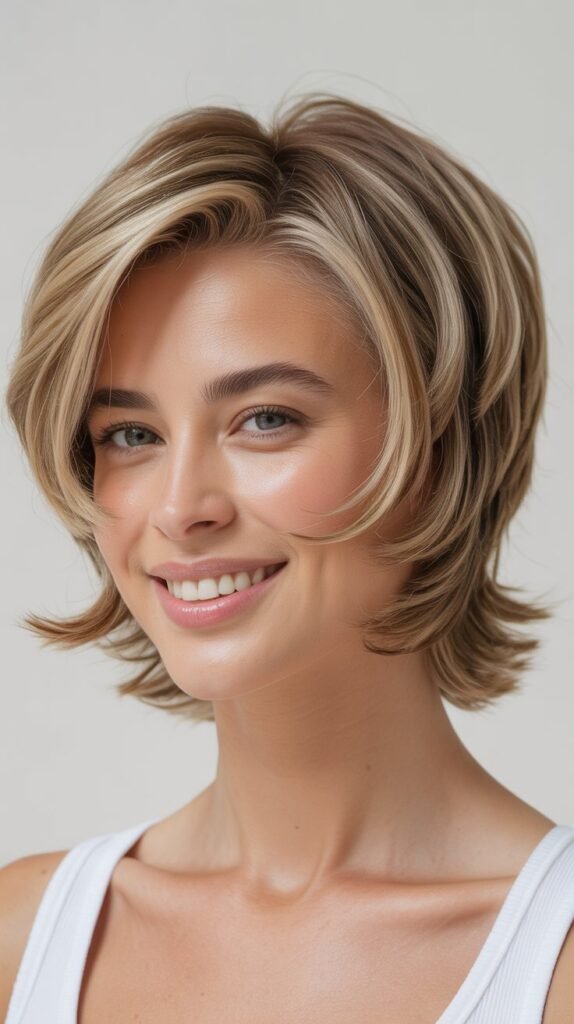
Soft, Romantic Layers:
- Focuses on gentle, face-framing layers that create a feminine, delicate appearance.
- Uses point-cutting and subtle texturizing rather than choppy, dramatic layers.
- Perfect for those who want dimension without an edgy or aggressive look.
- Styles beautifully with soft waves or curls for special occasions.
- Low-maintenance for everyday wear with minimal styling required.
Conclusion
DIY Short Hair Layers: A Quick, Fresh Look is entirely achievable with the right knowledge, tools, and approach, transforming your short hair from flat and one-dimensional to dynamic and salon-worthy.
Throughout this guide, you’ve discovered the fundamentals of understanding layers and how they work specifically with short hair, the essential tools needed for success, and numerous cutting techniques from basic to advanced.
You’ve learned critical safety precautions, troubleshooting strategies for common problems, and how to customize your approach based on your unique hair type and texture.
The financial benefits of DIY layering are substantial, potentially saving thousands of dollars over time while giving you complete control over your style and timing.
Whether you choose to use the simple twist-and-cut method, master point-cutting for soft texture, or create sophisticated face-framing layers, you now have the knowledge to execute these techniques confidently.
Remember that practice improves your skills, minor imperfections are normal and often invisible to others, and even professional stylists continually refine their techniques.
Your journey to beautiful, layered short hair doesn’t require perfection—it requires patience, the right tools, and the willingness to try.
Take your time, start conservatively, and don’t hesitate to seek professional help if you encounter challenges beyond your comfort level.
With the comprehensive information provided here, you’re fully equipped to give yourself that fresh, layered look that brings new life and dimension to your short hair.
Pick up those scissors with confidence and enjoy your stunning new style.