
Transforming your hair with professional-looking layers doesn’t always require an expensive salon visit.
Learning how to cut short layers at home for shape and volume empowers you to take control of your hairstyle while saving time and money.
Whether you’re dealing with flat, lifeless hair or simply want to add movement and dimension, mastering the art of DIY layering can revolutionize your look.
This comprehensive guide walks you through every essential step, from gathering the right tools to executing precise cutting techniques that deliver salon-quality results.
You’ll discover proven methods for creating volume at the crown, framing your face beautifully, and maintaining your layers between professional appointments.
With clear instructions, practical tips, and expert insights, you’ll gain the confidence to transform your short hair into a dynamic, voluminous style that turns heads.
Get ready to unlock the secrets that professional stylists use and bring that same expertise into the comfort of your own home.
1. Understanding Short Layers and Their Benefits
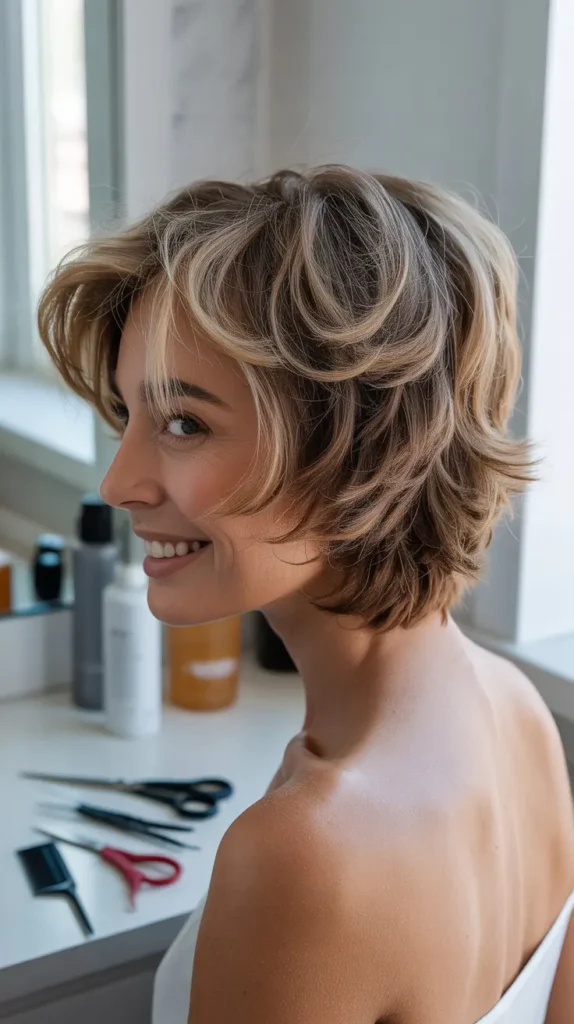
Short layers are strategic cuts made at varying lengths throughout your hair to create dimension, movement, and volume.
Before picking up scissors, it’s crucial to understand what layers actually do for your hair and why they’re particularly effective for short hairstyles.
This foundational knowledge ensures you make informed decisions about where and how to cut.
- Layers remove weight from thick hair, allowing it to move more freely and bounce naturally
- They create the illusion of volume for fine or thin hair by adding texture and dimension throughout
- Short layers specifically target the crown and top sections where volume is most noticeable
- Strategic layering frames your face and accentuates your best features while softening harsh lines
- Layers prevent the “triangle effect” where hair becomes too bulky at the bottom
- They add versatility to your styling options, making both casual and formal looks achievable
- Well-placed layers can disguise problem areas like thinning spots or cowlicks
- The technique reduces styling time since layered hair naturally falls into place more easily
2. Essential Tools and Preparation
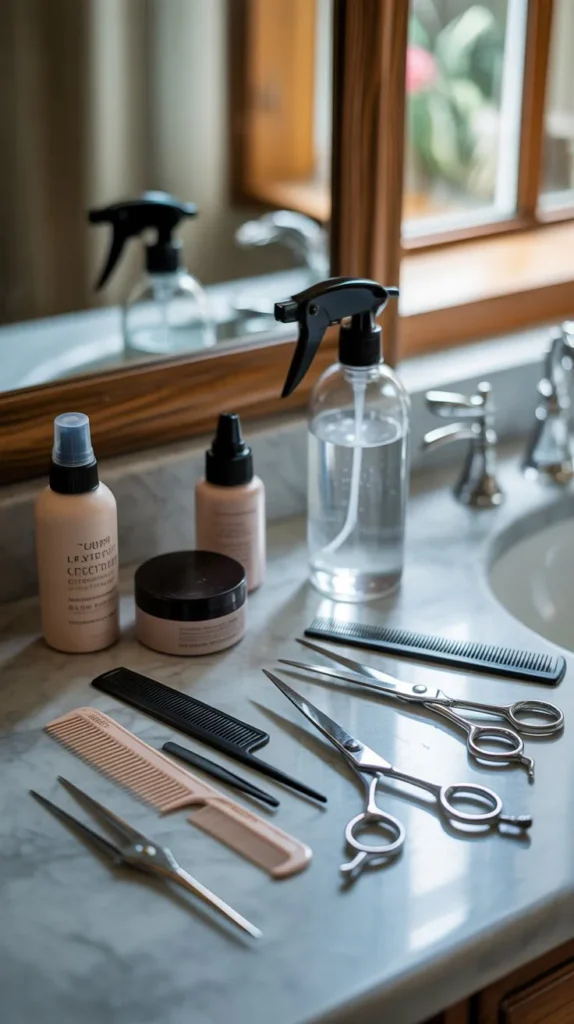
Having the right tools makes the difference between a successful home haircut and a disappointing mistake.
Professional-quality equipment doesn’t have to break the bank, but investing in proper supplies ensures clean cuts and better results.
Preparation also includes creating the ideal environment and getting your hair ready for cutting.
Required Tools:
- Never use regular household scissors as they create jagged edges and split ends
- Invest in professional hairdressing scissors with a sharp, beveled edge for clean cuts
- Thinning shears help blend layers naturally without creating harsh lines
- A rattail comb assists in creating precise partings and sections
- Ensure your scissors are specifically designed for hair cutting, not fabric or paper
- Set up in a well-lit area with access to multiple mirrors for viewing all angles
- Cover your shoulders with a cape or old towel to catch falling hair
- Have a vacuum or broom nearby for easy cleanup afterward
- Wash and condition your hair before cutting, but avoid heavy styling products
- Slightly damp hair (not soaking wet) is ideal for cutting short layers
- Detangle completely using a wide-tooth comb to prevent uneven cuts
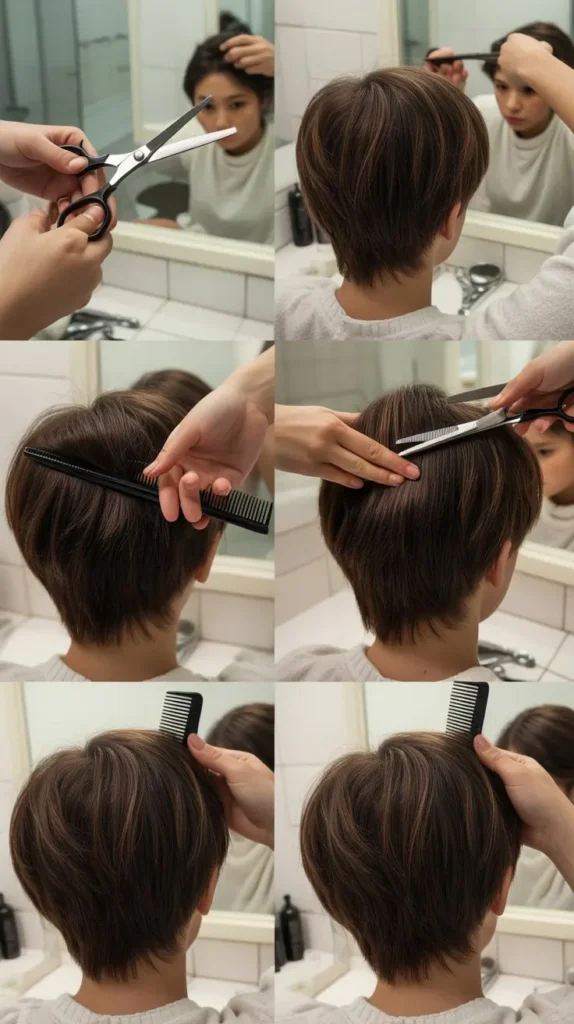
3. Sectioning Your Hair Properly
Proper sectioning is the foundation of successful layering and cannot be overlooked. This critical step ensures you cut evenly and maintain control throughout the process.
Understanding how to divide your hair into manageable sections prevents confusion and helps you achieve symmetrical, professional-looking results.
- Start by creating a clean center part from your forehead to the nape of your neck
- Divide your hair into four main quadrants: two in front and two in back
- Use the tops of your ears as reference points for the front-to-back division
- Secure each section with clips to keep them separated and out of the way
- The top section (crown area) should extend from temple to temple
- Side sections should frame your face and ears, containing the hair along your cheekbones
- Back sections include everything from behind the ears to the nape
- For extremely short hair, you may need only two or three sections total
- Each section should be approximately the same size for balanced layering
- Tighter, smaller subsections within quadrants give you more precision during cutting
- Always work with dry or slightly damp hair, never soaking wet, as wet hair appears longer
- Re-dampen sections as needed if they dry out before you finish cutting them
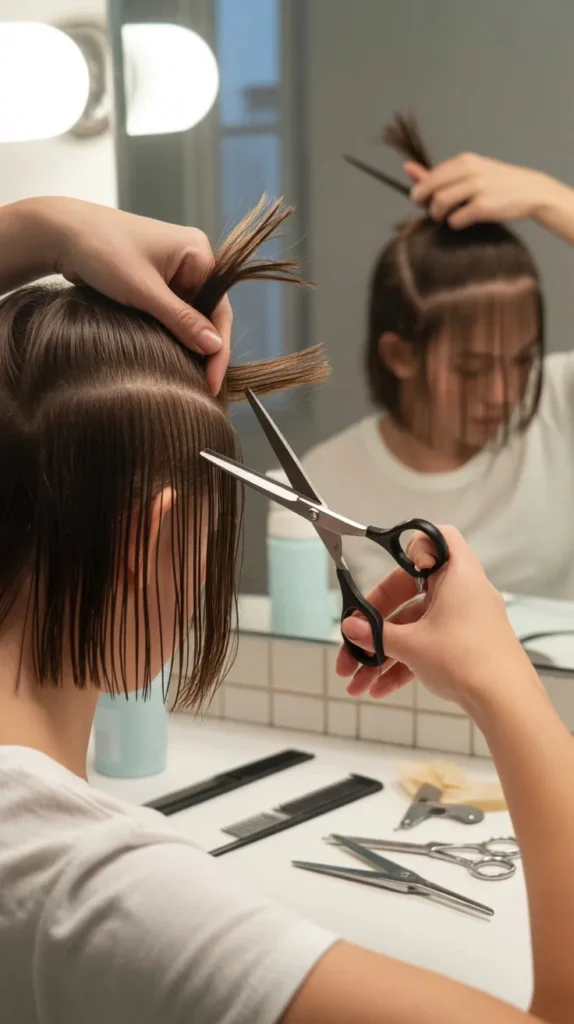
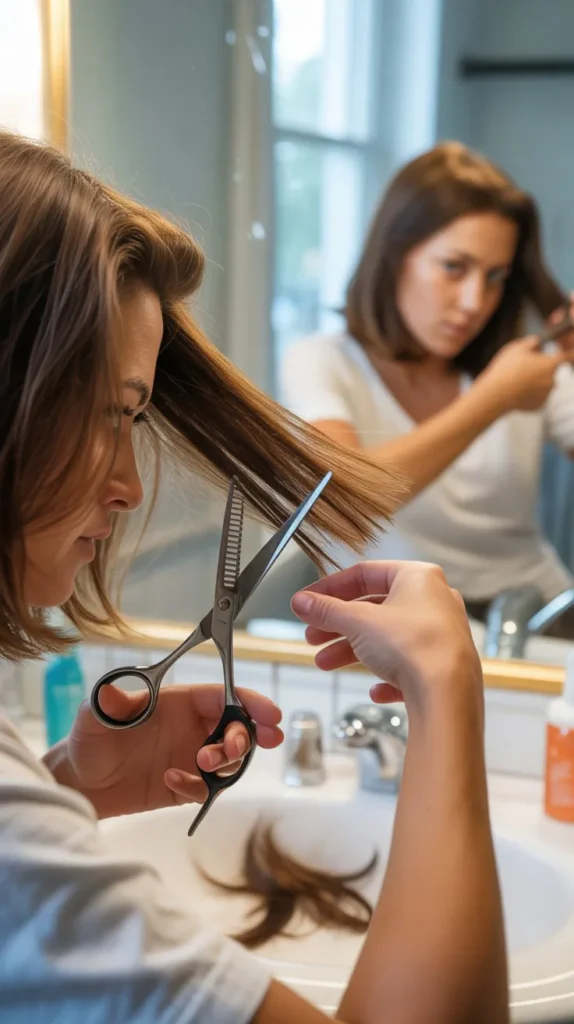
4. The Point-Cutting Technique for Natural Layers

Point cutting is the professional method that creates soft, natural-looking layers without harsh blunt lines.
This technique involves cutting into the hair vertically rather than straight across, which allows hair to blend seamlessly.
Mastering this approach is essential for achieving volume and movement in short layered cuts.
- Hold your scissors vertically, pointing the tips into the hair ends at a 45-degree angle
- Cut small, gentle snips into the hair rather than cutting straight across horizontally
- This technique removes weight while creating texture and preventing a blunt, harsh edge
- Point cutting allows hair strands to lie at slightly different lengths for natural blending
- Work on small subsections, approximately one inch wide, for maximum control
- Always cut less initially—you can always remove more hair but cannot add it back
- The shorter you point cut upward, the more dramatic the layering effect becomes
- For subtle layers, only point cut into the last quarter-inch to half-inch of hair
- For more dramatic volume, point cut up to an inch or more into each section
- Keep your scissors slightly open and make multiple small snips rather than one big cut
- This feathering motion creates a softer, more natural finish than blunt cutting
- Practice the motion on a small, hidden section first to build confidence
5. Creating Volume at the Crown
The crown area is where volume makes the most dramatic impact on short hair.
Strategic layering at the top of your head lifts hair away from the scalp and creates the illusion of fuller, thicker hair.
This section focuses specifically on techniques for maximizing height and body where it matters most.
- Isolate a circular section at your crown, approximately three inches in diameter
- This section should start at the highest point of your head and extend outward evenly
- Hold subsections straight up (perpendicular to your head) at a 90-degree angle
- Cut these pieces slightly shorter than the surrounding hair to create lift
- The elevation creates layers that naturally stand away from your scalp when dry
- Work in small subsections, cutting each to the same length for consistency
- For maximum volume, make these crown layers about half an inch to one inch shorter
- Use point-cutting technique on these pieces to ensure they blend naturally
- Avoid over-layering the crown area, which can create a disconnected or choppy look
- Check symmetry by comparing both sides frequently throughout the process
- The shorter crown layers should gradually blend into the longer surrounding hair
- For extremely short styles, the difference may be only a quarter-inch, which still adds significant lift
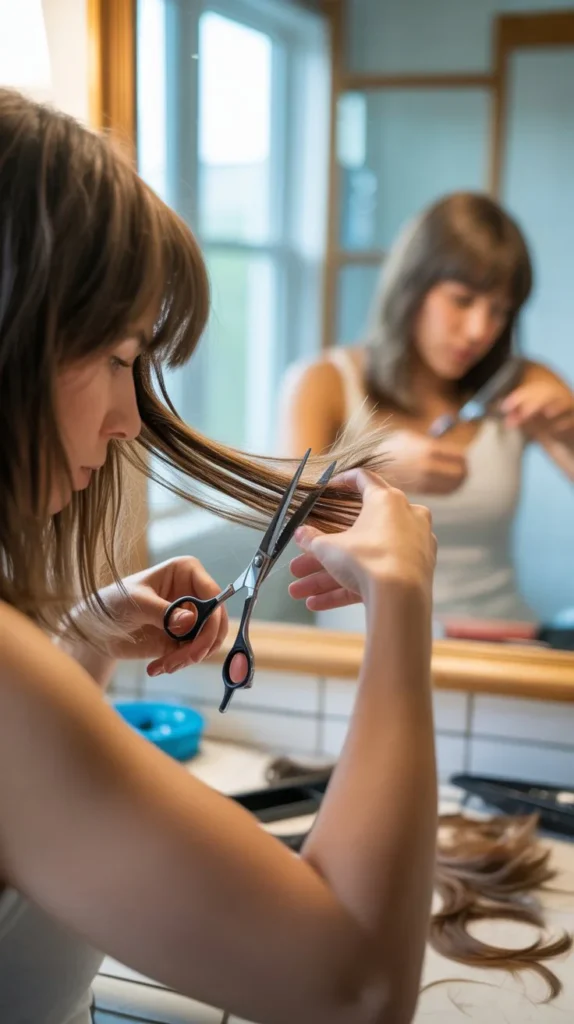
6. Face-Framing Layers for Definition
Face-framing layers are the pieces that draw attention to your best features and soften your overall look.
These strategic cuts around your face create dimension and movement that complement your unique facial structure.
Properly executed face-framing layers can enhance cheekbones, soften a strong jawline, or balance facial proportions.
- Start with the hair closest to your face, working from the front sections you isolated earlier
- Determine your desired shortest length, typically somewhere between ear length and chin length
- Pull a vertical subsection of hair forward and hold it between your fingers at the desired length
- Cut this first piece carefully, as it becomes your guide for all other face-framing layers
- Subsequent pieces should gradually increase in length as you move toward the back
- This gradual lengthening creates a natural-looking angle that frames your face
- Use the point-cutting technique to soften the ends and prevent harsh lines
- For round faces, keep face-framing pieces slightly longer to elongate
- For long faces, shorter pieces around the cheekbones add width and balance
- Square faces benefit from soft, wispy layers that start at the jawline
- Heart-shaped faces look best with layers beginning at cheekbone level
- Always cut both sides symmetrically, checking frequently in the mirror
- Angle your scissors slightly when cutting to create movement rather than blunt ends
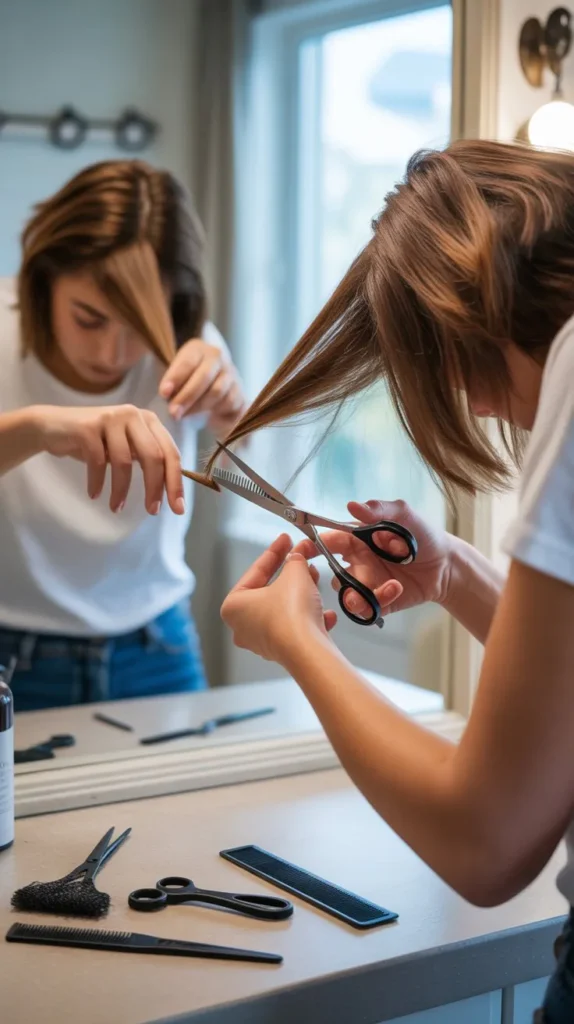
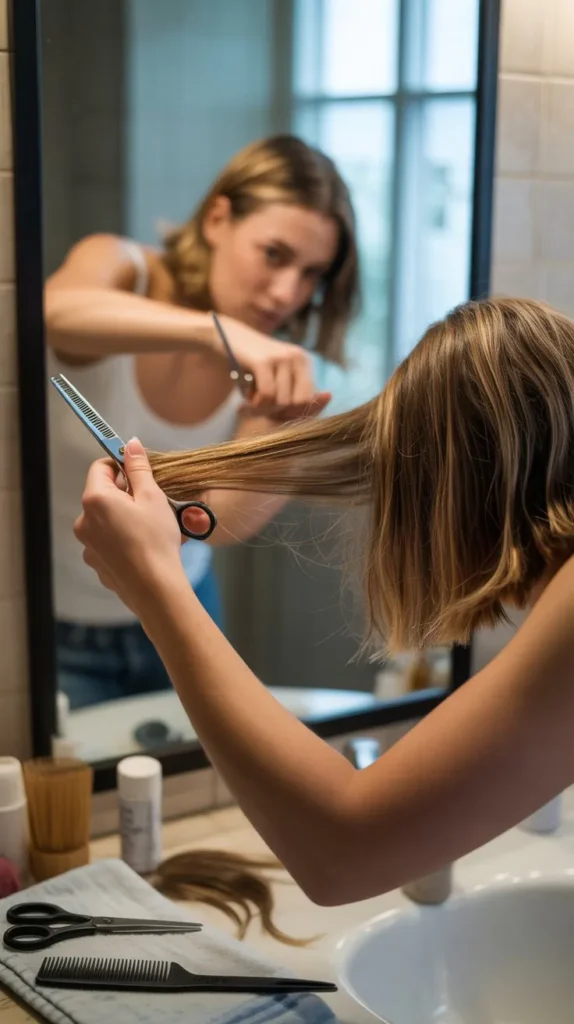
7. Blending and Texturizing Techniques
After creating your initial layers, blending ensures everything flows together naturally without obvious lines of demarcation.
Texturizing removes additional weight and adds movement, making your layers look professionally finished.
These final touches transform a basic layered cut into a polished, salon-quality style.
- Thinning shears are your primary tool for blending harsh lines between layers
- Hold thinning shears at a slight angle and make several cuts within each section
- Cut approximately one to two inches from the ends, never close to the roots
- Make three to five snips per section, spacing them out to avoid creating holes
- Focus on areas where layers meet or where hair appears too bulky
- The thinning shears remove approximately 30-40% of hair bulk without changing length
- Use regular scissors with the point-cutting technique for additional texture
- Cut into the mid-lengths at various angles to create movement and reduce weight
- Avoid over-texturizing, which can make hair look thin or wispy
- Blend the transition areas between short crown layers and longer bottom sections
- Check your work in natural lighting, as bathroom lights can be deceiving
- Run your fingers through your hair to feel for any obvious bumps or inconsistencies
- If you find uneven areas, take tiny corrections rather than large cuts
8. Common Mistakes to Avoid

Even with careful planning, certain pitfalls can compromise your results.
Understanding common mistakes before you begin helps you avoid them and achieve better outcomes.
This preventative knowledge is just as valuable as knowing the correct techniques.
- Cutting too much at once is the most frequent mistake—always start conservative
- Wet hair appears longer than dry hair, leading to cuts that end up shorter than intended
- Cutting hair while soaking wet can result in uneven layers when it dries
- Using dull scissors creates ragged edges, split ends, and uneven cuts
- Skipping the sectioning process leads to asymmetrical, unprofessional results
- Cutting all layers to the same length eliminates the dimensional effect you’re trying to create
- Pulling hair too tightly while cutting can result in pieces that spring up shorter when released
- Cutting without proper tension creates uneven, imprecise layers
- Ignoring your natural hair growth patterns leads to layers that won’t cooperate
- Over-layering creates a choppy, disconnected appearance rather than flowing dimension
- Cutting layers too short on top can create an unflattering pyramid or mushroom shape
- Forgetting to check both sides frequently results in asymmetrical cuts
- Rushing through the process increases errors—take your time and work methodically
- Attempting complex techniques without practice often leads to disappointing results
9. Styling Your New Layers for Maximum Volume
Once you’ve cut your layers, proper styling techniques bring out their full potential.
The right products and methods showcase the volume and movement you’ve created through strategic cutting.
Learning to style your layers effectively is the final step in achieving your desired look.
- Start with a volumizing mousse or root-lifting spray applied to damp hair
- Focus product application at the roots and crown area where you want maximum lift
- Blow-dry hair in the opposite direction of its natural fall to create volume
- Use a round brush to lift the crown section up and away from your scalp while drying
- For the face-framing pieces, wrap them around the brush and direct heat to set the shape
- Flip your head upside down while blow-drying for instant volume throughout
- Once hair is 80% dry, use cool air to set the style and add shine
- Apply a small amount of texturizing spray or dry shampoo for additional grip and volume
- Scrunch your layers gently with your fingers to enhance natural texture
- Avoid heavy oils or serums at the roots, which flatten layers and eliminate volume
- Use lightweight styling products designed for short hair to maintain movement
- A flat iron or curling iron can add definition to individual layers for special occasions
- Sleep on a silk pillowcase to reduce flattening and maintain your layered shape
- Refresh layers between washes with dry shampoo applied at the roots
10. Maintenance and Touch-Ups
Short layers grow out faster than longer styles and require regular maintenance to keep their shape.
Understanding when and how to perform touch-ups extends the life of your cut and keeps your style looking fresh.
Strategic maintenance between major cuts saves time and maintains the volume you’ve created.
- Short layers typically need refreshing every 4-6 weeks to maintain their shape
- Focus touch-ups on the crown area and face-framing pieces, which lose shape fastest
- Assess your layers when styling to identify areas that need adjustment
- Look for pieces that have grown too long and are weighing down your volume
- Use the same sectioning and cutting techniques for consistency during touch-ups
- Only trim the areas that need it rather than re-cutting everything
- The point-cutting technique is especially useful for quick touch-ups between major cuts
- Keep your cutting scissors sharp by having them professionally sharpened every few months
- Document your technique with photos so you can replicate successful results
- If you make a mistake, visit a professional stylist for correction rather than over-cutting
- Regular trims prevent split ends from traveling up the hair shaft and ruining your layers
- Invest in quality hair care products that protect your cut and maintain hair health
- Deep condition monthly to keep hair strong and prevent breakage in shorter layers
- Consider professional cuts every third or fourth time to maintain the overall shape
Conclusion
Mastering how to cut short layers at home for shape and volume transforms not just your hair, but your confidence and independence.
Throughout this comprehensive guide, you’ve learned the essential techniques that professional stylists use, from proper sectioning and point-cutting methods to creating dramatic crown volume and flattering face-framing layers.
With the right tools, careful preparation, and a methodical approach, you can achieve salon-quality results in the comfort of your own home.
Remember that practice makes perfect, and starting conservatively allows you to build skills gradually.
The key to success lies in understanding your hair’s unique characteristics, working with small sections, and using professional techniques like point-cutting and proper blending.
Regular maintenance keeps your layers looking fresh and voluminous between major cuts.
By avoiding common mistakes and following the step-by-step instructions provided, you’ll develop the confidence to maintain beautiful, dimensional short hair that showcases your personal style.
Whether you’re looking to save money, gain convenience, or simply enjoy the satisfaction of DIY hairstyling, these techniques empower you to take control of your look and enjoy gorgeous, voluminous layers anytime you need them.