
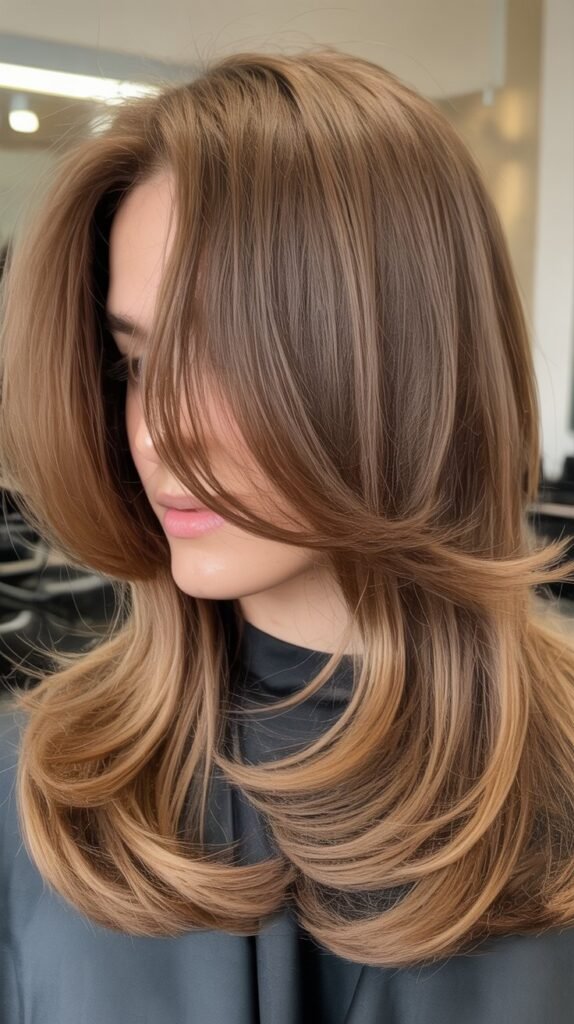
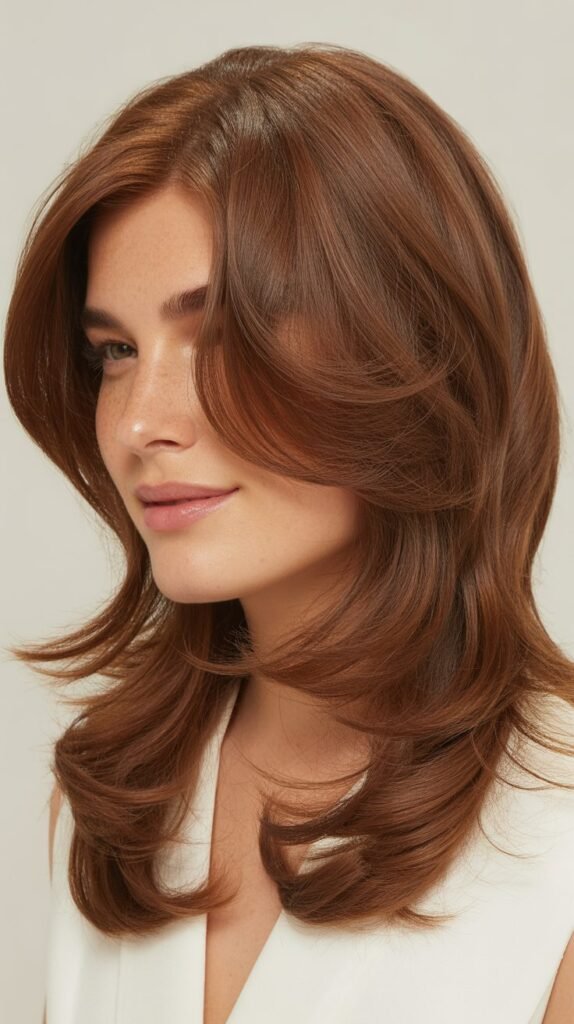
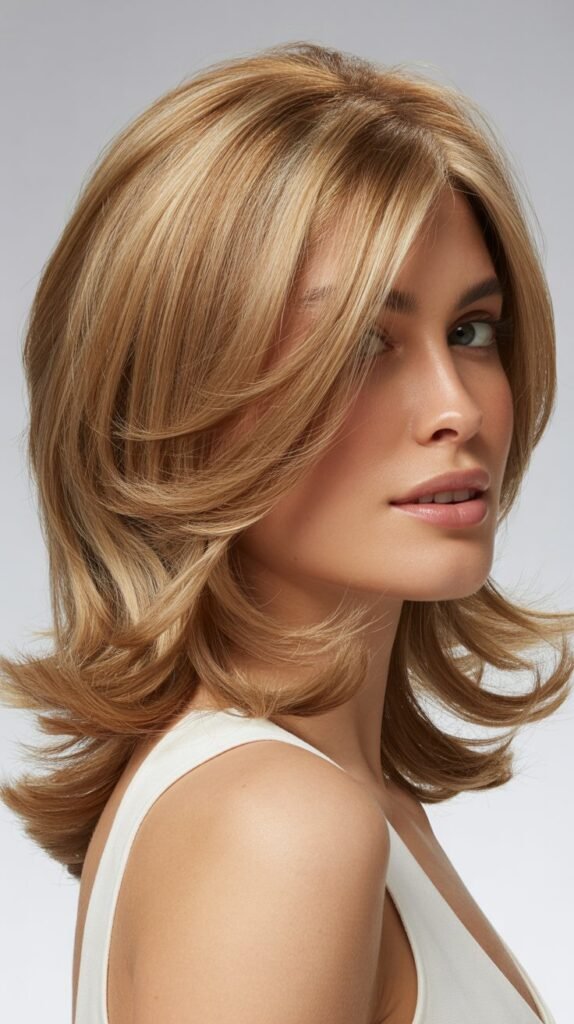
Have you ever wondered why salon-styled hair looks so effortlessly dimensional and full of life?
The secret lies in professional layering techniques that transform flat, lifeless hair into a cascade of movement and volume.
Learning to layer your hair like a pro with this simple technique can revolutionize your entire look without requiring expensive salon visits or years of training.
This comprehensive guide will walk you through everything you need to know about creating stunning layers at home, from understanding the basic principles to mastering advanced cutting methods.
You’ll discover the essential tools required, learn foolproof techniques for different hair types, and understand common mistakes to avoid.
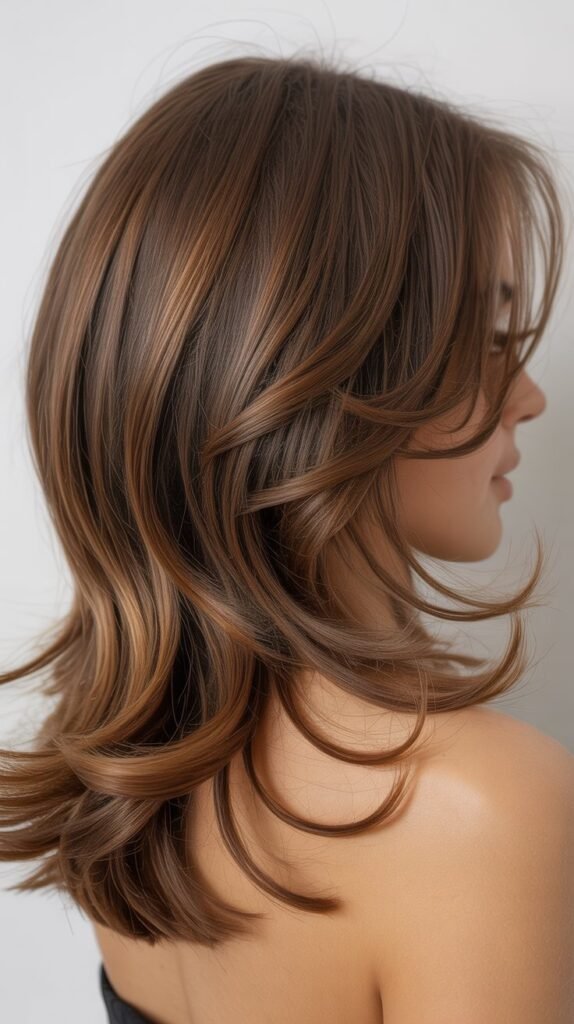
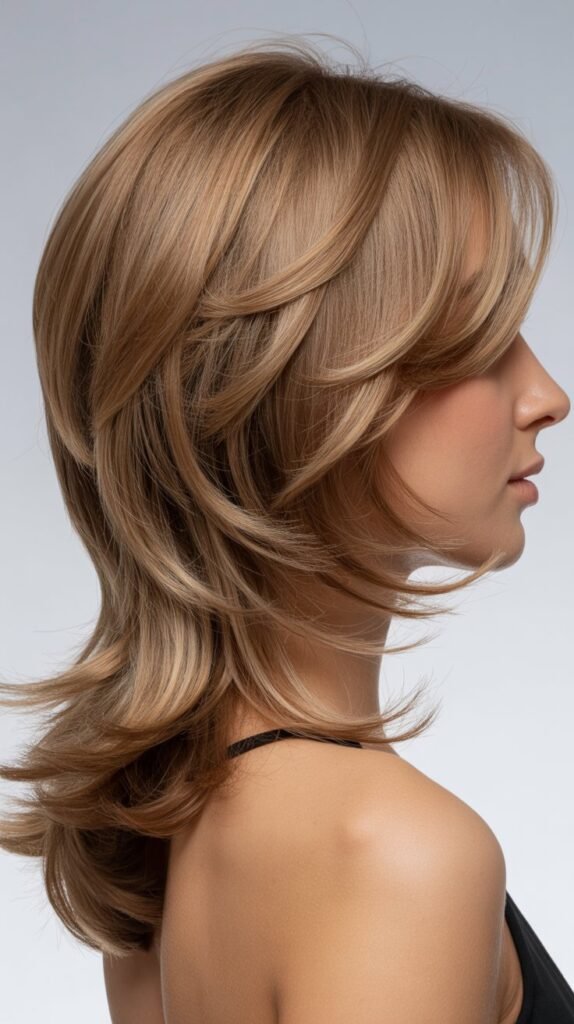
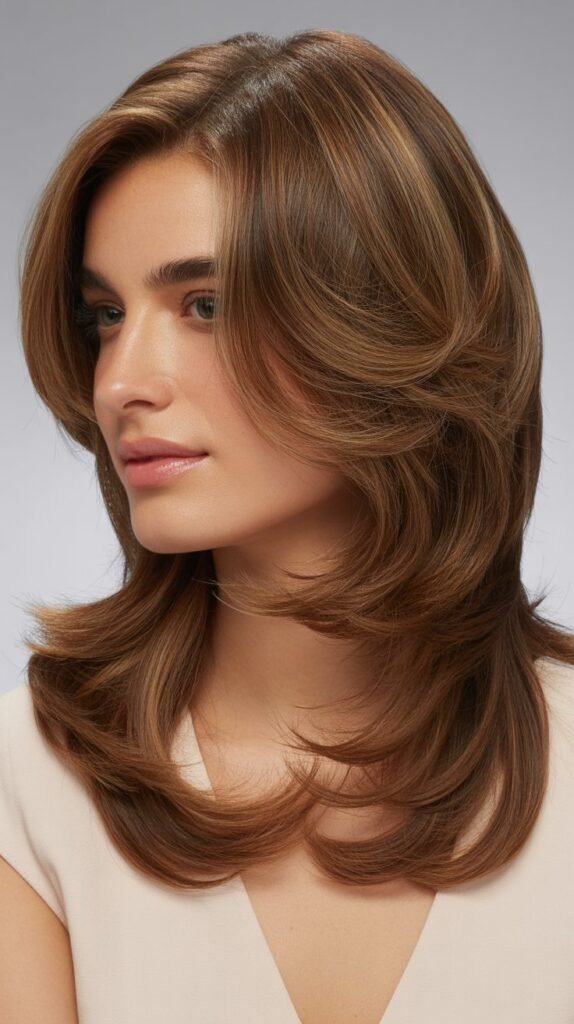
Whether you have long flowing locks, a medium-length bob, or short pixie cut, this article provides actionable steps to achieve salon-quality layers that enhance your natural beauty and boost your confidence.
Get ready to transform your hair from ordinary to extraordinary with techniques that professional stylists use every day.
1. Understanding Hair Layering Fundamentals

Before you pick up scissors, understanding the basic principles of hair layering is crucial for achieving professional results.
Layering involves cutting hair at different lengths to create dimension, remove weight, and add movement throughout your style.
The foundation of successful layering lies in recognizing how hair naturally falls and grows, which determines where cuts should be placed for optimal results.
- Hair layers work by creating shorter pieces underneath or on top of longer sections, which adds volume and prevents hair from looking flat or triangular.
- The angle at which you hold and cut hair determines the intensity and style of your layers, with higher angles creating more dramatic effects.
- Different layering techniques suit different face shapes, with longer layers softening angular features and shorter layers adding definition to round faces.
- Understanding your hair’s natural texture is essential because curly hair requires different layering approaches than straight or wavy hair.
- Layers can be subtle or dramatic depending on the graduation between lengths, with gentle transitions creating soft movement and extreme differences producing edgy styles.
- Professional stylists consider factors like hair density, growth patterns, cowlicks, and previous cuts before determining the optimal layering strategy.
2. Essential Tools You’ll Need
Having the right tools makes the difference between amateur results and professional-quality layers.
While professional stylists have extensive tool collections, you only need a few key items to create beautiful layers at home.
- Professional haircutting scissors (6-7 inches long) are absolutely essential and should never be substituted with regular household scissors that create ragged edges.
- A fine-tooth comb helps section hair precisely and creates clean partings that ensure even layer distribution throughout your cut.
- Hair clips or sectioning clamps keep uncut portions separated and organized, preventing accidental cuts and maintaining your planned layering structure.
- A spray bottle filled with water keeps hair damp during cutting, which is crucial because hair stretches when wet and springs back when dry.
- A handheld mirror allows you to check the back and sides of your head, ensuring layers are even and symmetrical from all angles.
- Thinning shears or texturizing scissors help blend layers seamlessly and remove bulk without creating harsh lines between sections.
- A clean, well-lit workspace with a large mirror provides the visibility needed to assess your progress and make adjustments as you work.
3. Preparing Your Hair for Cutting
Proper preparation ensures your layering technique produces the best possible results and minimizes the risk of mistakes.
Taking time to prepare your hair correctly sets the foundation for a successful cut that looks intentional rather than accidental.
- Wash your hair thoroughly to remove all product buildup, oils, and dirt that can interfere with how scissors glide through hair strands.
- Towel-dry hair until it’s damp but not dripping wet, as the ideal moisture level allows hair to hold its shape while remaining pliable for cutting.
- Detangle hair completely using a wide-tooth comb, starting from the ends and working toward the roots to prevent breakage and ensure smooth cutting.
- Part your hair in its natural position where you typically wear it, since cutting with an unnatural part creates layers that look awkward when styled normally.
- Section hair into manageable portions using clips, typically dividing it into top, sides, and back sections for systematic cutting.
- Assess your current hair length and condition to determine how much you can safely cut while achieving your desired layered look.
- Consider doing a light trim on the ends before layering to remove any existing damage that might affect how cleanly the scissors cut through hair.
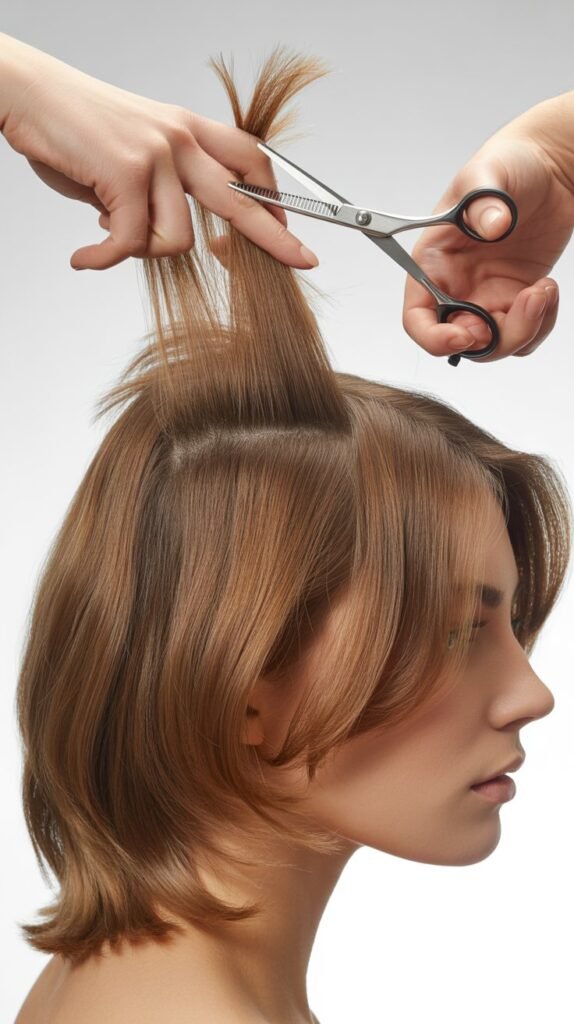
4. The Ponytail Method for Beginners
The ponytail method is the simplest and most foolproof technique for creating uniform layers throughout your hair.
This approach is perfect for beginners because it requires minimal technical skill while delivering impressive, professional-looking results.
- Brush all your hair forward and gather it into a high ponytail positioned at your forehead, right at your hairline where you want the shortest layers to fall.
- Secure the ponytail tightly with a hair elastic, making sure all hair is pulled evenly without bumps or sections left behind.
- Slide the elastic down to where you want to cut, remembering that hair will spring up slightly shorter when released from the ponytail.
- Hold the ponytail straight up perpendicular to your head, ensuring it doesn’t tilt forward or backward which would create uneven layers.
- Cut straight across the ponytail ends with sharp scissors, making clean decisive cuts rather than sawing back and forth.
- Release the ponytail and shake your hair out to reveal graduated layers that are shorter in front and longer toward the back.
- Assess the results and make small adjustments if needed, but avoid cutting too much more as layers will appear shorter once hair is completely dry.
5. Face-Framing Layers Technique
Face-framing layers add dimension around your face and highlight your best features while creating a polished, salon-quality appearance.
This targeted approach focuses on the front sections of hair that surround your face and draw attention to your eyes and cheekbones.
- Part your hair down the middle or at your preferred side part, then section off the front portions that naturally frame your face on both sides.
- Pull one front section forward and hold it between your fingers at the point where you want the shortest layer to begin, typically around cheekbone or chin level.
- Angle your fingers slightly downward toward your chin to create a soft diagonal line rather than a blunt horizontal cut.
- Cut below your fingers in a smooth motion, then release the hair to check the length before making any additional adjustments.
- Repeat the exact same process on the opposite side, measuring carefully to ensure both face-framing pieces are symmetrical.
- Blend these front layers into the rest of your hair by taking slightly longer sections moving backward and cutting at a similar angle.
- Use point-cutting (cutting into the ends vertically) to soften the edges and create a more natural, feathered appearance rather than blunt lines.
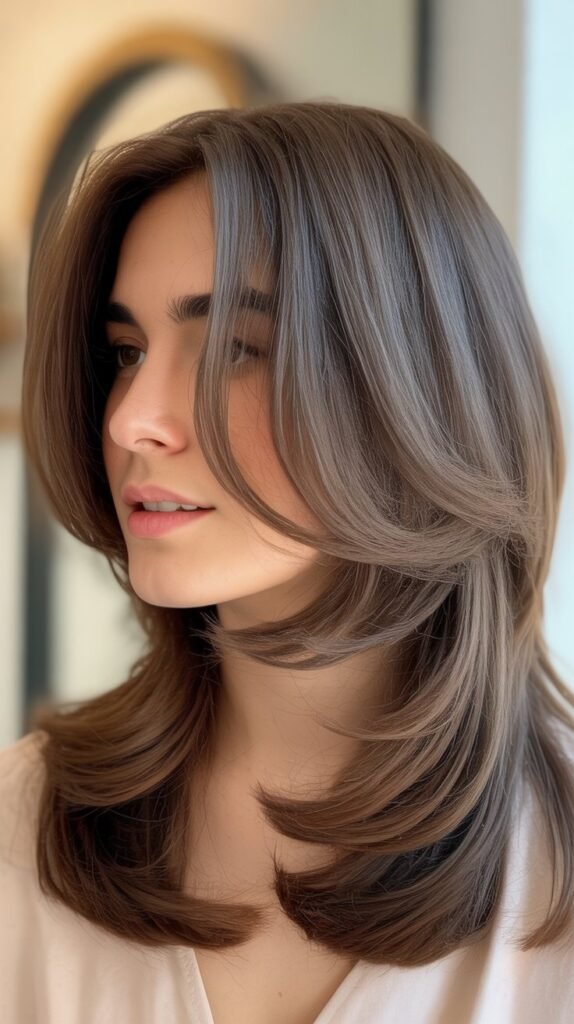
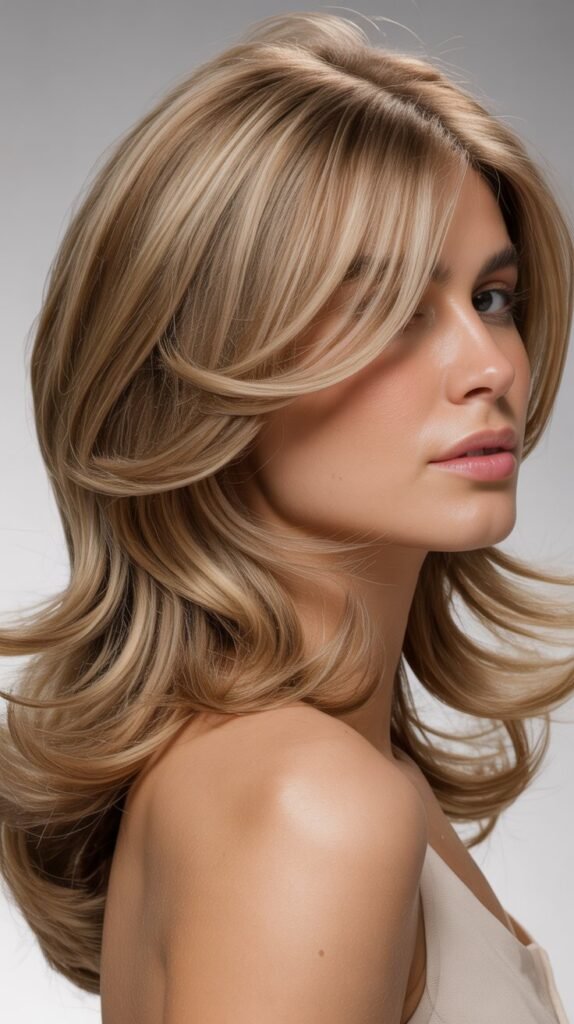
6. Creating Long Layers for Movement
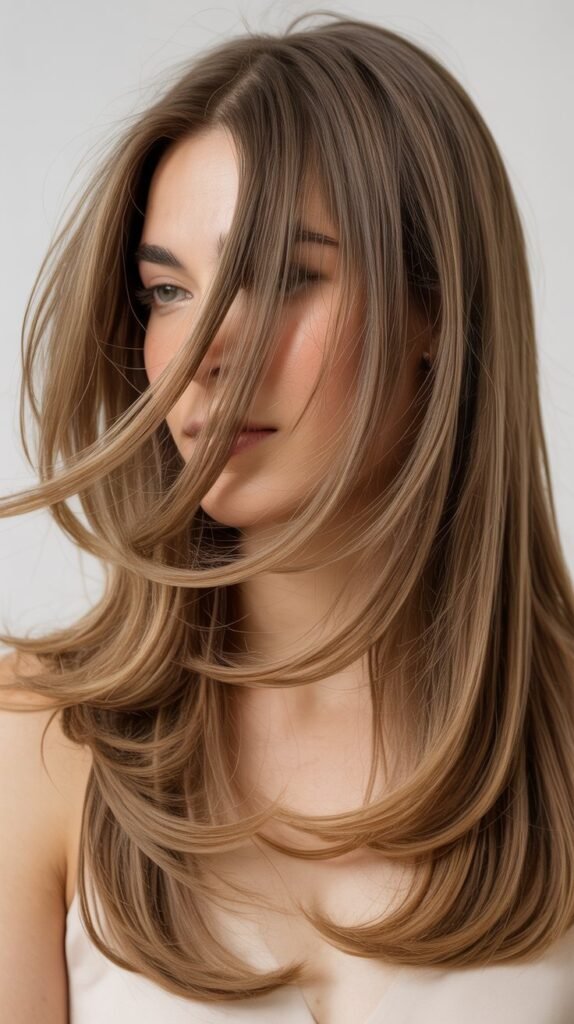
Long layers are ideal for adding movement and reducing weight without sacrificing overall length.
This technique works beautifully for those who want to maintain long hair while eliminating the heavy, flat appearance that often comes with substantial length.
- Divide your hair into three horizontal sections: bottom, middle, and top, securing the upper sections out of the way with clips.
- Start with the bottom section and comb it straight down, then pull a small subsection forward at a slight angle to determine your cutting line.
- Cut this subsection at your desired length, creating your guide for the rest of the bottom layer that will be your longest length.
- Release the middle section and pull small subsections forward, cutting slightly shorter than the bottom layer to create gentle graduation.
- Continue working through the middle section systematically, maintaining consistent angles and checking that both sides remain symmetrical.
- Release the top section and create the shortest layers here, typically cutting 2-4 inches shorter than the middle section depending on desired drama.
- Blend all three sections together by taking vertical subsections and point-cutting where layers meet to eliminate any harsh lines or visible separations.
7. Layering Techniques for Short Hair
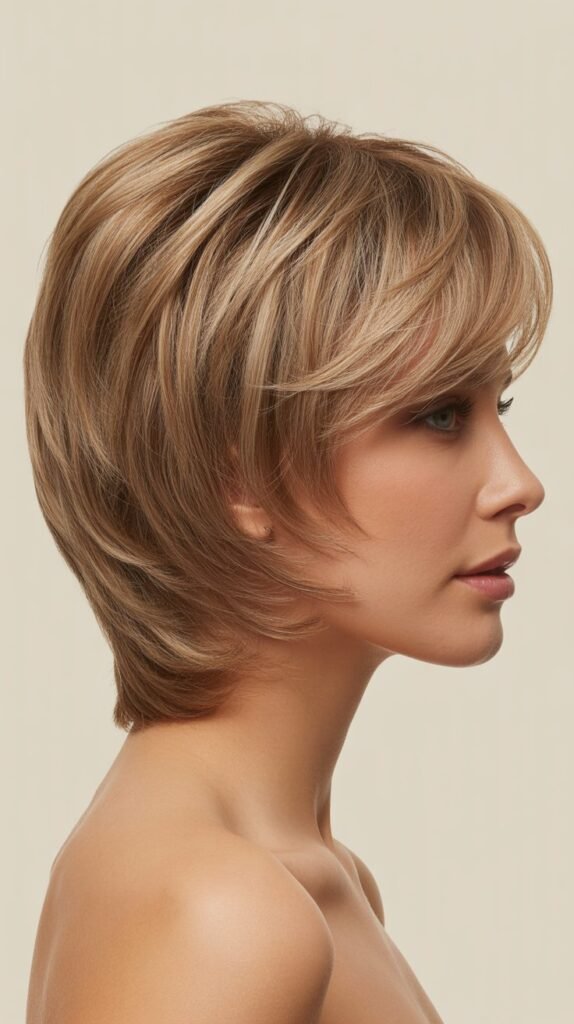
Short hair requires precision and careful planning when layering because mistakes are more visible and take longer to grow out.
However, well-executed layers in short hair create incredible texture, volume, and modern style that’s easy to maintain daily.
- Begin by deciding whether you want disconnected layers with more dramatic contrast or graduated layers with subtle blending for a softer look.
- Section the hair into a top section (crown area) and bottom sections (sides and back), working methodically to maintain control over the cut.
- Use the point-cutting technique extensively in short hair to create texture and prevent the blocky appearance that straight cuts can produce.
- Create shorter layers on top by pulling small sections straight up from the scalp and cutting to your desired length, which adds height and volume.
- Keep the sides and back slightly longer or the same length as the top, depending on whether you want a classic or edgy contemporary style.
- Pay special attention to the nape area, ensuring layers blend smoothly into the neck and don’t create unflattering bulk or gaps.
- Texturize the ends with thinning shears to remove weight and create a softer, more lived-in appearance that’s easier to style with minimal effort.
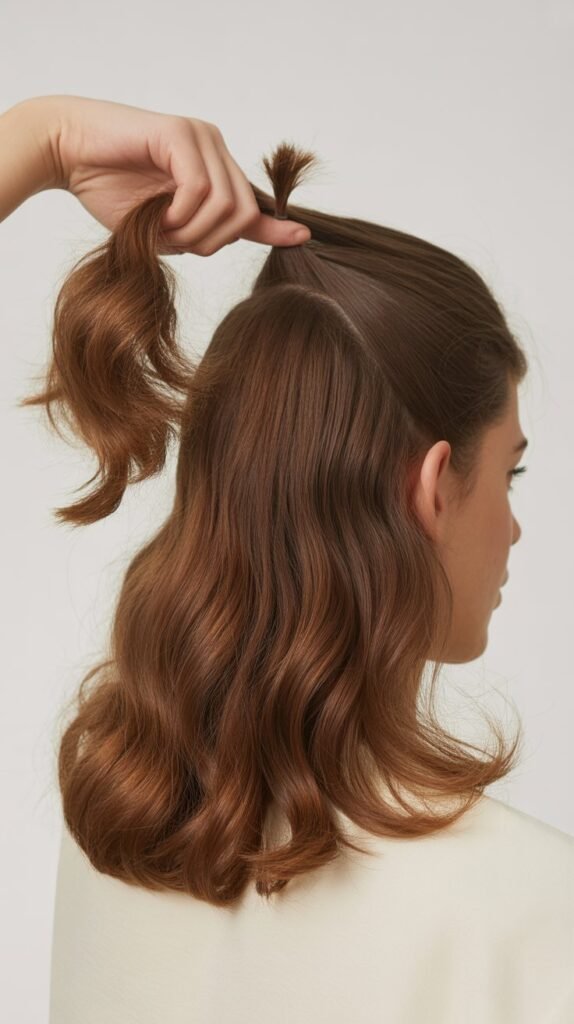
8. The Twist and Cut Method

The twist and cut method offers excellent control for creating soft, blended layers with natural-looking results.
This technique is particularly effective for those with thick or medium-density hair who want to add dimension without losing too much length.
- Section your hair into multiple small vertical sections, working with one section at a time while keeping others clipped away.
- Take one vertical section and twist it tightly from roots to ends, which naturally causes shorter hairs to pop out from the twist.
- Hold the twisted section firmly and identify the point where you want the shortest layer in that section to fall.
- Cut straight across the twist at your chosen point, which removes length while creating graduated layers throughout that section.
- Untwist the hair and assess the results, noting how the twist naturally creates shorter pieces near the scalp and longer pieces at the ends.
- Move to the next section and repeat the process, ensuring you maintain consistent twisting tightness and cutting points for uniformity.
- Continue around your entire head, working systematically to ensure all sections receive the same treatment for balanced, cohesive layers.
9. Layering for Different Hair Types
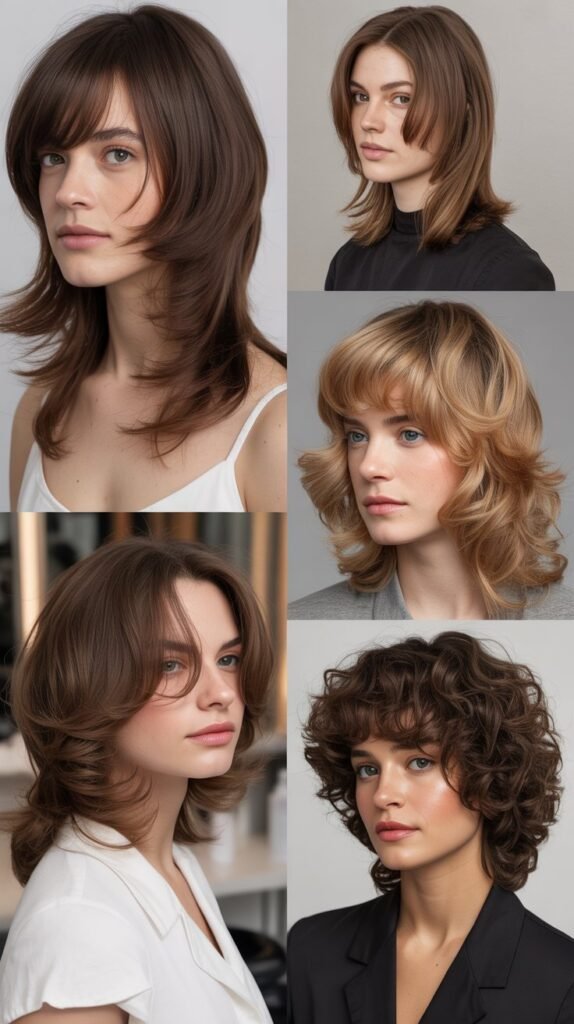
Understanding how different hair textures respond to layering is essential for achieving your desired results.
Each hair type has unique characteristics that require specific approaches to layering for optimal appearance and manageability.
Hair Type Comparison
- Straight hair benefits from long, flowing layers that add movement without creating frizzy, choppy pieces that stick out awkwardly.
- Wavy hair looks best with varied length layers that work with natural texture to enhance waves rather than fighting against them.
- Curly hair should ideally be cut dry so you can see exactly how each curl will fall, preventing unintentional shortness when curls spring up.
- Coily and highly textured hair typically requires minimal internal layering, focusing instead on overall shape and perimeter definition.
- Fine hair needs careful layering with subtle graduation because too many layers can make hair appear thin and lacking in density.
- Thick, coarse hair can handle aggressive layering that removes substantial weight and prevents the dreaded pyramid or triangle shape.
10. Common Mistakes to Avoid
Even experienced home haircutters make mistakes that can compromise their layering results.
Knowing what pitfalls to avoid dramatically increases your chances of achieving professional-quality layers that you’ll love wearing.
- Cutting too much at once is the most common mistake, so always start conservatively and cut more if needed rather than removing too much initially.
- Using dull scissors creates ragged, split ends rather than clean cuts, so invest in proper sharpening or replace scissors that pull or snag hair.
- Cutting hair bone-dry can lead to uneven results because hair doesn’t behave naturally when completely dry, making it difficult to see the true fall.
- Ignoring your natural part and growth patterns creates layers that look strange when you style hair normally in your everyday pattern.
- Rushing through the process leads to uneven sections, missed spots, and asymmetrical results that require professional correction.
- Cutting too many short layers throughout creates excessive volume that can look triangular or pyramid-shaped rather than sleek and dimensional.
- Failing to check your work from all angles means you might miss uneven areas on the back or sides that are visible to others.
11. Blending and Refining Your Layers
After creating your initial layers, blending and refining ensures a polished, professional finish without harsh lines or visible demarcations.
This crucial finishing step transforms an adequate haircut into an exceptional one that looks like it came from an expensive salon.
- Use point-cutting (cutting vertically into the ends) to soften any harsh horizontal lines where different layer lengths meet.
- Take random vertical sections throughout your hair and make small, targeted cuts to eliminate any remaining bulk or unevenness.
- Check for symmetry by pulling matching sections from each side forward and comparing lengths at eye level in the mirror.
- Use thinning shears judiciously on thick areas to reduce density without creating noticeable holes or choppy sections.
- Assess your layers in different lighting conditions and with your hair styled in various ways to identify any areas needing adjustment.
- Make micro-adjustments rather than significant cuts during the refinement phase, as small changes can have dramatic effects on the overall appearance.
- Allow your hair to air-dry completely before doing final assessments, since wet hair looks different than dry hair in terms of length and behavior.
12. Styling Your Newly Layered Hair
Proper styling techniques maximize the beauty of your new layers and help you achieve the look you envisioned when you decided to cut.
Learning to style layered hair correctly ensures your hard work cutting pays off with gorgeous daily results.
- Apply a volumizing mousse or spray to damp hair, focusing on roots to enhance the lift and dimension that layers naturally provide.
- Blow-dry hair in sections using a round brush, pulling each section up and away from the scalp to emphasize the layered structure.
- Direct the blow dryer down the hair shaft from roots to ends to smooth the cuticle and create shine rather than frizz.
- Use a flat iron or curling iron on individual layers to create varied textures throughout your hair, with some pieces curled and others straight.
- Apply a lightweight texturizing spray or dry shampoo to enhance separation between layers and prevent them from clumping together.
- Finish with a flexible-hold hairspray that allows movement while maintaining your styled look throughout the day.
- Experiment with different styling products and techniques to find what works best with your specific hair type and desired aesthetic.
13. Maintaining Your Layered Haircut
Maintaining the integrity of your layered cut between trims ensures your hair continues looking intentional and polished rather than grown-out and neglected.
With proper maintenance, you can extend the life of your cut and keep your layers looking fresh for weeks.
- Trim your layers every 6-8 weeks to prevent the shortest pieces from growing out and losing their shape and purpose.
- Focus maintenance trims on the shortest layers and face-framing pieces, which grow out most noticeably and affect your overall look significantly.
- Use quality hair care products designed for your hair type to keep layers looking healthy, shiny, and well-defined.
- Protect hair from heat damage with thermal protectant sprays before using hot tools, as damaged ends make layers look ragged.
- Get regular deep conditioning treatments to maintain moisture and elasticity, which helps layers fall properly and maintain their intended shape.
- Sleep on silk or satin pillowcases to reduce friction and prevent the frizz and tangles that can make layers look messy.
- Avoid over-washing hair, which strips natural oils and can make layers look dry and lifeless rather than glossy and dimensional.
14. When to See a Professional
While home layering can produce excellent results, certain situations require professional expertise to avoid disasters.
Knowing when to DIY and when to book a salon appointment saves you from costly corrections and hair-related regrets.
- Major hair transformations involving dramatic length changes or completely new styles should be handled by experienced professionals.
- Highly textured, curly, or coily hair often requires specialized cutting techniques that professional stylists have spent years mastering.
- If you’ve never cut hair before, consider starting with just face-framing layers or minor trims rather than attempting a full layered cut.
- Correcting previous bad cuts requires professional expertise to assess the damage and create a plan that salvages your hair.
- Very short haircuts and pixie cuts demand precision and technical skill that’s difficult to achieve when cutting your own hair.
- If you feel uncertain or anxious about cutting your hair, trust those instincts and invest in a professional cut rather than risking regret.
- Complex coloring combined with layering should be done professionally, as coordinating both services requires understanding how color placement affects perceived dimension.
15. Troubleshooting Layer Problems
Even with careful execution, unexpected issues can arise during or after layering your hair.
Understanding how to identify and fix common problems helps you salvage imperfect cuts and learn from mistakes for future improvements.
- If layers are uneven between sides, dampen hair and carefully check lengths again, then make tiny corrective cuts to the longer side only.
- When layers create too much volume or a triangle shape, use thinning shears to remove internal bulk without changing the overall length.
- If face-framing pieces turned out too short, style them behind your ears temporarily while they grow, or use styling products to blend them back.
- Address choppy, disconnected layers by taking vertical sections and point-cutting where layers meet to create softer transitions.
- If you cut too much off, accept that hair grows about half an inch per month and focus on styling techniques that work with your current length.
- When layers lack movement despite cutting, add texture with thinning shears or consider whether your hair needs moisture treatments to improve its behavior.
- If the entire cut looks wrong, resist the urge to cut more and instead visit a professional stylist who can assess the situation objectively.
Conclusion
Mastering the art of how to layer your hair like a pro with this simple technique empowers you to take control of your appearance and save money on frequent salon visits.
Throughout this comprehensive guide, you’ve discovered fundamental principles of layering, learned about essential tools, and explored multiple cutting techniques suitable for various skill levels and hair types.
From the beginner-friendly ponytail method to advanced face-framing techniques, you now possess the knowledge to create beautiful, dimensional layers that enhance your natural beauty.
Remember that successful layering requires patience, practice, and attention to detail, so don’t be discouraged if your first attempt isn’t perfect.
The key to achieving professional results lies in starting conservatively, working methodically through sectioned hair, and making small adjustments rather than drastic cuts.
By avoiding common mistakes, properly maintaining your layers, and knowing when to seek professional help, you can consistently achieve salon-quality results at home.
The ability to layer your hair like a pro with this simple technique transforms not just your appearance but also your confidence, giving you the freedom to experiment with styles and maintain gorgeous hair on your own terms.