
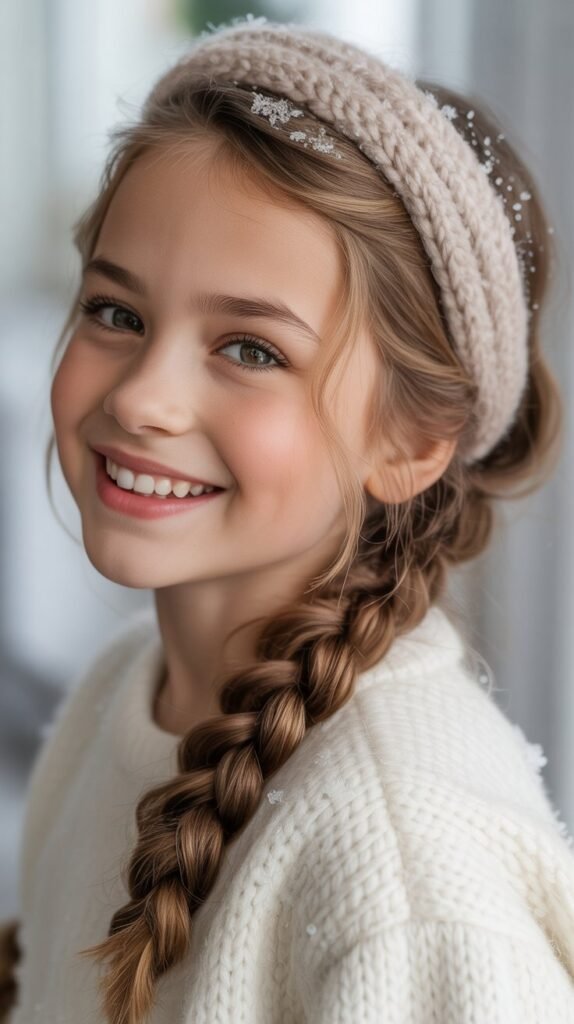
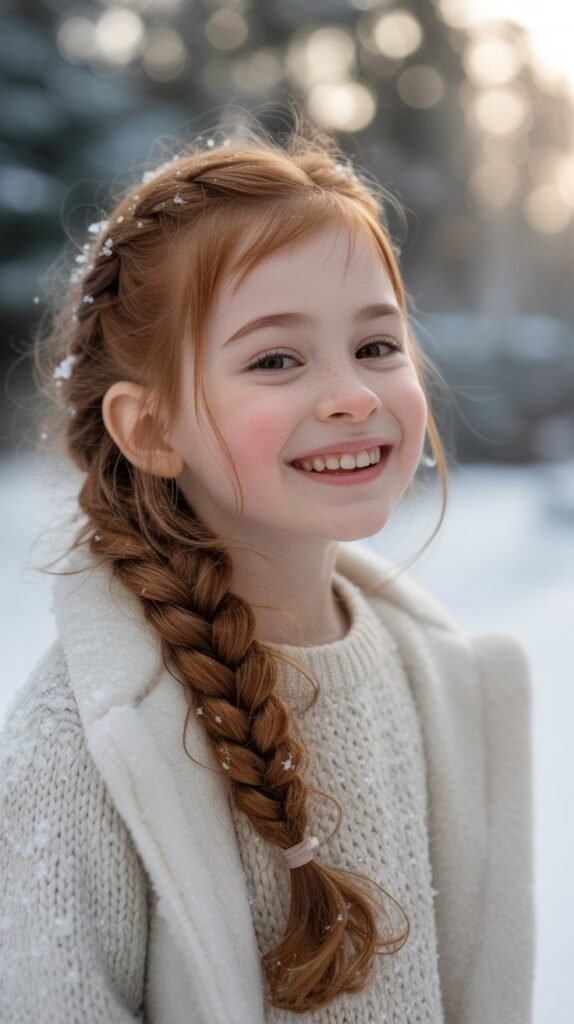
Winter brings cozy sweaters, warm cockets, and the perfect opportunity to try adorable new hairstyles for your little ones.
“33 Cute Winter Hair Braids for Kids” is your ultimate guide to keeping your children’s hair stylish, manageable, and protected during the colder months.
Braided hairstyles aren’t just beautiful—they’re practical solutions that keep hair tucked away from winter winds, prevent tangles under hats and scarves, and reduce morning styling stress.
This comprehensive article explores a diverse collection of braiding techniques suitable for various hair types, lengths, and skill levels.
Whether you’re a beginner looking for simple three-strand braids or an experienced styler ready to tackle intricate Dutch and fishtail designs, you’ll find inspiration and step-by-step guidance here.
From school-ready styles to holiday party perfection, these 33 braided looks will carry your child through the entire winter season with confidence and charm.
Each style has been carefully selected to balance cuteness with functionality, ensuring your kids look adorable while their hair stays healthy and protected from harsh winter conditions.
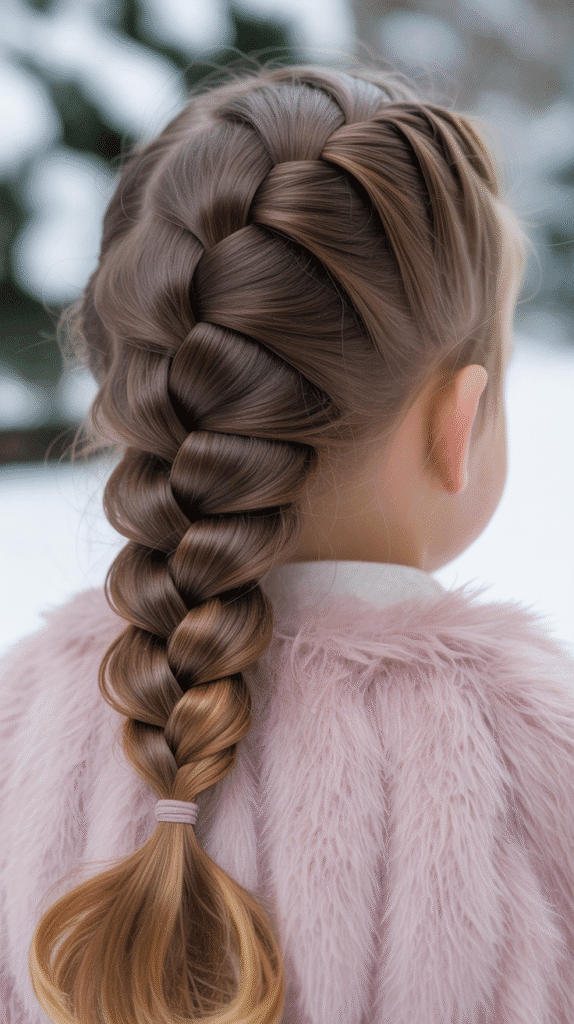
1. Classic Three-Strand Braid
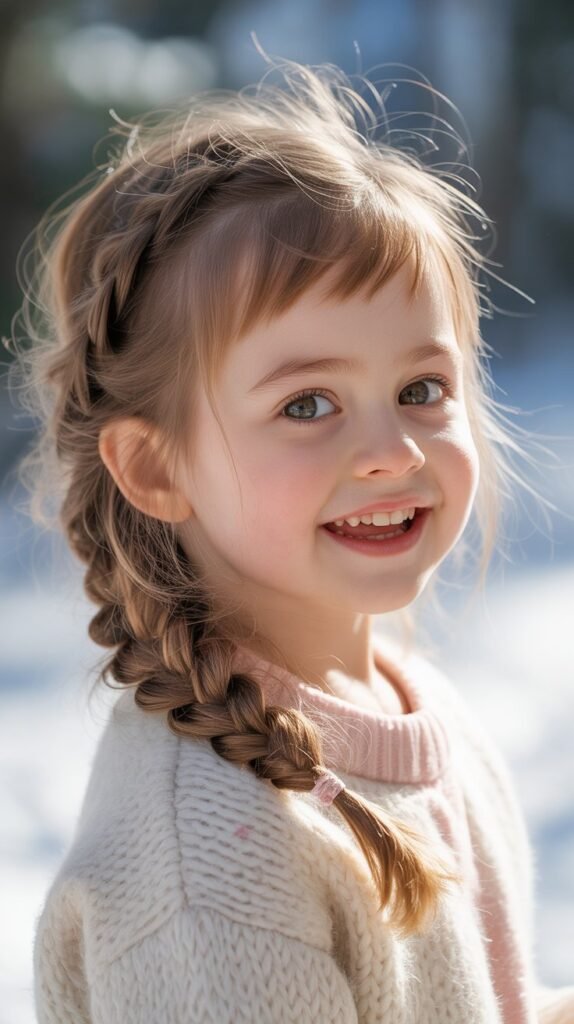
The classic three-strand braid is the foundation of all braiding techniques and remains a timeless winter favorite for kids.
This simple yet elegant style works beautifully for school days, playdates, and everything in between.
It’s the perfect starting point for parents new to braiding and can be completed in just minutes.
How to Create:
- Brush the hair thoroughly to remove all tangles and create a smooth base for braiding.
- Divide the hair into three equal sections at the desired starting point, typically at the nape of the neck or crown.
- Cross the right section over the middle section, making the right section become the new middle.
- Cross the left section over the new middle section, establishing the basic braiding pattern.
- Continue alternating right and left sections over the middle, maintaining even tension throughout.
- Secure the end with a colorful elastic band that complements your child’s winter outfit.
Winter Styling Tips:
- Add festive ribbons or seasonal hair accessories to make the braid more winter-themed.
- This style fits comfortably under winter hats without creating uncomfortable bumps.
- Apply a small amount of leave-in conditioner before braiding to combat winter dryness.
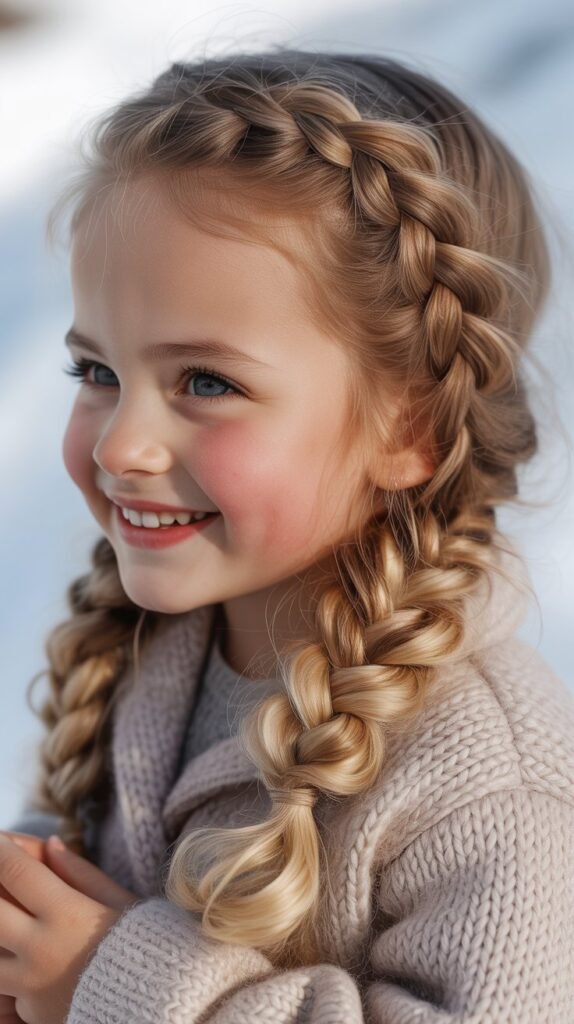
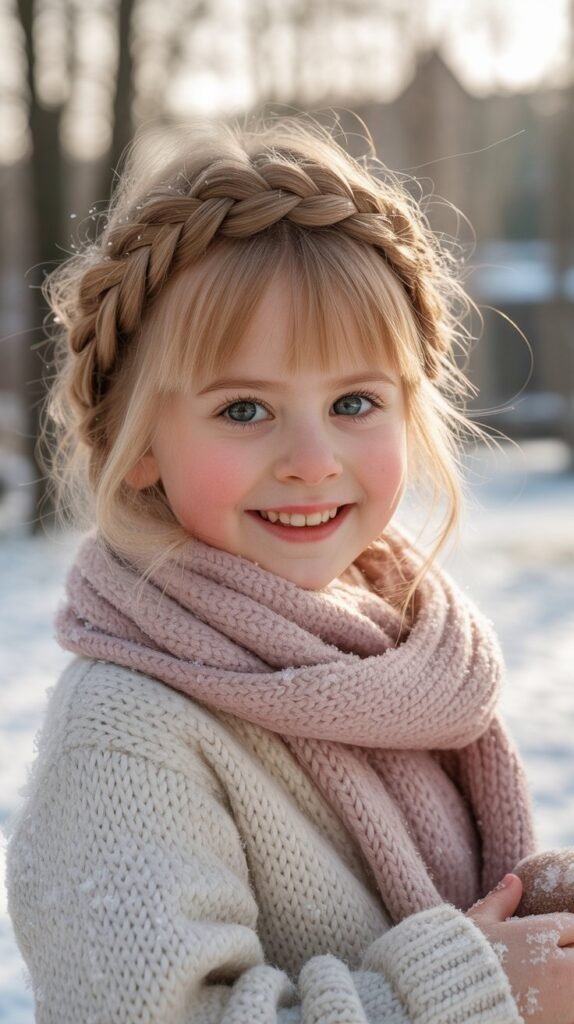
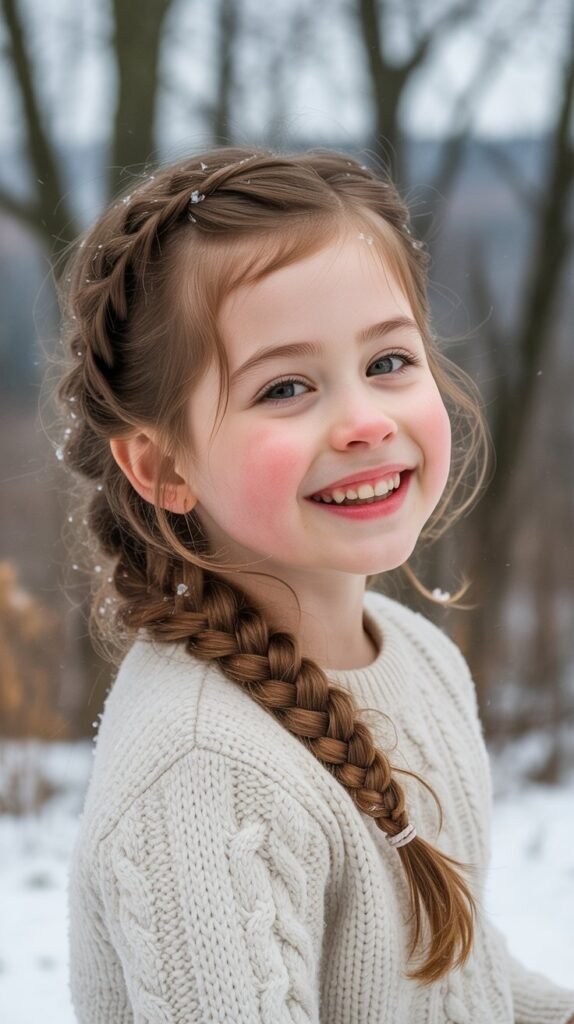
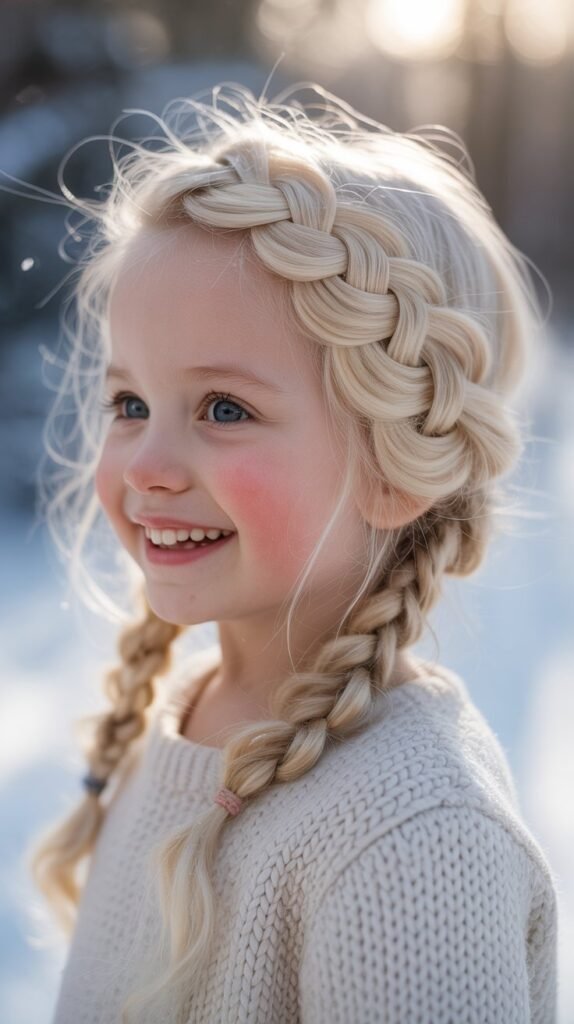
2. Dutch Braid (Reverse French Braid)
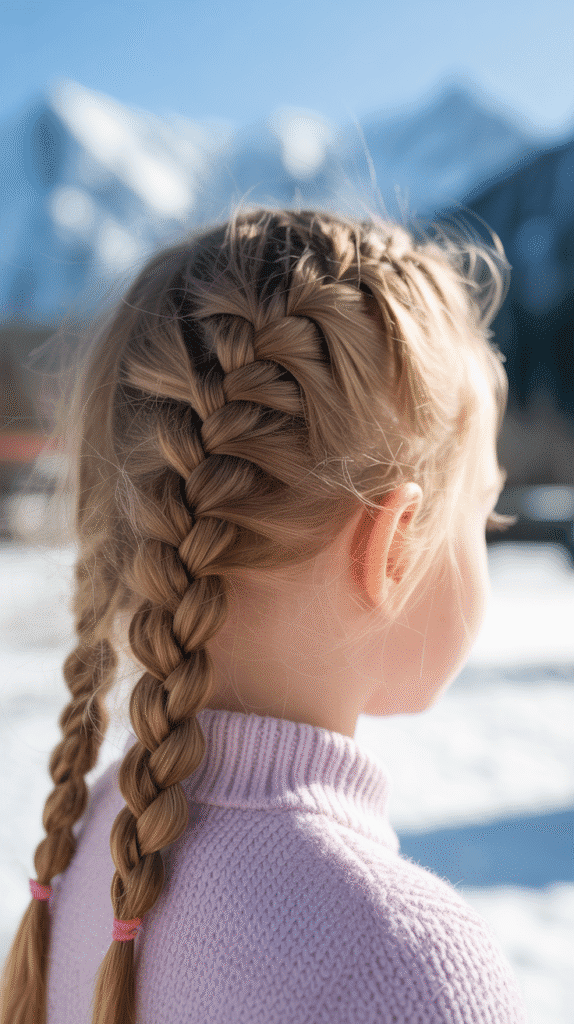
The Dutch braid creates a beautiful raised effect that sits on top of the hair rather than blending in.
This eye-catching style is perfect for winter events and keeps hair securely in place all day long.
The technique is similar to French braiding but creates a more prominent, dimensional look.
Step-by-Step Guide:
- Start with slightly damp or dry hair that has been brushed smooth from roots to ends.
- Take a section of hair from the crown and divide it into three equal strands.
- Cross the right strand under the middle strand instead of over it, which creates the Dutch braid effect.
- Cross the left strand under the new middle strand, establishing the reverse pattern.
- Add small sections of hair to each outside strand before crossing under the middle.
- Continue this pattern down the length of the hair, maintaining consistent tension for a neat appearance.
- The braid will appear to sit on top of the head like a beautiful raised rope.
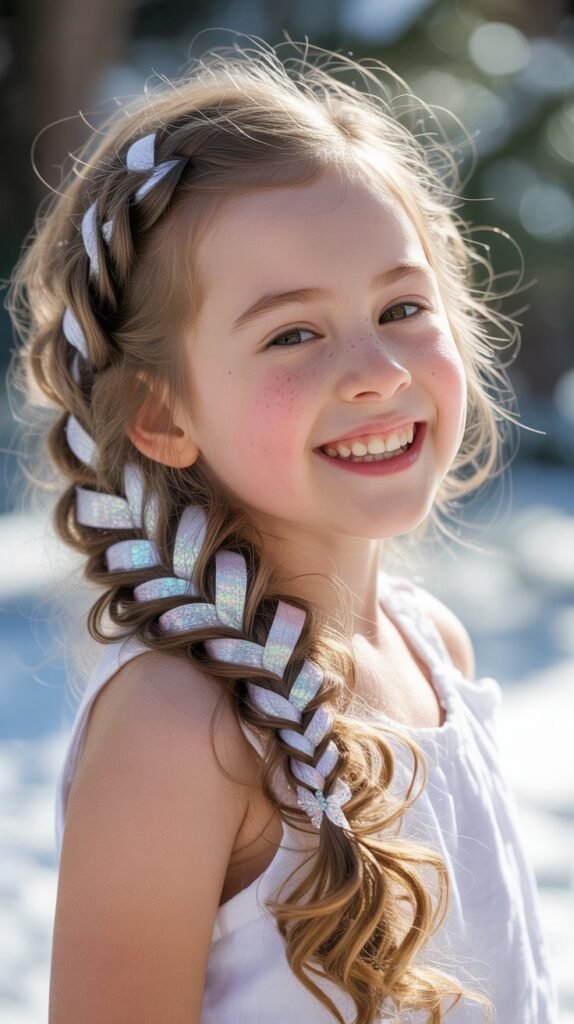
3. Fishtail Braid
The fishtail braid creates an intricate, woven appearance that looks far more complicated than it actually is.
This stunning style is perfect for special winter occasions like holiday parties and family gatherings.
Kids love how unique and sophisticated this braid appears compared to traditional styles.
Creating the Fishtail:
- Divide all the hair into just two large sections instead of three.
- Take a thin strand from the outer edge of the right section and cross it over to join the left section.
- Take a thin strand from the outer edge of the left section and cross it over to join the right section.
- Continue alternating sides, always taking thin strands from the outer edges.
- The thinner the strands you take, the more intricate and detailed the fishtail pattern will appear.
- Keep consistent tension throughout to prevent the braid from becoming loose or uneven.
- Secure with an elastic and gently pull the edges to create a fuller, more voluminous look.
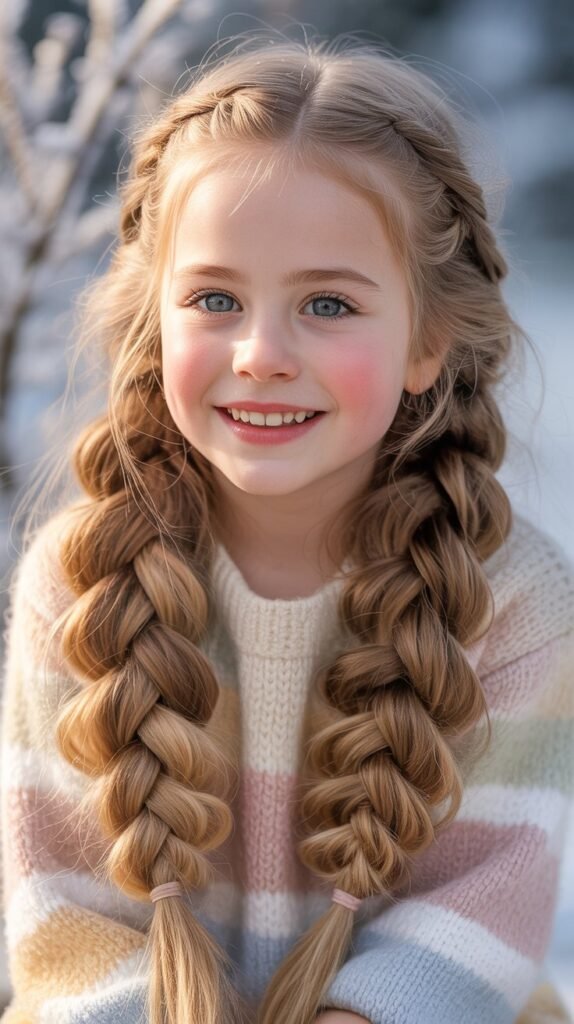
4. Double Dutch Braids

Double Dutch braids feature two parallel braids running down either side of the head.
This athletic and practical style keeps hair completely secured and out of the face during winter activities.
It’s become increasingly popular for both everyday wear and sports.
Installation Process:
- Create a clean center part from the forehead straight down to the nape of the neck.
- Clip one side away while working on the first braid to keep sections separated.
- Begin the first Dutch braid at the hairline, incorporating hair as you braid downward.
- Maintain the braid close to the part line for symmetrical, neat results.
- Secure the first braid with an elastic band before starting the second side.
- Repeat the exact process on the opposite side, ensuring both braids are positioned at matching heights.
- The result should be two mirror-image braids that look professionally done.
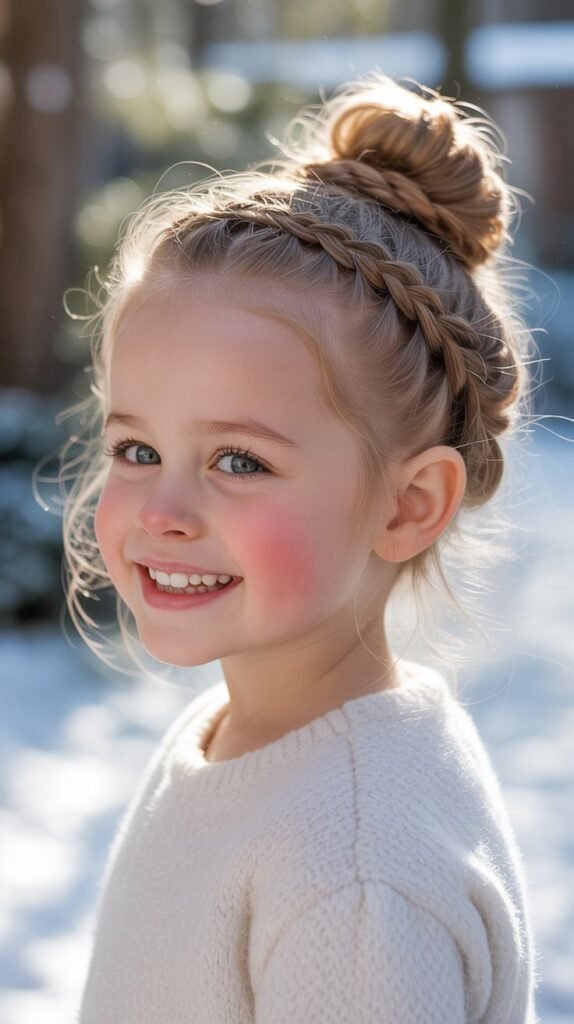
5. Crown Braid
The crown braid wraps elegantly around the head like a halo or crown.
This regal style is perfect for winter celebrations, holiday photos, and making your child feel like royalty.
It works wonderfully for both casual and formal occasions.
Crown Braid Technique:
- Part the hair down the middle from forehead to nape, creating two equal sections.
- Begin Dutch braiding on one side, starting near the ear and working around the head.
- Curve the braid following the natural hairline around the back of the head.
- Continue braiding around until you reach the starting point on the opposite side.
- Tuck the end of the braid underneath the crown and secure with bobby pins.
- Use decorative pins or small flowers to add a festive winter touch.
- Finish with light hairspray to ensure the crown stays in place throughout the day.
6. Side Swept Braid
The side swept braid elegantly drapes over one shoulder, creating a romantic and practical winter look.
This versatile style works beautifully for both school days and special events.
It’s especially popular because it’s easy to create yet looks sophisticated.
Creating the Side Swept Style:
- Brush all hair to one side of the head, choosing the side your child prefers.
- Begin braiding just below the ear on the chosen side using your preferred braiding technique.
- Keep the braid slightly loose for a more relaxed, bohemian winter appearance.
- As you braid, angle the direction forward over the shoulder rather than straight down the back.
- Leave a few soft face-framing pieces out at the front for a softer, more flattering look.
- The braid should rest comfortably on the front of the shoulder where it’s visible.
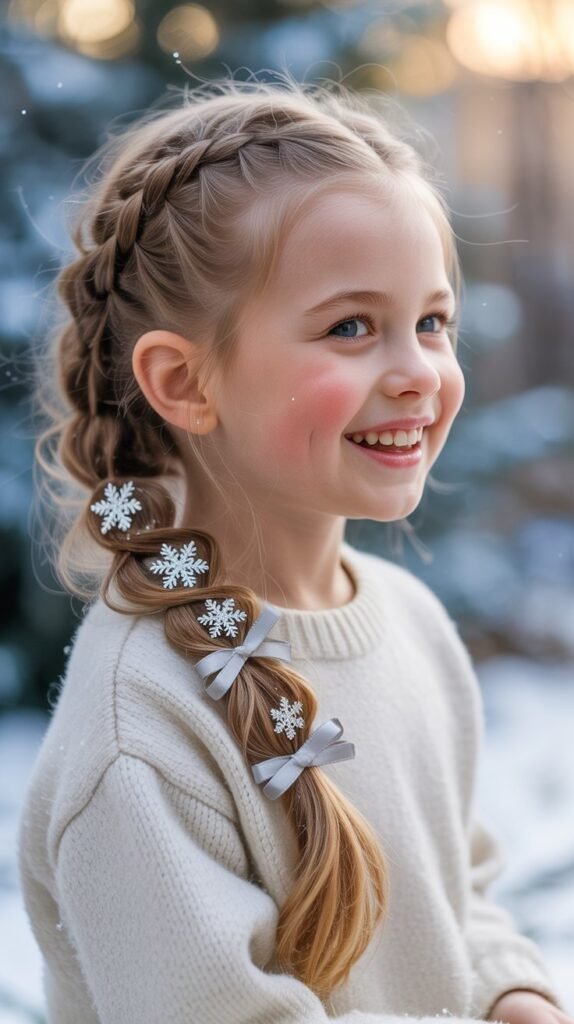
7. Waterfall Braid
The waterfall braid creates a cascading effect with strands of hair falling through the braid like a waterfall.
This beautiful style combines braiding with loose flowing hair, perfect for winter parties and photographs.
It requires moderate skill but produces stunning results.
Waterfall Braid Steps:
- Begin with a small section of hair near the temple area on one side.
- Start with a regular three-strand braid for the first crossing to establish the base.
- When you cross the top strand over the middle, drop it completely and let it fall.
- Pick up a new strand of hair from above to replace the dropped strand.
- Continue this pattern of dropping the top strand and replacing it with new hair.
- The dropped strands create the waterfall effect as they cascade through the braid.
- Work across the head to the opposite side and secure with a small clear elastic.
8. Bubble Braid Ponytail
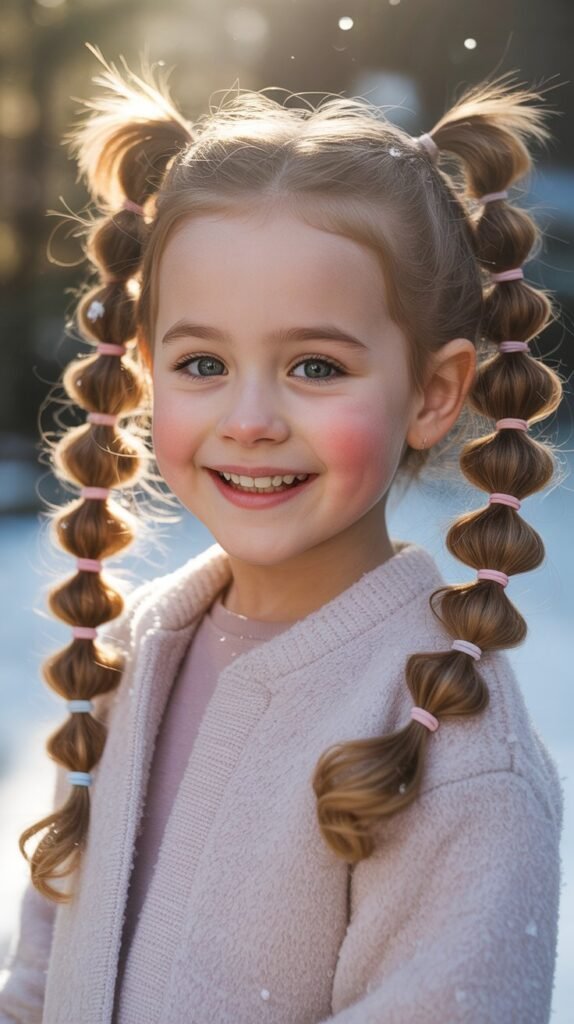
Bubble braids create a playful, segmented look that kids absolutely love.
This trendy style uses multiple elastics to create rounded “bubbles” along a ponytail.
It’s incredibly easy to create and looks impressively complex.
Making Bubble Braids:
- Pull all hair into a high, smooth ponytail and secure with a strong elastic band.
- Measure approximately two inches down from the base and add another elastic band.
- Gently pull and pancake the section between the two elastics to create the bubble shape.
- Continue adding elastics every two inches down the length of the ponytail.
- Create bubbles by pulling each section outward for volume and roundness.
- Use colorful elastics that match your child’s winter wardrobe for added fun.
- This style works on all hair lengths and textures, making it universally accessible.
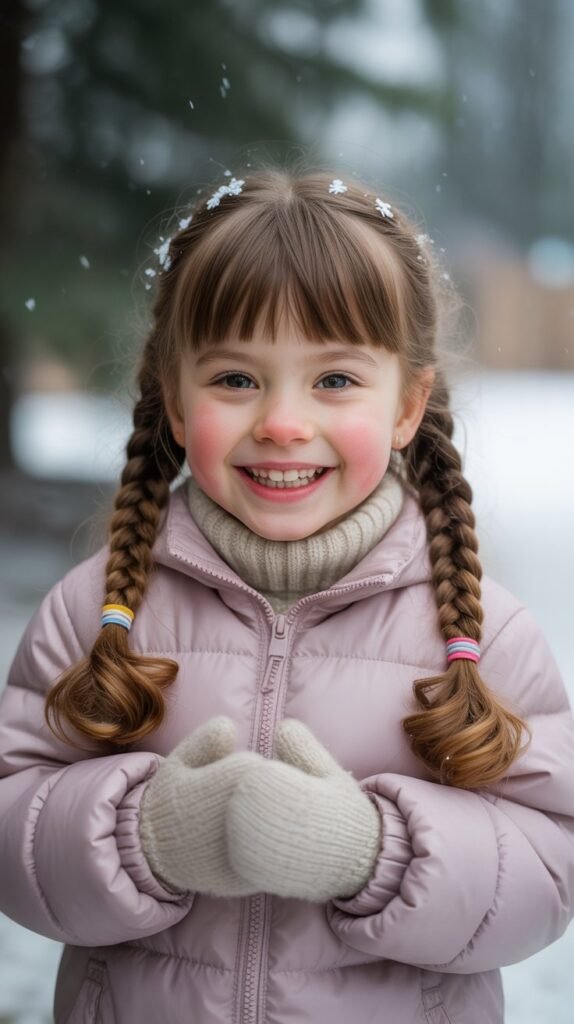
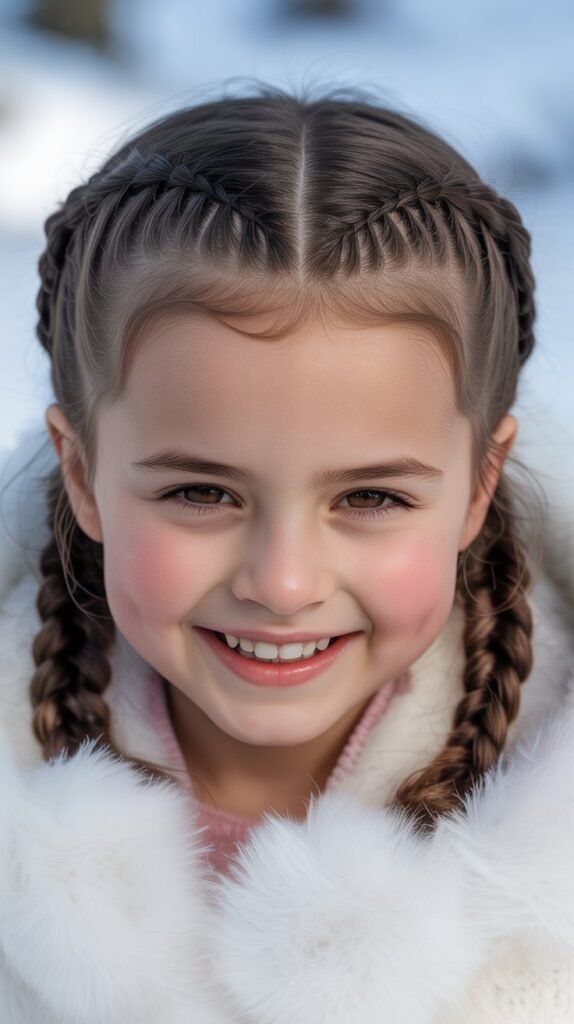
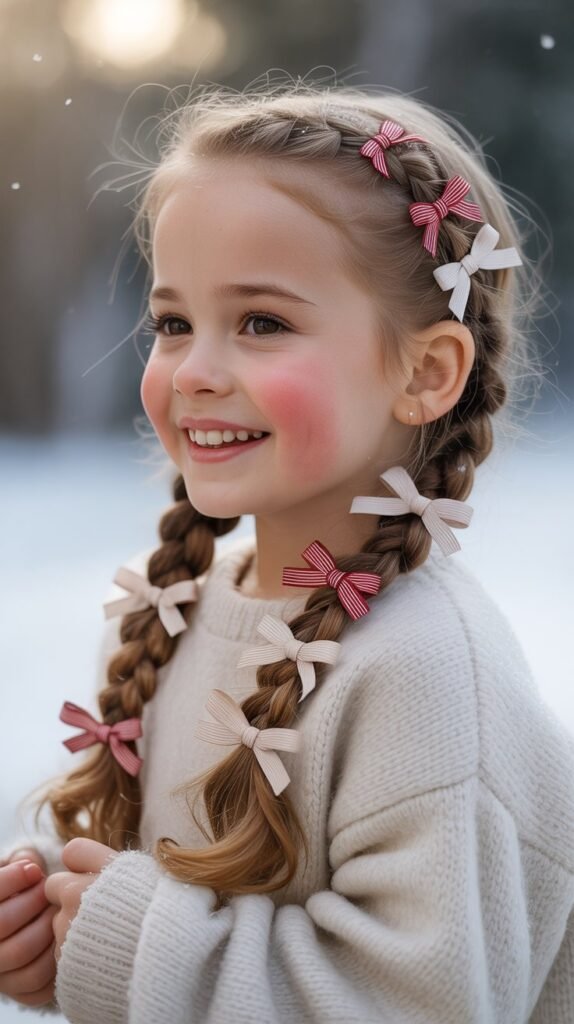
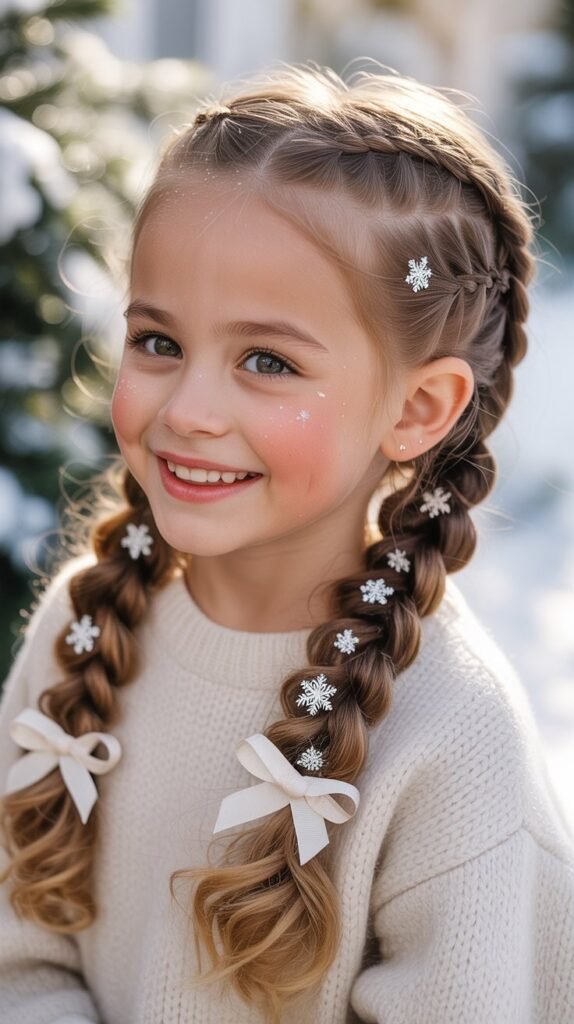
9. French Braid Pigtails
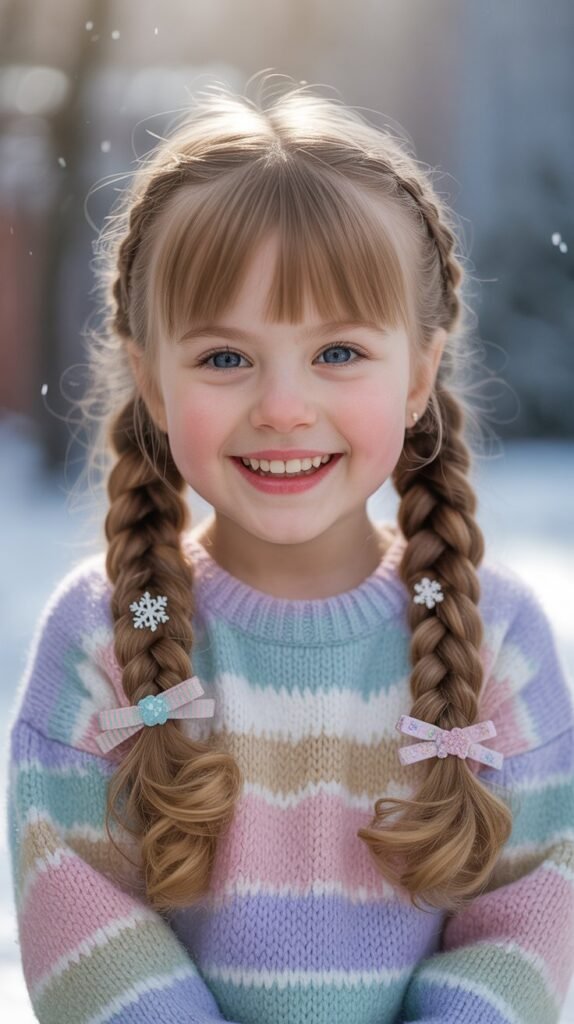
French braid pigtails combine the classic pigtail style with the elegance of French braiding.
This adorable look keeps hair completely controlled while maintaining a youthful, playful appearance.
It’s perfect for active kids who need their hair to stay put all day.
Creating French Braid Pigtails:
- Part the hair straight down the middle from forehead to nape of the neck.
- Secure one side with a clip while working on the first French braid.
- Begin the French braid at the hairline, gradually adding hair as you braid downward.
- Keep the braid relatively tight to ensure it lasts through active winter play.
- Once all hair is incorporated, continue with a regular three-strand braid to the ends.
- Repeat the identical process on the opposite side for matching pigtails.
- Tie with matching ribbons or elastic bands for a coordinated, polished finish.
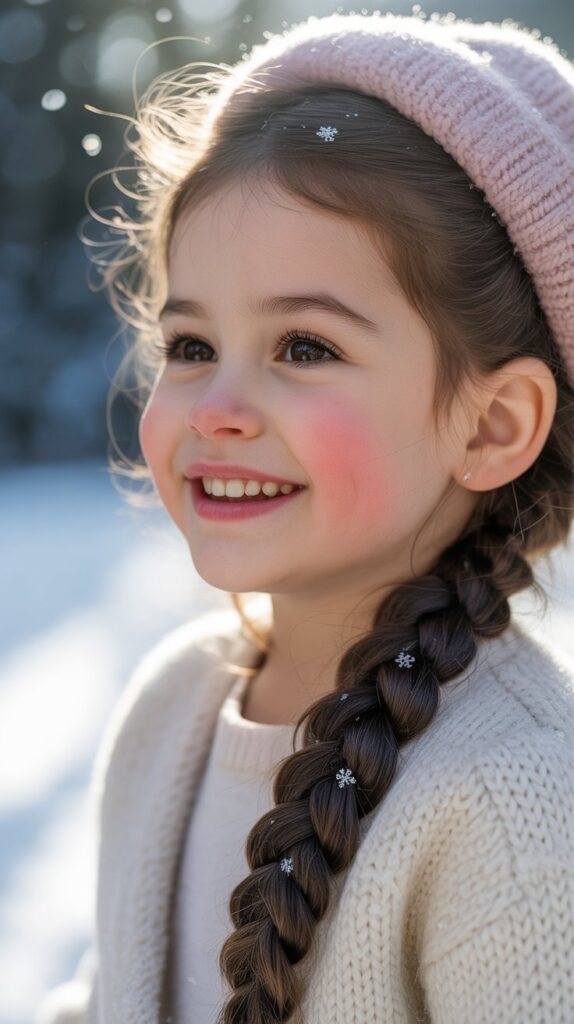
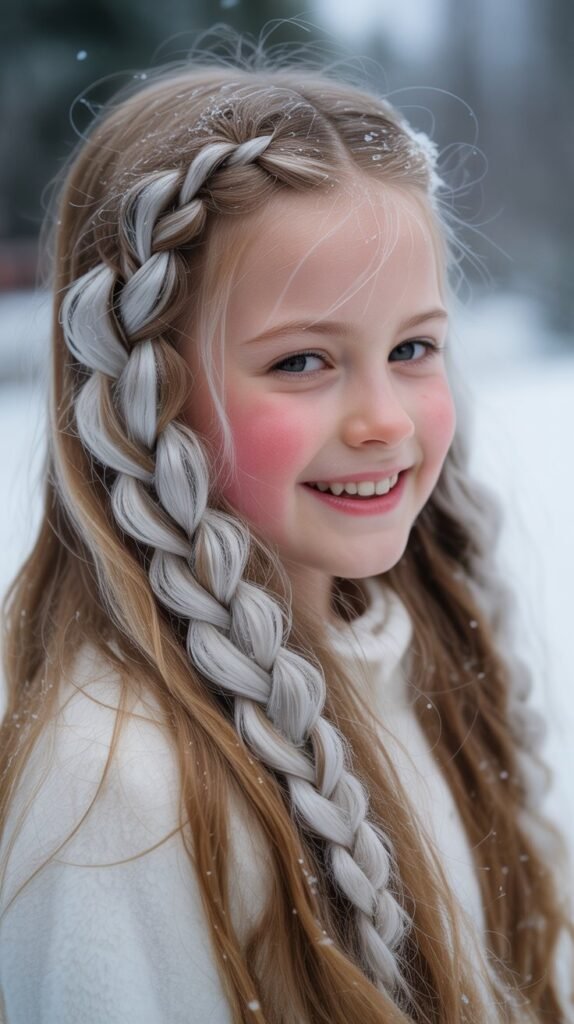
10. Rope Braid
The rope braid creates a twisted, rope-like appearance that’s both simple and striking.
This two-strand technique is perfect for beginners who find traditional braiding challenging.
It’s quick to create and holds up beautifully throughout busy winter days.
Rope Braid Technique:
- Gather hair into a ponytail and secure it with an elastic band at the desired height.
- Divide the ponytail into two equal sections instead of three.
- Twist both sections individually in the same direction, typically clockwise.
- Once both sections are twisted, wrap them around each other in the opposite direction.
- This counter-twisting creates the rope effect and prevents the braid from unraveling.
- Continue twisting and wrapping down to the ends of the hair.
- Secure with an elastic and the rope braid will naturally hold its twisted shape.
11. Boxer Braids
Boxer braids are tight, sleek Dutch braids that lie flat against the scalp.
Originally popularized by athletes, these braids have become a mainstream winter style.
They’re perfect for sports activities, sleepovers, and can last multiple days with proper care.
Creating Boxer Braids:
- Start with completely detangled hair and apply a smoothing gel or cream to control flyaways.
- Create a precise center part from the front hairline to the nape of the neck.
- Begin the first Dutch braid very close to the hairline for a sleek appearance.
- Keep consistent tension throughout to ensure the braids lie flat against the scalp.
- Braid all the way to the ends, securing with a small elastic band.
- Repeat on the opposite side, ensuring both braids are equally tight and positioned symmetrically.
- Apply edge control or gel along the hairline for an extra polished, professional finish.
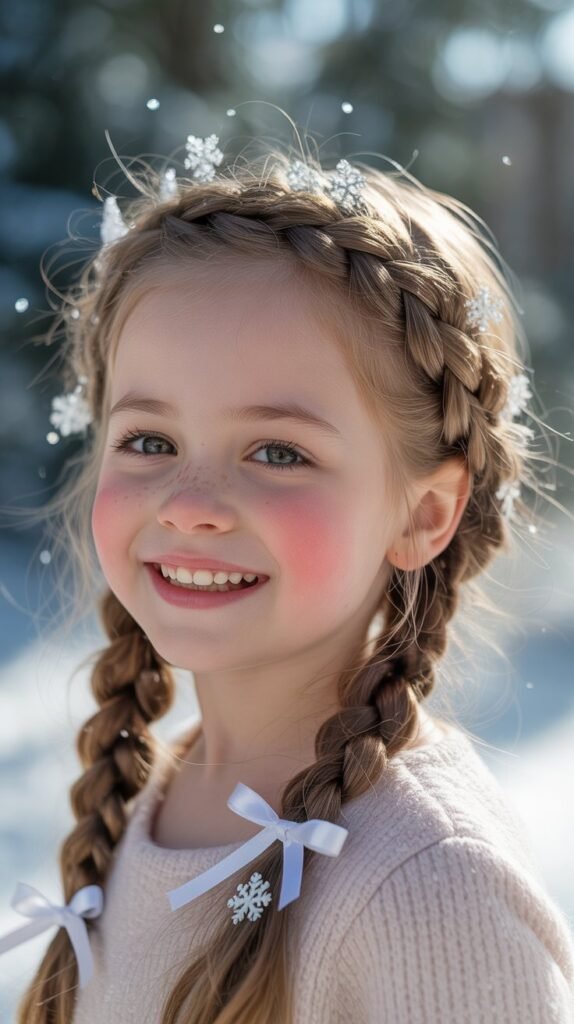
12. Heart-Shaped Braid
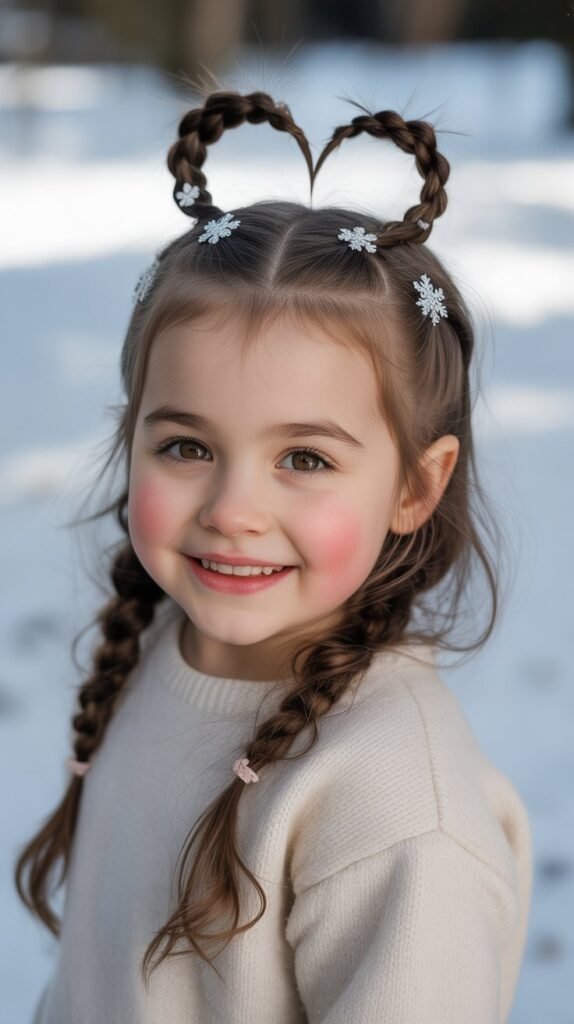
The heart-shaped braid creates an adorable heart design at the back of the head using two curved braids.
This romantic style is perfect for Valentine’s Day or any winter celebration.
Kids feel extra special wearing this creative and loving design.
Heart Braid Instructions:
- Create two symmetrical sections by parting the hair in a curved pattern that forms the top of a heart.
- Begin braiding each section, following the curved part lines to create the heart’s rounded top.
- Angle both braids to meet at a point in the center back, forming the bottom of the heart.
- The two braids should come together where the point of the heart would be.
- Secure them together with a decorative elastic or ribbon to emphasize the heart meeting point.
- This style requires some practice to perfect the curved braiding path.
- Add small heart-shaped clips or pink ribbons to enhance the romantic winter theme.
13. Four-Strand Braid
The four-strand braid creates an intricate, woven pattern that looks incredibly impressive.
This advanced technique produces a flat, wide braid with beautiful dimension.
It’s perfect for winter occasions when you want a hairstyle that truly stands out.
Four-Strand Braiding:
- Divide the hair into four equal sections instead of the traditional three.
- Number the sections mentally from left to right as 1, 2, 3, and 4 for easy tracking.
- Cross section 1 under section 2, then over section 3.
- Take section 4 and cross it under section 3, then over section 2.
- Continue this pattern of under-over, under-over, alternating from each outside section.
- Maintain even tension on all four strands to create a consistent, beautiful pattern.
- This braid takes practice but becomes easier with repetition and patience.
14. Milkmaid Braid
The milkmaid braid features two braids wrapped over the crown of the head.
This vintage-inspired style creates an elegant, sophisticated look perfect for winter weddings or formal events.
It’s also practical for keeping hair off the face and neck.
Milkmaid Braid Creation:
- Part the hair down the middle and create two regular three-strand braids on each side.
- Braid all the way to the ends and secure both braids with elastic bands.
- Take the right braid and wrap it over the top of the head like a headband.
- Secure the braid with bobby pins along its path, tucking the end underneath.
- Repeat with the left braid, positioning it right next to or slightly overlapping the first.
- Tuck the second braid’s end underneath and secure with additional bobby pins.
- Add decorative pins with pearls or flowers for a winter formal finishing touch.
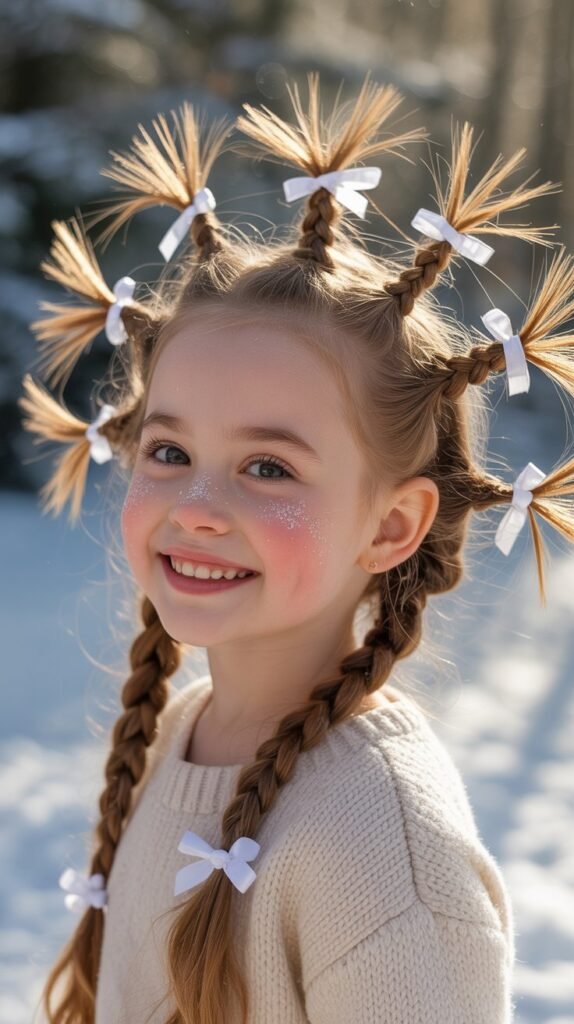
15. Zigzag Part with Braids
A zigzag part adds instant visual interest to any braided style.
This creative parting technique transforms simple braids into something special and fun.
Kids love the playful, unique look it creates at school.
Creating the Zigzag Part:
- Use the pointed end of a rat-tail comb to create the zigzag pattern as you part the hair.
- Start at the front hairline and angle the comb to one side, then sharply to the other.
- Continue the zigzag pattern all the way down to the nape of the neck.
- The more dramatic your angles, the more pronounced the zigzag will appear.
- Once the part is complete, braid each side using your preferred braiding technique.
- Add small colorful clips at each zigzag point for extra flair and fun.
- This simple modification instantly upgrades basic braids into something special.
16. Pull-Through Braid

The pull-through braid creates the illusion of a complex braid without any actual braiding.
This clever technique uses ponytails to create a stunning, voluminous result.
It’s perfect for parents who struggle with traditional braiding.
Pull-Through Braid Steps:
- Create a ponytail at the crown and secure it with a clear elastic band.
- Make a second ponytail directly below the first one, leaving some space between them.
- Split the first ponytail in half and bring both halves around the second ponytail.
- Combine the split halves with the next section of hair and create a third ponytail.
- Continue this pattern of splitting, wrapping around, and creating new ponytails down the head.
- Gently pull and pancake each section for maximum volume and visual impact.
- The result looks like an intricate braid but requires no actual braiding skills.
17. Braided Bun
The braided bun combines the elegance of braiding with the neat sophistication of an updo.
This practical style keeps hair completely secured and looks appropriate for any winter occasion.
It’s especially useful for recitals, concerts, and formal family events.
Creating a Braided Bun:
- Begin by creating one or two braids depending on hair thickness and desired look.
- If using one braid, make a ponytail first, then braid the entire ponytail length.
- Wrap the braid around the base of the ponytail in a circular motion.
- Secure the wrapped braid with bobby pins, tucking the end underneath for a clean finish.
- For double braids, wrap both around each other to create a more intricate bun.
- Use a hair net in a matching color for extra security during active events.
- Add decorative pins or a small bow at the base for winter formal occasions.
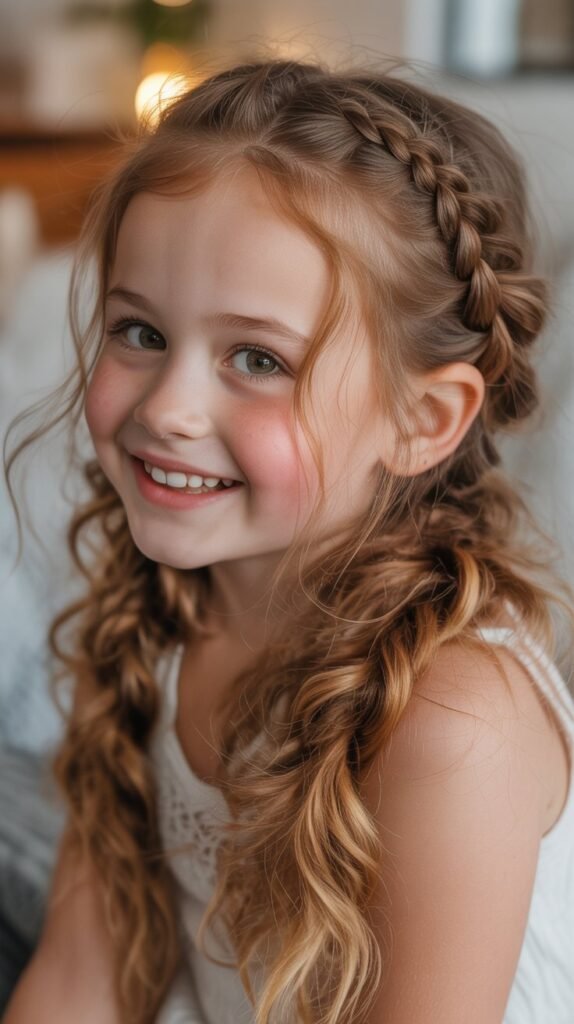
18. Braided Headband
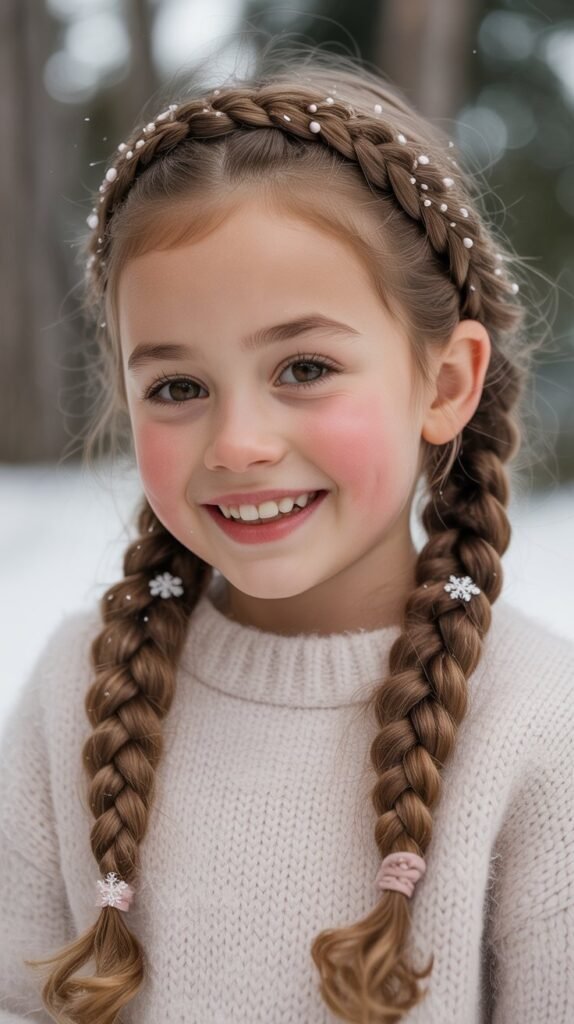
A braided headband uses a small braid across the hairline to create a natural headband effect.
This charming style keeps face-framing hair back while leaving the rest flowing freely.
It’s perfect for kids who resist having all their hair pulled back.
Braided Headband Technique:
- Section off a horizontal strip of hair from temple to temple across the forehead.
- Clip the remaining hair away to keep it separate while creating the headband.
- Begin braiding at one temple, working across the head toward the opposite side.
- You can use a regular, Dutch, or French braid technique for the headband portion.
- Once you reach the opposite temple, secure the braid with a small elastic or bobby pins.
- Release the rest of the hair to flow naturally behind the braided headband.
- This style works beautifully with both straight and curly hair textures.
19. Twisted Side Braid

The twisted side braid combines twisting and braiding techniques for a unique textured look.
This romantic style offers dimension and interest while remaining relatively simple to create.
It’s ideal for winter parties when you want something different from everyday styles.
Twisted Braid Creation:
- Sweep all hair to one side and divide it into three sections for braiding.
- Before beginning the braid, twist each individual section a few times.
- Braid the three twisted sections together using the standard braiding pattern.
- The pre-twisted sections create additional texture and dimension within the braid.
- Keep the braid slightly loose to showcase the twisted texture more prominently.
- Secure at the end and gently pull sections for added volume and fullness.
- This technique works especially well on thick or medium-textured hair.
20. Ladder Braid
The ladder braid creates a stunning visual effect with horizontal strands that look like ladder rungs.
This intricate style is perfect for showcasing your advanced braiding skills.
It’s a show-stopping look for winter recitals and special photographs.
Ladder Braid Instructions:
- Begin with a small horizontal section at the crown and secure it with a clear elastic.
- Create a regular braid on one side of the head, starting from the temple area.
- As you braid, thread the secured horizontal section through the braid at regular intervals.
- The threaded pieces create the appearance of ladder rungs going through the braid.
- Continue braiding and threading down the length of the hair.
- This technique requires patience and practice to master properly.
- The dramatic result is worth the extra time and effort for special occasions.
21. Infinity Braid

The infinity braid creates a figure-eight pattern woven through the hair.
This mathematically inspired style is both beautiful and complex-looking.
It’s perfect for kids who appreciate unique, conversation-starting hairstyles during winter months.
Infinity Braid Technique:
- Divide the hair into two main sections that will be used to create the infinity loops.
- Take a small strand from the outer edge of the right section.
- Weave it over and under the left section in a figure-eight pattern.
- Repeat from the left side, creating mirror-image figure-eight movements.
- The crossing pattern creates the infinity symbol appearance throughout the braid.
- Maintain consistent tension to keep the infinity pattern clear and defined.
- This advanced technique showcases true braiding artistry and skill.
22. Diagonal Braid
A diagonal braid travels across the head at an angle rather than straight down.
This dynamic style creates visual movement and interest.
It’s perfect for kids who want a style that’s both practical and eye-catching during the winter season.
Creating a Diagonal Braid:
- Start the braid at one temple or high on one side of the head.
- As you incorporate new hair into the braid, angle the direction diagonally across the head.
- Continue braiding at the angle, moving from the starting point toward the opposite lower side.
- The braid should travel across the back of the head in a diagonal line.
- Secure the end once you’ve incorporated all the hair you want in the braid.
- This technique works with French, Dutch, or even fishtail braiding methods.
- The diagonal direction adds unexpected visual interest to classic braiding styles.
23. Pretzel Braid

The pretzel braid creates loops and twists that resemble a twisted pretzel shape.
This playful style is perfect for fun-loving kids who want something unique.
It’s especially popular for themed winter parties and casual weekend activities.
Pretzel Braid Steps:
- Create two regular braids starting from either side of the head.
- Instead of letting them hang straight, loop each braid into a curved shape.
- Cross the looped braids over each other to create the pretzel twist effect.
- Secure the crossed braids with bobby pins where they intersect.
- Tuck the ends underneath the loops and pin them securely in place.
- This style works best on medium to long hair lengths.
- Add colorful ribbons woven through the loops for extra pretzel-like appearance.
24. Lace Braid
The lace braid is an elegant variation where hair is only added from one side.
This creates a delicate, lacy appearance along the edge of the braid.
It’s perfect for creating side designs or incorporating into more complex winter hairstyles.
Lace Braid Technique:
- Begin with a small three-strand section where you want the lace braid to start.
- As you braid, add new hair only from the top or front side of the braid.
- The bottom side receives no additional hair, creating the lace braid’s characteristic look.
- This creates an asymmetrical braid that lies beautifully along the hairline or as an accent.
- Lace braids work wonderfully as borders for other styles or standalone accents.
- Continue the pattern down as far as desired, then secure with a small elastic.
- The delicate appearance makes this perfect for winter formal events and celebrations.
25. Messy Bohemian Braid
The messy bohemian braid embraces a relaxed, undone aesthetic.
This effortlessly chic style is perfect for casual winter weekends and gives off a carefree, artistic vibe.
Kids appreciate that this style is meant to look imperfect and relaxed.
Creating Messy Boho Braids:
- Start with hair that has some texture—second-day hair works perfectly for this style.
- Create a loose braid using any technique, deliberately keeping tension relaxed and uneven.
- Leave some face-framing pieces out at the front for a softer, more romantic look.
- Once the braid is complete, gently pull sections to create intentional messiness and volume.
- Let some small pieces fall out naturally for the characteristically undone appearance.
- Add small flowers, feathers, or boho-style accessories for enhanced winter festival vibes.
- The more imperfect it looks, the more authentic the bohemian style becomes.
26. Snake Braid
The snake braid creates a winding, serpentine pattern down the head.
This creative style showcases advanced braiding skills and creates a truly unique look.
It’s perfect for kids who want to stand out at winter events and gatherings.
Snake Braid Creation:
- Part the hair to create a winding path that resembles an S-shape or snake pattern.
- Begin braiding at the top, following the curved parting path you’ve created.
- Curve the braid back and forth across the head, following the snake-like pattern.
- This requires careful planning of the parting pattern before beginning to braid.
- Each curve of the snake should be roughly the same width for a balanced appearance.
- Secure the end once you’ve followed the entire serpentine path.
- This show-stopping style requires practice but creates an unforgettable winter look.
27. Starburst Braid
The starburst braid radiates multiple braids from a central point creating a starburst effect.
This dramatic style makes a stunning statement for special winter occasions.
It requires time and skill but produces spectacular results that look professionally done.
Starburst Braid Technique:
- Create a small circular section at the crown or wherever you want the starburst center.
- Divide the surrounding hair into equal sections radiating outward from the center point.
- Braid each section, working your way around the center in a systematic pattern.
- The number of braids depends on hair thickness—typically four to eight braids work well.
- Ensure all braids are positioned evenly around the center for a balanced starburst effect.
- Secure each braid with a small colorful elastic that matches the winter theme.
- This style works beautifully for winter performances and holiday photographs.
28. Triple Braid Ponytail
The triple braid ponytail features three separate braids combined into one ponytail.
This style offers texture and visual interest while remaining practical for active winter days.
It’s a step up from a regular ponytail but still quick to create.
Triple Braid Instructions:
- Divide all the hair into three equal sections from front to back or side to side.
- Braid each section individually down to approximately the same length.
- Gather all three braids together at the desired ponytail height.
- Secure the three braids together with a strong elastic band to create the ponytail base.
- The three braids can continue separately from the ponytail or be braided together.
- This style combines the security of braids with the versatility of a ponytail.
- Works excellently for sports activities, outdoor winter play, and active school days.
29. Bow Braid
The bow braid incorporates a bow shape created from hair into the braided style.
This adorable design is perfect for girly-girls who love extra-feminine winter looks.
It’s a show-stopping style that makes kids feel extra special and fancy.
Creating a Bow Braid:
- Create a ponytail at the desired location for the bow.
- Pull the ponytail only halfway through the elastic on the last pull, creating a loop.
- Divide the loop in half to form the two sides of the bow.
- Take a small strand from the ponytail tail and wrap it around the center of the bow.
- Secure the center wrap with bobby pins to hold the bow shape.
- Braid the remaining tail below the bow using your preferred braiding technique.
- This style requires bobby pins and hairspray to maintain the bow shape throughout the day.
30. Unicorn Braid
The unicorn braid creates a magical, whimsical look perfect for imaginative kids.
This colorful style often incorporates bright extensions or temporary color for maximum fantasy effect.
It’s ideal for winter costume events or kids who love mythical creatures.
Unicorn Braid Styling:
- Consider adding temporary colored hair extensions in pastels or rainbow colors for authentic unicorn vibes.
- Create a high ponytail braid or Dutch braid positioned at the crown area.
- Incorporate sparkly ribbons or glittery accessories throughout the braid.
- Add small unicorn-themed clips or pins along the length of the braid.
- The braid can be any style—the unicorn theme comes from colors and accessories.
- Use hair chalk or temporary spray color for a non-permanent magical effect.
- This fun style celebrates creativity and imagination during the winter months.
31. Braided Faux Hawk

The braided faux hawk creates an edgy, punk-inspired look that’s still kid-appropriate.
This bold style features a center braid with the sides slicked back or braided down.
It’s perfect for kids with confident personalities who want to express themselves.
Faux Hawk Braid Creation:
- Create a wide section down the center of the head from forehead to nape.
- Slick the side sections back with gel and secure them with small elastics or pins.
- Create a Dutch braid or multiple small braids in the center section to form the hawk.
- The center braids should sit raised and prominent compared to the sides.
- Add temporary color or gel for extra height and edginess if desired.
- This style works on various hair lengths and textures and can be adapted to personal taste.
- The braided faux hawk offers a fun alternative to traditional winter hairstyles for adventurous kids.
32. Wrapped Braid

The wrapped braid features decorative ribbon, yarn, or thread wrapped around the braid for added color and texture.
This customizable style lets kids express their personality and coordinate with winter outfits.
It’s a simple way to transform an ordinary braid into something extraordinary.
Wrapping Technique:
- Create a regular three-strand braid and secure it at the end with an elastic band.
- Choose ribbon, embroidery thread, or thin yarn in winter colors like red, green, white, or silver.
- Tie the wrapping material at the base of the braid, leaving a tail for finishing.
- Wrap the material around the braid in a spiral or crisscross pattern down the length.
- Keep the wraps close together for full coverage or space them out for a different effect.
- Secure the wrapping material at the bottom and tie it off neatly.
- This technique protects the braid and adds a pop of color for winter festivities.
Wrapping Variations:
- Use multiple colors wrapped in sections for a striped or ombre effect.
- Incorporate metallic threads or ribbons for sparkly holiday looks.
- Wrap loosely for a more casual appearance or tightly for a polished finish.
- This style is perfect for school spirit days when wrapping school colors around the braid.
33. Mixed Braid Combination
The mixed braid combination incorporates multiple braiding techniques into one stunning style.
This advanced approach showcases versatility and creativity by blending different braid types.
It’s the ultimate winter hairstyle for kids who want something truly unique and complex.
Creating Mixed Braids:
- Plan which braiding techniques you’ll combine before starting—such as French, fishtail, and rope braids.
- Divide the hair into sections corresponding to each different braid type you’ll use.
- Create the first braid type in one section while keeping other sections clipped away.
- Move to the next section and create a different braiding style using another technique.
- The contrast between different braid textures creates visual interest and complexity.
- All the braids can be left separate or combined into one unified style at the bottom.
- This approach allows for maximum creativity and personalization based on skill level.
Combination Ideas:
- Pair Dutch braids on the sides with a fishtail braid down the center.
- Combine rope braids with traditional three-strand braids for textural contrast.
- Mix lace braids along the hairline with a waterfall braid through the crown.
- Create small accent braids alongside one large statement braid.
Additional Winter Braiding Tips:
- Always start with properly moisturized hair to prevent winter dryness and breakage.
- Use fabric-covered elastics instead of rubber bands to minimize damage and breakage.
- Avoid braiding hair when it’s soaking wet, as this can lead to breakage and mildew.
- Let braids down before bed or sleep on a satin pillowcase to reduce friction and frizz.
- Limit how long tight braids stay in—generally no more than one week for scalp health.
- Apply edge control or light gel only when necessary to avoid product buildup.
- Schedule regular trims to keep ends healthy despite protective winter styling.
Braiding Tools and Accessories for Winter
Essential Braiding Supplies:
- Rat-tail comb: Perfect for creating clean parts and sectioning hair precisely.
- Paddle brush: Excellent for detangling and smoothing hair before braiding begins.
- Clear elastics: Nearly invisible bands that work for all hair colors and styles.
- Bobby pins: Choose a color that matches your child’s hair color for seamless securing.
- Hair clips: Useful for sectioning hair and keeping sections separated while braiding.
- Spray bottle: Helps dampen hair slightly for easier braiding and better hold.
- Light hairspray: Sets the style without making hair crunchy or stiff.
- Leave-in conditioner: Essential for winter moisture and easier braiding.
Winter-Specific Accessories:
- Snowflake-themed hair clips and pins add seasonal charm to any braided style.
- Velvet or satin ribbons in winter colors like burgundy, forest green, and navy.
- Metallic accessories in gold and silver complement holiday and formal winter events.
- Warm-toned hair ties in colors that coordinate with winter sweaters and coats.
- Small faux fur accessories that add texture and warmth to winter hairstyles.
Age-Appropriate Braiding Guide
Toddlers (Ages 2-4):
- Keep braids simple with basic three-strand braids or pigtails.
- Avoid tight tension that could hurt sensitive scalps or damage fine hair.
- Choose styles that take under 10 minutes as toddlers have limited patience.
- Use bright, fun accessories to keep them engaged during the braiding process.
Young Children (Ages 5-8):
- Introduce French braids, Dutch braids, and simple crown braids at this age.
- Styles can be slightly more complex but should still be completed relatively quickly.
- This age group enjoys styles that match their friends or favorite characters.
- Ensure braids are secure enough to last through active play and recess.
Tweens (Ages 9-12):
- More complex styles like fishtails, waterfall braids, and mixed braids work well.
- This age group often wants to learn braiding themselves for independence.
- Trendy styles from social media are particularly popular with this demographic.
- Braids can incorporate their personal style and fashion preferences.
Troubleshooting Common Braiding Problems
Problem: Braids Look Messy or Uneven
- Solution: Ensure hair is thoroughly detangled before starting any braid.
- Maintain consistent tension throughout the entire braiding process.
- Use a light styling product to control flyaways and create smoother results.
- Practice makes perfect—braiding skills improve significantly with repetition.
Problem: Braids Fall Out Quickly
- Solution: Start with slightly damp hair for better grip and longer-lasting results.
- Make sure you’re incorporating enough hair with each section in French or Dutch braids.
- Use stronger elastic bands and secure with bobby pins at stress points.
- Apply a light hairspray to set the style once completed.
Problem: Braids Are Too Tight
- Solution: Be mindful of tension, especially along the hairline and scalp.
- If a child complains of discomfort, immediately loosen or redo the braid.
- Tight braiding can lead to traction alopecia and permanent hair loss over time.
- Prioritize comfort over perfection, especially for everyday styles.
Problem: Can’t Create Symmetrical Double Braids
- Solution: Use a clear center part created with a rat-tail comb for precision.
- Start both braids at exactly the same height measured from the hairline.
- Take your time and check symmetry periodically using a mirror.
- Use reference points like the ears to ensure both braids are positioned identically.
Quick Morning Braid Routines
5-Minute Quick Styles:
- Simple three-strand side braid with a decorative clip.
- Low ponytail with the tail braided using any simple technique.
- Quick rope braid ponytail that requires minimal skill or time.
- Braided headband with the rest of the hair left loose and flowing.
10-Minute Moderate Styles:
- Single Dutch or French braid down the back of the head.
- Double three-strand braids (pigtails) with fun colored elastics.
- Side-swept braid with a few face-framing pieces left out.
- Bubble braid ponytail with 4-5 bubbles for playful texture.
15-Minute Detailed Styles:
- Double Dutch braids (boxer braids) for a sleek, athletic appearance.
- Crown braid that wraps elegantly around the entire head.
- Waterfall braid combined with curled hair ends for special occasions.
- Fishtail braid with pulled edges for volume and dimension.
Cultural Considerations and Inclusive Braiding
Braiding has deep cultural significance in many communities around the world.
Understanding and respecting these traditions is important when selecting and creating braided styles for children.
Cultural Awareness:
- Box braids, cornrows, and protective styles have roots in African and African American culture.
- These styles serve important purposes for hair health and cultural identity.
- Research the history and significance of styles before appropriating them inappropriately.
- Celebrate diversity by learning about various cultural braiding traditions respectfully.
Hair Texture Considerations:
- Styles must be adapted based on individual hair texture and density.
- What works for straight fine hair may not work for thick coily hair, and vice versa.
- Consult resources specific to your child’s hair type for best results.
- Embrace your child’s natural hair texture rather than fighting against it.
Inclusive Product Recommendations:
- Use products formulated for your child’s specific hair type and needs.
- Natural oils like coconut, jojoba, and argan work well for most hair types.
- For coily or kinky hair, consider heavier creams and butters for moisture.
- For fine hair, use lightweight products that won’t weigh hair down.
Teaching Kids to Braid Their Own Hair
Helping children learn to braid empowers them with an important life skill.
Self-braiding builds confidence, independence, and fine motor skills while creating a fun bonding activity.
Starting with the Basics:
- Begin by having children practice on dolls, yarn, or even three ribbons taped to a table.
- The three-strand braid is the essential foundation for all other braiding techniques.
- Break down each step clearly: right over middle, left over middle, repeat.
- Celebrate small successes and maintain patience as they develop muscle memory.
Progressing to Self-Braiding:
- Side braids are easier to self-braid than back braids since they’re visible.
- Use mirrors positioned so children can see what they’re doing from multiple angles.
- Practice regularly to build the hand coordination required for successful braiding.
- Start with looser braids as tight braiding requires more strength and control.
Advanced Self-Braiding Skills:
- Once basic braiding is mastered, introduce simple French or Dutch braiding concepts.
- Two mirror setup helps kids see the back of their head while braiding.
- Video tutorials can supplement hands-on practice and provide visual guidance.
- With time and practice, many kids can master even complex braiding by age 10-12.
Maintaining Braids in Winter Weather
Winter conditions present unique challenges for maintaining braided hairstyles.
Cold temperatures, wind, indoor heating, and winter accessories all impact how braids look and last.
Protection Under Winter Hats:
- Choose satin-lined winter hats that reduce friction and frizz on braided hair.
- Low braids or braided buns fit more comfortably under hats than high styles.
- Remove hats gently to avoid catching and pulling on braids unnecessarily.
- Carry a small spray bottle to refresh braids after removing winter headwear.
Wind and Cold Protection:
- Apply light oil or anti-frizz serum to braids before going outdoors in winter.
- Wind can loosen braids, so check and tighten them as needed throughout the day.
- Cover braids with scarves during particularly harsh winter weather conditions.
- The cold can make hair more brittle, so handle braids gently during winter months.
Indoor Heating Challenges:
- Central heating dries out hair significantly during winter months.
- Use a humidifier in bedrooms to maintain moisture in both air and hair.
- Apply leave-in conditioner or light oil to braids every few days.
- Deep conditioning treatments once weekly help combat indoor heating dryness.
Braids for Special Winter Occasions
Holiday Parties and Celebrations:
- Crown braids and milkmaid braids create elegant looks for formal winter gatherings.
- Incorporate festive accessories like sparkly clips, holly designs, or red and green ribbons.
- Waterfall braids with curled ends look beautiful for holiday photographs.
- Heart braids are perfect for Valentine’s Day celebrations and winter parties.
Winter Sports and Activities:
- Boxer braids and double Dutch braids stay secure during skating, skiing, and winter sports.
- Keep braids tight enough for security but not so tight they cause discomfort under helmets.
- Rope braids and simple three-strand braids work well for everyday winter play.
- Braided buns completely contain hair and prevent it from interfering with winter activities.
School Events and Performances:
- Neat, polished braids like French braids and classic three-strands work for school concerts.
- Braided buns keep hair completely controlled for winter theatrical performances.
- Add themed accessories that complement costumes or performance themes.
- Practice the planned style beforehand to ensure it holds up under stage lights and movement.
Winter Photo Sessions:
- Side-swept braids and waterfall braids photograph beautifully from multiple angles.
- Choose accessories that complement winter photo backgrounds and outfits.
- Avoid overly tight braids that might cause discomfort during longer photo sessions.
- Consider the setting when choosing styles—outdoor winter photos suit different braids than indoor portraits.
Conclusion
“33 Cute Winter Hair Braids for Kids” offers a comprehensive collection of braided styles perfect for keeping your children looking adorable throughout the coldest months of the year.
From simple three-strand braids that take mere minutes to create, to elaborate mixed braid combinations that showcase advanced skills, there’s truly something here for every parent and child.
These winter braiding options serve multiple purposes beyond just looking beautiful—they protect delicate hair from harsh weather conditions, simplify busy morning routines, and boost children’s confidence with styles they love wearing.
Whether your child has straight, wavy, curly, or coily hair, these versatile braiding techniques can be adapted to work with any texture and length.
The practical tips, troubleshooting advice, and seasonal hair care guidance ensure you have all the knowledge needed to create and maintain gorgeous braids all winter long.
As you experiment with these 33 styles, remember that practice leads to improvement, and even imperfect braids have their own charming appeal.
Winter is the perfect time to develop your braiding skills while keeping your kids’ hair healthy, manageable, and absolutely adorable.
