Embracing your natural curls is a beautiful journey, but maintaining them with regular salon visits can be expensive and time-consuming.
If you’ve ever wondered whether you could trim and shape your curly hair yourself, you’re not alone.
DIY Curly Hair Haircuts You Can Try at Home is your comprehensive guide to mastering the art of cutting your own curls with confidence and precision.
This article will walk you through essential preparation steps, various cutting techniques tailored specifically for curly hair textures, and expert tips to help you avoid common mistakes.
Whether you have loose waves, tight coils, or anything in between, you’ll discover practical methods that work with your curl pattern rather than against it.
From the popular DevaCut-inspired technique to simple maintenance trims, we’ll cover everything you need to transform your bathroom into your personal curl studio.
Get ready to save money, gain control over your hair journey, and learn skills that will keep your curls looking their best between professional appointments.
Contents
- 1 1. Understanding Your Curl Type Before Cutting
- 2 2. Essential Tools and Preparation
- 3 3. The Unicorn Cut Method
- 4 4. Curl-by-Curl Cutting Technique
- 5 5. The Ponytail Dusting Method
- 6 6. Dry Cutting vs. Wet Cutting for Curls
- 7 7. Face-Framing and Bang Trimming
- 8 8. Removing Bulk Without Losing Length
- 9 9. Fixing DIY Cutting Mistakes
- 10 10. Maintenance Schedule and Long-Term Care
- 11 Conclusion
1. Understanding Your Curl Type Before Cutting
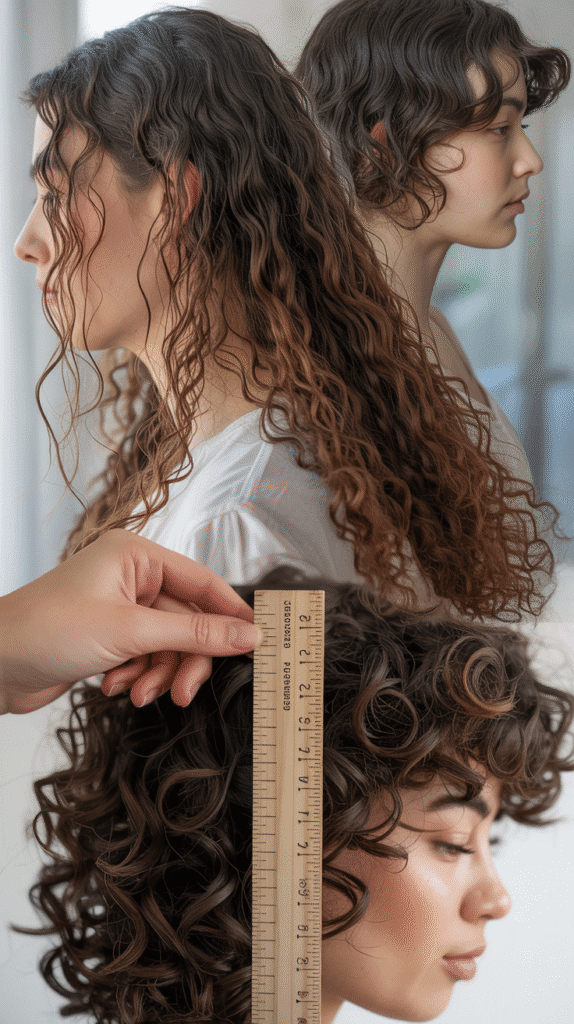
Before picking up scissors, you must identify your specific curl pattern to choose the right cutting approach for your hair.
Different curl types respond differently to cutting techniques, and what works beautifully for loose waves might create disaster for tight coils.
This knowledge forms the foundation of successful DIY curly haircuts and prevents you from making irreversible mistakes.
Understanding the curl classification system:
- The hair typing system ranges from Type 2 (wavy) to Type 4 (coily), with subcategories A, B, and C indicating the tightness of the curl pattern.
- Type 2 curls are S-shaped waves that benefit from blunt cuts and subtle layering to prevent the triangle effect.
- Type 3 curls form springy loops and spirals that require strategic layering to remove bulk while maintaining volume.
- Type 4 curls are tightly coiled or kinked patterns that shrink significantly when dry and need careful consideration of shrinkage during cutting.
Assessing your curl density and porosity:
- Hair density refers to how many strands grow per square inch of your scalp, affecting how much hair you’ll need to remove.
- Low-density curls require minimal layering to avoid looking thin, while high-density curls can handle more aggressive layer placement.
- Porosity determines how your hair absorbs moisture and products, which affects how curls clump and separate after cutting.
- High-porosity hair tends to frizz more easily, so cleaner cuts with sharp scissors become even more critical.
Evaluating your curl’s spring factor:
- The spring factor describes how much your hair shrinks when it dries from wet to completely dry state.
- Curls with high spring factor can shrink 50-75% of their stretched length, requiring you to cut much longer than your desired final length.
- Testing your spring factor involves stretching a wet curl gently and measuring the difference when it dries naturally.
- Always account for this shrinkage by cutting conservatively—you can always trim more, but you cannot add length back.
2. Essential Tools and Preparation
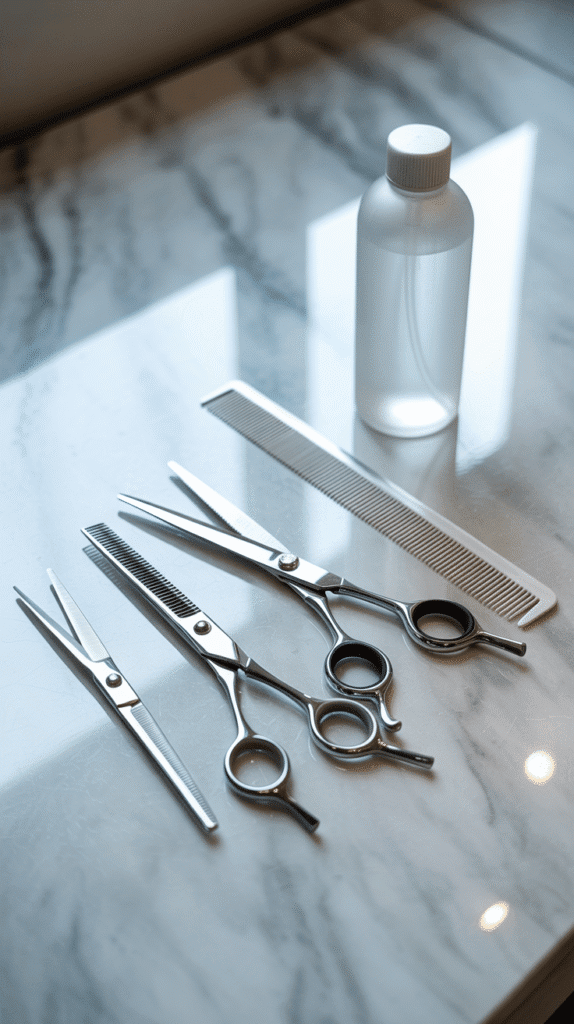
Having the right tools makes the difference between a professional-looking DIY haircut and a regrettable mistake that requires emergency salon intervention.
Quality equipment designed specifically for hair cutting ensures clean cuts that prevent split ends and maintain curl health.
Proper preparation creates the ideal environment for safely and effectively cutting your curls at home.
Must-have cutting tools:
- Professional hair-cutting shears (6-7 inches) with sharp blades are non-negotiable, as regular household scissors crush hair strands and cause damage.
- Texturizing or thinning shears help remove bulk from thick curls without creating harsh lines or losing too much length.
- Sectioning clips (at least 6-8) keep hair organized and prevent you from accidentally cutting sections you’ve already trimmed.
- A wide-tooth comb or detangling brush specifically designed for curls helps separate sections without disrupting curl patterns.
- A spray bottle filled with water or leave-in conditioner keeps curls hydrated and properly formed during the cutting process.
Preparing your cutting space:
- Choose a well-lit area with natural light if possible, as artificial lighting can create shadows that hide uneven sections.
- Set up two mirrors (one handheld and one stationary) to check the back and sides of your head throughout the cutting process.
- Lay down towels or an old sheet to catch falling hair and make cleanup easier after you finish.
- Have all your tools within arm’s reach on a clean surface to avoid fumbling or losing your place mid-cut.
Pre-cut hair preparation:
- Wash and condition your hair with your regular routine, as you want your curls to behave exactly as they normally would.
- Apply your usual styling products to see how your curls naturally form and where they actually fall when styled.
- Allow your hair to reach the dampness level appropriate for your chosen cutting technique (some methods require dry hair, others work best on wet curls).
- Detangle thoroughly but gently, working from ends to roots to minimize breakage and ensure smooth, even sections.
3. The Unicorn Cut Method
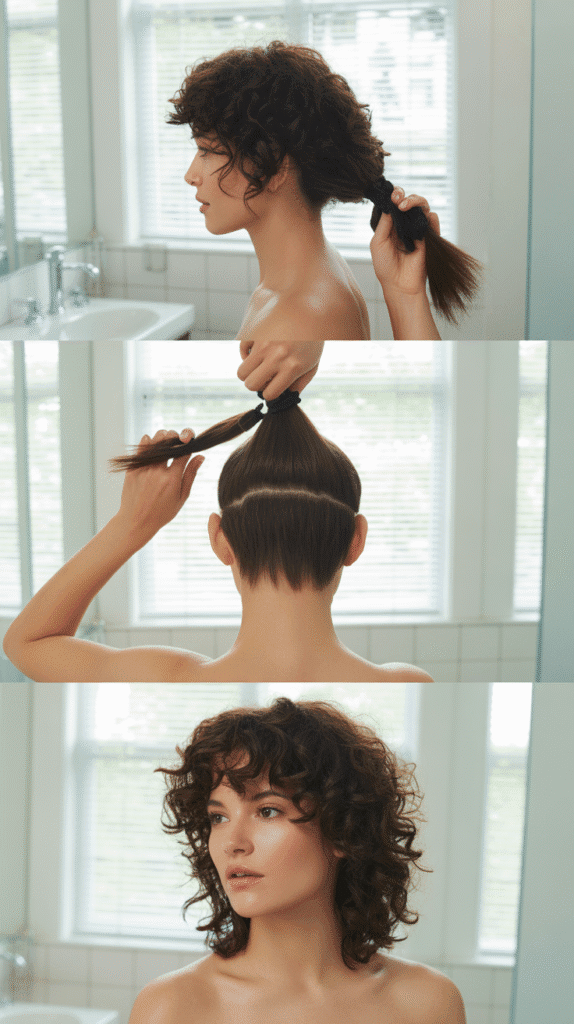
The Unicorn Cut has become one of the most popular DIY techniques for curly hair because it creates beautiful, natural layers with minimal effort and technical skill.
This method involves gathering all your hair into a single ponytail at the front of your head and making one strategic cut.
Despite its simplicity, the Unicorn Cut delivers professional-looking results that add movement and shape to curls of all types.
Step-by-step Unicorn Cut process:
- Flip your head upside down and brush all your hair forward, gathering every strand into a high ponytail at your forehead.
- Secure the ponytail with a hair tie, positioning it exactly at your hairline where your forehead meets your scalp.
- Slide the hair tie down the length of the ponytail to the point where you want to cut, remembering that this determines your shortest layers.
- Hold the ponytail straight up toward the ceiling (perpendicular to your head) and cut straight across just above the hair tie.
- Release the ponytail and shake out your hair to reveal graduated layers that frame your face and add volume throughout.
Adjusting the technique for different results:
- For more subtle layers, position the ponytail lower on your forehead and cut less length from the ponytail ends.
- Creating more dramatic layers requires a higher ponytail placement and removing more length from the gathered hair.
- Cutting at a slight angle (rather than straight across) produces softer, more blended layers instead of distinct separated lengths.
- Making multiple small cuts instead of one big chop gives you more control and reduces the risk of removing too much length.
Common Unicorn Cut mistakes to avoid:
- Positioning the ponytail off-center creates uneven layers that make one side noticeably shorter than the other.
- Cutting below the hair tie instead of above it can cause the elastic to slip, resulting in unpredictable and uneven results.
- Using dull scissors creates ragged ends that fray and split rather than clean, healthy cut lines.
- Forgetting to account for shrinkage means your layers may end up much shorter than anticipated once your curls dry completely.
4. Curl-by-Curl Cutting Technique
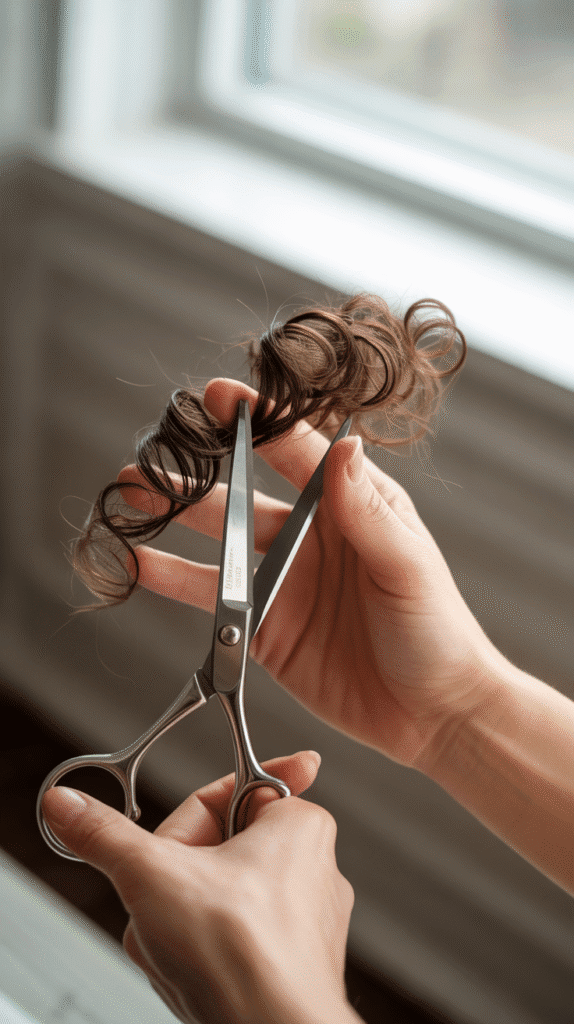
The curl-by-curl method represents the most precise approach to cutting curly hair at home, allowing you to customize each section according to its individual curl pattern.
Though time-intensive, this method produces the most tailored, natural-looking results for curly hair.
Preparing for curl-by-curl cutting:
- Start with completely dry, styled hair that has been washed and dried naturally with your regular products.
- Divide your hair into four main sections (front left, front right, back left, back right) using sectioning clips.
- Work in natural light whenever possible to accurately see each curl’s shape, spring, and where it naturally wants to fall.
- Have a clear vision of your desired length and shape, keeping in mind that removing too much cannot be undone.
The cutting process:
- Take one small curl or curl clump at a time, isolating it from surrounding hair without pulling or stretching the curl.
- Hold the curl in its natural position without tension, observing where it naturally falls and how tightly it coils.
- Identify any straggly ends, uneven pieces, or damaged sections that disrupt the curl pattern’s uniformity.
- Make small, precise cuts to remove only the problematic sections, pointing your scissors vertically and cutting into the curl rather than straight across.
- Twist the curl gently after cutting to encourage it to reform and check that the shape looks balanced and intentional.
Advanced curl-by-curl techniques:
- For face-framing pieces, cut slightly shorter than your desired length to account for the curl’s natural bounce and movement.
- Remove internal bulk by making subtle vertical cuts into the interior of thick curl clumps without affecting the overall length.
- Address split ends individually by searching each curl for damaged sections and removing only the compromised portions.
- Create additional movement by alternating between slightly longer and shorter curls within each section for a more dynamic, natural appearance.
Benefits and considerations:
- This method requires significant time investment, often taking 2-4 hours depending on hair density and length.
- The personalized approach accounts for your unique curl pattern variations across different areas of your head.
- Results last longer than other DIY methods because you’re working with the hair’s natural tendencies rather than imposing an artificial shape.
- This technique requires the most skill and patience, making it better suited for those with some previous hair-cutting experience.
5. The Ponytail Dusting Method
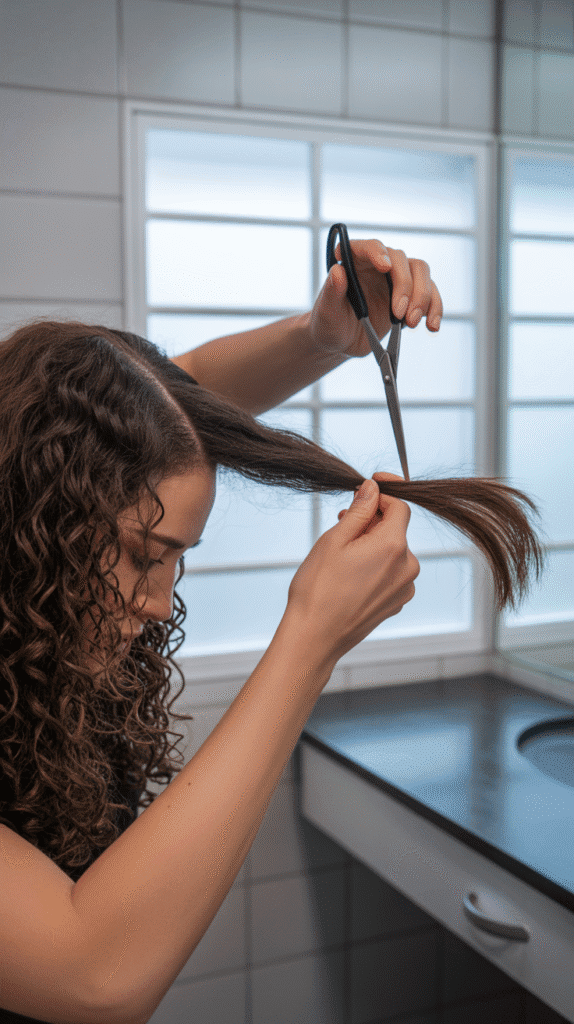
Ponytail dusting offers a quick, low-risk maintenance technique perfect for removing split ends and refreshing your curl shape between major cuts.
This method involves creating multiple ponytails and trimming just the very ends to eliminate damage without sacrificing significant length.
It’s ideal for beginners or anyone seeking a conservative approach to DIY curl maintenance.
Basic ponytail dusting technique:
- Divide your dry, detangled hair into 6-8 sections depending on your hair’s thickness and density.
- Create a ponytail with each section, securing it with a hair tie at the base near your scalp.
- Slide each hair tie down to about one inch from the ends of the ponytail.
- Trim approximately 1/4 to 1/2 inch from the ends, cutting straight across above the hair tie.
- Release each ponytail and move to the next section until you’ve dusted all sections.
Strategic ponytail placement:
- Position ponytails based on how you naturally part and style your hair to maintain your existing shape.
- Create lower ponytails (closer to ear level) if you want to preserve maximum length while only removing damaged ends.
- Higher ponytail placement allows you to add subtle layers while still primarily focusing on end maintenance.
- Ensure each section contains roughly the same amount of hair for consistent results across your entire head.
Customizing the dusting approach:
- For severely damaged ends, increase the cutting amount to 1/2 to 1 inch, but never remove more than one inch in a single session.
- Point-cutting (holding scissors at an angle and cutting into the ends) rather than blunt-cutting creates softer, more natural-looking results.
- Check your work after releasing each ponytail, looking for any obvious unevenness that needs correction.
- Perform ponytail dusting every 8-12 weeks to maintain healthy ends without frequent salon visits.
6. Dry Cutting vs. Wet Cutting for Curls
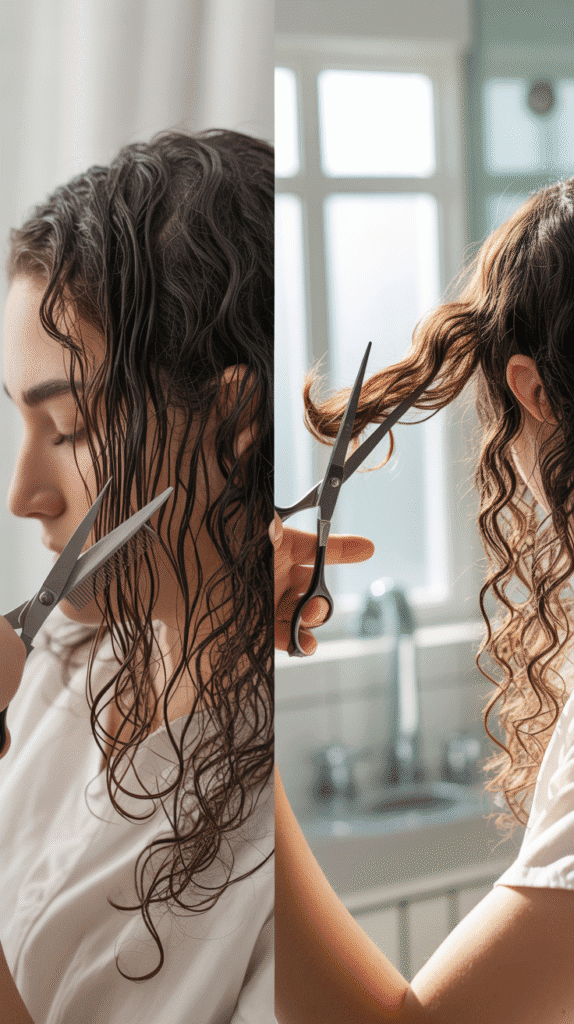
The debate between cutting curly hair wet or dry significantly impacts your final results, with each approach offering distinct advantages and challenges.
Understanding when to use each method helps you choose the right technique for your specific hair goals and curl type.
Professional curl specialists often have strong preferences, but many home cutters find success with either approach when properly executed.
Advantages of dry cutting:
- You see exactly how each curl naturally falls and springs, allowing for precise, customized cutting decisions.
- There’s no guessing about shrinkage since the hair is already in its fully contracted state.
- Individual curls can be shaped and refined based on their actual behavior rather than their stretched appearance.
- The finished result is immediately visible, letting you make real-time adjustments without waiting for hair to dry.
Advantages of wet cutting:
- Hair stretches and elongates when wet, making it easier to create even, blunt lines across all sections.
- Seeing the full length helps you better gauge how much to remove, especially if you’re aiming for a specific length.
- Wet hair is easier to comb through and section, reducing the risk of missing sections or creating uneven results.
- This approach works better for creating precision geometric shapes or maintaining very blunt, one-length styles.
Choosing the right method for your needs:
- Dry cutting works best for adding layers, shaping curl clumps, and removing split ends while maintaining natural curl patterns.
- Wet cutting proves more effective for removing significant length, creating blunt hems, or establishing clean, geometric shapes.
- Your curl’s shrinkage factor heavily influences which method works better—high-shrinkage curls often benefit more from dry cutting.
- Consider your experience level, as wet cutting typically requires less skill while dry cutting demands more precision and understanding.
Hybrid approaches:
- Some curl cutters start with wet hair to establish the basic shape and length, then refine with dry cutting after styling.
- The “damp cutting” compromise involves cutting hair when it’s about 70% dry, offering some benefits of both approaches.
- You might wet cut the interior bulk and layers while dry cutting the perimeter and face-framing pieces for maximum precision.
- Experimenting with both methods over multiple cutting sessions helps you discover what works best for your specific curls.
7. Face-Framing and Bang Trimming
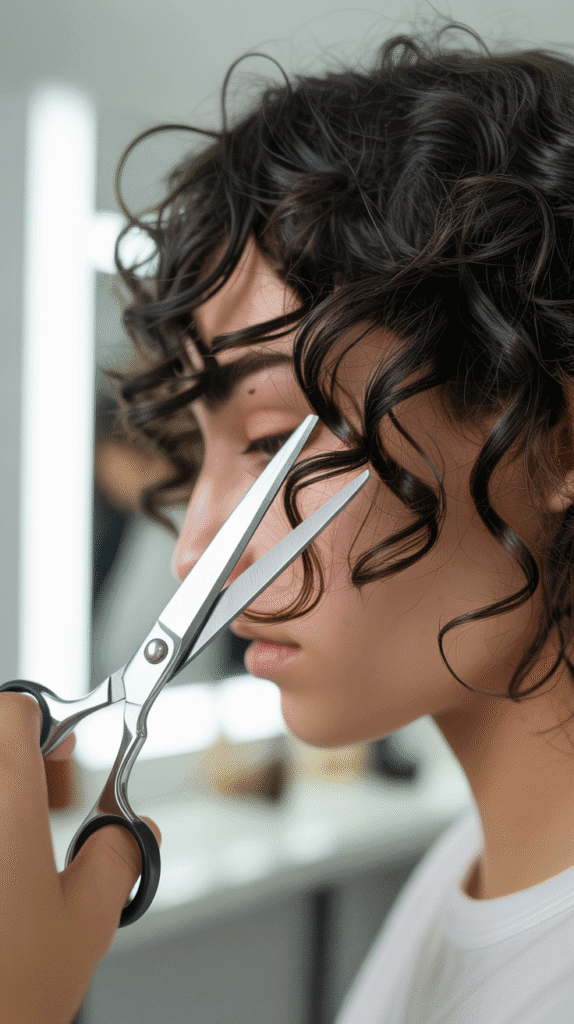
Face-framing layers and bangs dramatically change your overall appearance and can be the most rewarding yet risky part of DIY curly haircuts.
These sections require extra attention because they’re the most visible parts of your hairstyle and frame your facial features.
Learning to trim these areas properly gives you the freedom to refresh your look between salon visits without risking your entire hairstyle.
Creating face-framing layers:
- Identify which face-framing pieces you want to cut by pulling forward the hair that naturally falls in front of your ears.
- Decide on your desired length by considering where you want the shortest pieces to hit (chin, jawline, cheekbone, or eyebrow level).
- Work with dry, styled hair so you can see exactly how the curls bounce and where they naturally fall.
- Cut conservatively, removing small amounts at a time and constantly checking both sides for symmetry.
- Point your scissors vertically and cut into the curl rather than straight across for a softer, more blended effect.
Trimming curly bangs:
- Separate your bang section using a triangle-shaped parting that starts at the center of your forehead and extends back toward your crown.
- Account for extreme shrinkage by cutting bangs significantly longer than your target length—typically 2-3 inches longer for tight curls.
- Never cut bangs when they’re wet or stretched, as they’ll shrink dramatically and end up much shorter than intended.
- Twist small sections of bangs and trim the ends at an angle rather than cutting straight across for a more natural, piecey look.
- Test one small section first, allow it to dry completely, and assess the length before cutting the rest.
Common face-framing mistakes:
- Cutting both sides simultaneously makes it nearly impossible to check for symmetry and usually results in uneven sides.
- Pulling curls taut or stretching them while cutting doesn’t account for their natural spring, leading to much shorter results.
- Forgetting that face-framing pieces are most visible and tend to shrink more than other sections due to their shorter length.
- Creating too short or too many face-framing layers can result in a dated, early-2000s choppy look.
Maintenance and adjustments:
- Face-framing pieces may need touching up every 4-6 weeks since they’re more noticeable as they grow out.
- Always cut less than you think you need—face-framing pieces that are too long can be shortened, but too-short pieces require months of growth.
- Take photos after cutting to document what works and what doesn’t for future reference and improvement.
- If you make a mistake, pin back the affected sections with bobby pins or clips while they grow out rather than trying to “fix” them with more cutting.
8. Removing Bulk Without Losing Length
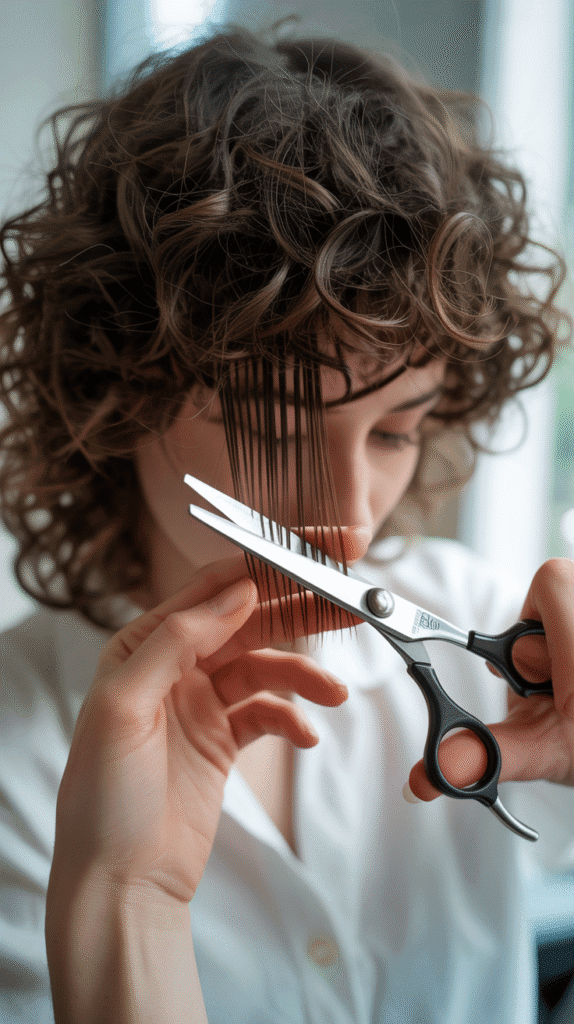
Managing bulk in thick, curly hair presents one of the biggest challenges for DIY cutters who want lighter, more manageable hair without sacrificing their hard-earned length.
Excessive bulk can weigh down curls, create unflattering pyramid or triangle shapes, and make styling frustrating.
Strategic thinning techniques allow you to reduce volume while maintaining your hair’s overall length and curl integrity.
Understanding bulk vs. length:
- Bulk refers to the density and weight of hair throughout the mid-lengths and internal layers, not just at the ends.
- Removing bulk involves cutting hair in the interior sections while leaving the perimeter length intact.
- This creates space for curls to move, breathe, and form more defined clumps without tangling together.
- Proper bulk removal can make styling faster, reduce drying time, and improve curl definition throughout your entire head.
Using thinning shears effectively:
- Thinning shears (also called texturizing shears) have teeth that remove approximately 40-60% of hair with each cut.
- Work with dry hair so you can accurately see where bulk is concentrated and how much you’re removing.
- Start mid-shaft and cut toward the ends, never cutting too close to the roots where it can create frizzy, broken-looking sections.
- Make 2-3 cuts per section, closing the shears quickly and completely rather than “chewing” through the hair.
- Focus on the densest areas (often the back and sides) rather than thinning uniformly across your entire head.
Alternative bulk-removal techniques:
- Point cutting involves holding regular shears vertically and cutting small notches into sections to remove weight without affecting length.
- Slide cutting (also called slithering) requires sliding partially closed shears down the hair shaft to remove random pieces throughout.
- Internal layering cuts shorter pieces underneath while leaving the top layers longer, creating hidden layers that reduce bulk.
- Twist each section before cutting to condense the hair and remove multiple strands simultaneously for faster bulk removal.
Strategic bulk removal by section:
- The nape and lower back sections typically hold the most bulk and benefit from more aggressive thinning.
- Crown and top sections usually need less bulk removal to maintain volume and avoid creating a flat appearance.
- Sides often need moderate thinning to prevent the dreaded triangle shape that plagues many curly hairstyles.
- Leave perimeter sections completely intact to maintain your overall length and shape.
9. Fixing DIY Cutting Mistakes
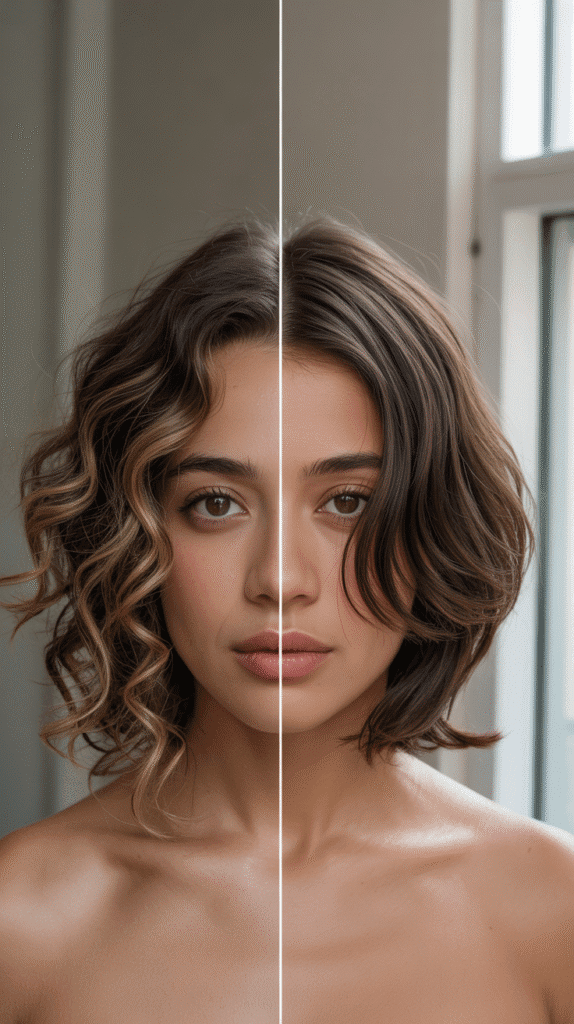
Even experienced DIY curl cutters occasionally make mistakes, and knowing how to address them prevents panic and helps you develop problem-solving skills.
Most cutting errors can be corrected, camouflaged, or grown out strategically without requiring drastic measures.
Understanding common mistakes and their solutions builds your confidence for future cutting sessions.
Addressing uneven sections:
- If one side is noticeably shorter than the other, resist the urge to keep cutting the longer side to match—this leads to progressively shorter hair.
- Instead, carefully trim the shorter side’s surrounding sections to blend and soften the unevenness rather than creating a harsh line.
- Use styling techniques like side-parting or tucking hair behind ears to minimize the appearance of asymmetry while it grows out.
- Apply more volumizing products to the shorter side and smoothing products to the longer side to create visual balance.
Dealing with too-short pieces:
- Face-framing pieces or bangs cut too short can be pinned back with decorative clips, bobby pins, or headbands while they grow.
- Apply curl-enhancing products specifically to shorter sections to maximize their coil, potentially bringing them closer to the surrounding length.
- Consider getting strategic extensions or clip-ins for special events while waiting for regrowth if the shortness bothers you significantly.
- Use a <a href=”https://www.healthline.com/health/beauty-skin-care/hair-growth-rate”>growth-supporting hair care routine</a> including scalp massage and proper nutrition to encourage faster regrowth.
Correcting excessive bulk removal:
- If you’ve over-thinned your hair, focus on moisturizing and curl-enhancing products to maximize the volume of remaining curls.
- Avoid additional thinning or cutting for at least 3-4 months to allow your hair to regain density through natural growth.
- Try volumizing techniques like root clipping, diffusing upside-down, or using mousse at the roots to create the illusion of fullness.
- Consider a consultation with a professional stylist who can assess the damage and create a growth-out plan.
Managing blunt lines or choppy layers:
- Blunt, harsh lines can be softened with point cutting, which involves holding scissors vertically and cutting small notches into the ends.
- Choppy layers benefit from curl-by-curl refinement where you individually adjust pieces that stick out or look disconnected.
- Sometimes adding strategic face-framing pieces or additional subtle layers helps blend overly distinct layer lines.
- Work with your natural curl pattern by encouraging clumping in choppy areas through careful product application and scrunching.
When to seek professional help:
- If you’ve removed significantly more length than intended (more than 3-4 inches), a professional can create a cohesive shape from what remains.
- Chemical damage or extremely ragged, split ends require professional correction to prevent further damage up the hair shaft.
- Completely uneven or asymmetrical cuts that you cannot balance yourself benefit from an expert’s objective assessment.
- Major shape changes or structural fixes (like correcting a severe triangle shape) are best handled by experienced curl specialists.
10. Maintenance Schedule and Long-Term Care
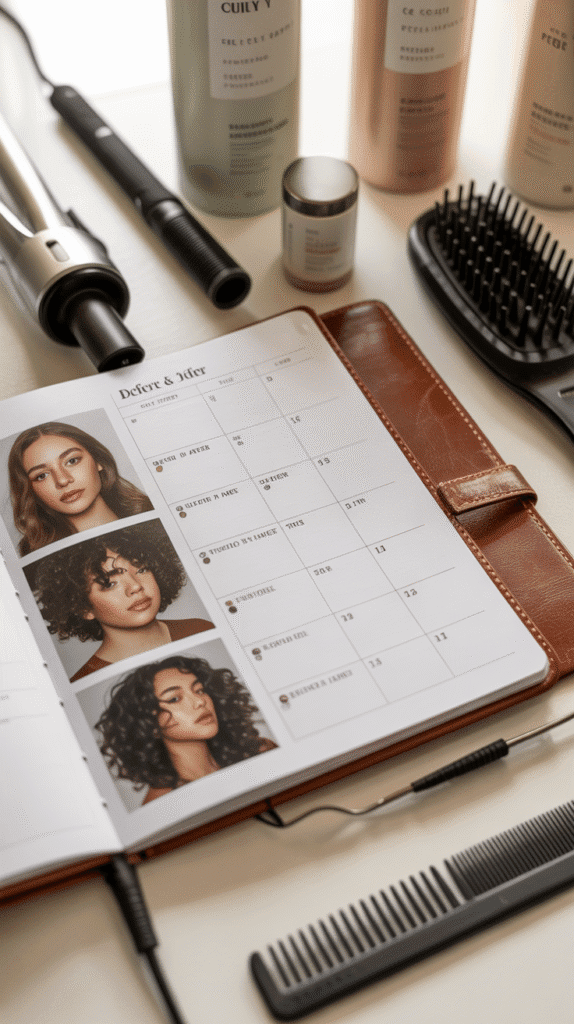
Establishing a consistent cutting and maintenance schedule keeps your curls healthy, shaped, and manageable without requiring frequent salon visits.
Regular maintenance prevents minor issues from becoming major problems and helps you retain length while maintaining shape.
Understanding when and how to trim your curls ensures your DIY cutting efforts produce lasting, beautiful results.
Creating your personal maintenance schedule:
- Most curly hair benefits from trimming every 8-12 weeks, though this varies based on damage levels and growth rate.
- If you heat style regularly, color your hair, or have naturally dry curls, increase trimming frequency to every 6-8 weeks.
- Those following a strict curly girl method with minimal heat and manipulation can extend trimming to 12-16 weeks.
- Schedule maintenance sessions on your calendar just as you would salon appointments to ensure consistency and prevent neglect.
Between-trim maintenance tasks:
- Perform regular “search and destroy” missions where you examine individual curls for split ends and trim only damaged sections.
- Dust your ends (removing just 1/4 inch) every 4-6 weeks to maintain health without losing significant length.
- Deep condition weekly and use protein treatments monthly to strengthen hair and reduce breakage that necessitates more frequent cutting.
- Protect your ends with satin pillowcases, gentle detangling techniques, and regular moisturizing to extend time between trims.
Seasonal cutting considerations:
- Many curl cutters find late winter or early spring ideal for removing damage accumulated from cold weather and indoor heating.
- Summer trims help remove sun damage and prepare hair for humid weather that can make damaged ends more noticeable.
- Consider cutting slightly shorter before summer if you swim frequently, as chlorine and salt water accelerate damage.
- Fall maintenance sessions prepare your hair for winter’s harsh conditions by removing summer damage and creating a strong foundation.
Documenting your DIY journey:
- Take consistent photos before and after each cutting session from multiple angles (front, back, both sides).
- Keep notes about which techniques worked, how much you removed, and how your hair responded to different approaches.
- Track your maintenance schedule, product changes, and any environmental factors that might affect your hair’s condition.
- Review your documentation before each cutting session to learn from previous experiences and continuously improve your technique.
Building skills over time:
- Start with conservative techniques like ponytail dusting and gradually progress to more advanced methods as your confidence grows.
- Focus on mastering one technique completely before attempting multiple methods in a single session.
- Consider practicing on willing friends or family members with similar curl patterns to expand your experience.
- Watch tutorial videos from reputable curl specialists and <a href=”https://www.youtube.com/results?search_query=curly+hair+cutting+techniques”>certified stylists</a> to continuously learn new techniques and refine your skills.
Conclusion
DIY Curly Hair Haircuts You Can Try at Home empowers you to take control of your curl journey with confidence, knowledge, and practical skills that save both time and money.
From understanding your unique curl type to mastering various cutting techniques like the Unicorn Cut, curl-by-curl trimming, and strategic bulk removal, you now have a comprehensive toolkit for maintaining beautiful, healthy curls from the comfort of your bathroom.
Remember that successful DIY cutting requires patience, quality tools, and realistic expectations—start conservatively, cut less than you think necessary, and always account for your curls’ natural shrinkage.
While mistakes may happen, they’re valuable learning experiences that build your skills over time, and most errors can be corrected or grown out with minimal impact.
Whether you choose to perform all your cuts independently or use these techniques for maintenance between salon visits, you’ve gained invaluable knowledge about working with your curls’ natural tendencies rather than against them.
Embrace the journey of learning to cut your own curls, celebrate your progress, and enjoy the freedom and empowerment that comes with mastering this essential self-care skill.
