Cutting curly hair at home might seem intimidating, but with the right techniques and tools, you can achieve salon-quality results without stepping out your door.
How to Cut Men’s Curly Hair at Home – Barber Tips is your comprehensive guide to mastering the art of cutting textured, curly hair with confidence.
This article walks you through everything from understanding curl patterns and gathering essential tools to executing professional cutting techniques that respect the natural bounce and shape of curls.
Whether you’re trimming your own hair or helping a family member, you’ll discover step-by-step methods that barbers use daily, common mistakes to avoid, and styling tips that bring out the best in curly hair.
By the end of this guide, you’ll have the knowledge and confidence to create clean, well-shaped haircuts that celebrate natural curls while maintaining healthy hair growth.
Contents
- 1 1. Understanding Curly Hair Types and Patterns
- 2 2. Essential Tools for Cutting Curly Hair at Home
- 3 3. Preparing Curly Hair Before Cutting
- 4 4. The Dry Cutting Method for Curly Hair
- 5 5. Cutting Techniques for Different Curl Zones
- 6 6. Creating Shape and Removing Bulk
- 7 7. Blending and Texturizing Techniques
- 8 8. Trimming and Shaping the Edges
- 9 9. Common Mistakes to Avoid When Cutting Curly Hair
- 10 10. Styling and Finishing the Curly Haircut
- 11 11. Maintaining Curly Hair Between Cuts
- 12 12. When to Seek Professional Help
- 13 Conclusion
1. Understanding Curly Hair Types and Patterns
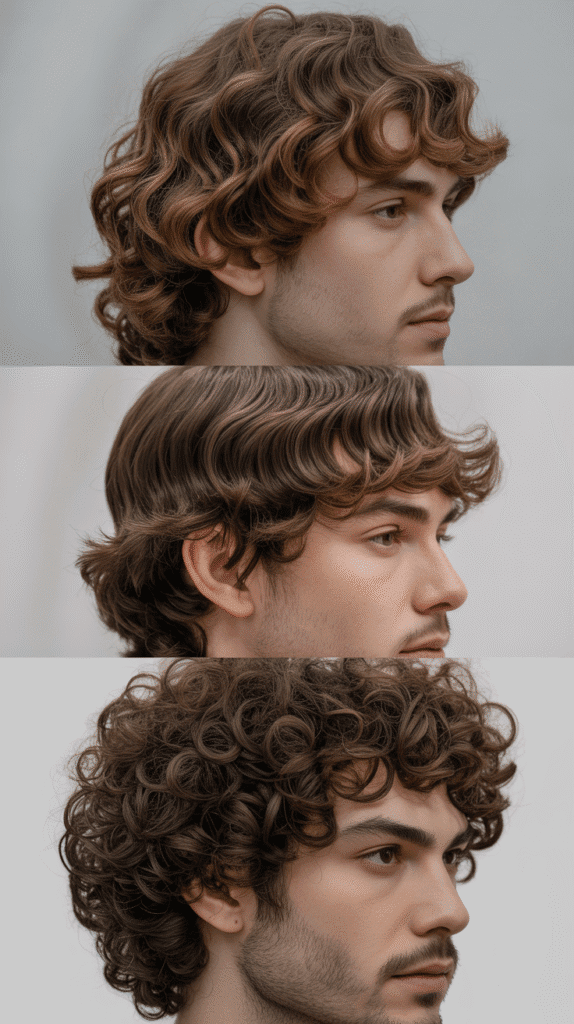
Before picking up scissors, recognizing different curl types helps you make informed cutting decisions. Curly hair ranges from loose waves to tight coils, and each type requires specific handling techniques.
Understanding your curl pattern determines how much length to cut, which tools work best, and how the hair will behave once dried.
Curl Type Classification:
- Curly hair shrinks significantly when it dries, so always cut conservatively and remember that less is more.
- Each curl has its own personality, and cutting hair while observing its natural fall creates the most flattering shape.
- Porosity levels affect how curls hold moisture, which impacts cutting techniques and styling outcomes.
- Different sections of the head often have varying curl patterns, requiring customized approaches for each zone.
- Professional barbers recommend cutting curly hair when dry to see the true shape and avoid over-cutting.
2. Essential Tools for Cutting Curly Hair at Home
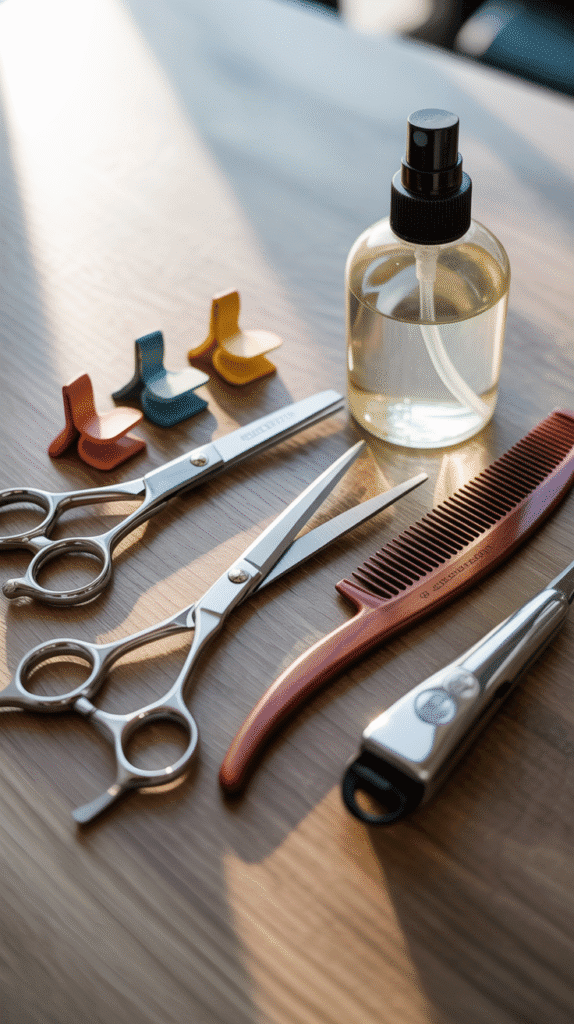
Having the right equipment makes the difference between a professional-looking cut and a disaster.
Quality tools designed specifically for textured hair ensure clean cuts without damaging the curl structure. Investing in proper scissors and combs saves money in the long run and protects hair health.
- Sharp haircutting shears with a blade length of 5.5 to 6.5 inches work best for curly hair textures.
- A wide-tooth comb prevents breakage and detangles curls without disrupting their natural pattern.
- Sectioning clips keep hair organized and make it easier to work through different areas systematically.
- A spray bottle filled with water helps reactivate curls during the cutting process for better visibility.
- A handheld mirror allows you to check the back and sides for evenness and balance.
- Thinning shears remove bulk without creating harsh lines, perfect for thick curly hair.
- A cutting cape or old towel protects clothing from hair clippings during the cutting session.
- Professional-grade clippers with adjustable guards are essential if you plan to trim or fade the sides.
3. Preparing Curly Hair Before Cutting
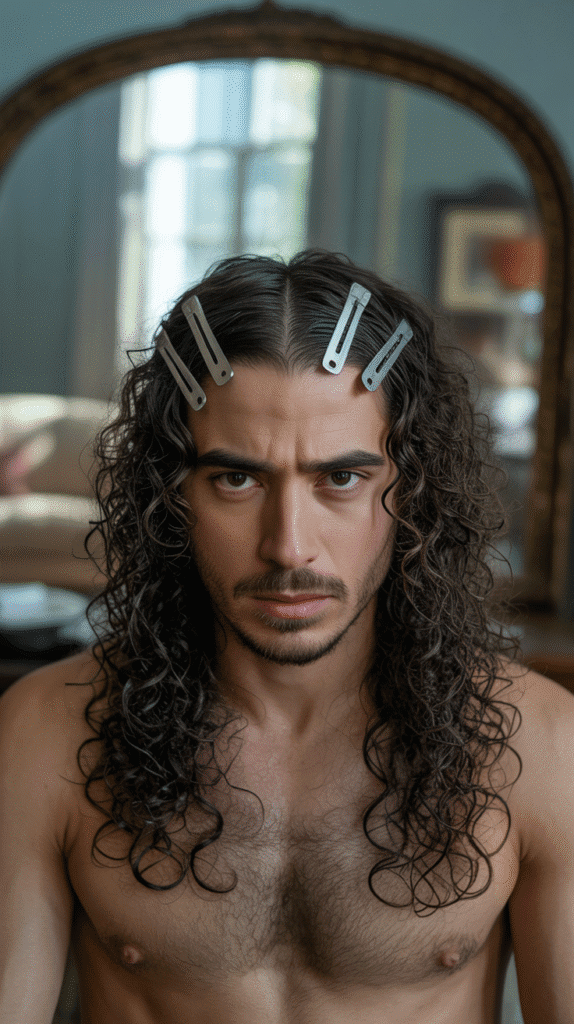
Proper preparation sets the foundation for a successful haircut. The condition and state of the hair when you begin cutting directly impacts the final result.
Taking time to prep ensures you see the true curl pattern and can make accurate cutting decisions.
- Wash hair with a moisturizing shampoo to remove product buildup and reveal the natural curl pattern.
- Apply a lightweight conditioner or leave-in treatment to add slip and make combing through easier.
- Detangle gently using fingers first, then follow with a wide-tooth comb starting from the ends upward.
- Allow hair to air dry completely or use a diffuser on low heat to maintain natural curl definition.
- Never cut curly hair when soaking wet unless you’re experienced, as wet curls appear much longer than they actually are.
- Section the hair into manageable quadrants using clips to maintain organization throughout the cutting process.
- Identify any problem areas, cowlicks, or uneven growth patterns that need special attention during cutting.
- Take before photos from multiple angles to track progress and ensure balanced results.
4. The Dry Cutting Method for Curly Hair
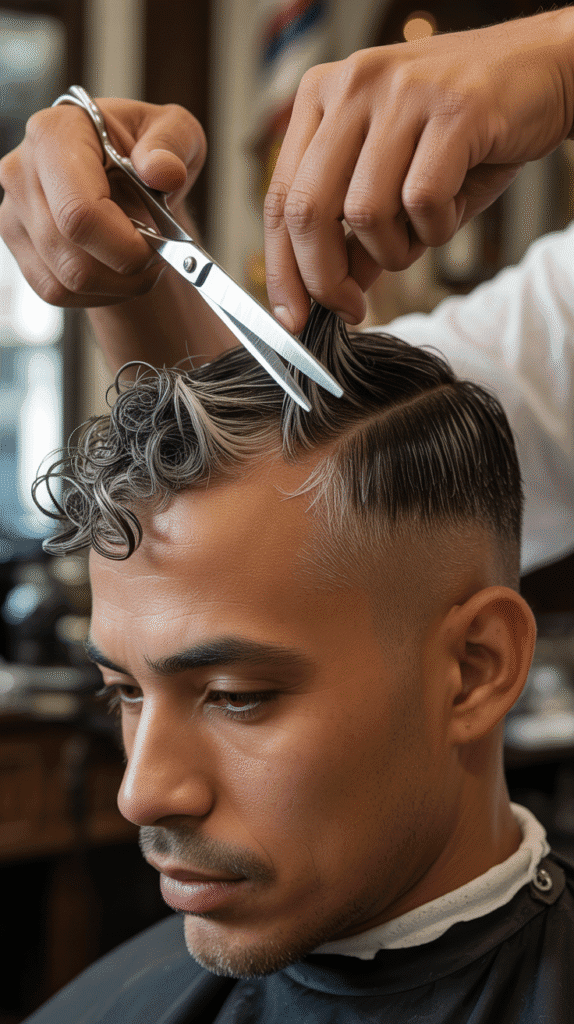
Dry cutting is the gold standard technique professional barbers use for curly hair. This method allows you to see exactly how curls fall and spring up naturally.
Cutting dry hair gives you complete control over the shape and prevents the shock of excessive shrinkage.
- Start by examining the hair in its natural state and identifying the desired final shape and length.
- Work in small sections no larger than one inch square to maintain precision and control.
- Hold each curl individually and cut at a slight angle rather than straight across for softer edges.
- Use point-cutting technique by pointing scissors vertically into the curl to create texture and blend.
- Cut each curl at its own length rather than forcing all curls to match, which creates a more natural appearance.
- Remove only a quarter inch at a time, checking your work frequently to avoid cutting too much.
- Focus on removing damaged ends and creating shape rather than achieving a specific uniform length.
- Step back regularly to assess the overall silhouette and ensure balance from all angles.
5. Cutting Techniques for Different Curl Zones
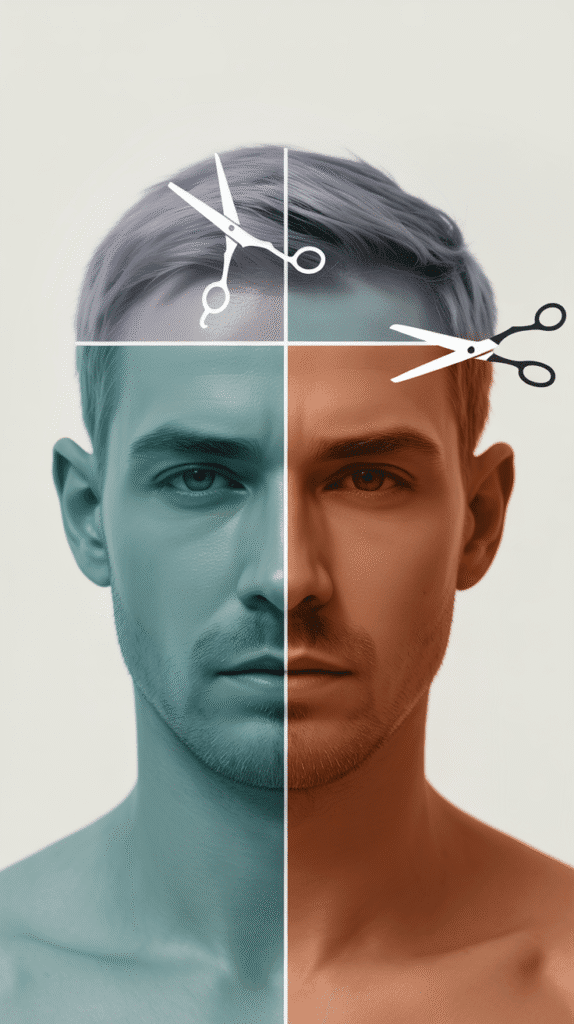
The head has distinct zones that require tailored cutting approaches. Understanding how to handle each area creates a cohesive, well-balanced haircut.
Different sections grow at varying rates and have unique curl behaviors that influence cutting strategies.
Top Section:
- The crown area typically has the tightest curls and the most volume.
- Cut conservatively here since this area tends to shrink the most when styled.
- Create layers by lifting curls at a 90-degree angle and trimming to desired length.
- This section sets the overall shape and determines the haircut’s silhouette.
Sides:
- Side sections often have looser curl patterns than the top and require less length removal.
- Use clippers or scissors to create clean lines around the ears and temporal region.
- Blend the sides into the top using a gradual transition technique for a polished look.
- Consider the client’s face shape when determining how much volume to leave on the sides.
Back:
- The nape area tends to have finer hair and tighter growth patterns.
- Use a handheld mirror to check your work regularly since this area is difficult to see.
- Taper the back gradually from the occipital bone down to the neckline for a clean finish.
- Pay special attention to the hairline to create a neat, defined edge.
6. Creating Shape and Removing Bulk
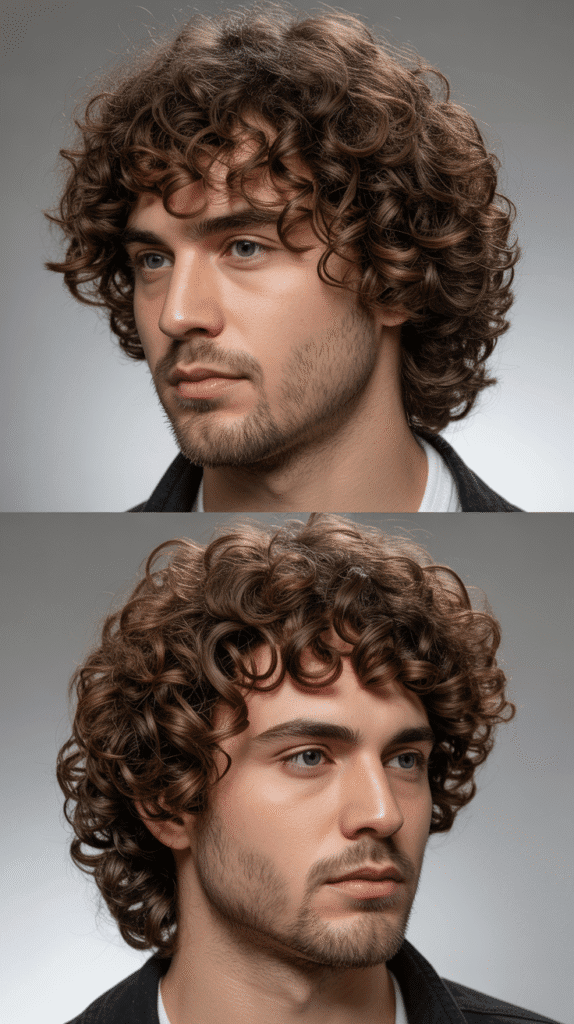
Curly hair often carries excessive bulk that weighs down curls and creates unflattering shapes. Strategic bulk removal enhances curl definition and creates movement.
The goal is to reduce weight without compromising the hair’s natural volume and texture.
- Identify areas where curls look heavy or triangular rather than rounded and proportional.
- Use thinning shears sparingly, removing no more than 15-20% of bulk in any one area.
- Work from the interior of the hair mass rather than the surface to maintain the outer curl pattern.
- Cut into the bulk using a slicing technique that removes weight while maintaining length.
- Focus bulk removal on the mid-shaft to ends rather than near the scalp where volume is beneficial.
- Check your work in natural lighting to see how curls bounce and whether they’re properly balanced.
- Avoid thinning too close to the roots, which can create frizz and disrupt curl formation.
- Remember that less bulk removal is better than too much, which can make hair look thin and stringy.
7. Blending and Texturizing Techniques
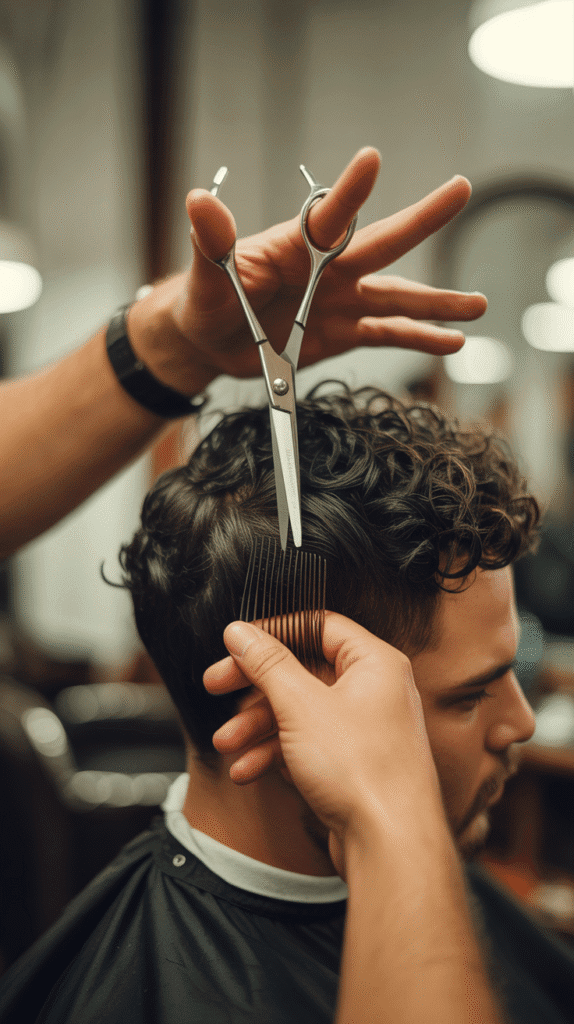
Seamless blending creates professional-looking results without harsh lines or visible cutting marks. Texturizing adds dimension and movement while reducing bulk strategically.
These finishing techniques transform a basic haircut into a polished, salon-quality style.
- Use point-cutting to soften edges where different lengths meet for a natural blend.
- Slide-cutting involves closing the scissors while sliding down the hair shaft to create gradual length variation.
- Notching removes small sections of hair to reduce bulk and create texture simultaneously.
- Twist individual curl sections and cut into the twist to create soft, natural-looking layers.
- Channel cutting creates grooves that remove weight while maintaining the hair’s overall density.
- Work in vertical sections when blending the sides into the top for the most natural transition.
- Check blending from multiple angles and in different lighting conditions to catch any hard lines.
- Use your fingers to feel for any uneven areas that your eyes might miss during the cutting process.
8. Trimming and Shaping the Edges
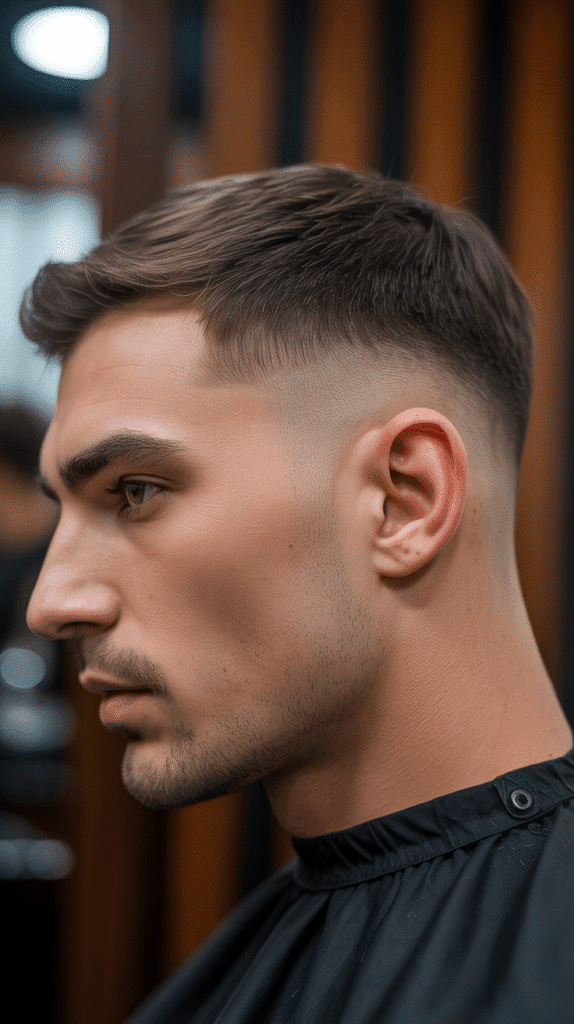
Clean edges define the haircut and create a polished, finished appearance. Edge work frames the face and determines how maintained the haircut looks.
Proper edge techniques vary depending on whether you want a natural or sharp finish.
- Decide between a natural edge that follows the hairline or a lined-up edge with defined boundaries.
- Use clippers without a guard for sharp lines, or scissors for softer, more natural-looking edges.
- The front hairline should complement the face shape and be cut conservatively to avoid mistakes.
- Create sideburn length and shape based on facial features and personal style preferences.
- The neckline can be tapered, blocked, or naturally edged depending on the desired look.
- Use a razor for the finest edge details, but only if you’re comfortable with this advanced tool.
- Check edge symmetry by having the person face you directly and comparing both sides.
- Clean up any stray hairs around the ears and neckline for a professional finishing touch.
9. Common Mistakes to Avoid When Cutting Curly Hair
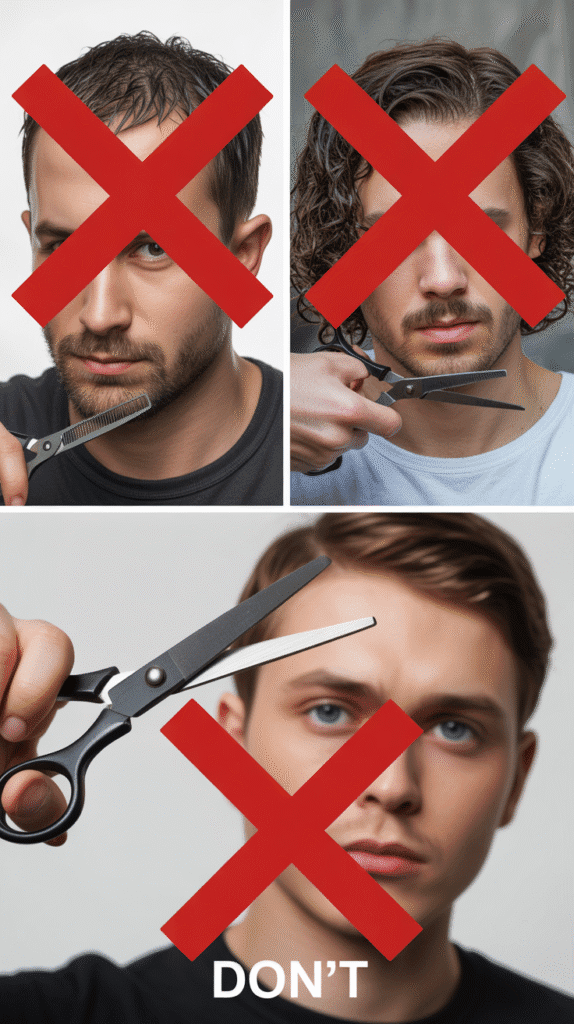
Understanding what not to do is as important as knowing correct techniques. Common errors can ruin a haircut and damage the hair’s integrity.
Learning from these mistakes saves time, frustration, and potentially disastrous results.
- Cutting curly hair while soaking wet leads to excessive shrinkage and shorter-than-intended results.
- Using regular household scissors instead of professional shears creates split ends and jagged cuts.
- Removing too much length at once without checking results frequently causes irreversible over-cutting.
- Cutting all curls to one uniform length creates an unnatural, boxy shape rather than following natural curl patterns.
- Pulling curls straight while cutting gives a false sense of length and results in shorter hair when released.
- Thinning too aggressively removes necessary bulk and makes curls lose their shape and definition.
- Skipping proper sectioning leads to uneven results and missed areas during the cutting process.
- Rushing through the haircut without taking breaks to assess progress causes careless mistakes.
- Ignoring the hair’s natural growth direction fights against the curl pattern and creates awkward results.
- Cutting with dull scissors tears the hair shaft rather than cleanly slicing it, causing damage and frizz.
10. Styling and Finishing the Curly Haircut

The styling phase brings your cutting work to life and showcases the haircut’s true potential. Proper product application and techniques enhance curl definition and longevity.
Finishing touches make the difference between a good haircut and a great one.
- Apply a curl-defining cream or gel to damp hair using the praying hands method for even distribution.
- Scrunch curls upward toward the scalp to encourage curl formation and add volume.
- Use a diffuser attachment on low heat to dry hair without causing frizz or disrupting curl patterns.
- Avoid touching curls while they dry, which breaks the curl cast and creates frizz.
- Once completely dry, scrunch out any crunch from gel products for soft, touchable curls.
- Apply a small amount of lightweight oil to hands and gently smooth over the surface for shine.
- Use a pick or wide-tooth comb only at the roots to add lift without disturbing the curl pattern.
- Teach the person proper maintenance techniques to keep their haircut looking fresh between cuts.
11. Maintaining Curly Hair Between Cuts
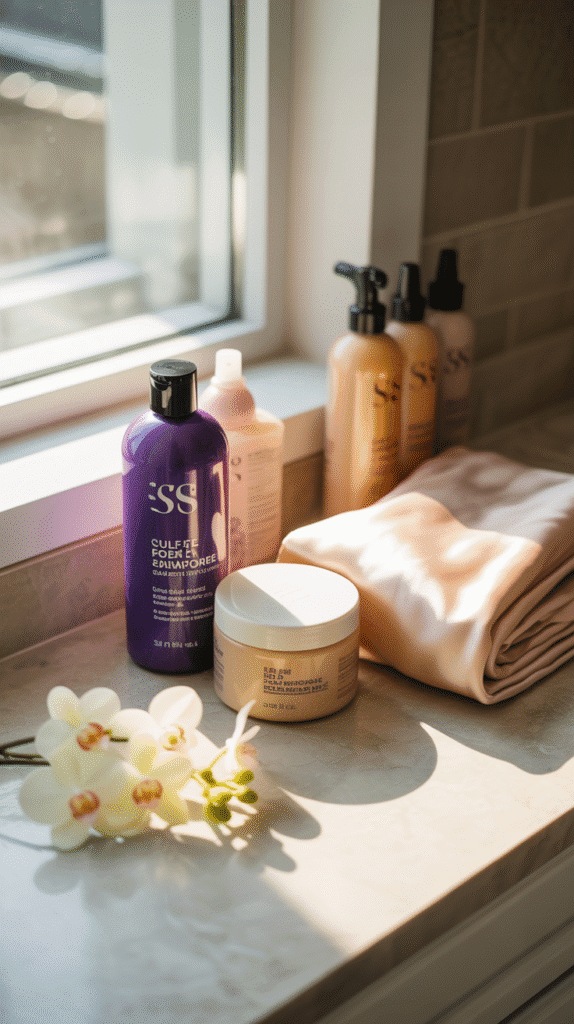
Proper maintenance extends the life of a great haircut and keeps curls healthy. Daily care routines protect the curl structure and prevent damage.
Understanding maintenance requirements helps you cut hair in ways that work with your lifestyle.
- Wash curly hair only 2-3 times per week to preserve natural oils and prevent dryness.
- Use sulfate-free shampoos that clean without stripping essential moisture from curls.
- Deep condition weekly to maintain hair health and prevent breakage between cuts.
- Sleep on a silk or satin pillowcase to reduce friction that causes frizz and tangling.
- Refresh curls on non-wash days using a spray bottle with water and a small amount of leave-in conditioner.
- Trim split ends every 8-12 weeks to maintain hair health and shape integrity.
- Avoid heat styling tools that damage curl patterns and cause long-term hair health issues.
- Protect hair from sun exposure and chlorine when swimming to prevent dryness and color fading.
12. When to Seek Professional Help

Recognizing your limitations prevents costly mistakes and hair disasters. Some situations require professional expertise and experience.
Knowing when to consult a barber saves time and ensures the best results.
- Complex fade designs and intricate patterns demand professional precision and specialized tools.
- Dramatic length changes or complete style transformations carry high risk for at-home cutting mistakes.
- Chemical treatments like coloring or perming should never be combined with untrained cutting attempts.
- Correcting a bad haircut requires professional assessment and advanced techniques beyond beginner skills.
- Creating asymmetrical or artistic designs needs expert understanding of balance and proportion.
- If you feel uncertain or anxious about any cutting step, consulting a professional prevents regrettable outcomes.
- First-time curly haircuts should ideally be done by a curl specialist who can teach you about your specific hair needs.
- Barbers provide personalized advice about your unique curl pattern and face shape that guides future home cuts.
Conclusion
Mastering How to Cut Men’s Curly Hair at Home – Barber Tips empowers you to take control of your grooming routine while saving time and money.
Throughout this comprehensive guide, you’ve learned to identify curl types, gather essential tools, and execute professional cutting techniques that respect the unique nature of textured hair.
From understanding the importance of dry cutting and proper sectioning to avoiding common mistakes and styling your finished cut, you now have the knowledge barbers rely on daily.
Remember that patience and practice are your greatest allies when cutting curly hair at home. Start conservatively, cut small amounts at a time, and always respect the natural curl pattern rather than fighting against it.
With these expert tips and techniques in your skillset, you can create clean, well-shaped haircuts that celebrate the beauty of natural curls while maintaining healthy, vibrant hair.
Whether you’re cutting your own hair or helping a family member, the confidence you’ve gained through this guide will serve you well in all your future cutting endeavors.
