Cutting men’s curly hair at home doesn’t have to be intimidating or complicated.
With the right tools, techniques, and a bit of confidence, you can achieve professional-looking results without stepping foot in a salon.
This comprehensive guide will walk you through everything you need to know about How to Cut Men’s Curly Hair at Home – Simple Step-by-Step, from understanding curl patterns to mastering cutting techniques that work specifically for textured hair.
Whether you’re looking to save money, maintain your style between salon visits, or simply learn a valuable new skill, this article covers all the essential steps including proper preparation, the right tools to use, sectioning methods, cutting techniques for different curl types, and finishing touches that will make your home haircut look salon-quality.
By the end of this guide, you’ll have the knowledge and confidence to tackle curly hair cutting with ease.
Contents
- 1 1. Understanding Curly Hair Types Before You Start
- 2 2. Essential Tools and Products You’ll Need
- 3 3. Preparing the Hair for Cutting
- 4 4. Sectioning Techniques for Even Results
- 5 5. The Dry Cutting Method for Defined Curls
- 6 6. The Wet Cutting Method for Precision
- 7 7. Creating Layers and Shape
- 8 8. Trimming the Sides and Back
- 9 9. Cutting Curly Bangs and Fringe
- 10 10. Dealing with Different Density and Thickness
- 11 11. Fixing Common Cutting Mistakes
- 12 12. Styling and Finishing Touches
- 13 13. Maintaining Your Curly Haircut Between Trims
- 14 Conclusion
1. Understanding Curly Hair Types Before You Start
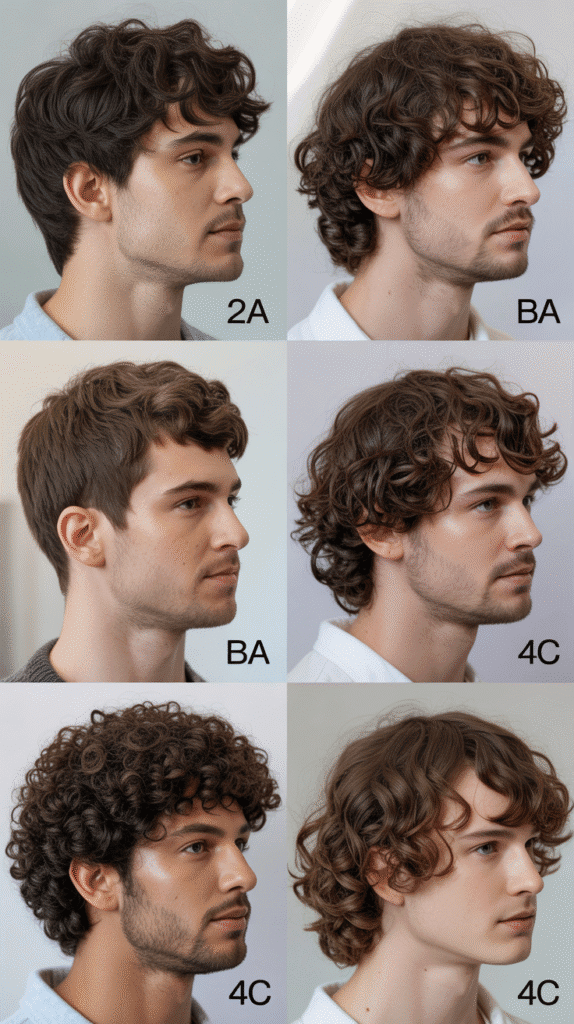
Before picking up scissors, it’s crucial to understand that not all curls are created equal.
Identifying the specific curl type will determine which cutting approach works best and help you avoid common mistakes that can lead to unwanted frizz or uneven results.
- Curly hair is typically classified using the hair typing system that ranges from Type 2 (wavy) to Type 4 (coily/kinky).
- Type 2 curls are loose waves that have an S-pattern and require minimal moisture compared to tighter curl patterns.
- Type 3 curls are springy, well-defined spirals that range from loose loops to tight corkscrews and benefit from moisture-rich products.
- Type 4 curls are tightly coiled or kinky, forming Z-patterns or tight spirals that require the most moisture and gentle handling.
- Understanding your curl pattern helps you determine how much length to cut since curly hair shrinks significantly when dry—tighter curls can shrink up to 75% of their stretched length.
- Each curl type responds differently to cutting techniques, with looser curls being more forgiving to straight cuts while tighter curls require more precise, curl-by-curl trimming.
- Porosity (how well hair absorbs moisture) also matters because high-porosity curly hair may appear more damaged at the ends and require more frequent trimming.
2. Essential Tools and Products You’ll Need
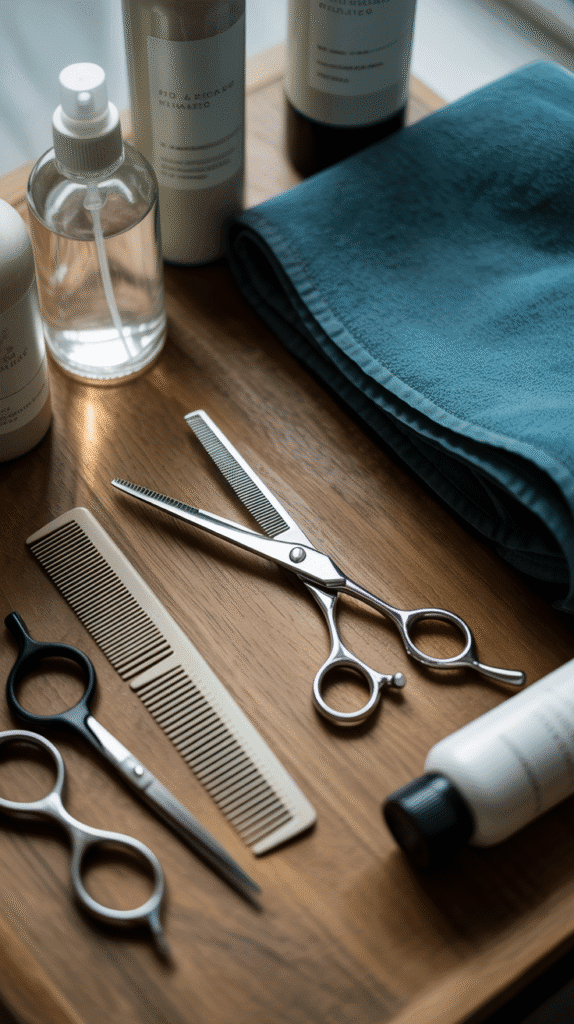
Having the right equipment makes the difference between a frustrating experience and a successful home haircut.
Investing in quality tools designed specifically for curly hair will give you better control and more professional results.
- Professional hair-cutting shears (6-7 inches) are essential—never use regular household scissors as they create blunt, damaged ends that cause frizz.
- Thinning shears or texturizing scissors help remove bulk without drastically changing length, particularly useful for thick, dense curly hair.
- A spray bottle filled with water keeps hair damp throughout the cutting process, which is crucial for maintaining curl definition.
- Wide-tooth combs or detangling brushes prevent breakage and help section hair without disturbing the natural curl pattern.
- Hair clips or sectioning clamps keep hair organized and out of the way while you work on specific areas.
- A hand-held mirror allows you to check the back and sides of the head for evenness and symmetry.
- A cutting cape or old towel protects clothing from hair clippings and makes cleanup easier.
- Leave-in conditioner or curl cream helps define curls after cutting and shows you the true shape of the haircut when styling.
3. Preparing the Hair for Cutting

Proper preparation is half the battle when cutting curly hair at home.
How you prep the hair directly impacts how accurately you can cut and how the final result will look once styled.
- Start with freshly washed hair using a sulfate-free shampoo that won’t strip natural oils from curly hair.
- Apply a moisturizing conditioner and detangle gently with fingers or a wide-tooth comb while the conditioner is still in the hair.
- Rinse thoroughly with lukewarm water—hot water can cause frizz and damage the hair cuticle.
- Gently squeeze out excess water with a microfiber towel or cotton t-shirt rather than rubbing, which creates frizz and disrupts curl patterns.
- Apply a leave-in conditioner or curl-defining cream to damp hair to add slip and make cutting easier.
- Detangle completely from ends to roots using a wide-tooth comb or detangling brush before making any cuts.
- Decide whether to cut dry or damp—cutting curly hair while damp (not soaking wet) allows you to see curl patterns while maintaining some control.
- For tighter curl types (3C-4C), many professionals recommend cutting dry hair so you can see exactly how each curl falls naturally.
4. Sectioning Techniques for Even Results
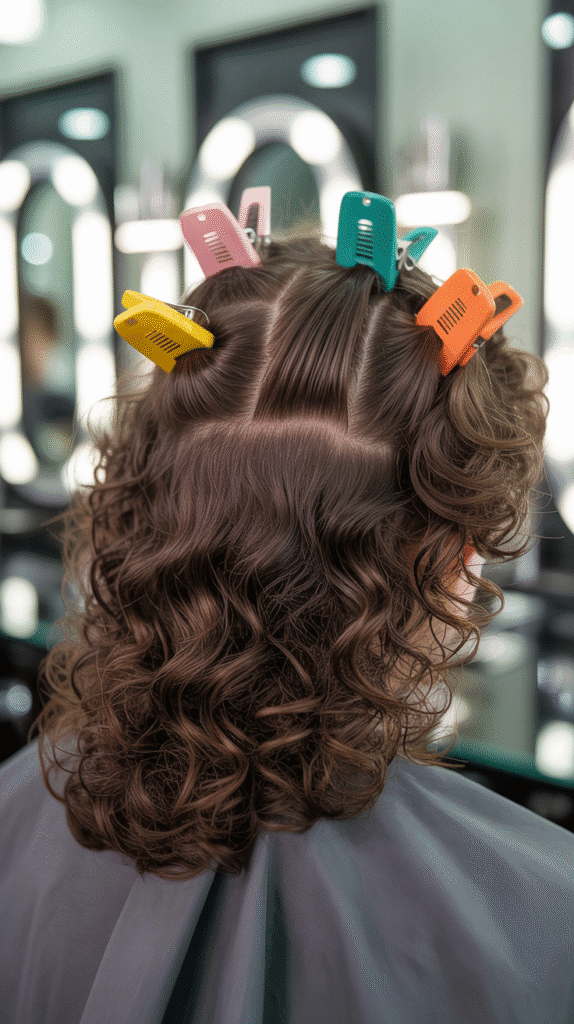
Proper sectioning creates organization and ensures you don’t miss any areas or create uneven layers.
This systematic approach is what separates amateur cuts from professional-looking results.
- Divide hair into four main quadrants by creating a center part from forehead to nape and a horizontal part from ear to ear across the crown.
- Secure each section with clips, ensuring hair is smooth and tangle-free within each quadrant before clipping.
- For more precision, subdivide each quadrant into smaller horizontal sections (about 1-2 inches wide) working from bottom to top.
- The nape section (bottom back) should be cut first as it sets the foundation for the overall length.
- Side sections require extra attention to symmetry—constantly compare both sides by bringing equivalent sections forward to check length.
- The top crown section usually requires the most length and can be sectioned further into front, middle, and back subsections.
- Use your parting comb to create clean, straight sections that make it easier to maintain even cutting lines.
- Release only one section at a time while working, keeping the rest clipped away to maintain organization throughout the cutting process.
5. The Dry Cutting Method for Defined Curls
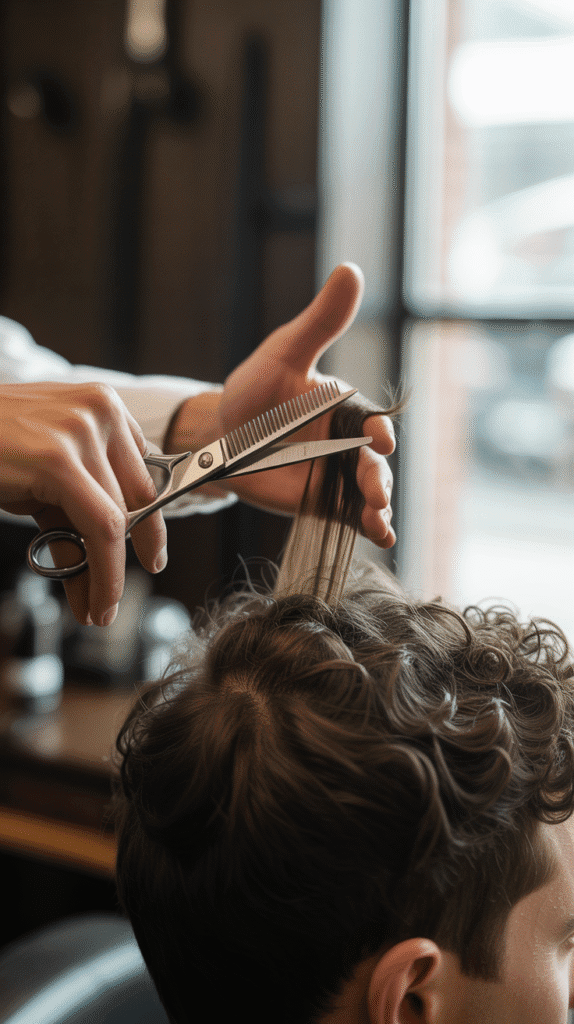
Dry cutting is increasingly popular for curly hair because it allows you to see exactly how each curl will fall in its natural state.
This technique works especially well for maintaining curl definition and creating shape.
- Dry cutting involves trimming each curl individually in its natural, dry state after the hair has been washed, conditioned, and fully dried.
- This method prevents over-cutting since curly hair shrinks significantly when it dries—what looks like an inch wet might only be half an inch dry.
- Start by identifying the longest curls that set your desired length, using them as guide curls for the rest of the haircut.
- Hold each curl gently at the end and snip at a slight angle rather than straight across to create softer, more natural-looking ends.
- Use point cutting (snipping into the curl vertically) rather than blunt cutting to remove weight while maintaining texture and preventing harsh lines.
- Work curl by curl, especially around the face and hairline where precision matters most for framing the face.
- For tighter curl patterns (Type 4), twist each section slightly before cutting to elongate the curl and see the true length.
- Check your progress frequently by stepping back and viewing the overall shape rather than getting too focused on individual curls.
6. The Wet Cutting Method for Precision
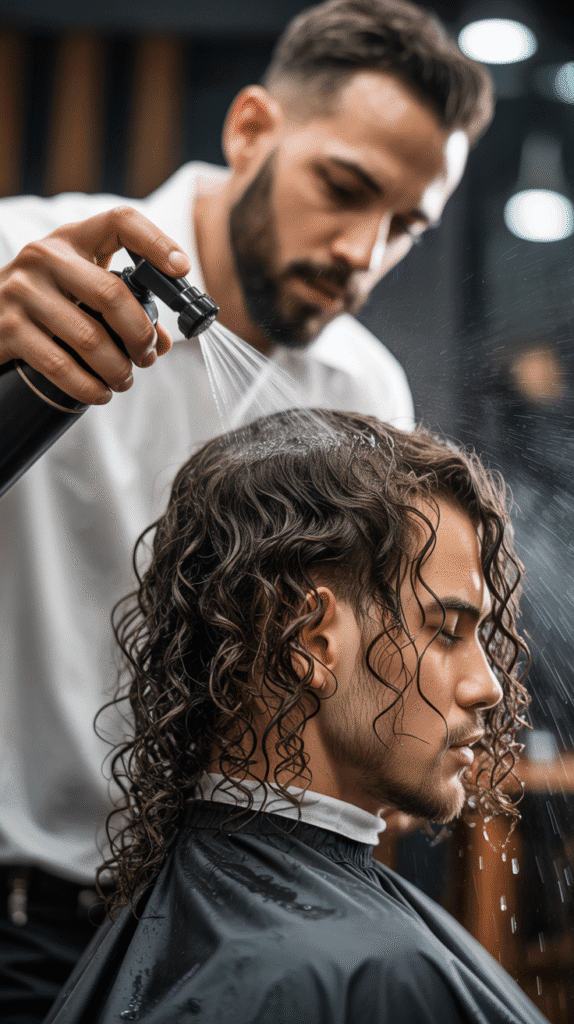
Wet cutting offers more control and precision, making it ideal for creating specific shapes or when you need clean, even lines.
This traditional method works particularly well for looser curl types.
- Keep hair consistently damp throughout the cutting process by misting with water from a spray bottle every few minutes.
- Wet cutting allows you to comb through hair more easily and create straighter cutting lines for uniform length.
- Use the “twist and cut” method where you twist small sections of damp hair before cutting to ensure evenness without stretching the curl too much.
- Cut hair at least one inch longer than your desired final length to account for shrinkage when the hair dries and curls spring back up.
- For Type 2 and 3A curls with less shrinkage, you can be more conservative, cutting about half an inch to an inch longer than desired.
- For Type 3B-4C curls with maximum shrinkage, leave at least 1.5 to 2 inches extra length to avoid cutting too short.
- Work in small horizontal sections, combing each section smooth before cutting, then releasing it to check the curl formation.
- Remember that wet hair appears darker and longer, so take your time and cut conservatively—you can always trim more but can’t add length back.
7. Creating Layers and Shape

Layers add movement, reduce bulk, and create dimension in curly hair.
Understanding how to layer properly prevents the dreaded pyramid shape and creates a more balanced, flattering silhouette.
- Layers work differently on curly hair than straight hair because the curl pattern naturally creates varying lengths and volume.
- Start with longer layers and gradually work shorter—it’s easier to remove more length than to fix overly short layers.
- Use the “unicorn cut” method for DIY layering: flip head upside down, gather all hair into a high ponytail at the forehead, and trim the ends.
- This creates long layers throughout the hair when you flip back upright, with shorter layers at the crown and longer ones underneath.
- For face-framing layers, pull small sections forward and cut at an angle away from the face, with the shortest point near the cheekbone.
- Avoid creating too many short layers on top if you have very tight curls, as this can lead to excessive volume and a triangular shape.
- To reduce bulk without losing length, use thinning shears on the mid-lengths and ends (not near the roots) to remove density.
- Check layer placement by scrunching hair and allowing curls to form naturally—the layers should create a rounded shape rather than a pyramid.
8. Trimming the Sides and Back
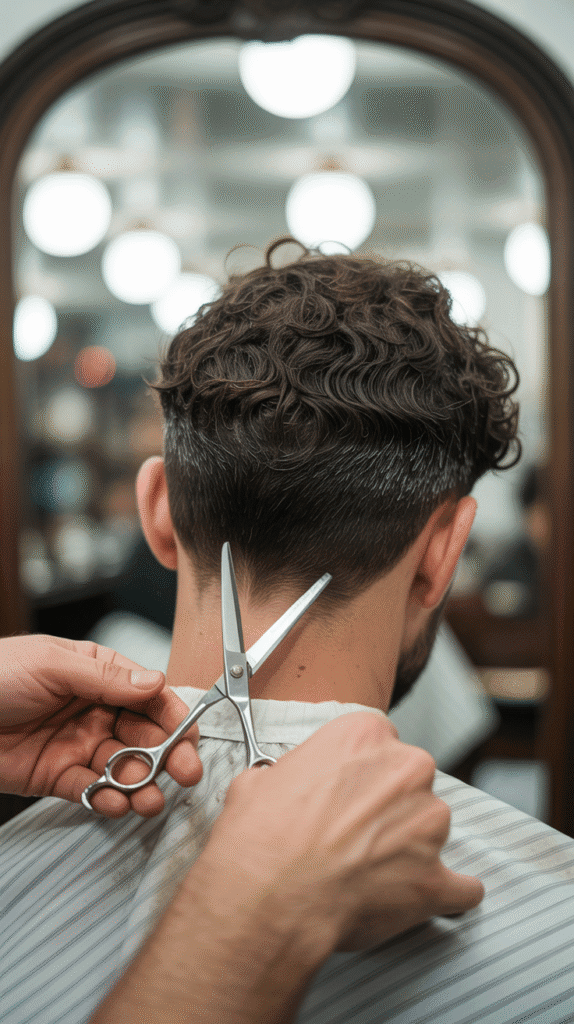
The sides and back require special attention for creating a balanced, well-proportioned haircut.
These areas are also the most visible to others, so symmetry is crucial.
- Start with the nape (lower back) and work upward in horizontal sections to maintain even length and graduation.
- Use the previously cut section as a guide, pulling down a new section along with a small portion of the already-cut hair to ensure consistency.
- For the sides, decide whether you want them to blend into the top or create a more defined separation with tapered or faded sides.
- Tapered sides require gradually shorter lengths as you move down toward the ears and neckline, typically done with clippers or scissors-over-comb technique.
- When using clippers on curly hair, move against the curl direction slowly to avoid removing too much length too quickly.
- The ear area needs careful attention—fold the ear forward and carefully trim around it, creating a clean line that follows the ear’s natural curve.
- For a natural-looking neckline, avoid creating harsh, straight lines across the back—instead create a soft, rounded or slightly tapered neckline.
- Constantly check both sides by bringing equivalent sections forward or using mirrors to ensure symmetry between left and right sides.
9. Cutting Curly Bangs and Fringe
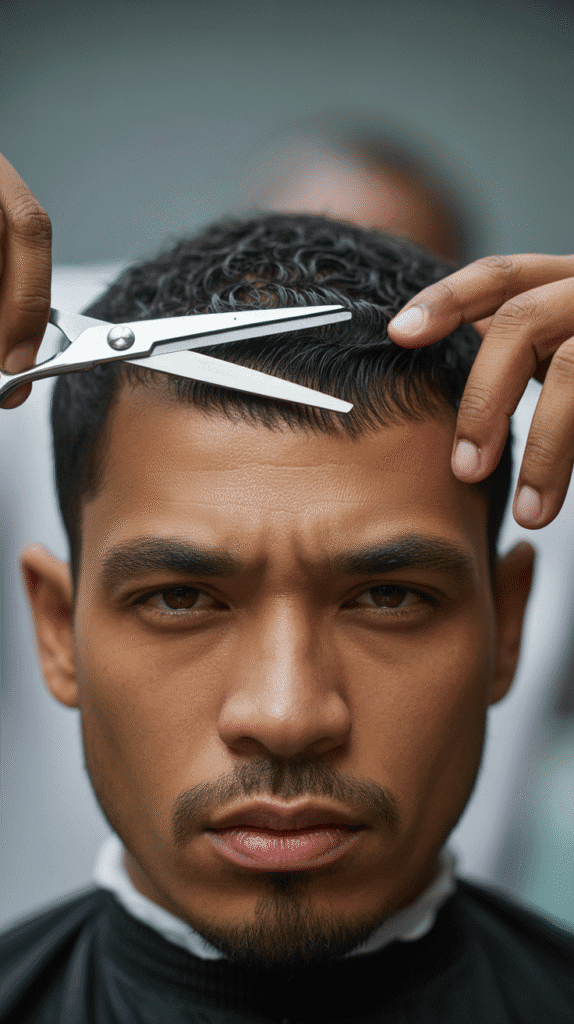
Bangs or fringe can completely transform a curly haircut, framing the face and adding personality.
However, cutting curly bangs requires extra caution due to shrinkage and the unpredictable nature of curls.
- Always cut curly bangs longer than you think necessary—they will shrink up significantly, especially on tighter curl patterns.
- For Type 3-4 curls, cut bangs to at least eyebrow length or longer while wet, knowing they’ll spring up to forehead length or higher when dry.
- Create a triangular section starting from the highest point of the head (apex) and extending forward to the forehead for balanced fringe.
- Use point cutting rather than blunt cutting across the fringe to create texture and prevent a heavy, harsh line across the forehead.
- Cut curly bangs on dry hair if possible, working curl by curl to see exactly how they’ll fall in their natural state.
- For curtain bangs, part the fringe down the middle and cut each side at an angle, longer toward the temples and shorter at the center.
- Avoid cutting bangs too short on the sides as this can create an unflattering frame—keep side fringe at least cheekbone length.
- Test the length by pulling a few curls down and releasing them to see where they spring back to before committing to cutting the entire fringe section.
10. Dealing with Different Density and Thickness
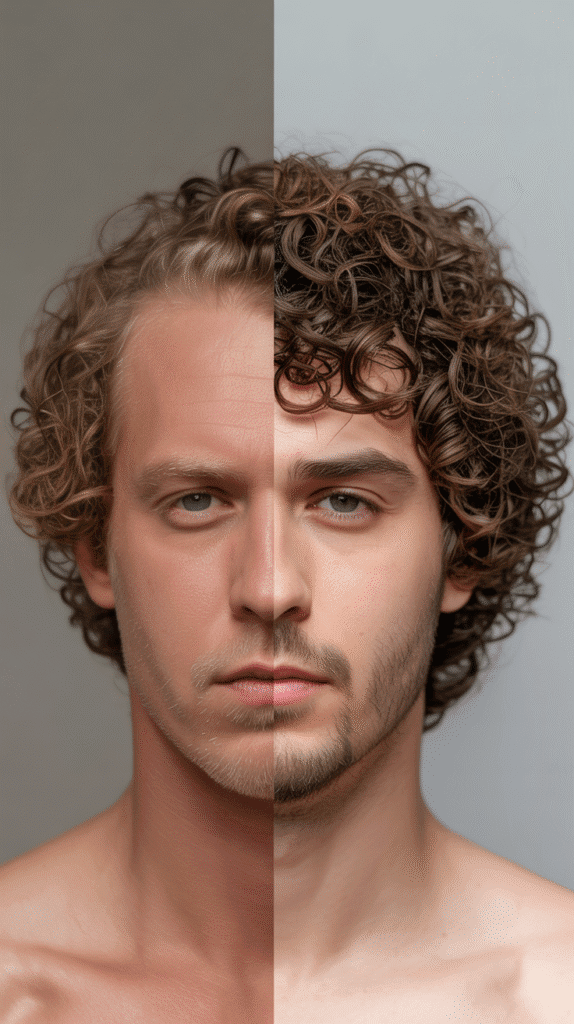
Curly hair comes in various densities (how many hair strands you have) and thickness levels (the diameter of individual strands).
Managing bulk and volume appropriately is key to a successful haircut.
- High-density curly hair requires strategic bulk removal to prevent a pyramid or mushroom shape that overwhelms the face.
- Use thinning shears on the mid-lengths and ends (never at the roots) to remove weight without sacrificing length.
- For extremely thick hair, consider an undercut or tapered sides to reduce overall volume while keeping length on top.
- Low-density curly hair should be cut carefully to maintain as much fullness as possible—avoid over-layering or thinning.
- Blunt cuts work better for fine, low-density curls as they create the illusion of thicker, fuller hair.
- When using thinning shears on high-density hair, work in small sections and thin conservatively—you can always remove more but can’t add it back.
- Point cutting into the ends creates texture on thick hair without using thinning shears, giving a softer, less bulky appearance.
- Remember that density can vary across different areas of the head—treat each section according to its specific thickness rather than using one approach everywhere.
11. Fixing Common Cutting Mistakes
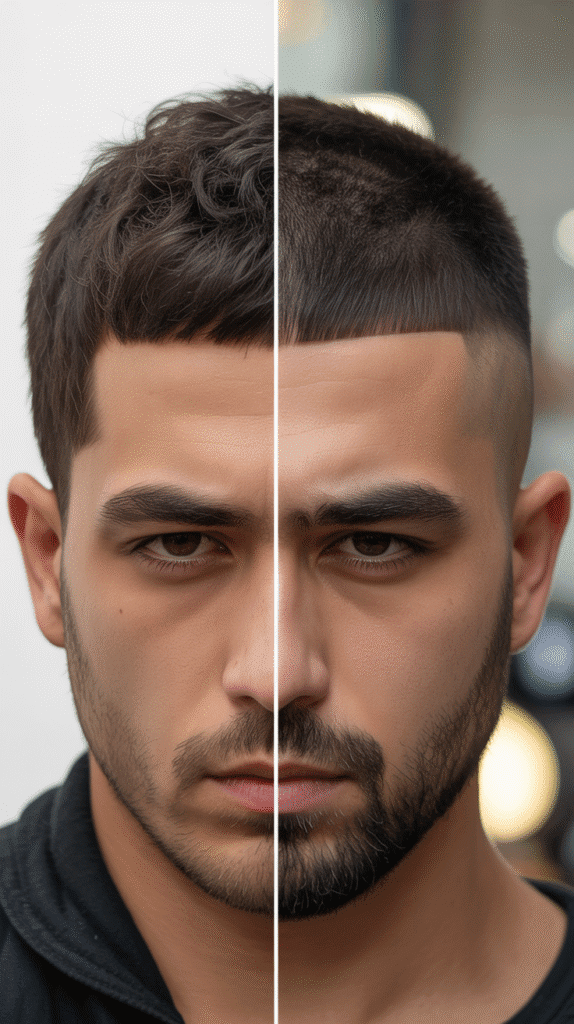
Even experienced haircutters make mistakes, and knowing how to correct them can save a haircut from disaster.
These fixes work for most minor errors made during home cutting.
- If you’ve cut one side shorter than the other, don’t automatically cut the longer side to match—check if you can blend the shorter side upward instead.
- For blunt, harsh cutting lines, use point cutting to soften the edge by snipping vertically into the ends at slight angles.
- If you’ve removed too much bulk with thinning shears creating a “straggly” look, embrace it and add styling product to create texture and definition.
- An accidentally created hole or divot in the haircut can sometimes be hidden by carefully trimming surrounding longer pieces to blend into the area.
- If curls are sticking out awkwardly in one area, wet them and apply curl cream, then use clips to set them in the desired direction while drying.
- When bangs are cut too short, there’s no immediate fix except time—use headbands, styling products, or hats while waiting for regrowth.
- For overall unevenness, re-wet the hair, section it properly, and work through systematically comparing both sides before making correction cuts.
- If you’ve cut too much length, focus on shaping what remains rather than trying to create the original vision—sometimes a different style works better.
- Remember that curly hair is forgiving and textured enough to hide minor imperfections that would be obvious in straight hair.
12. Styling and Finishing Touches

The haircut isn’t complete until it’s properly styled.
The right finishing techniques will enhance curl definition, add shine, and showcase your hard work.
- Apply a curl-defining cream or leave-in conditioner to damp hair immediately after cutting to enhance natural curl pattern.
- Use the “praying hands” method by smoothing product between your palms and running it down sections of hair to reduce frizz.
- Scrunch curls upward toward the scalp using a microfiber towel or cotton t-shirt to encourage curl formation without disturbing the pattern.
- For maximum definition, use the “rake and shake” method: rake fingers through hair with product, then shake sections gently to let curls clump together.
- Air drying creates the most natural results, but if using a diffuser, keep it on low heat and low speed to prevent frizz.
- Hover the diffuser near the hair without touching it, or use the “pixie diffusing” method where you place curls into the diffuser bowl and hold.
- Once hair is completely dry, you can “scrunch out the crunch” if using a gel by gently scrunching to break the cast and create soft, touchable curls.
- Avoid touching hair excessively while it dries as this disrupts curl formation and creates frizz—patience is crucial for well-defined curls.
- Finish with a light oil or serum on the ends only to add shine and seal in moisture without weighing down the curls.
13. Maintaining Your Curly Haircut Between Trims
A great haircut is only the beginning—proper maintenance keeps curls healthy, defined, and shaped between cutting sessions.
Establishing a good routine extends the life of your haircut.
- Trim split ends every 6-8 weeks for looser curls (Type 2-3A) or every 8-12 weeks for tighter curls (Type 3B-4C) to maintain shape and health.
- Use sulfate-free shampoo and silicone-free conditioner to keep curls moisturized without product buildup that weighs them down.
- Deep condition weekly using a hair mask or oil treatment to maintain moisture balance and prevent breakage that can alter your haircut’s shape.
- Sleep on a satin or silk pillowcase to reduce friction that causes frizz and disturbs curl pattern while sleeping.
- Refresh curls between wash days by lightly misting with water and applying a small amount of leave-in conditioner or curl refresher spray.
- Protect hair from heat damage by minimizing use of hot tools and always applying heat protectant if heat styling is necessary.
- The “pineapple” method—gathering hair in a loose, high ponytail on top of the head—preserves curls overnight without flattening them.
- Avoid over-washing curly hair as this strips natural oils—most curly hair types only need washing 1-3 times per week depending on scalp oil production.
- Regular dusting (trimming just 1/4 inch from the ends) between major haircuts removes split ends before they travel up the hair shaft and cause damage.
Conclusion
Mastering How to Cut Men’s Curly Hair at Home – Simple Step-by-Step is an empowering skill that saves money and gives you complete control over your personal style.
By understanding your specific curl type, gathering the right tools, properly preparing the hair, and following systematic cutting techniques, you can achieve salon-quality results in the comfort of your own home.
Remember that cutting curly hair is different from cutting straight hair—patience, conservative cutting, and respect for the natural curl pattern are essential.
Whether you choose the dry cutting method for maximum precision or the wet cutting approach for clean lines, the key is working with your curls rather than against them.
With practice and attention to the techniques outlined in this guide, you’ll develop the confidence and skill to maintain a great-looking curly haircut between professional salon visits or even become your own personal barber.
Start with small trims, take your time, and don’t be afraid to experiment—curly hair is remarkably forgiving and any minor mistakes can usually be styled away or will grow out quickly.
