
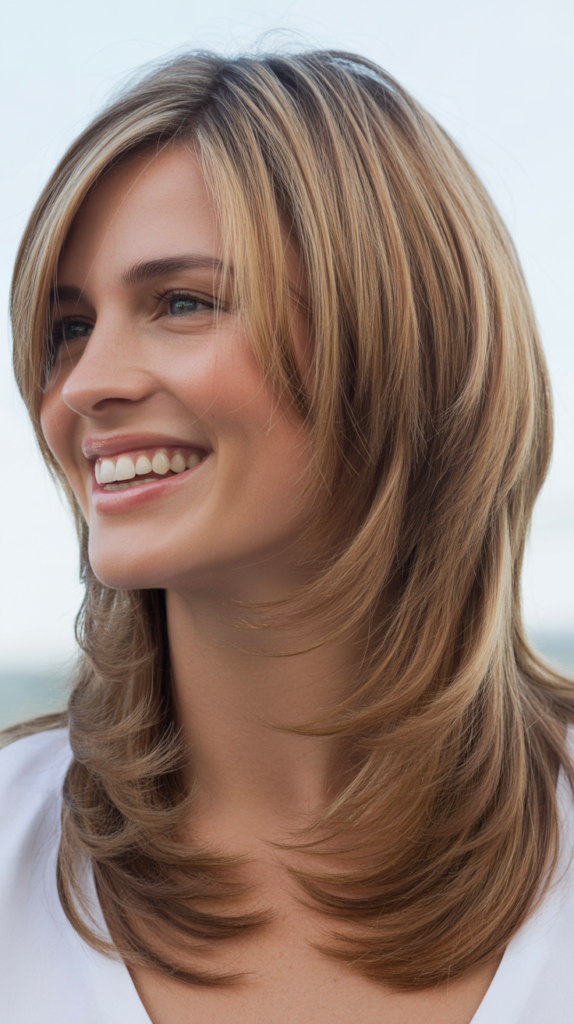
Have you ever looked at your hair and wished for those gorgeous, bouncy layers that seem to only exist after an expensive salon visit?
The truth is, you don’t need to spend hundreds of dollars or rely on a professional stylist to achieve a beautiful layered haircut. With the right techniques, a few basic tools, and a bit of confidence, you can transform your hair right in your own bathroom.
This guide will walk you through everything you need to know about cutting layers yourself, from gathering the essential supplies to executing various layering techniques for different hair types and lengths.
Whether you’re working with long, flowing locks or a shorter style, you’ll discover step-by-step methods that professional stylists use, adapted for at-home success.
We’ll cover preparation tips, safety precautions, common mistakes to avoid, and troubleshooting solutions for when things don’t go exactly as planned. By the end of this article on How to Do a Layered Haircut Yourself — No Salon Needed, you’ll have the knowledge and confidence to create salon-quality layers without ever leaving your home.
1. Understanding What Layered Haircuts Actually Are
Before you pick up those scissors, it’s crucial to understand what you’re actually trying to create. Layers are essentially different lengths of hair cut throughout your head that create dimension, movement, and shape.
This foundational knowledge will guide every cut you make.
- Layers work by removing weight from your hair, allowing it to move more freely and creating a fuller, more dynamic appearance.
- The basic principle involves cutting the top sections of hair shorter than the bottom sections, creating a graduated effect throughout your head.
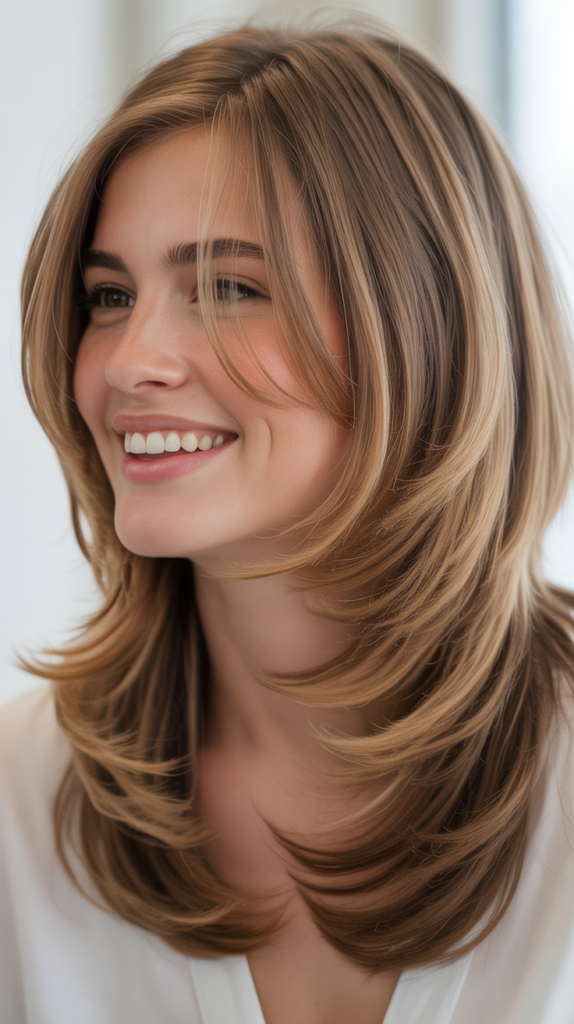
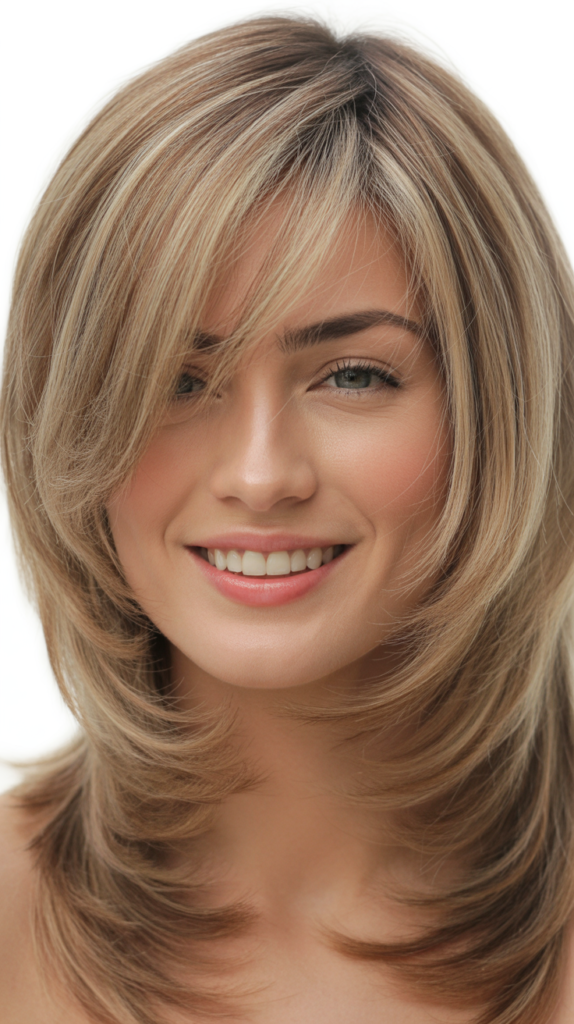
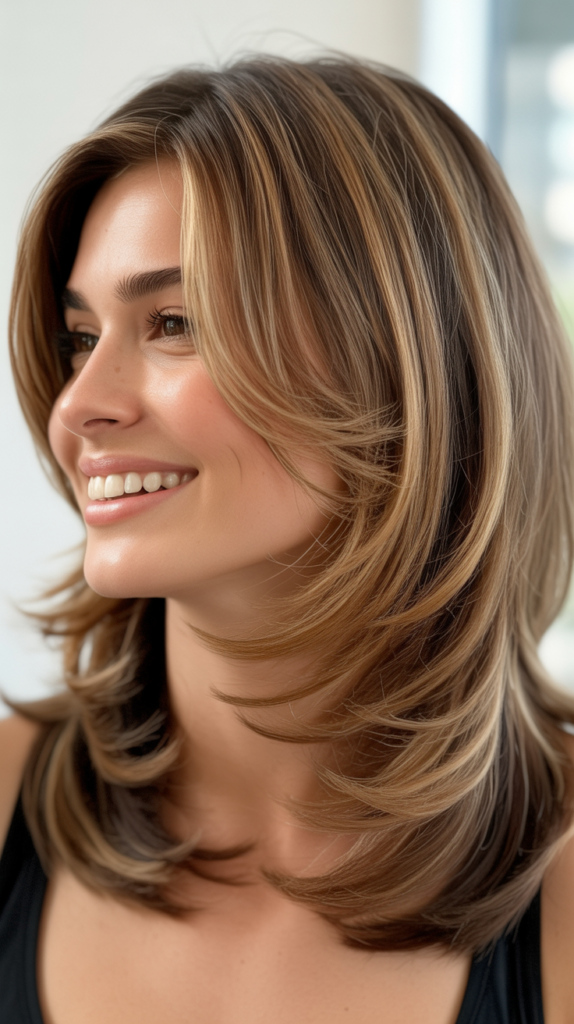
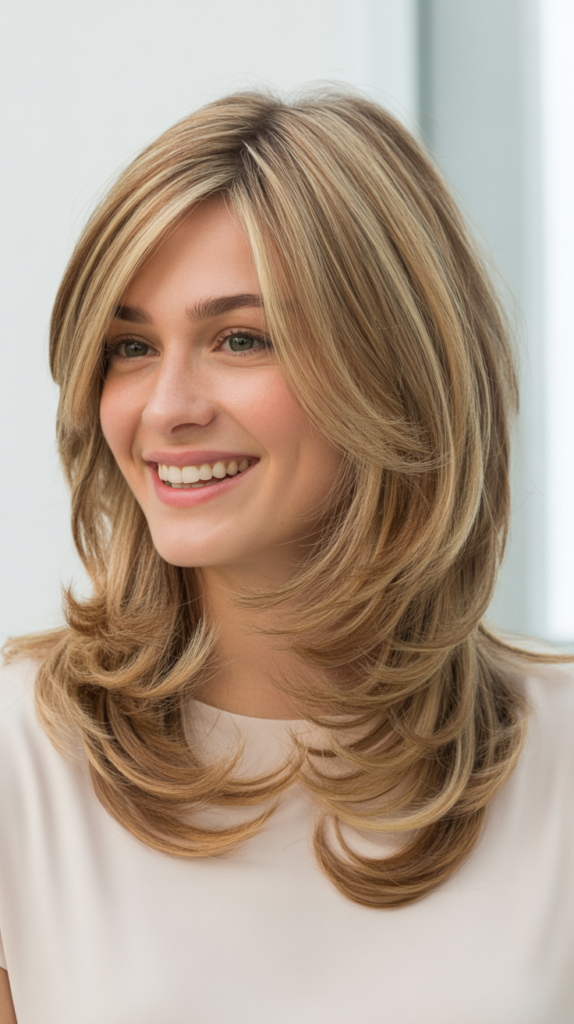
- Different layer styles serve different purposes: face-framing layers highlight your features, interior layers add volume, and long layers create subtle movement.
- Understanding hair angles is essential—holding hair at 90 degrees creates more dramatic layers, while 45 degrees produces softer, more blended results.
- Your hair’s natural texture plays a significant role in how layers will look: curly hair appears shorter when layered due to shrinkage, while straight hair shows every cut more prominently.
- Professional stylists consider factors like hair density, growth patterns, and face shape when determining layer placement and length.
- The concept of “graduation” refers to the smooth transition between different layer lengths, which is what separates a professional-looking cut from a choppy, uneven one.
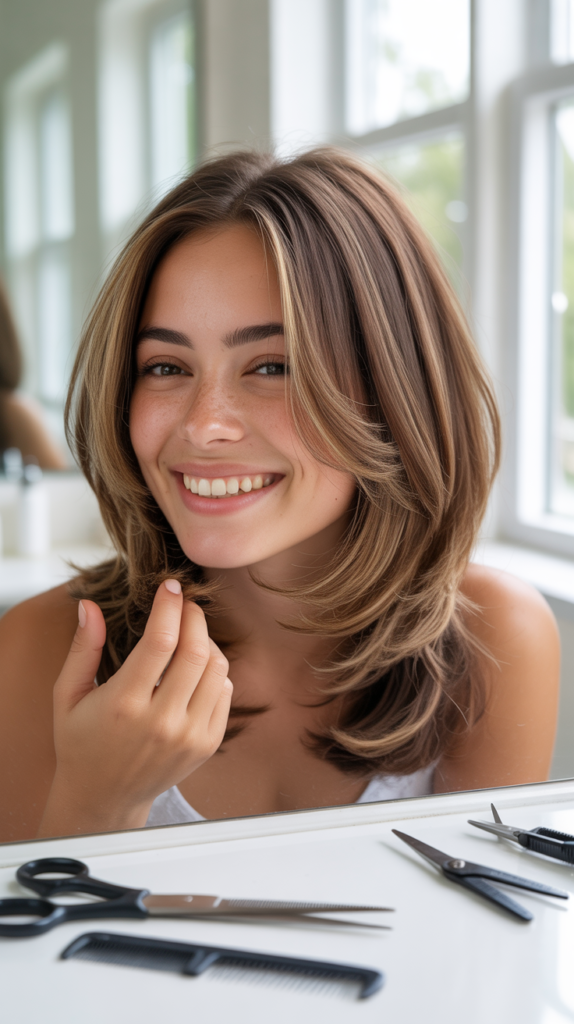
2. Essential Tools You’ll Need for Home Layering

Having the right equipment makes the difference between a successful DIY haircut and a disaster. Professional-quality tools aren’t just for stylists—they’re investments in achieving the results you want.
- Professional hair-cutting scissors (shears) are absolutely essential and should never be replaced with regular household scissors, which will damage your hair and create split ends.
- Quality shears typically range from 5.5 to 7 inches in length, with 6-inch shears being the most versatile for home cutting.
- A fine-toothed cutting comb helps create clean sections and maintains tension while cutting, ensuring even results.
- Hair clips or sectioning clips keep uncut hair out of your way and help you work methodically through different areas of your head.
- A spray bottle filled with water keeps your hair damp and manageable throughout the cutting process, as most layering techniques work best on slightly wet hair.
- A handheld mirror or a three-way mirror system allows you to see the back and sides of your head while cutting.
- A hair-cutting cape or an old towel protects your clothing from hair clippings and makes cleanup easier.
- A rat-tail comb with a pointed end helps create precise parts and sections, especially useful for more advanced layering techniques.
- Consider investing in thinning shears if you have very thick hair, as these specialized scissors help remove bulk without dramatically changing length.
3. Preparing Your Hair and Workspace
Proper preparation sets the foundation for a successful layered haircut. Rushing through this stage often leads to uneven results and missed sections.
- Start with freshly washed and conditioned hair to remove any product buildup, oils, or dirt that could interfere with even cutting.
- Towel-dry your hair until it’s damp but not dripping wet—hair that’s too wet can stretch and lead to cutting off more length than intended once it dries.
- Detangle your hair completely using a wide-tooth comb or detangling brush, working from ends to roots to avoid breakage.
- Set up in a well-lit area, preferably with natural light or bright overhead lighting, so you can see exactly what you’re cutting.
- Position yourself in front of a large mirror with access to a handheld mirror for checking the back of your head throughout the process.
- Lay out all your tools within easy reach before starting, so you won’t have to search for items mid-cut with wet, sectioned hair.
- Cover your workspace with newspaper or an old sheet to catch hair clippings and make cleanup simpler.
- Take “before” photos from multiple angles—front, back, and both sides—so you can track your progress and have reference points.
- Remove any jewelry, especially earrings and necklaces, that might interfere with your cutting or get tangled in your hair.
- Ensure you have at least 45-60 minutes of uninterrupted time, as rushing through a haircut leads to mistakes and uneven results.
4. The Ponytail Method for Basic Layers
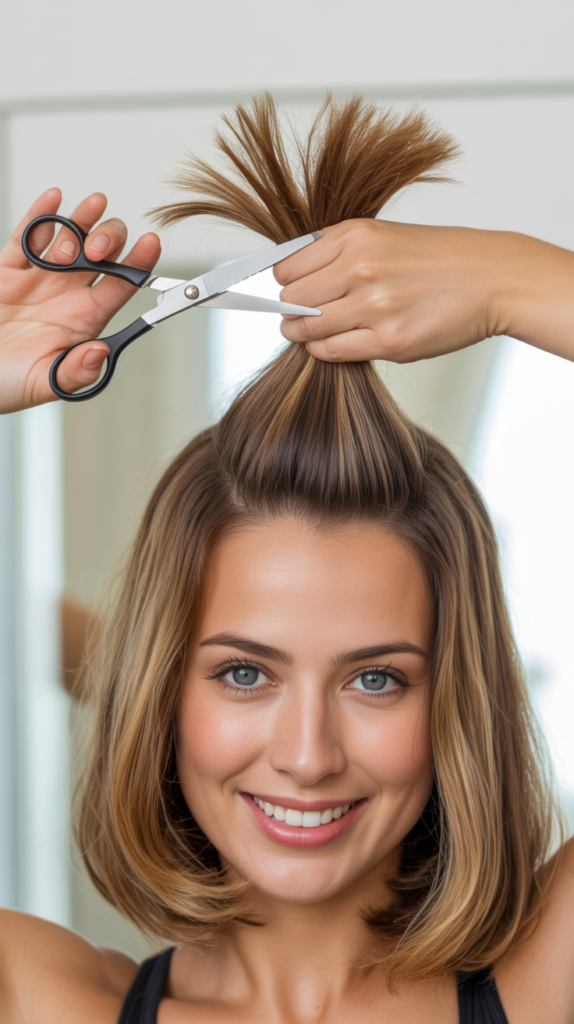
The ponytail method is the easiest technique for beginners and creates soft, long layers throughout your hair. This approach is forgiving and delivers consistently good results with minimal skill required.
- This technique works best for hair that’s at least shoulder-length or longer, as shorter hair won’t reach into a high ponytail position.
- Begin by flipping your head upside down and brushing all your hair forward toward your forehead, ensuring every strand is smooth and even.
- Gather all your hair into a high ponytail at the very top-front of your head (near your forehead), securing it tightly with a hair elastic.
- The ponytail should be positioned where you’d place a unicorn horn—this central, forward position is crucial for even layers.
- Slide the elastic down the ponytail to the point where you want your shortest layers to be, keeping in mind that hair will bounce up when dry, especially if it’s curly or wavy.
- Hold the ponytail straight up from your head with one hand, maintaining consistent tension throughout the cutting process.
- Using sharp hair-cutting scissors, make a straight cut across the ends of the ponytail, removing the desired amount of length.
- For a softer, more textured finish, point-cut into the ends by holding scissors vertically and making small snips rather than one blunt cut.
- Release the ponytail and shake out your hair to reveal graduated layers that are longer in the back and shorter at the front.
- This method creates layers that frame your face and add movement throughout your hair without requiring advanced sectioning skills.
5. The Twist and Snip Technique for Face-Framing Layers

Face-framing layers are the most visible and impactful layers you can add to your haircut. The twist technique gives you control over these crucial front sections.
- Face-framing layers specifically target the hair around your face, from your temples down to your chin or collarbone, depending on your preference.
- Part your hair down the middle or in your natural part, then separate out a front section on each side that’s about 1-2 inches wide.
- Take one front section and comb it forward, holding it between your index and middle fingers at the point where you want the shortest part of your layers to fall.
- Twist the section of hair several times—this twisting action automatically creates an angled, graduated cut when you snip the ends.
- Cut straight across the twisted section, then untwist and check the result before committing to more length removal.
- The amount you twist determines the subtlety of your layers: more twists create softer, more gradual layers, while fewer twists create more dramatic angles.
- Repeat the exact same process on the other side, measuring carefully to ensure both sides match in length and angle.
- Use a comb to pull the layers forward and check that they’re symmetrical when your hair is in its natural position.
- For enhanced face-framing effect, you can cut these layers at a slight diagonal, with hair near your cheekbones slightly shorter than hair near your chin.
- This technique is especially effective for opening up your face, softening strong jawlines, and adding interest to otherwise one-length haircuts.
6. The Vertical Sectioning Method for All-Over Layers
For those ready to tackle more advanced layering, the vertical sectioning method offers professional-quality results with dimension throughout your entire head.
This technique requires patience but delivers the most customized outcome.
- This method involves dividing your hair into multiple vertical sections from front to back, cutting each section at a specific angle to create layers.
- Begin by creating a center part from your forehead to the nape of your neck, dividing your hair into left and right halves.
- Further divide each side into 2-3 vertical sections (depending on hair thickness), securing each section with clips except the one you’re working on.
- Start with a back section, combing the hair straight out from your head at a 90-degree angle to create distinct layers.
- Hold the hair between your fingers at the desired length, using your previous cut as a guide for consistency.
- Cut the hair in a straight line across your fingers, then release and check the result before moving to the next section.
- Each subsequent section should be cut using the previous section as a guide, creating a uniform layer throughout your head.
- The angle at which you hold the hair determines your layer intensity: 90 degrees creates maximum layering, while 45 degrees produces softer results.
- Work methodically from back to front on one side, then repeat the exact process on the other side for symmetry.
- This technique allows for the most precision and control, giving you the ability to create everything from subtle, long layers to dramatic, choppy styles.
7. Layer Cutting Techniques for Different Hair Types
Hair texture dramatically affects how layers appear and behave. Customizing your approach based on your specific hair type ensures the best possible results.
Layering Straight Hair
- Straight hair shows every cut with precision, so accuracy and clean lines are especially important when working with this texture.
- Point cutting (holding scissors vertically and snipping into the ends) creates softness and prevents the blunt, harsh lines that can appear in straight hair.
- Straight hair often benefits from longer, more subtle layers that add movement without creating a stringy appearance.
- Consider cutting straight hair when it’s about 80% dry rather than fully wet, as it doesn’t shrink like curly hair and you’ll see the true length more accurately.
Layering Wavy Hair
- Wavy hair has natural volume and movement, so layers should enhance rather than overwhelm this texture.
- Cut wavy hair when it’s damp but allow it to form its natural wave pattern so you can work with its texture rather than against it.
- Layers in wavy hair should follow the natural S-curve of the waves, creating a harmonious, flowing appearance.
- Avoid cutting too many short layers on top, as wavy hair already has volume and too much layering can create a pyramid effect.
Layering Curly Hair
- Curly hair requires special consideration because it shrinks significantly when it dries, sometimes appearing 2-3 inches shorter than when wet.
- Always cut curly hair dry or mostly dry so you can see the true length and curl pattern you’re working with.
- Use the “curl-by-curl” method, cutting each ringlet individually while it’s in its natural state rather than combing it straight.
- Curly hair benefits from internal layers that remove bulk without disturbing the surface curl pattern, maintaining definition and preventing frizz.
8. Common Mistakes to Avoid When Self-Cutting Layers
Learning what not to do is just as important as learning proper techniques. These common errors can turn a promising haircut into a regrettable experience.
- Cutting too much length at once is the most frequent mistake—always start conservative, as you can always cut more but cannot add hair back.
- Cutting your hair while it’s soaking wet leads to unpleasant surprises when it dries and shrinks, especially with curly or wavy textures.
- Using dull or household scissors creates ragged cuts, split ends, and uneven results that look damaged rather than layered.
- Failing to section hair properly results in missed areas, uneven layers, and an unprofessional finish.
- Cutting too many short layers, especially around the crown, creates the dreaded “triangle head” effect where hair is puffy on top and flat on bottom.
- Attempting complex techniques when tired, rushed, or distracted increases the likelihood of mistakes and asymmetry.
- Not using a mirror to check the back of your head throughout the process can result in longer or shorter sections that you don’t discover until it’s too late.
- Cutting both sides at different angles or lengths creates asymmetry that’s glaringly obvious once you style your hair.
- Ignoring your natural hair growth patterns, such as cowlicks or directional growth, leads to layers that won’t cooperate when you style them.
- Over-layering or creating too many choppy, disconnected layers results in hair that looks thin, damaged, or overly textured rather than naturally layered.
9. How to Fix Layering Mistakes
Even experienced stylists occasionally make mistakes, so don’t panic if your layers don’t turn out perfectly. Many errors are fixable with the right approach.
- If you’ve cut one side shorter than the other, resist the urge to keep cutting both sides progressively shorter—instead, focus on blending the longer side to match.
- Uneven layers can often be fixed by re-sectioning and using the shortest layer as your guide, carefully cutting other sections to match.
- If you’ve created too-short layers that stick out awkwardly, use point-cutting technique to soften the ends and help them blend with longer sections.
- Over-layered or stringy hair can be improved by carefully trimming damaged ends and using styling products to add texture and piece the hair together.
- Choppy, disconnected layers benefit from “blending” cuts where you take small vertical sections and cut at slight angles to create smoother transitions.
- If your face-framing layers are too short or unflattering, leave them alone for now and focus on styling them away from your face until they grow out.
- Use bobby pins, headbands, or styling techniques to disguise problem areas while your hair grows into a more manageable state.
- Deep conditioning treatments and styling products can help improve the appearance of damaged or over-cut hair while it recovers.
- Sometimes the best fix is simply waiting 2-3 weeks and reassessing—hair grows about half an inch per month, and perspective changes with time.
- If you’ve made a mistake that you truly cannot fix yourself, consult a professional stylist who specializes in corrective cutting rather than attempting further self-correction.
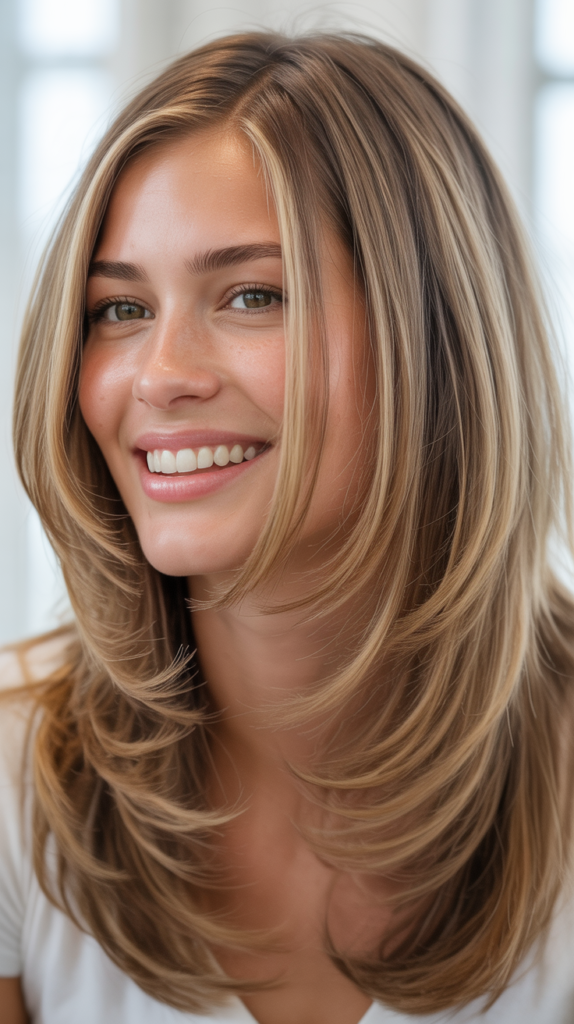
10. Styling and Maintaining Your New Layers
Creating beautiful layers is only half the battle—knowing how to style and maintain them ensures your DIY haircut looks salon-fresh every day.
- Blow-drying with a round brush enhances your layers by lifting the roots and creating movement through the mid-lengths and ends.
- Start drying the bottom sections first, then work your way up to the top layers, which allows each layer to fall naturally over the one beneath it.
- Use a medium-sized barrel round brush for most hair types, wrapping sections around the brush and directing heat downward to smooth the cuticle.
- Apply a heat protectant spray before blow-drying to prevent damage and keep your layers looking healthy and shiny.
- For air-dried styles, use a light mousse or curl-enhancing product to encourage your hair’s natural texture while keeping layers defined.
- Regular trims every 6-8 weeks maintain the shape of your layers and prevent split ends from traveling up the hair shaft.
- Sleep on a silk or satin pillowcase to reduce friction that can cause frizz and disrupt your layer pattern overnight.
- Avoid over-washing your hair, as this strips natural oils that keep layers looking smooth and healthy—aim for 2-3 times per week for most hair types.
- Use appropriate products for your hair texture: lightweight serums for fine hair, smoothing creams for frizz-prone hair, and curl-defining products for textured hair.
- Refresh your layers between washes with dry shampoo focused at the roots and a light texturizing spray on the ends to restore movement and definition.
Conclusion
Cutting your own layers might have seemed intimidating before, but with the techniques and knowledge you’ve gained from this guide, you’re now equipped to transform your hair from home.
The journey from hesitation to confidence requires just three things: the right tools, proper technique, and patience with yourself as you learn.
Remember that even professional stylists spent years perfecting their craft, so give yourself grace if your first attempt isn’t perfect—each cut teaches you more about your hair’s unique characteristics and how it responds to different techniques. Start with the simpler methods like the ponytail technique, then gradually progress to more advanced approaches as your confidence grows.
The money you’ll save by mastering How to Do a Layered Haircut Yourself — No Salon Needed adds up quickly,
but more importantly, you’ll gain the freedom to refresh your layers whenever you want without scheduling appointments or leaving your home. Keep your scissors sharp, your sections clean, and your cuts conservative, and you’ll soon wonder why you ever thought you needed a salon for beautiful, dimensional layers.
Your hair is your canvas, and now you have the skills to create a masterpiece.
