
Have you ever walked out of a salon with perfectly layered hair that frames your face beautifully, only to wonder if you could recreate that magic at home? The truth is, achieving salon-quality layers in your own bathroom is entirely possible with the right techniques and a bit of confidence.
Whether you’re looking to add volume, remove bulk, or simply refresh your current style, learning to layer your hair at home can save you time and money while giving you the freedom to maintain your look whenever you need it.
This comprehensive guide will walk you through everything you need to know about creating beautiful layers at home salon style, from understanding different layer types and gathering the essential tools, to mastering cutting techniques for various hair lengths and textures.
You’ll discover professional secrets for achieving face-framing layers, adding movement to thick hair, and maintaining your newly layered style between salon visits.
By the end of this article, you’ll have the knowledge and confidence to transform your hair with professional-looking layers right in the comfort of your home.
1. Understanding Different Types of Hair Layers
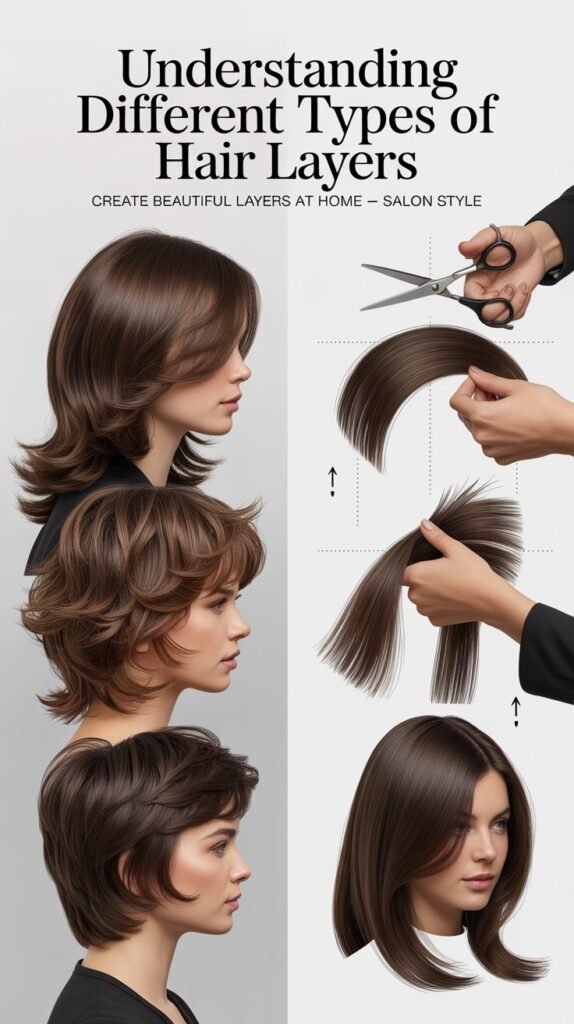
Before you pick up those scissors, it’s essential to understand that not all layers are created equal.
Different layering techniques create distinct effects, and choosing the right type for your hair texture and face shape will make all the difference in your final result.
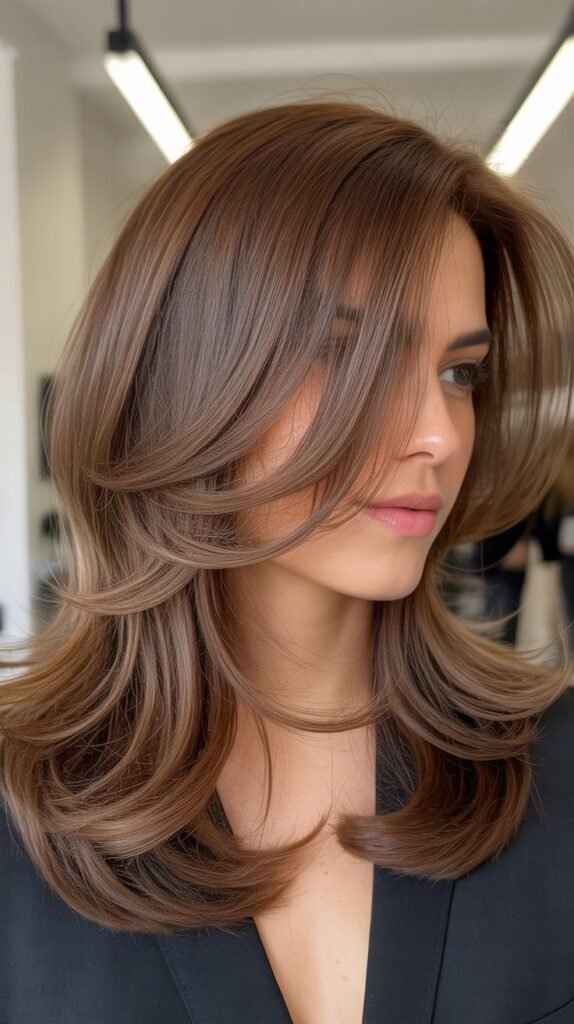
- Long layers work by removing weight from the bottom sections of your hair while maintaining overall length, creating a subtle graduated effect that adds movement without dramatic change.
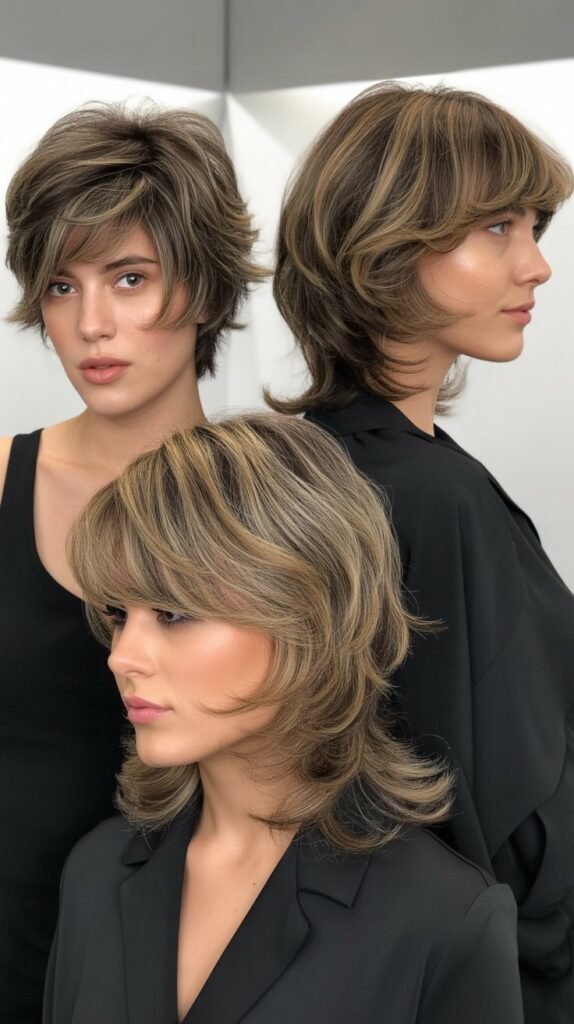
- Short choppy layers involve cutting hair at varying shorter lengths throughout the head, producing a textured and edgy appearance that works exceptionally well for those wanting a bold statement.
- Face-framing layers concentrate shorter pieces around the face while keeping the rest of the hair longer, drawing attention to your facial features and softening your overall look.
- Graduated layers create a stacked effect where hair is progressively shorter as you move up toward the crown, adding significant volume and dimension to flat or fine hair.
- The key to selecting the right layer type lies in considering your hair’s natural texture, with fine hair benefiting from fewer, longer layers and thick hair thriving with more layers to reduce bulk.
- Your face shape also plays a crucial role, as round faces benefit from longer layers that elongate, while square faces soften with wispy, curved layers around the jawline.
2. Essential Tools and Materials You’ll Need
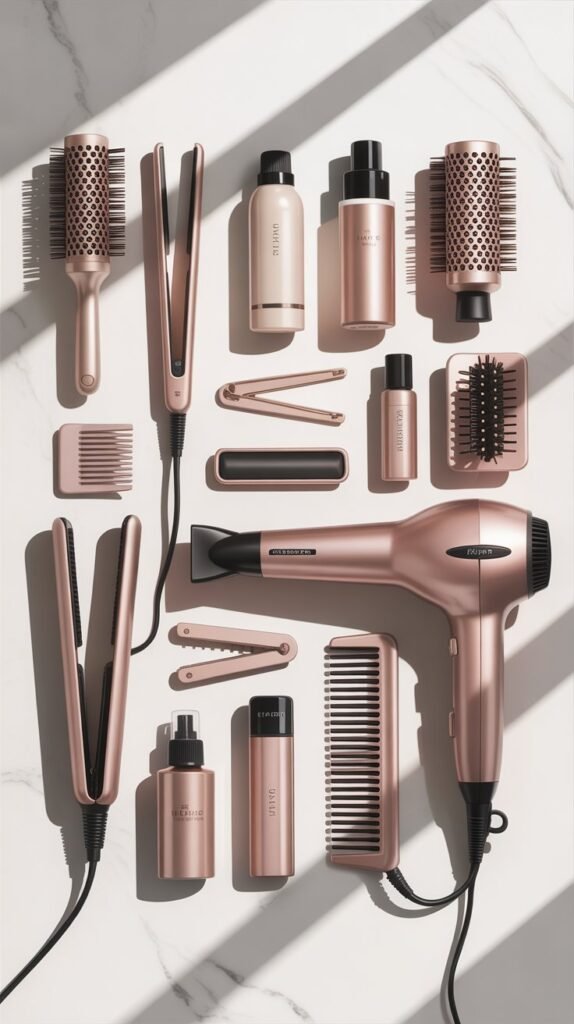
Having the right tools is half the battle when it comes to cutting professional-looking layers at home.
Investing in quality equipment will not only make the process easier but will also ensure cleaner cuts and better results.
- Professional hair cutting scissors are absolutely essential and should never be substituted with regular household scissors, as they create clean cuts without damaging or splitting the hair shaft.
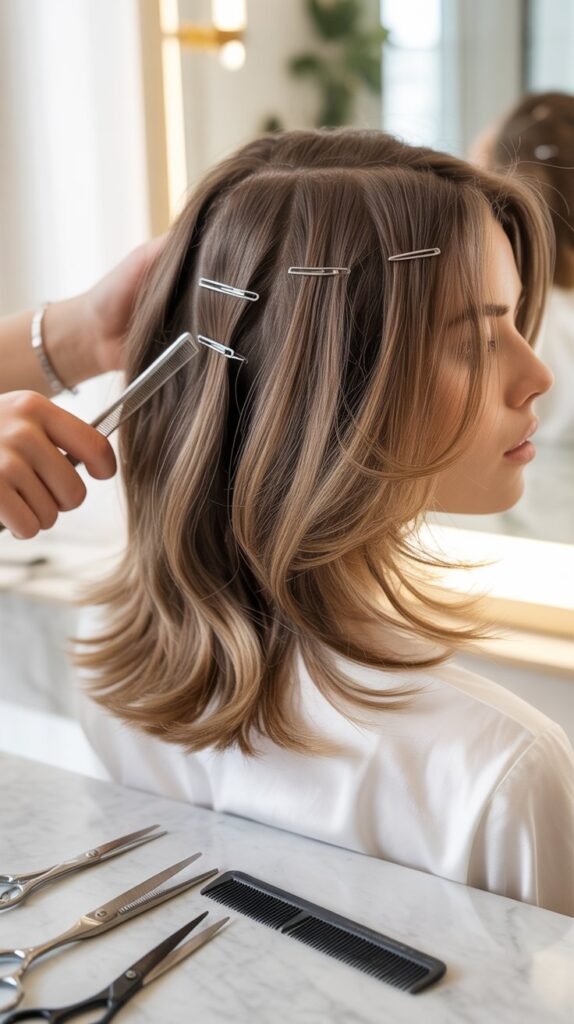
- Sectioning clips help you divide your hair into manageable portions, ensuring you maintain control throughout the cutting process and achieve even, symmetrical results.
- A spray bottle filled with clean water keeps your hair damp during cutting, which allows for more precise cuts and helps you see the natural fall of your hair.
- A fine-tooth comb is necessary for detangling, creating clean sections, and ensuring you’re cutting straight lines without bumps or uneven spots.
- Two mirrors (one handheld and one wall-mounted) enable you to see both the front and back of your head, giving you a complete view of your work as you progress.
- Hair ties or elastic bands secure the sections you’re not currently working on, preventing them from interfering with the hair you’re cutting.
- Quality scissors typically cost between $30 and $100 for home use, and this investment will last for years with proper care and occasional professional sharpening.
3. Preparing Your Hair for Cutting
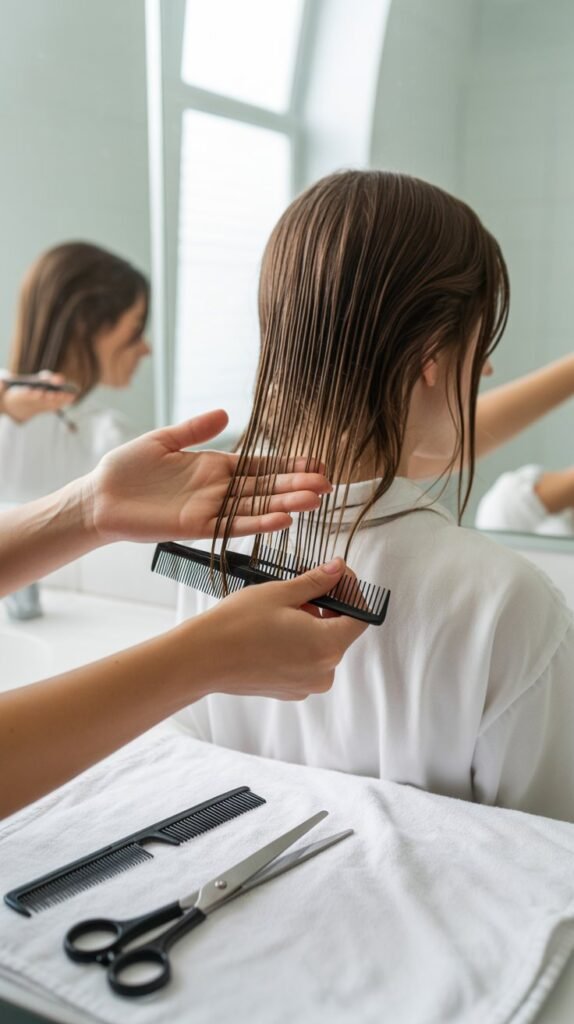
Proper preparation sets the foundation for successful layering and can mean the difference between a polished result and a choppy disaster.
Taking time to prepare your hair correctly ensures you’re working with a clean canvas.
- Wash your hair thoroughly with your regular shampoo and conditioner, as clean hair allows you to see its true texture and natural fall without the interference of oils or styling products.
- Towel-dry until damp rather than soaking wet or completely dry, because hair that’s too wet will appear longer than it actually is, while dry hair can be difficult to cut smoothly.
- Detangle completely using a wide-tooth comb starting from the ends and working your way up to the roots, ensuring there are no knots that could cause uneven cutting.
- Section your hair into four quadrants by creating a center part from forehead to nape and a horizontal part from ear to ear, securing each section with clips.
- Choose a well-lit area with natural light if possible, positioning yourself in front of a large mirror where you can see your entire head clearly.
- Avoid cutting hair when it’s styled with products or heat tools, as this masks the hair’s natural texture and can lead to removing more length than intended once you wash it.
- Consider doing a strand test on a small, inconspicuous section first if you’re nervous, allowing you to gauge how much length you’ll lose and adjust your technique accordingly.
4. The Ponytail Method for Basic Layers
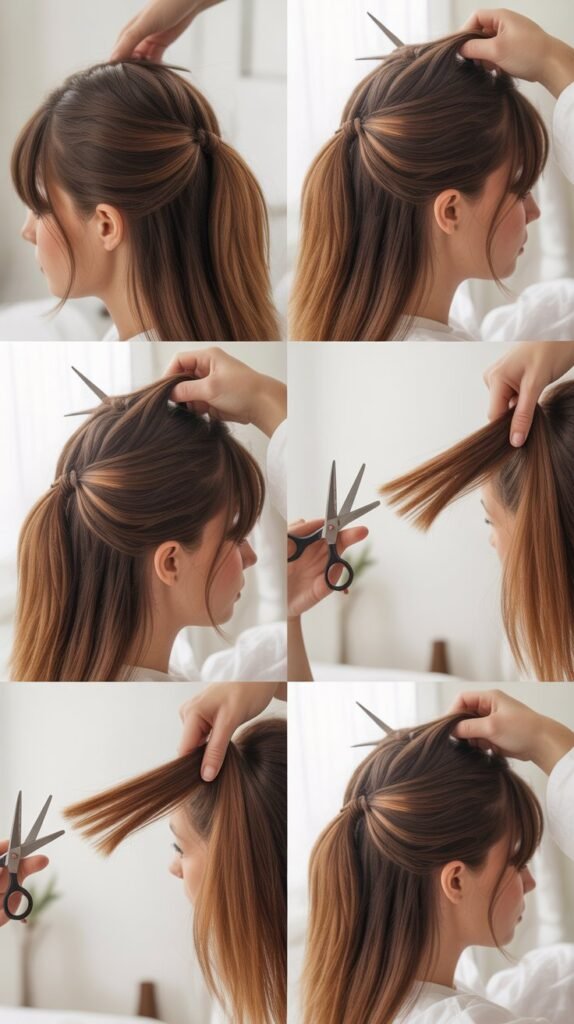
The ponytail method is one of the most popular and foolproof techniques for creating simple, uniform layers at home.
This approach works particularly well for beginners because it minimizes the risk of major mistakes while still delivering noticeable results.
- Flip your head upside down and brush all your hair forward, gathering it at the very top of your head (the apex) to create a high ponytail that sits directly at your forehead hairline.
- Secure the ponytail tightly with a hair elastic, making sure all the hair is smooth and there are no bumps, as any unevenness in the ponytail will translate to unevenness in your layers.
- Slide another elastic down the ponytail to the point where you want to cut, remembering that the hair will spring up when released, so cut less than you think you need to.
- Hold the ponytail straight up perpendicular to your head and cut straight across just above the elastic, using small snips rather than one big chop for more control.
- Release the ponytail slowly and shake out your hair, allowing the layers to fall naturally and reveal the graduated effect you’ve created.
- This method creates layers that are shorter at the crown and gradually longer toward the bottom, adding volume and movement throughout your hair.
- For more dramatic layers, position the ponytail closer to your forehead; for subtle layers, position it closer to the crown of your head.
5. Face-Framing Layers Technique
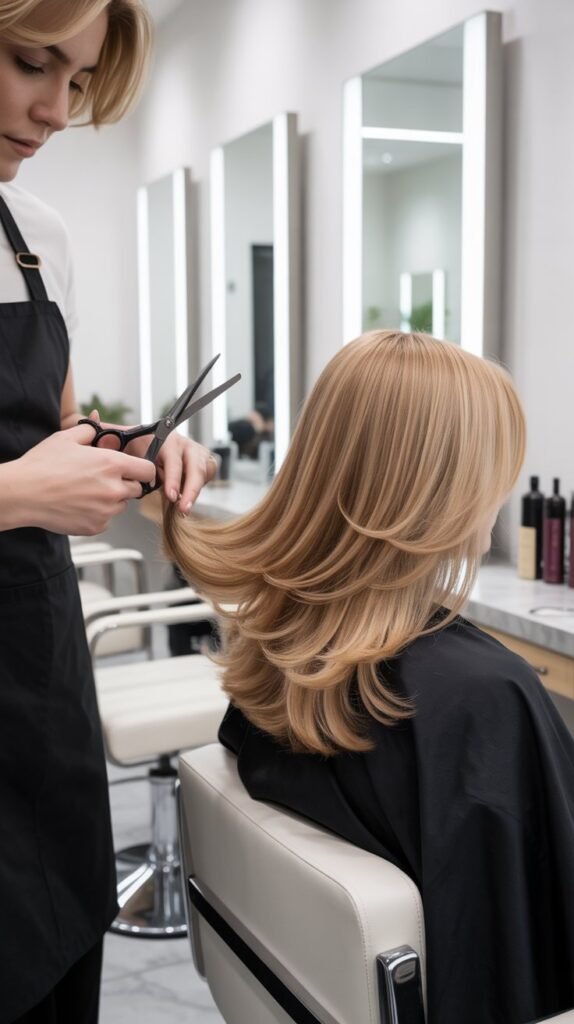
Face-framing layers are the hallmark of a polished, salon-quality cut and have the transformative power to enhance your features and soften your overall appearance.
This technique requires precision but delivers stunning results that are worth the extra attention.
- Section off the front portions of your hair by creating a triangle-shaped parting that starts at the center of your forehead and extends back about two to three inches toward the crown.
- Divide this section down the middle creating two equal parts that will frame each side of your face, clipping away the rest of your hair to keep it out of the way.
- Pull one section straight down in front of your face and decide where you want the shortest piece to hit, typically somewhere between your cheekbone and chin for the most flattering effect.
- Hold the hair between your fingers at a slight angle pointing downward and cut from your desired shortest point to where it blends with your existing length, creating a diagonal line.
- Repeat on the other side taking extreme care to match the length and angle of the first side, using the first cut as your guide and checking frequently in the mirror.
- Blend the layers by point-cutting (snipping into the ends vertically) rather than cutting straight across, which creates a softer, more natural-looking finish without harsh lines.
- Test your layers by letting them dry naturally or blow-drying them to see how they frame your face, making tiny adjustments if necessary to perfect the symmetry.
6. Layering Techniques for Different Hair Lengths
Each hair length requires a slightly different approach to layering, as what works beautifully for long hair can create unflattering results on short hair.
Understanding these distinctions ensures your layers complement your current length perfectly.
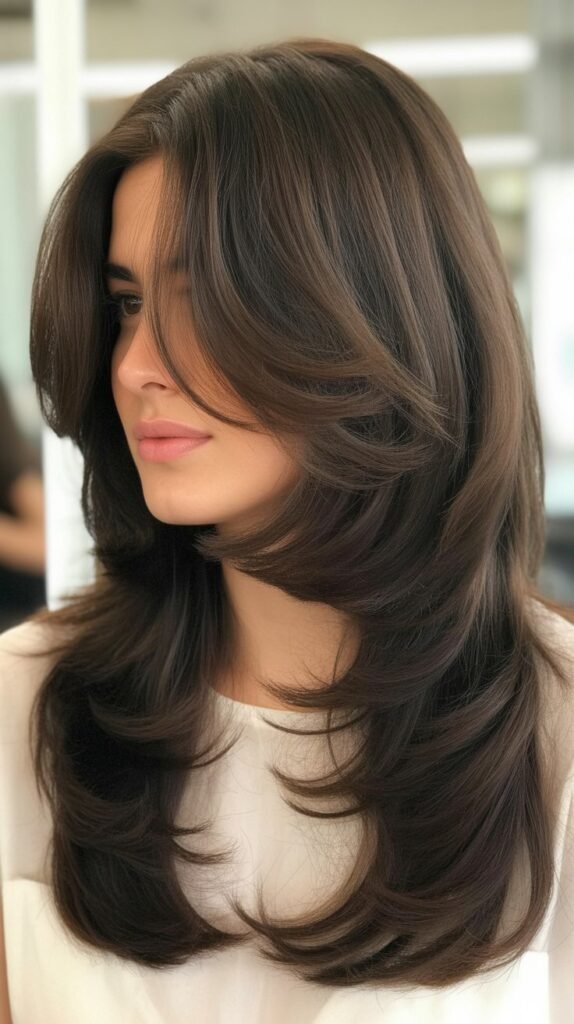
Long Hair Layers
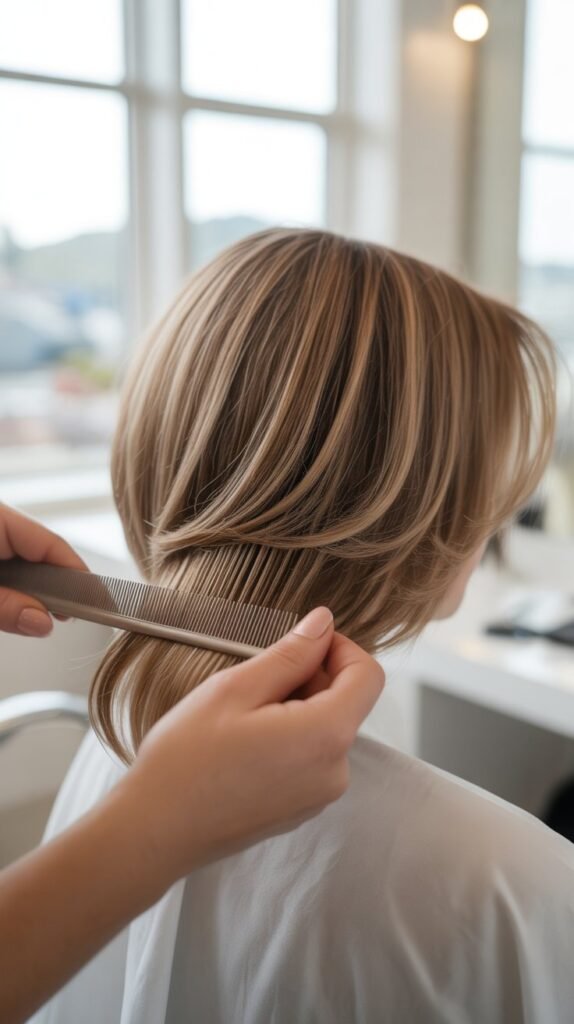
- Start with vertical sections rather than horizontal ones when working with long hair, as this creates more natural-looking layers that blend seamlessly from top to bottom.
- Use the slide-cutting technique where you gently slide the scissors down the hair shaft at an angle, removing small amounts of weight while maintaining length.
- Focus on the bottom half of your hair length for the most flattering long layers, leaving the top sections fuller to maintain overall volume and body.
Medium-Length Hair Layers
- Create layers starting two to three inches from the ends for medium-length hair, as this adds movement without sacrificing the overall shape of your cut.
- Use point-cutting throughout the layers to add texture and remove bulk, making medium-length hair appear lighter and more dynamic.
- Consider incorporating both short and long layers for medium hair, mixing shorter pieces around the face with longer layers throughout the rest.
Short Hair Layers
- Work with smaller sections when layering short hair, as precision becomes even more critical when you have less length to work with.
- Create choppy, textured layers by cutting into the hair at various angles rather than straight across, which prevents short hair from looking too blunt or heavy.
- Leave the perimeter slightly longer than the interior layers to create a rounded shape that doesn’t stick out awkwardly or look too top-heavy.
7. Managing Thick Hair with Strategic Layering
Thick hair presents unique challenges that require specific layering strategies to remove bulk without losing the hair’s natural fullness.
The right approach transforms heavy, unmanageable hair into a style that’s both lighter and more dynamic.
- Interior layering is your best friend when dealing with thick hair, as cutting layers underneath while leaving the outer layer longer removes hidden weight without affecting your hair’s overall appearance.
- Use a razor or thinning shears sparingly on the ends of your layers to create texture and reduce bulk, but never use these tools near the roots where they can cause frizz.
- Create more layers throughout thick hair than you would for fine hair, as the additional layers provide places for the weight to be distributed rather than pulling down in one heavy mass.
- Focus on removing weight from the nape of your neck where thick hair tends to accumulate the most bulk, layering this area heavily while keeping some length on top.
- Avoid blunt cuts at all costs with thick hair, as straight-across lines will make your hair appear even heavier and more triangular in shape.
- Layer diagonally rather than horizontally to create more seamless weight removal that doesn’t leave obvious lines or steps in your hair.
- Consider dry-cutting thick hair after you’ve established the basic shape while wet, as this allows you to see exactly where bulk remains and remove it precisely.
8. Common Mistakes to Avoid When Self-Cutting Layers
Even experienced home haircutters can fall into traps that lead to disappointing results, but being aware of these common pitfalls helps you navigate the process more successfully.
Learning from others’ mistakes saves you from having to make them yourself.
- Cutting too much at once is the most frequent mistake, so always remember the golden rule that you can cut more but you can never put hair back once it’s gone.
- Failing to check symmetry regularly leads to lopsided layers, so constantly compare both sides of your head throughout the process rather than waiting until the end.
- Cutting hair when it’s too wet causes you to remove more length than intended because hair stretches when wet and springs up significantly as it dries.
- Using dull scissors creates split ends and ragged cuts rather than clean lines, so invest in sharp, professional scissors or have them sharpened regularly.
- Rushing through the process leads to uneven sections and imprecise cuts, so set aside adequate time when you’re relaxed and can focus completely on the task.
- Ignoring your hair’s natural texture results in layers that fight against how your hair naturally behaves, so always consider whether your hair is straight, wavy, curly, or coily before cutting.
- Cutting too many face-framing pieces can create a mullet effect or make your hair look disconnected, so keep face-framing layers minimal and ensure they blend with the rest of your hair.
- Forgetting to account for shrinkage in curly hair means cutting layers much too short, so always cut curly hair when it’s dry and in its natural state.
9. Styling and Maintaining Your New Layers
Creating beautiful layers is only half the journey, as proper styling and maintenance ensure your layers continue looking salon-fresh between cuts.
The right care routine maximizes the longevity and appearance of your layered style.
- Blow-dry with a round brush to enhance your layers’ movement, lifting at the roots and following the natural curve of each layer as you dry for maximum volume and shape.
- Apply styling products strategically by using lighter products like mousse or volumizing spray at the roots and heavier products like serum or oil only on the ends to prevent weighing down your layers.
- Enhance your layers with heat tools by curling or waving different sections in various directions, which creates dimension and makes the layers more visible and defined.
- Trim your layers every six to eight weeks to maintain their shape and prevent split ends from traveling up the hair shaft and ruining your carefully created layers.
- Use a deep conditioning treatment weekly to keep your ends healthy, as layered hair has more exposed ends that are prone to dryness and damage.
- Sleep on a silk or satin pillowcase to reduce friction that can cause frizz and tangling, which is especially important for maintaining the definition of your layers.
- Refresh your layers between washes by using dry shampoo at the roots and texturizing spray on the lengths, then scrunching or tousling to revive the layered shape.
10. Troubleshooting and Fixing Layer Mistakes
Despite your best efforts, sometimes layers don’t turn out exactly as planned, but many common issues can be corrected without requiring a professional intervention.
Knowing how to troubleshoot problems gives you confidence to address issues quickly.
- Harsh, visible lines between layers can be softened by point-cutting into the demarcation line vertically, which blends the transition and creates a more natural gradient.
- Uneven sides should be addressed by focusing only on the longer side, carefully trimming small amounts until both sides match rather than continuing to cut both sides shorter.
- Too-short layers that stick out can be temporarily managed by using a flat iron to smooth them back or applying styling cream to weigh them down until they grow to a more manageable length.
- Layers that are too choppy or disconnected can be blended by taking thin vertical sections and using slide-cutting to create gradual transitions between different lengths.
- Excess bulk that remains after layering indicates you didn’t layer deeply enough, so go back and create additional interior layers while leaving the surface layers alone.
- Layers that fall flat suggest you’ve over-thinned the hair, and the solution is to use volumizing products and avoid cutting any more until your hair grows out slightly.
- A mullet effect from aggressive face-framing requires blending the front pieces with the sides by creating diagonal connecting layers that transition gradually from short to long.
Comparison of Layering Methods
| Method | Best For | Difficulty Level | Time Required | Results |
|---|---|---|---|---|
| Ponytail Method | Long to medium hair, beginners | Easy | 15-20 minutes | Uniform layers with volume at crown |
| Face-Framing | All lengths, defining features | Moderate | 20-30 minutes | Soft, flattering pieces around face |
| Vertical Sectioning | Long hair, advanced cutters | Difficult | 45-60 minutes | Professional, blended layers |
| Twist and Cut | Curly hair, textured styles | Moderate | 30-40 minutes | Natural, organic-looking layers |
| Interior Layering | Thick hair, bulk removal | Difficult | 40-50 minutes | Weight reduction while maintaining length |
Conclusion
Mastering the art of creating beautiful layers at home salon style empowers you to take control of your hair care routine while achieving professional-looking results that enhance your natural beauty.
Throughout this guide, you’ve learned the fundamental differences between various layer types, discovered the essential tools that make home cutting possible, and explored multiple techniques tailored to different hair lengths and textures.
From the beginner-friendly ponytail method to advanced face-framing techniques, you now have a comprehensive toolkit for transforming your hair with confidence.
Remember that practice makes perfect, and even professional stylists started somewhere, so don’t be discouraged if your first attempt isn’t flawless.
The key to success lies in starting conservatively, cutting less than you think you need, and making gradual adjustments as you become more comfortable with the process.
By avoiding common mistakes, maintaining your layers properly, and knowing how to troubleshoot issues when they arise, you’ll find that creating beautiful layers at home salon style becomes easier and more intuitive with each attempt.
With patience, precision, and the techniques outlined in this article, you’re now equipped to enjoy gorgeous, professionally-layered hair without ever leaving your home, saving both time and money while maintaining complete creative control over your signature style.
